Getting Organized with The Container Store

Hello Friends!

Recently I teamed up with the amazing folks at The Container Store and I have to write that their name no misnomer.

The nice people at the Oakbrook, IL location were the best!  We I began searching for how to improve our incredibly small but really tall front closet.  We had a pretty standard shelf with a coat rack and on the floor we fit in 50 pairs of shoes piled two feet deep (pun absolutely intended).  So I asked my wonderful husband to take some measurements and we headed to The Container Store!
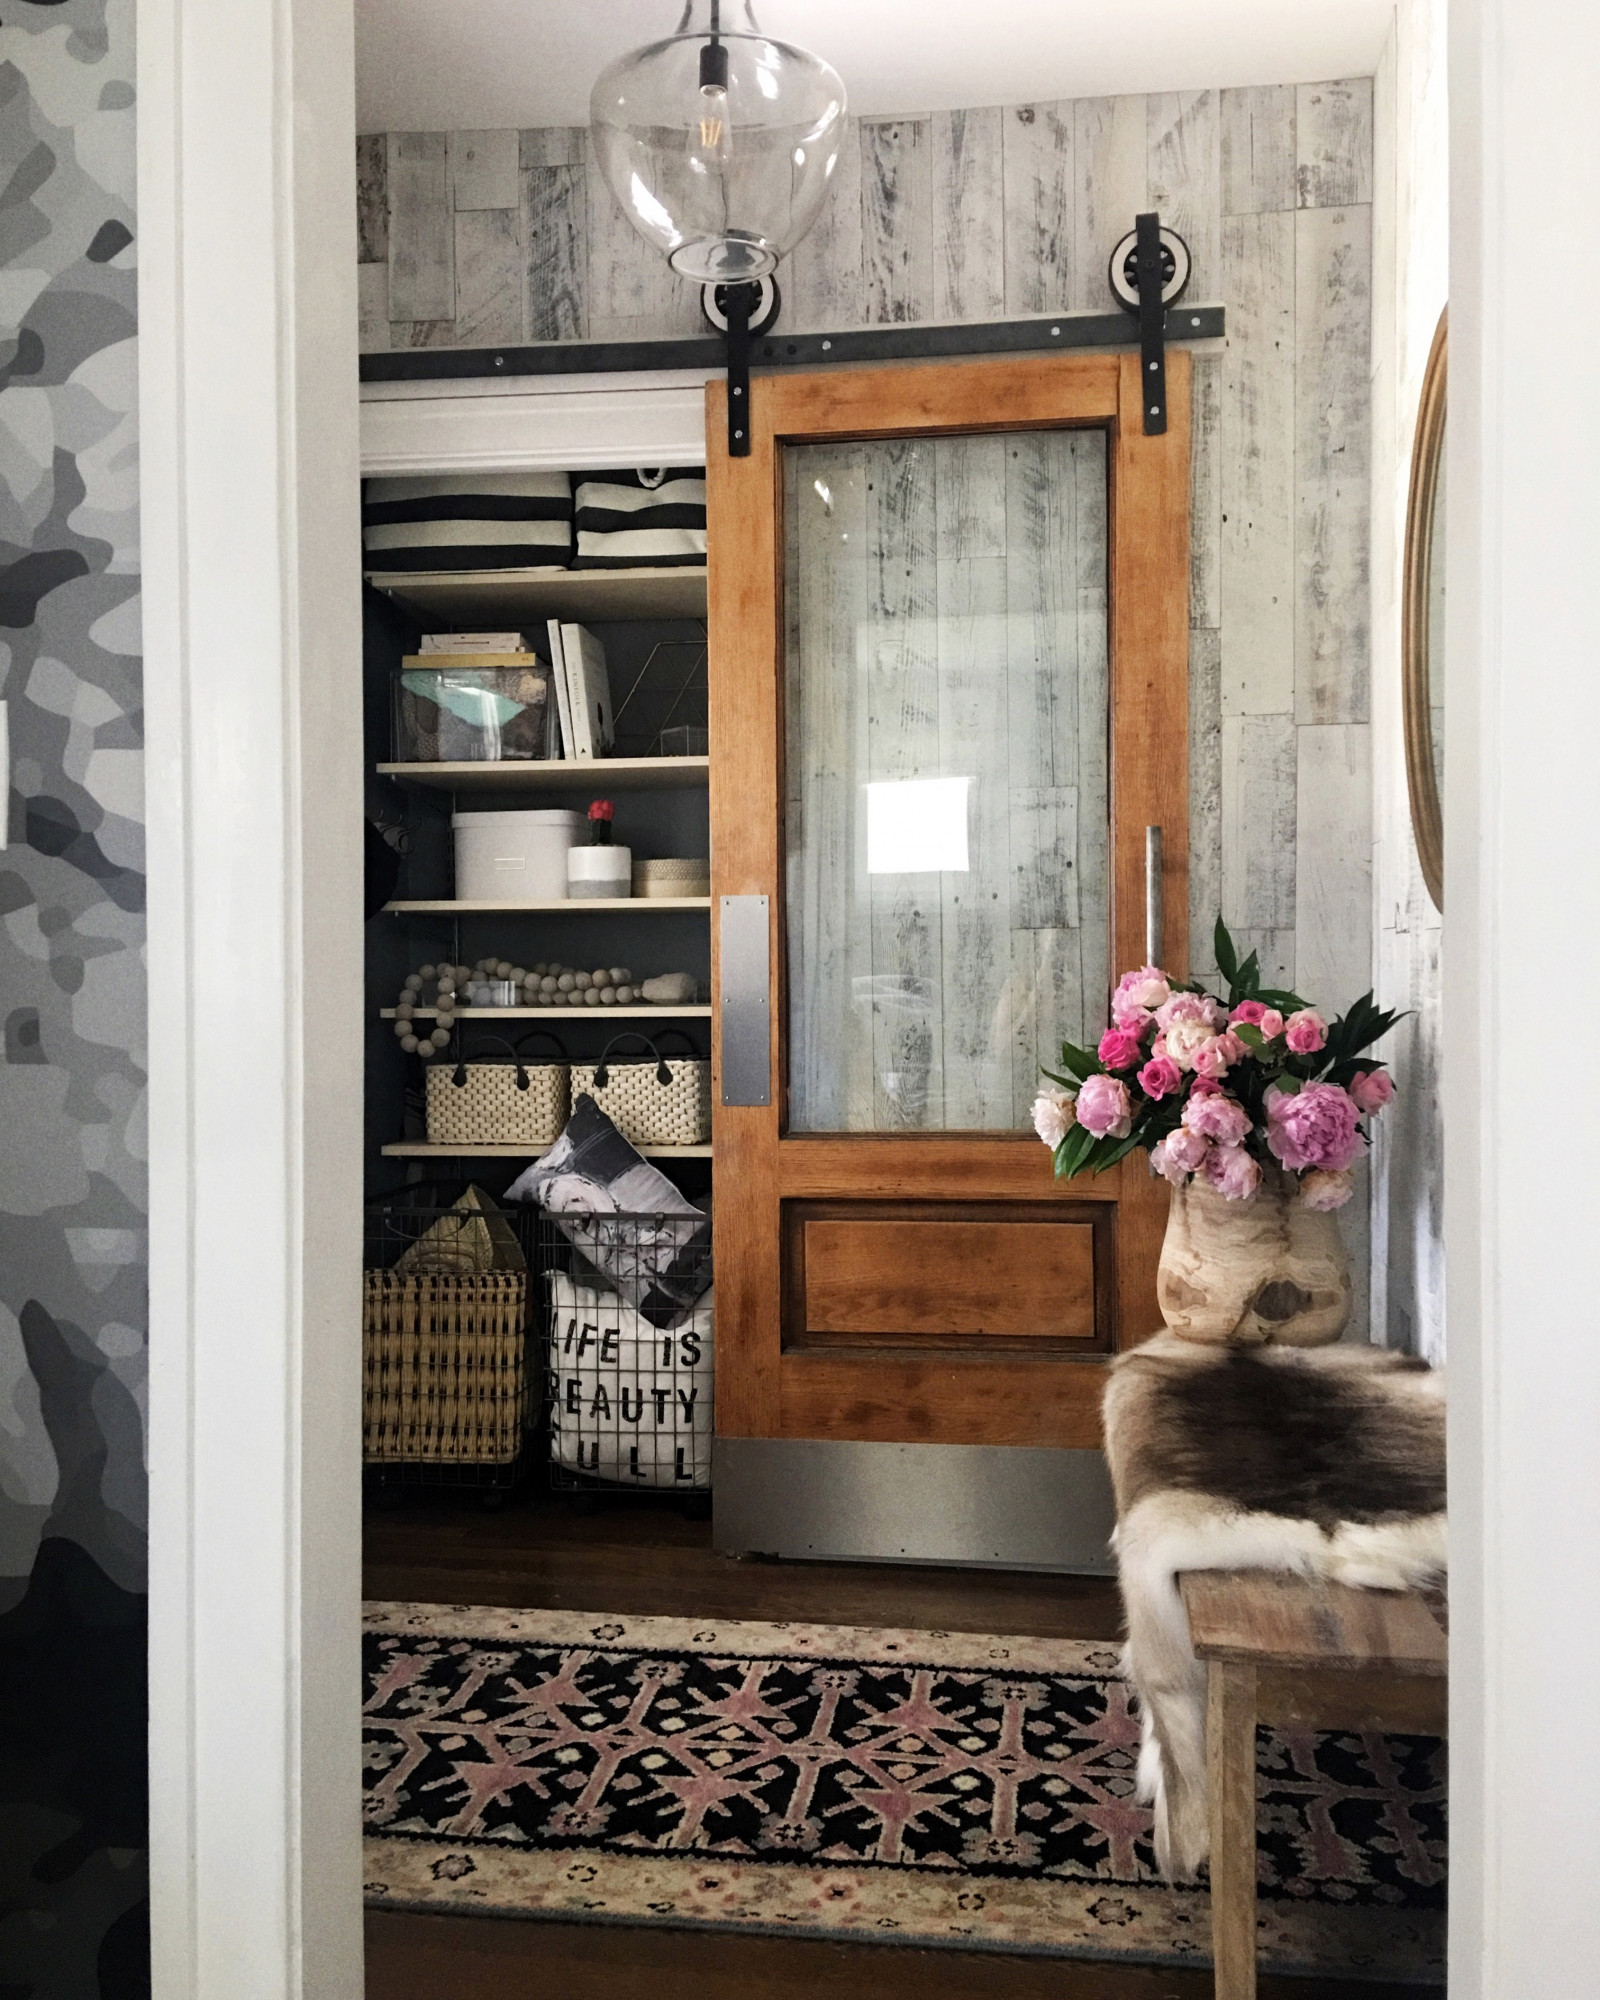
Our Closet After the TCS Magic!

Our Poor Closet Before TCS’ Help

The store had the absolutely most helpful staff members working there that day.  They we’re so helpful at helping to make my vision come to life. The Elfa shelving units they suggested were the perfect solution to organizing our closet and the best part, not only were they stylish, they were super easy to install. It’s apparatus consisted of one support beam placed parallel to the floor roughly seven feet high.  This beam was screwed into the structural pillars within the wall to support the weight.  From there two metal holed beams were hung from the beam.  The holes were constructed so that the individual shelves’ support beams could simply be hooked into the vertical metal rods.  Once those were placed all we had to do was lay the shelves at our desired height on to the support beams and we were ready to go!
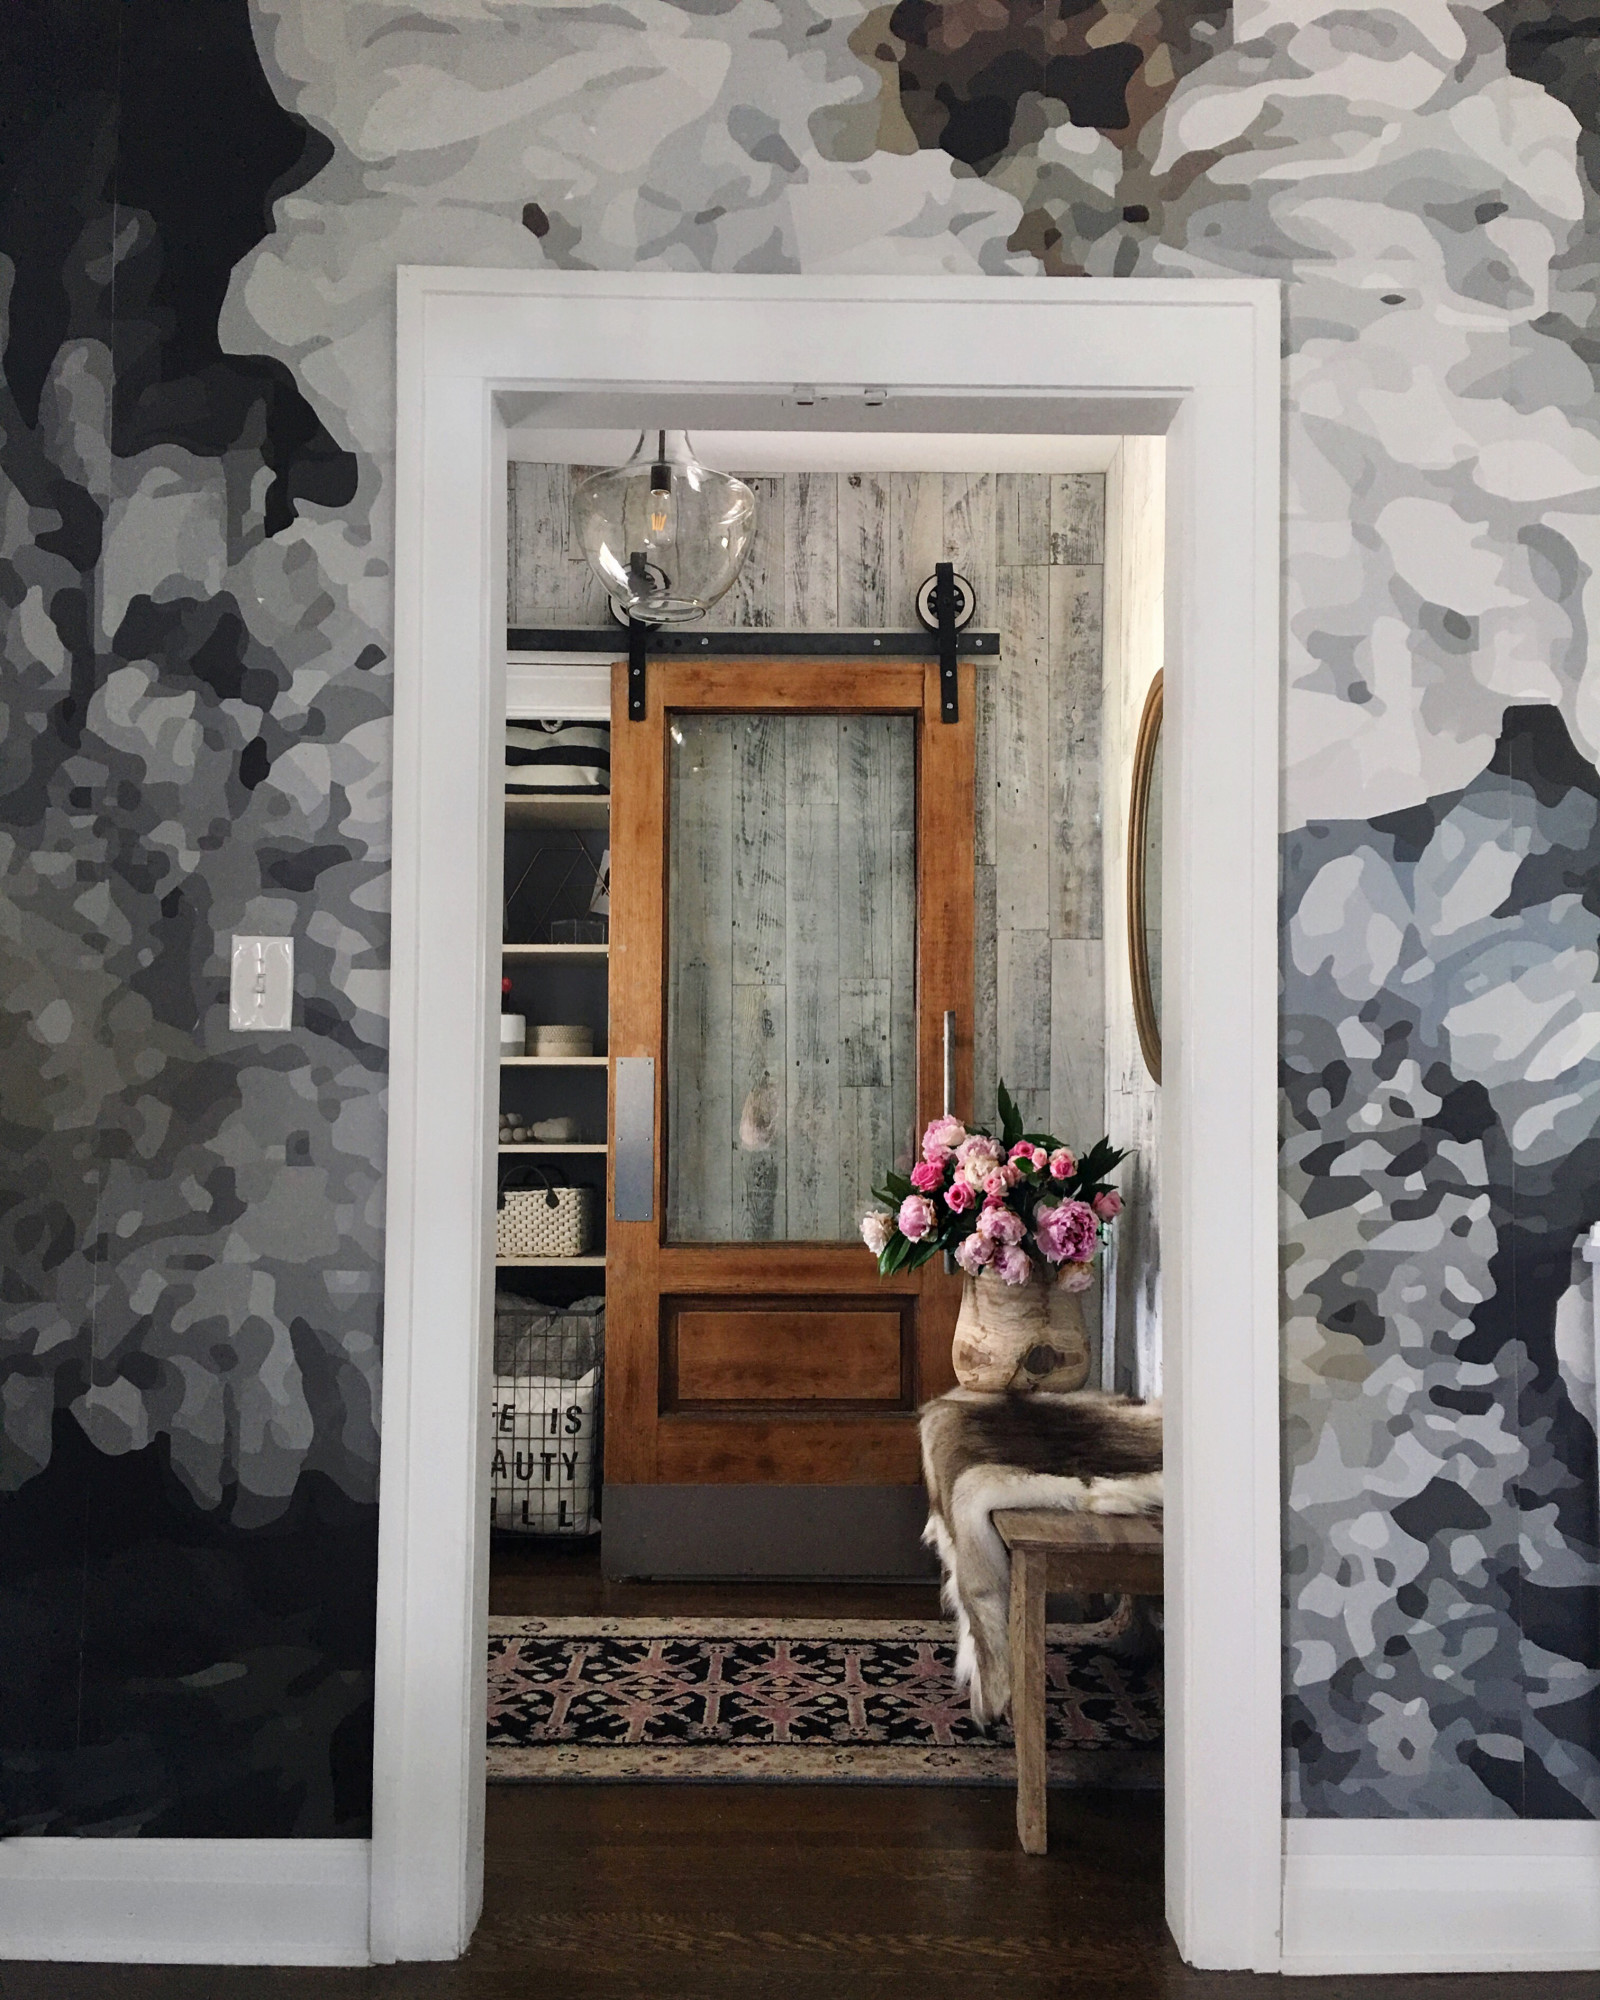
What I loved most about these shelves is that they were stylish and that was so important since our closet door is a sliding barn door with a glass window. I decorated the shelves with pretty, handy, yet practical items from The Container Store.  They have many beautiful baskets and boxes that hid ugly keys or piles of sweaters.  However, they also have clear or see thru containers that hold items that I don’t mind people seeing, such as scarves and hats. The combination of the two mixed together was lovely.

In planning the girls were accommodated too, and they are so excited about their new items. They especially love the rolling hamper baskets that are located within their reach.  Whenever they get home from school they can simply dump their jackets, backpacks and shoes in to them and it still looks clean and organized without any hassle.

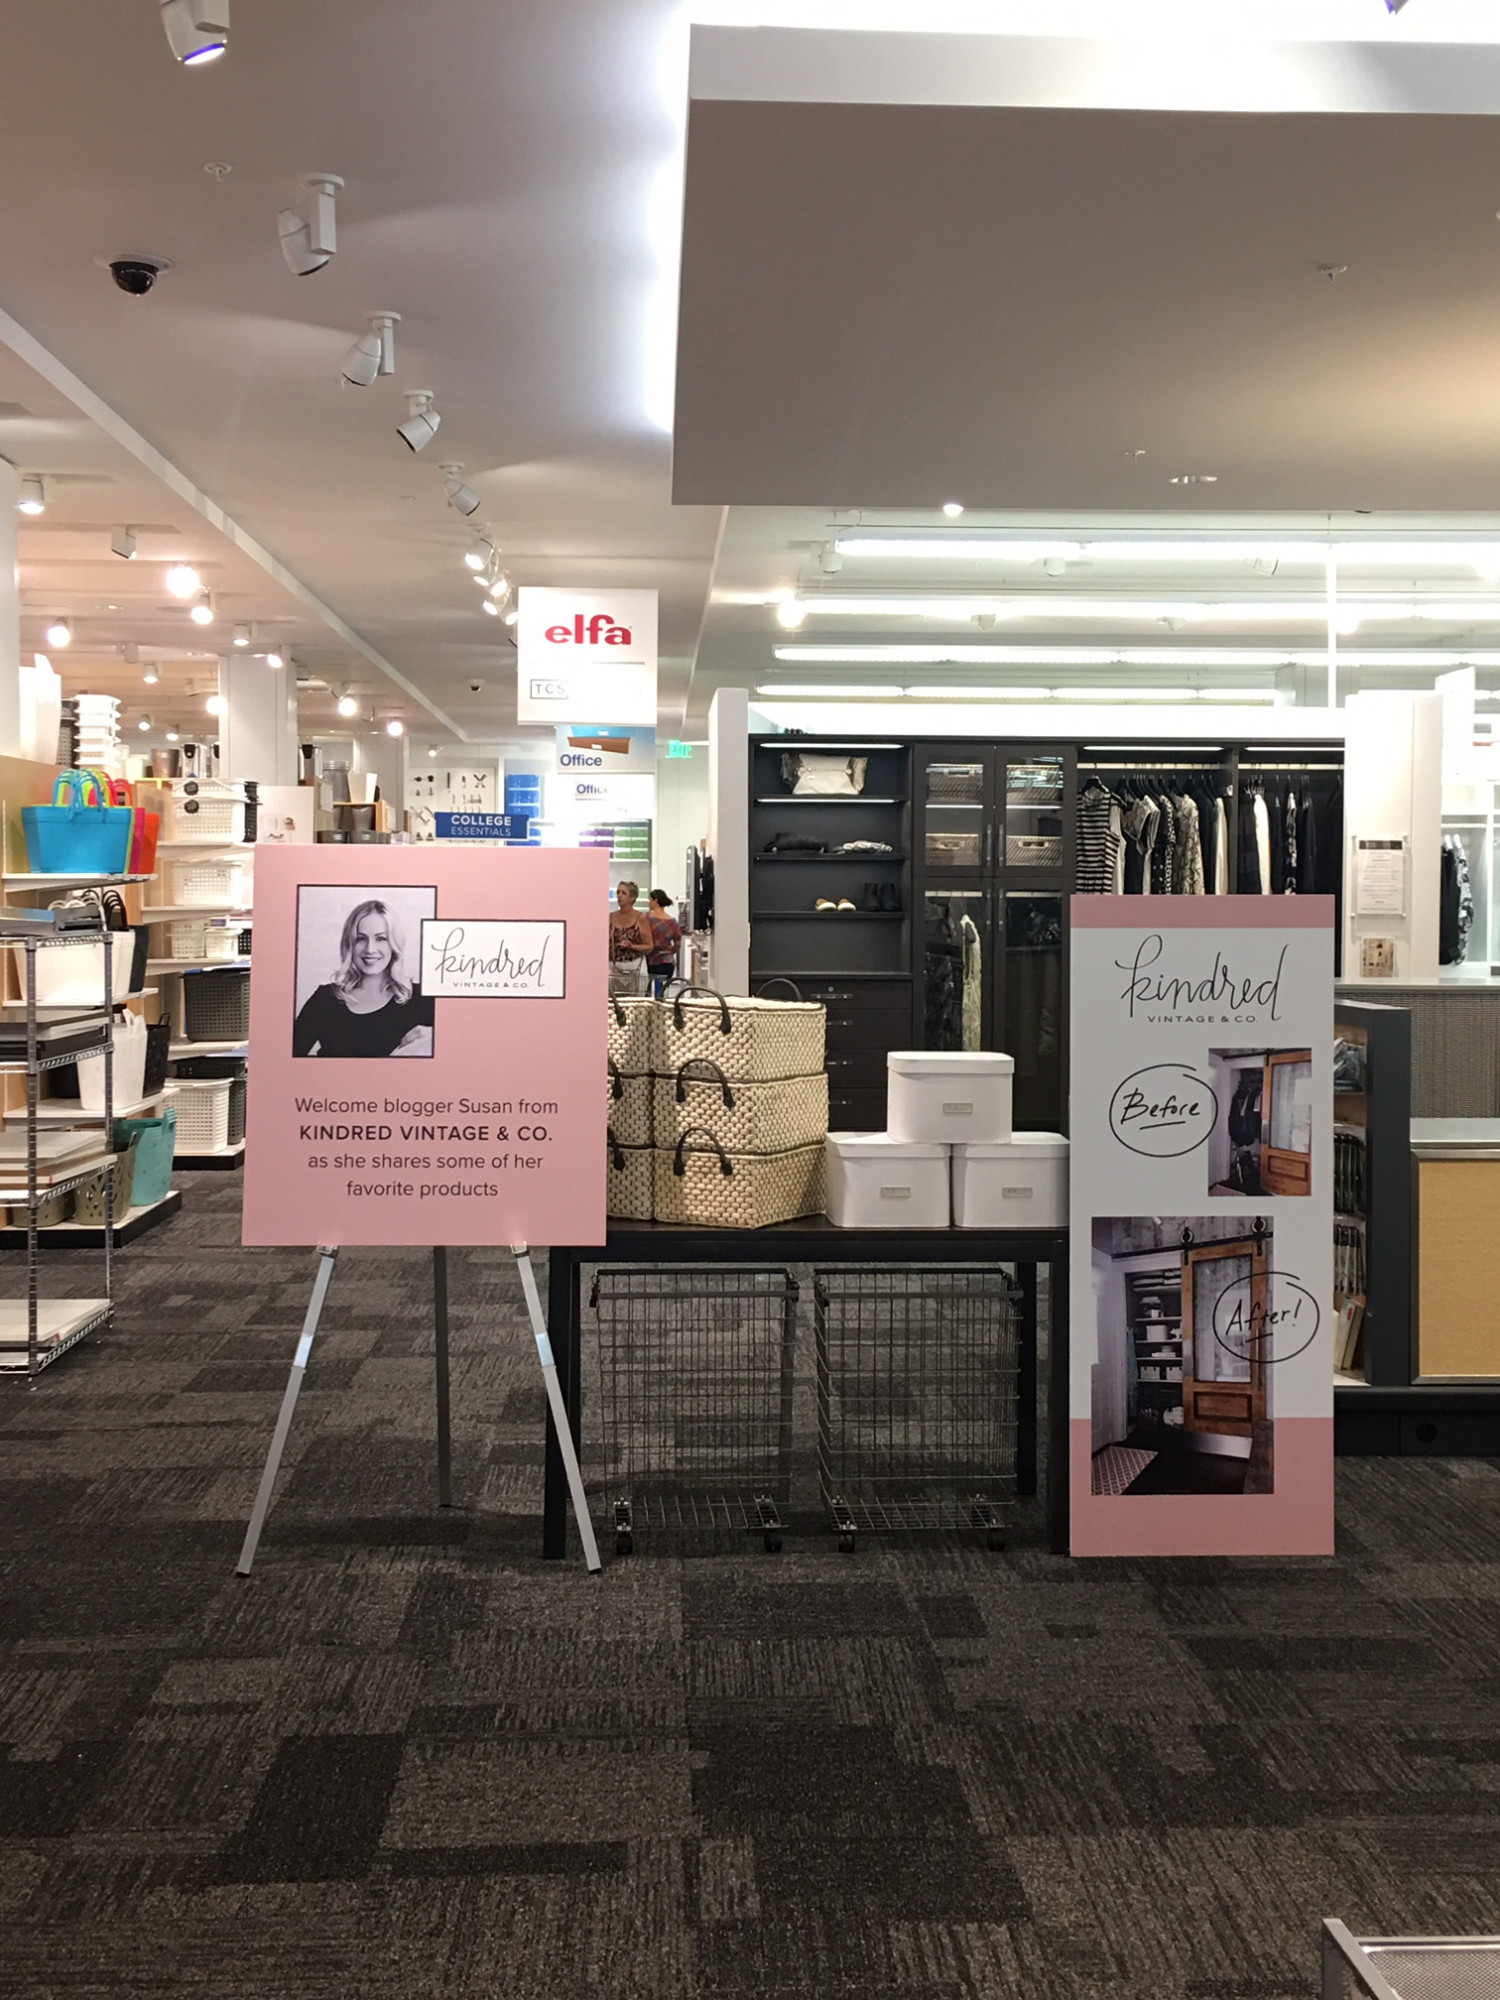
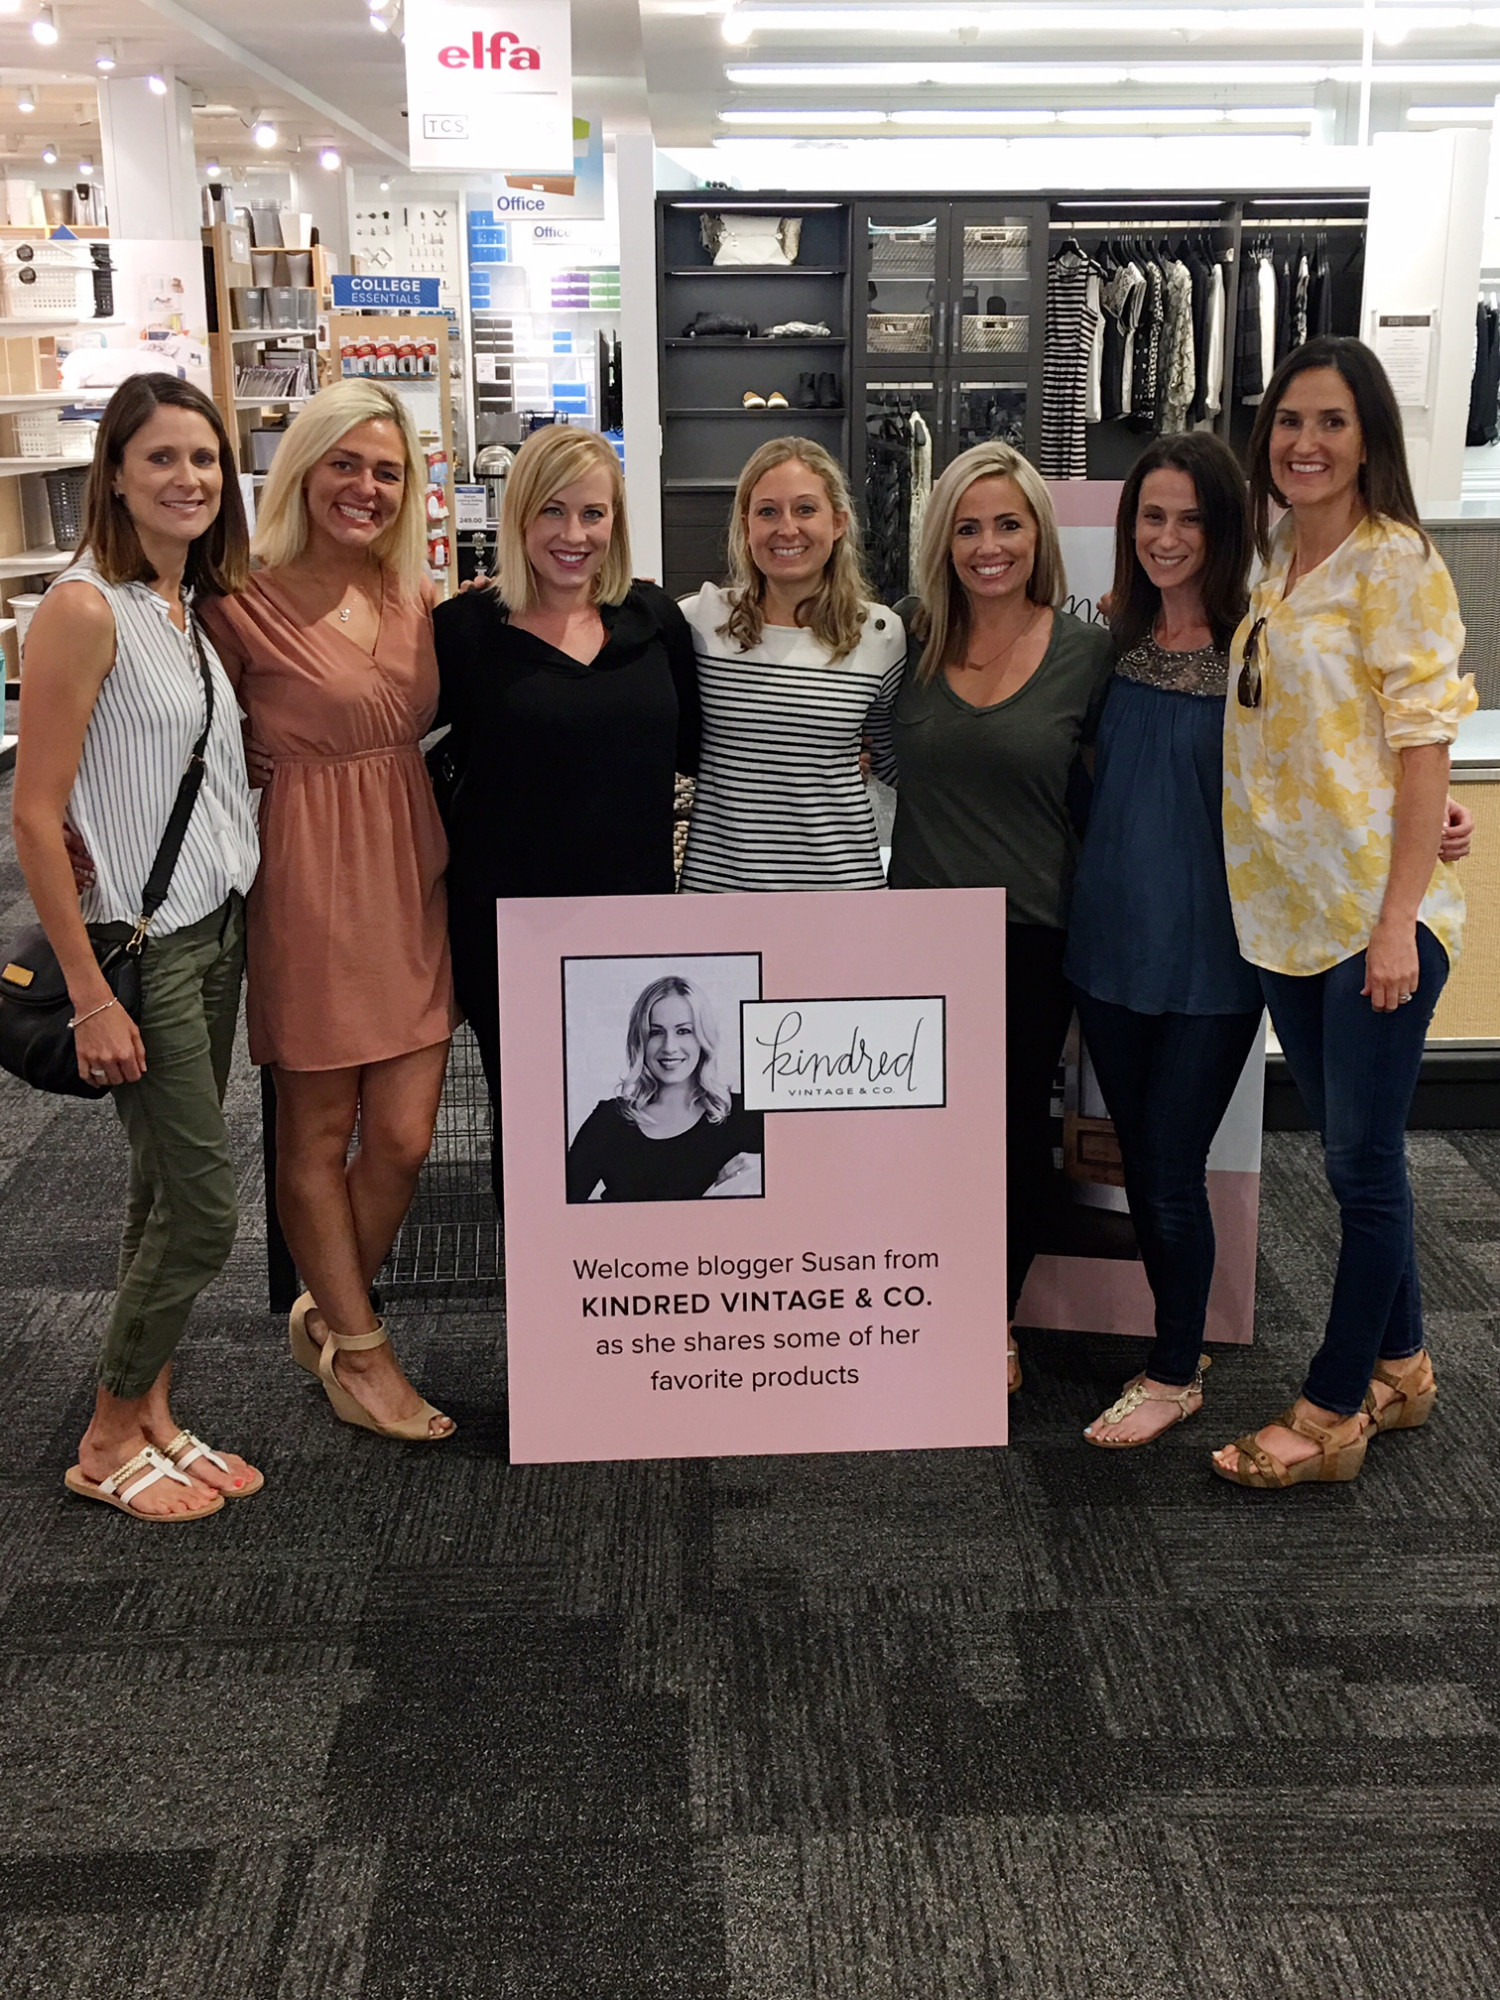
Once completed we photographed the space and shared it on instagram with you! The before and after pics were a hit!  Which then led to an amazing opportunity that I am writing to share with you! It was an honor to be contacted by The Container Store to share our closet makeover at their OakBrook, Illinois location.
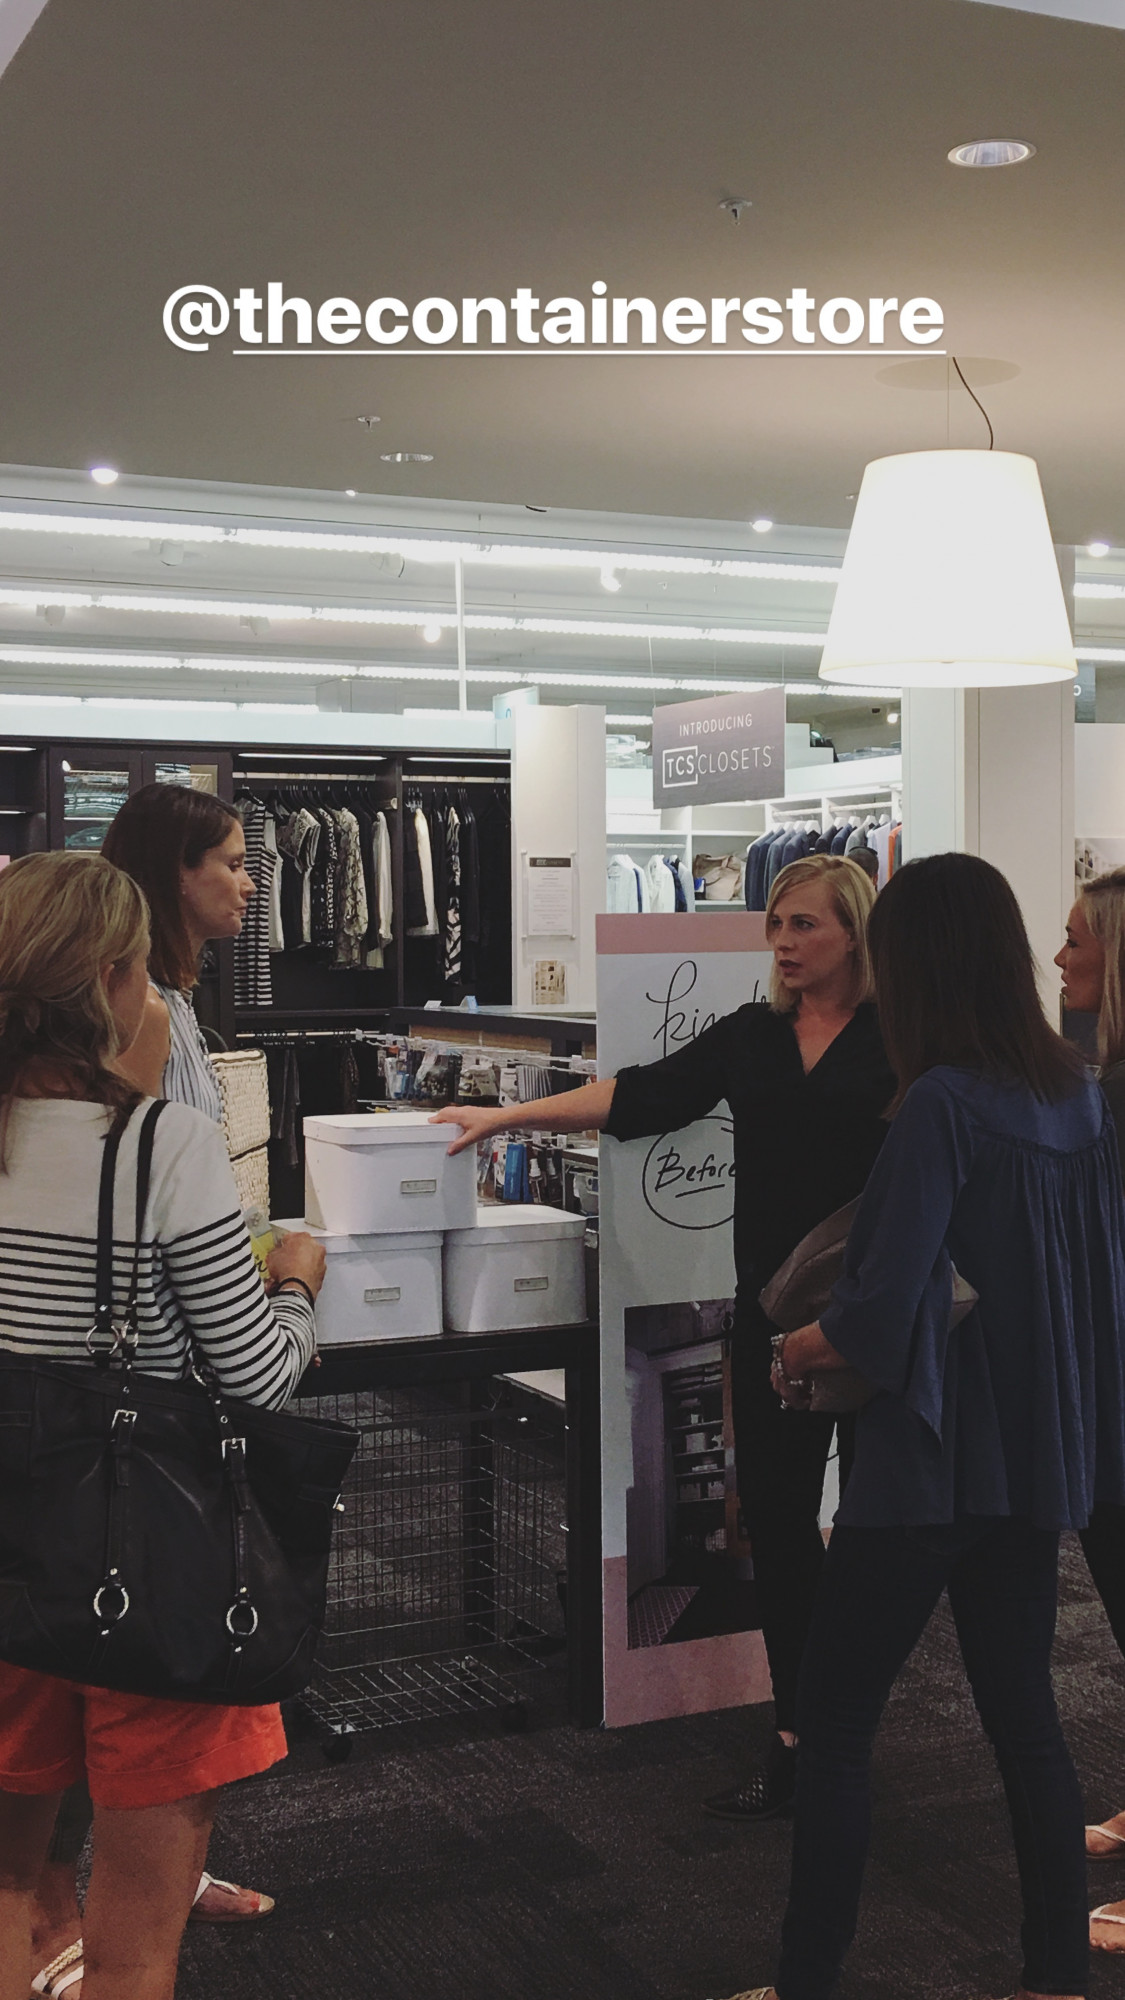
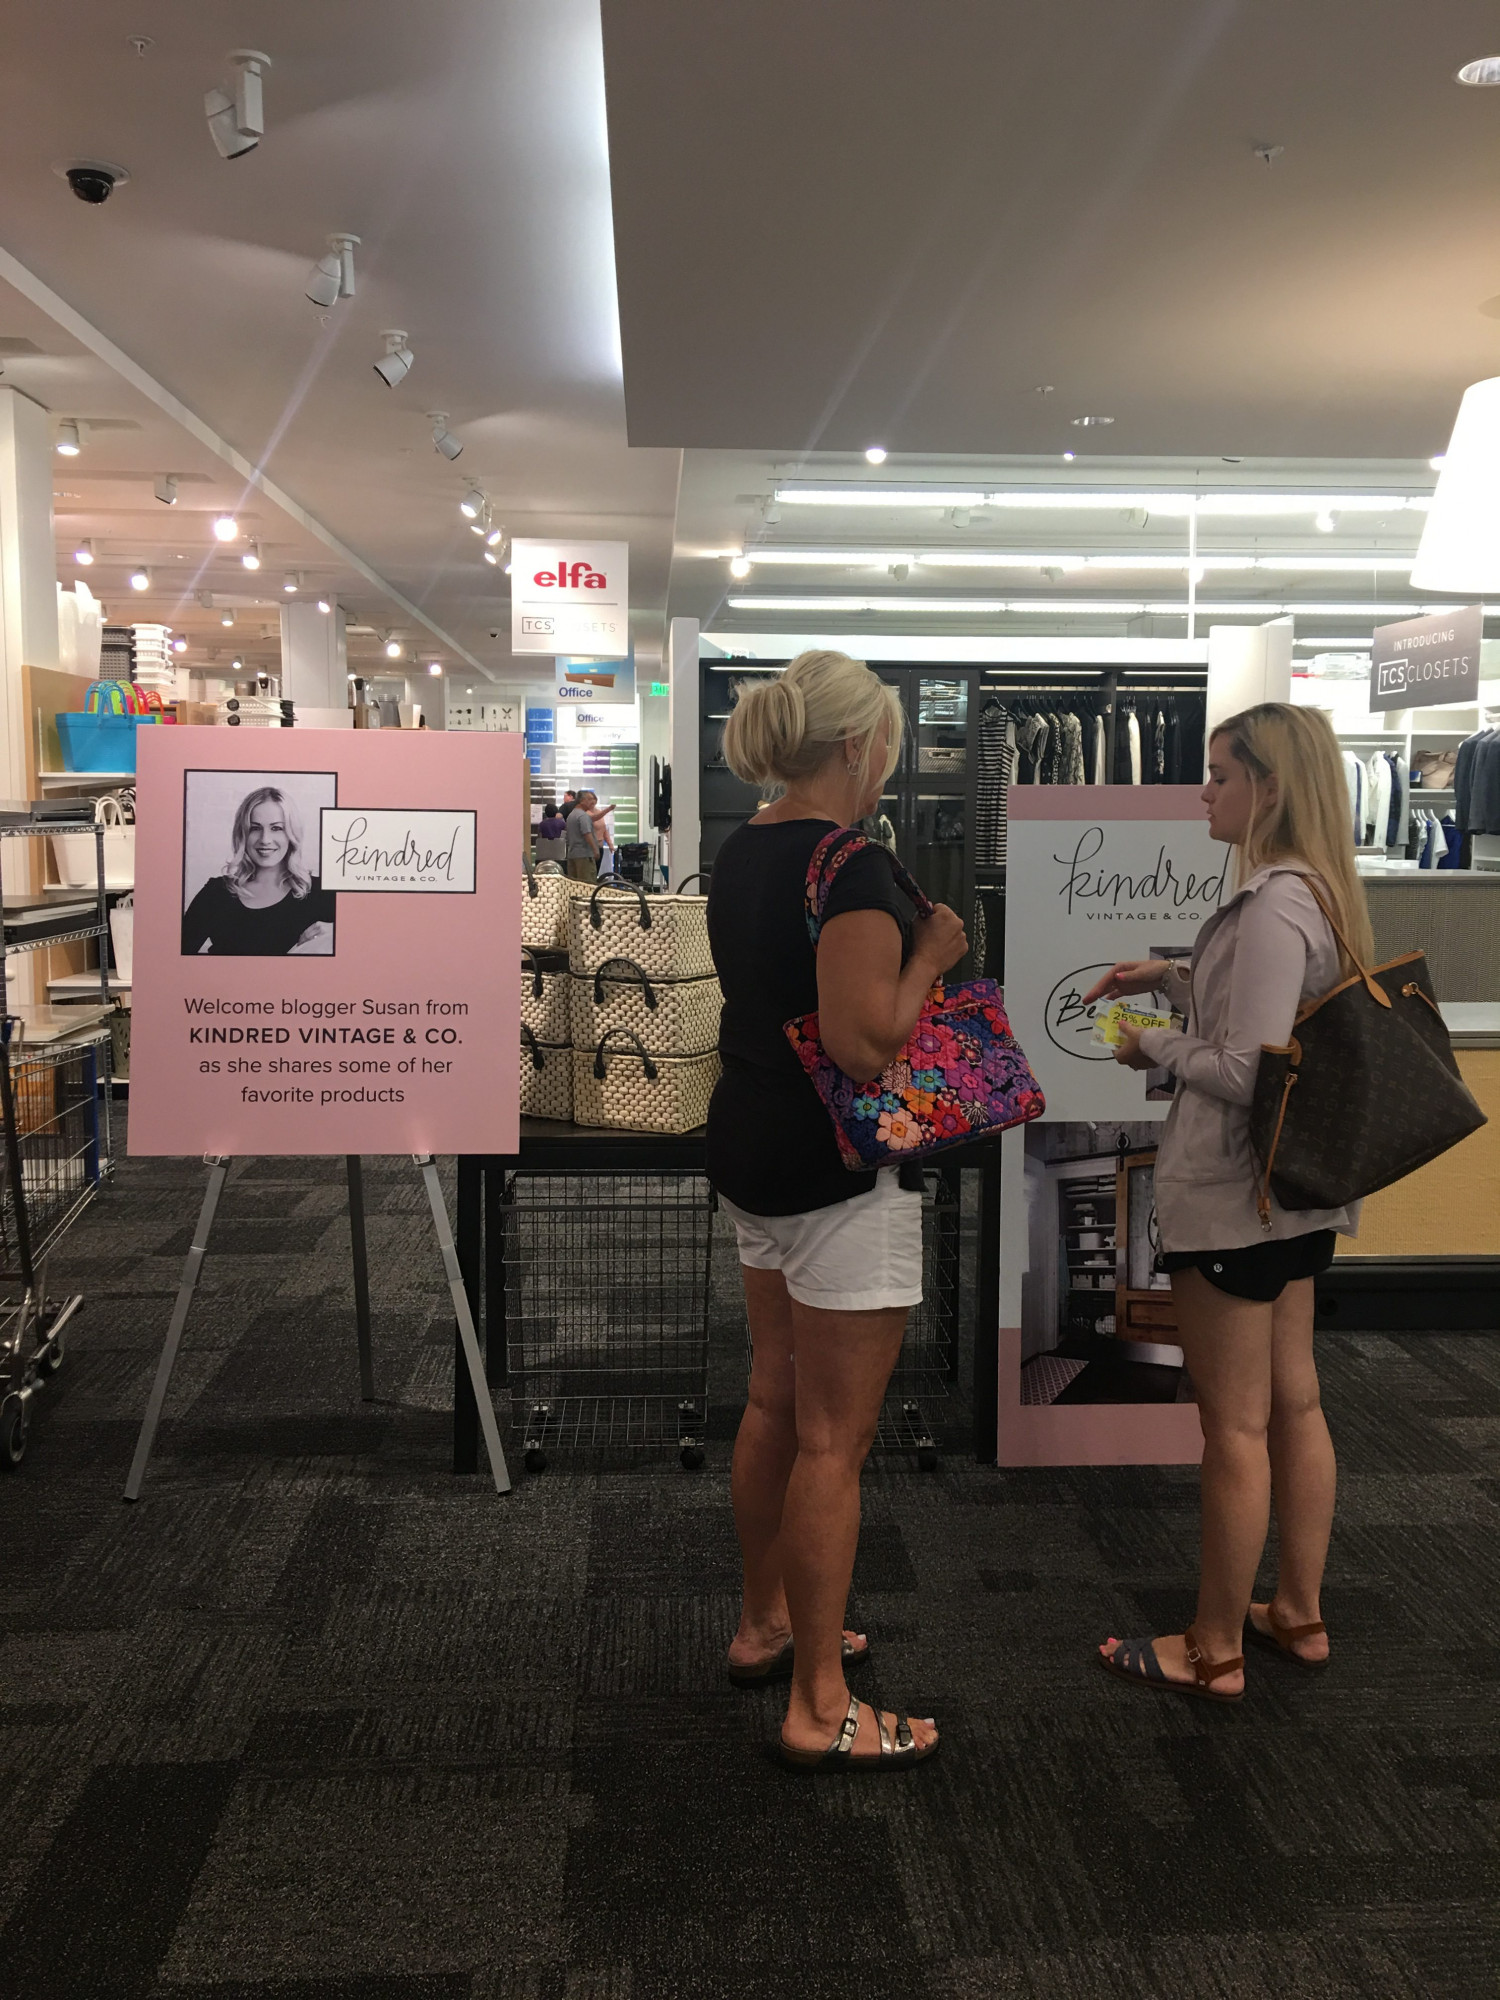
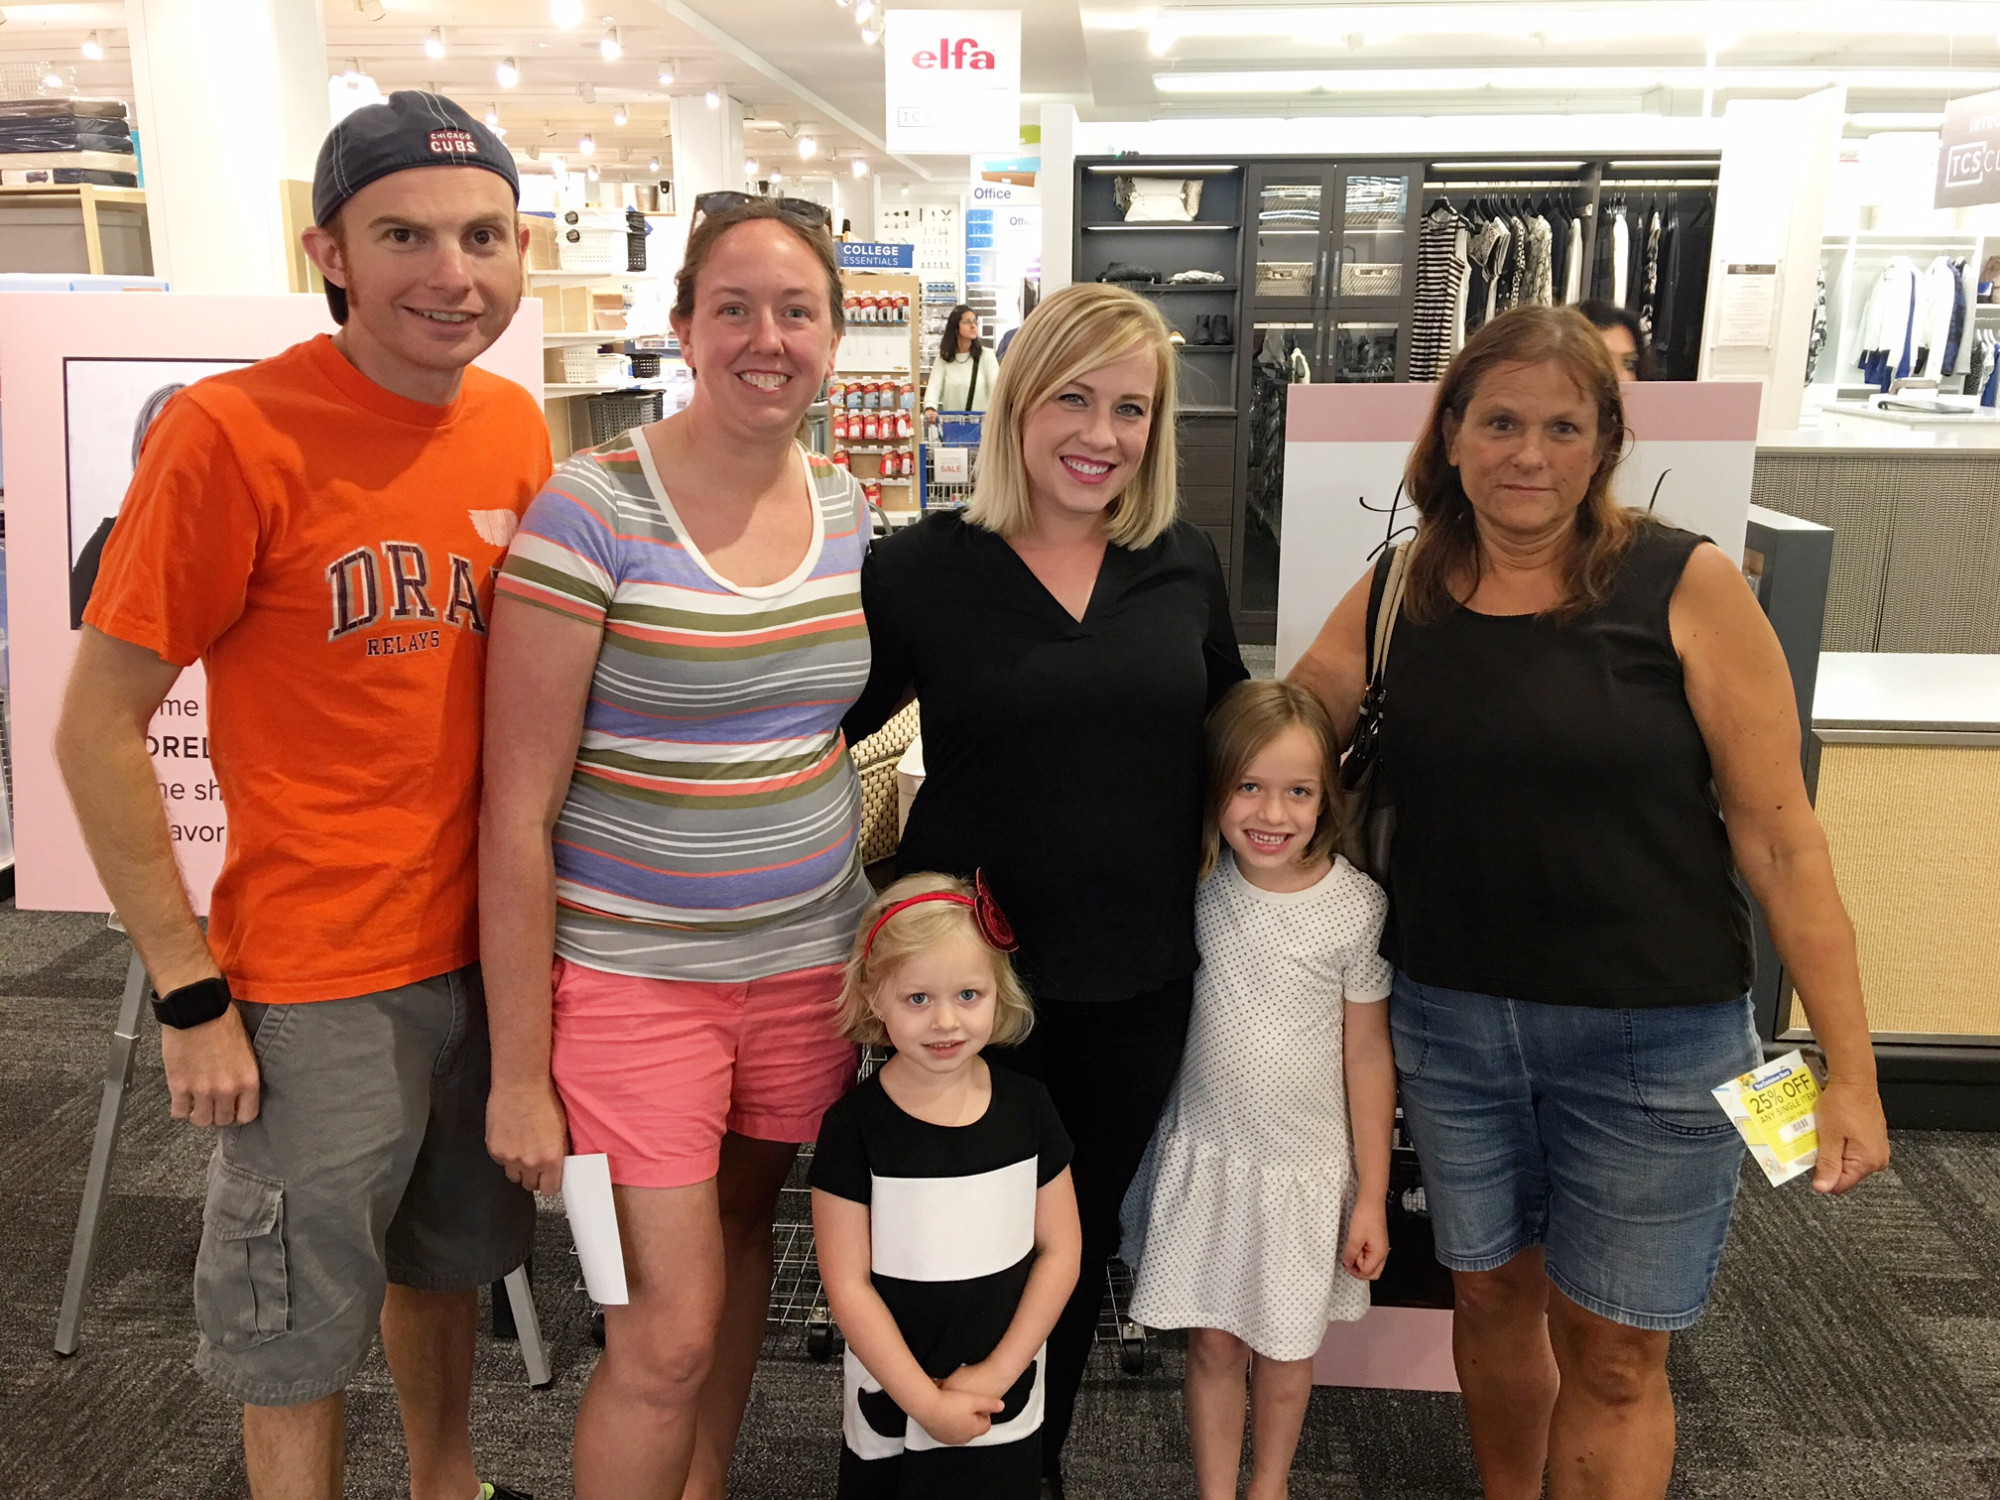
It was so great to be able to share my decorating style and ideas as their featured blogger. Meeting new friends is something I have a hard time saying no to so it was great being able to chat design ideas face to face with so many of you! Thank you for coming out to show your support and a special thank you to my sweet family and friends for stopping by and being so amazing.
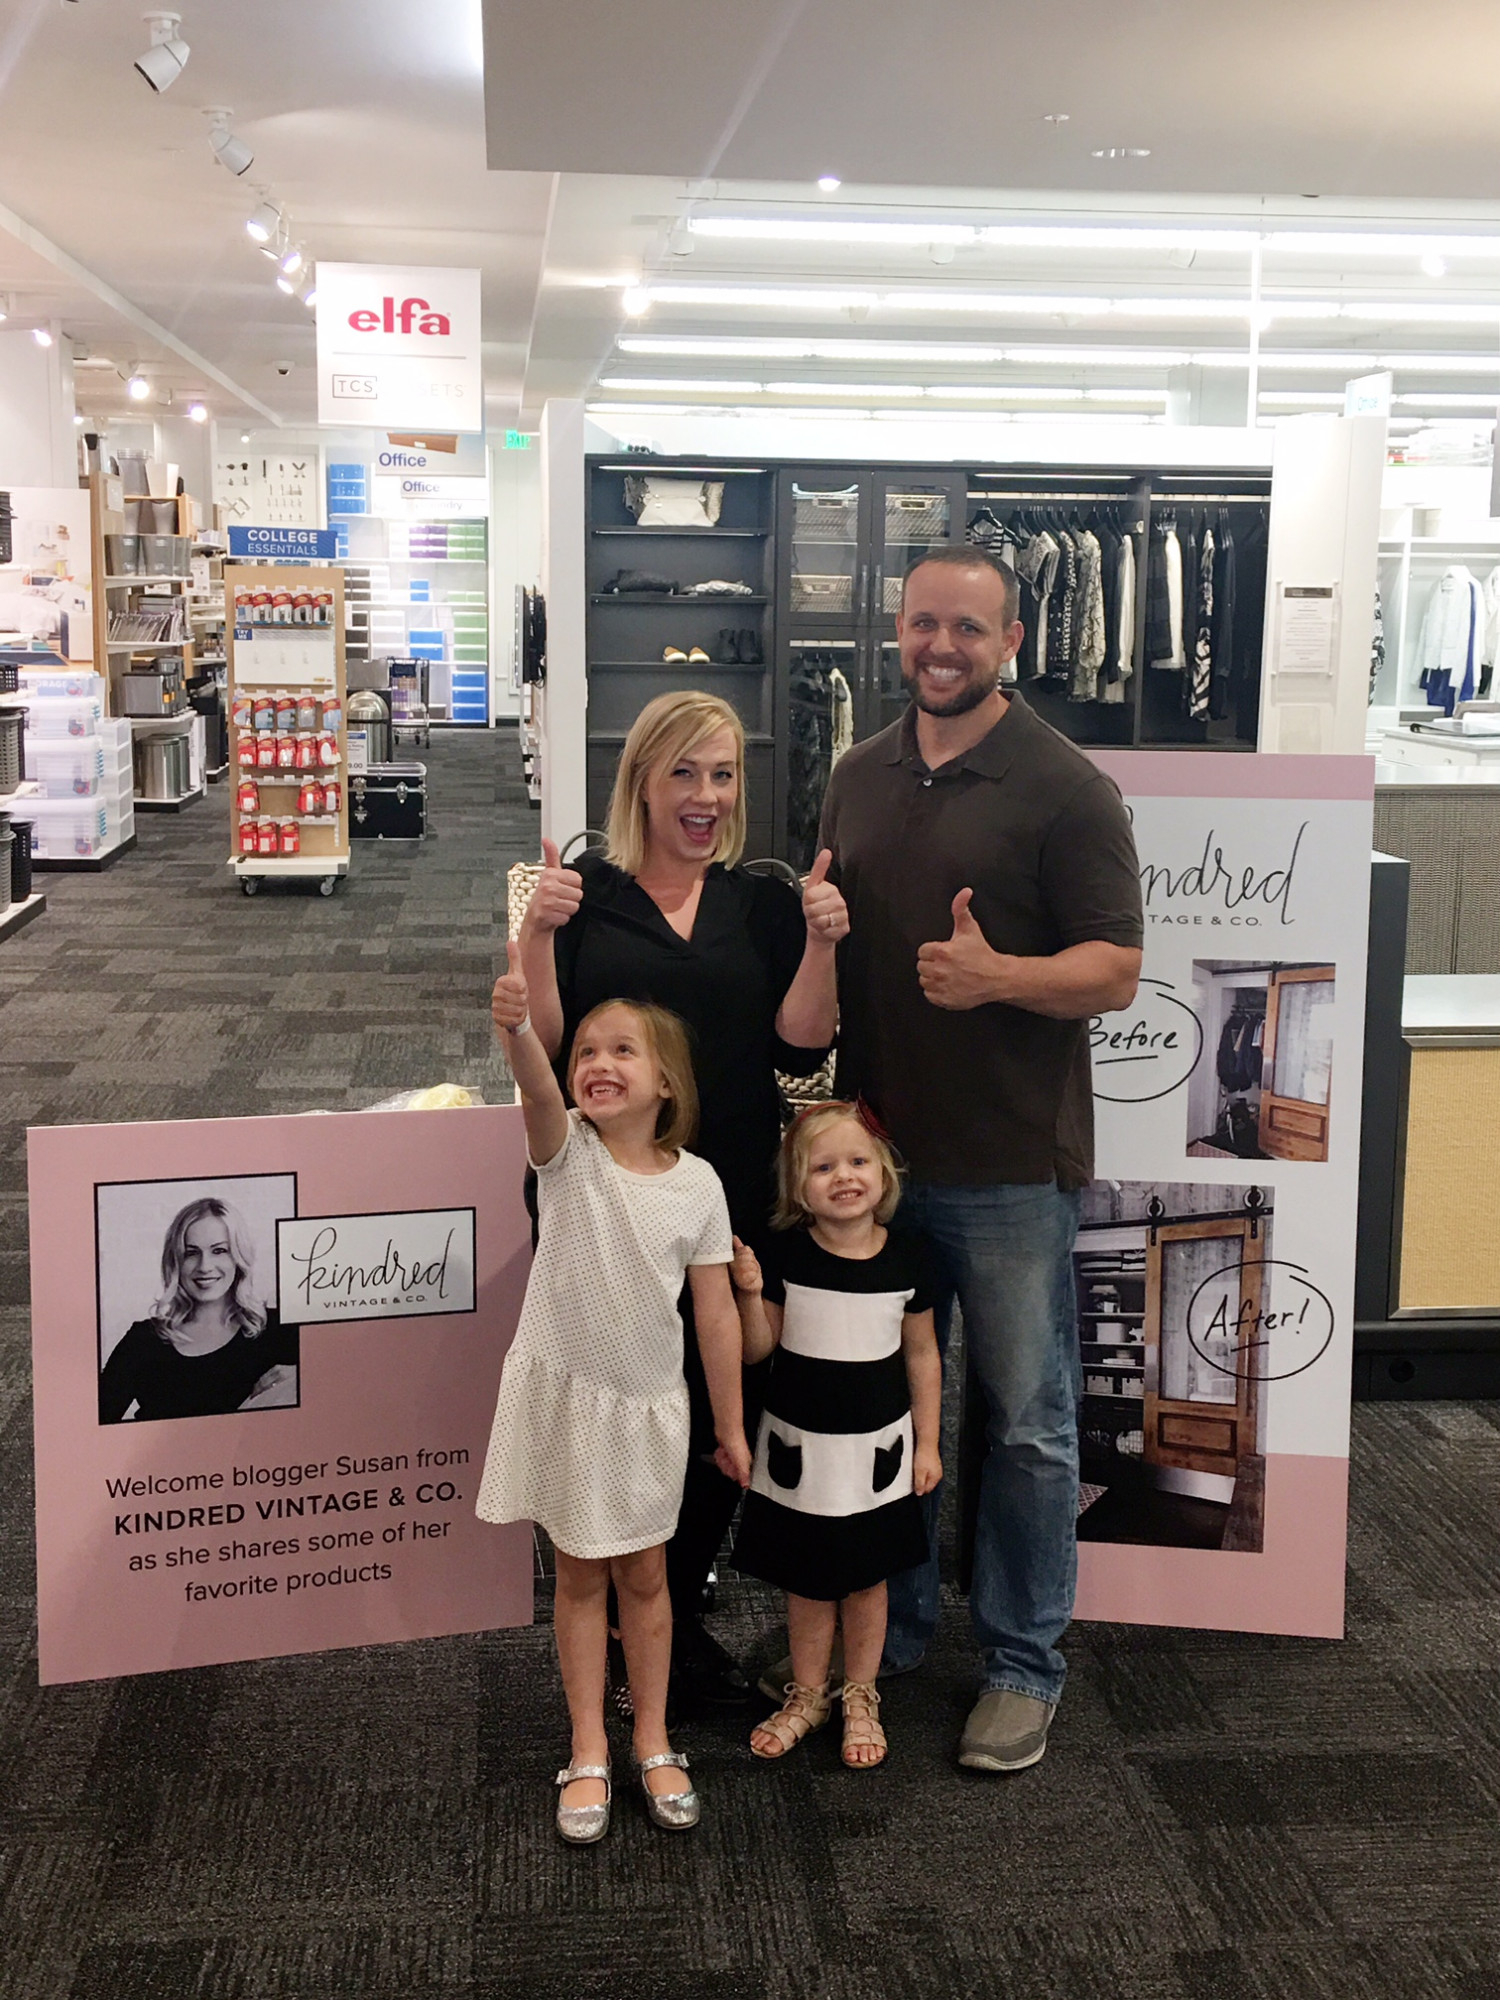
Here are a few of my favorite organization items I used within our own home, we love them and hopefully you will too!

Elfa Shelving

Clear Drawer

Oskar Storage Box

Umbra Triangle Pendant 

4 Hook Wave Rack

Striped Canvas Storage

Loft Woven Storage Bins

Harvest Hamper with Wheels


Our Summer Escape

Hello friends!

I cannot tell you how excited I am for summer to be here. This week is the last week of school for my daughters and it couldn’t come soon enough! Just the thought of lazy days filled with sunshine, laughter, play and relaxation has me counting down the minutes.

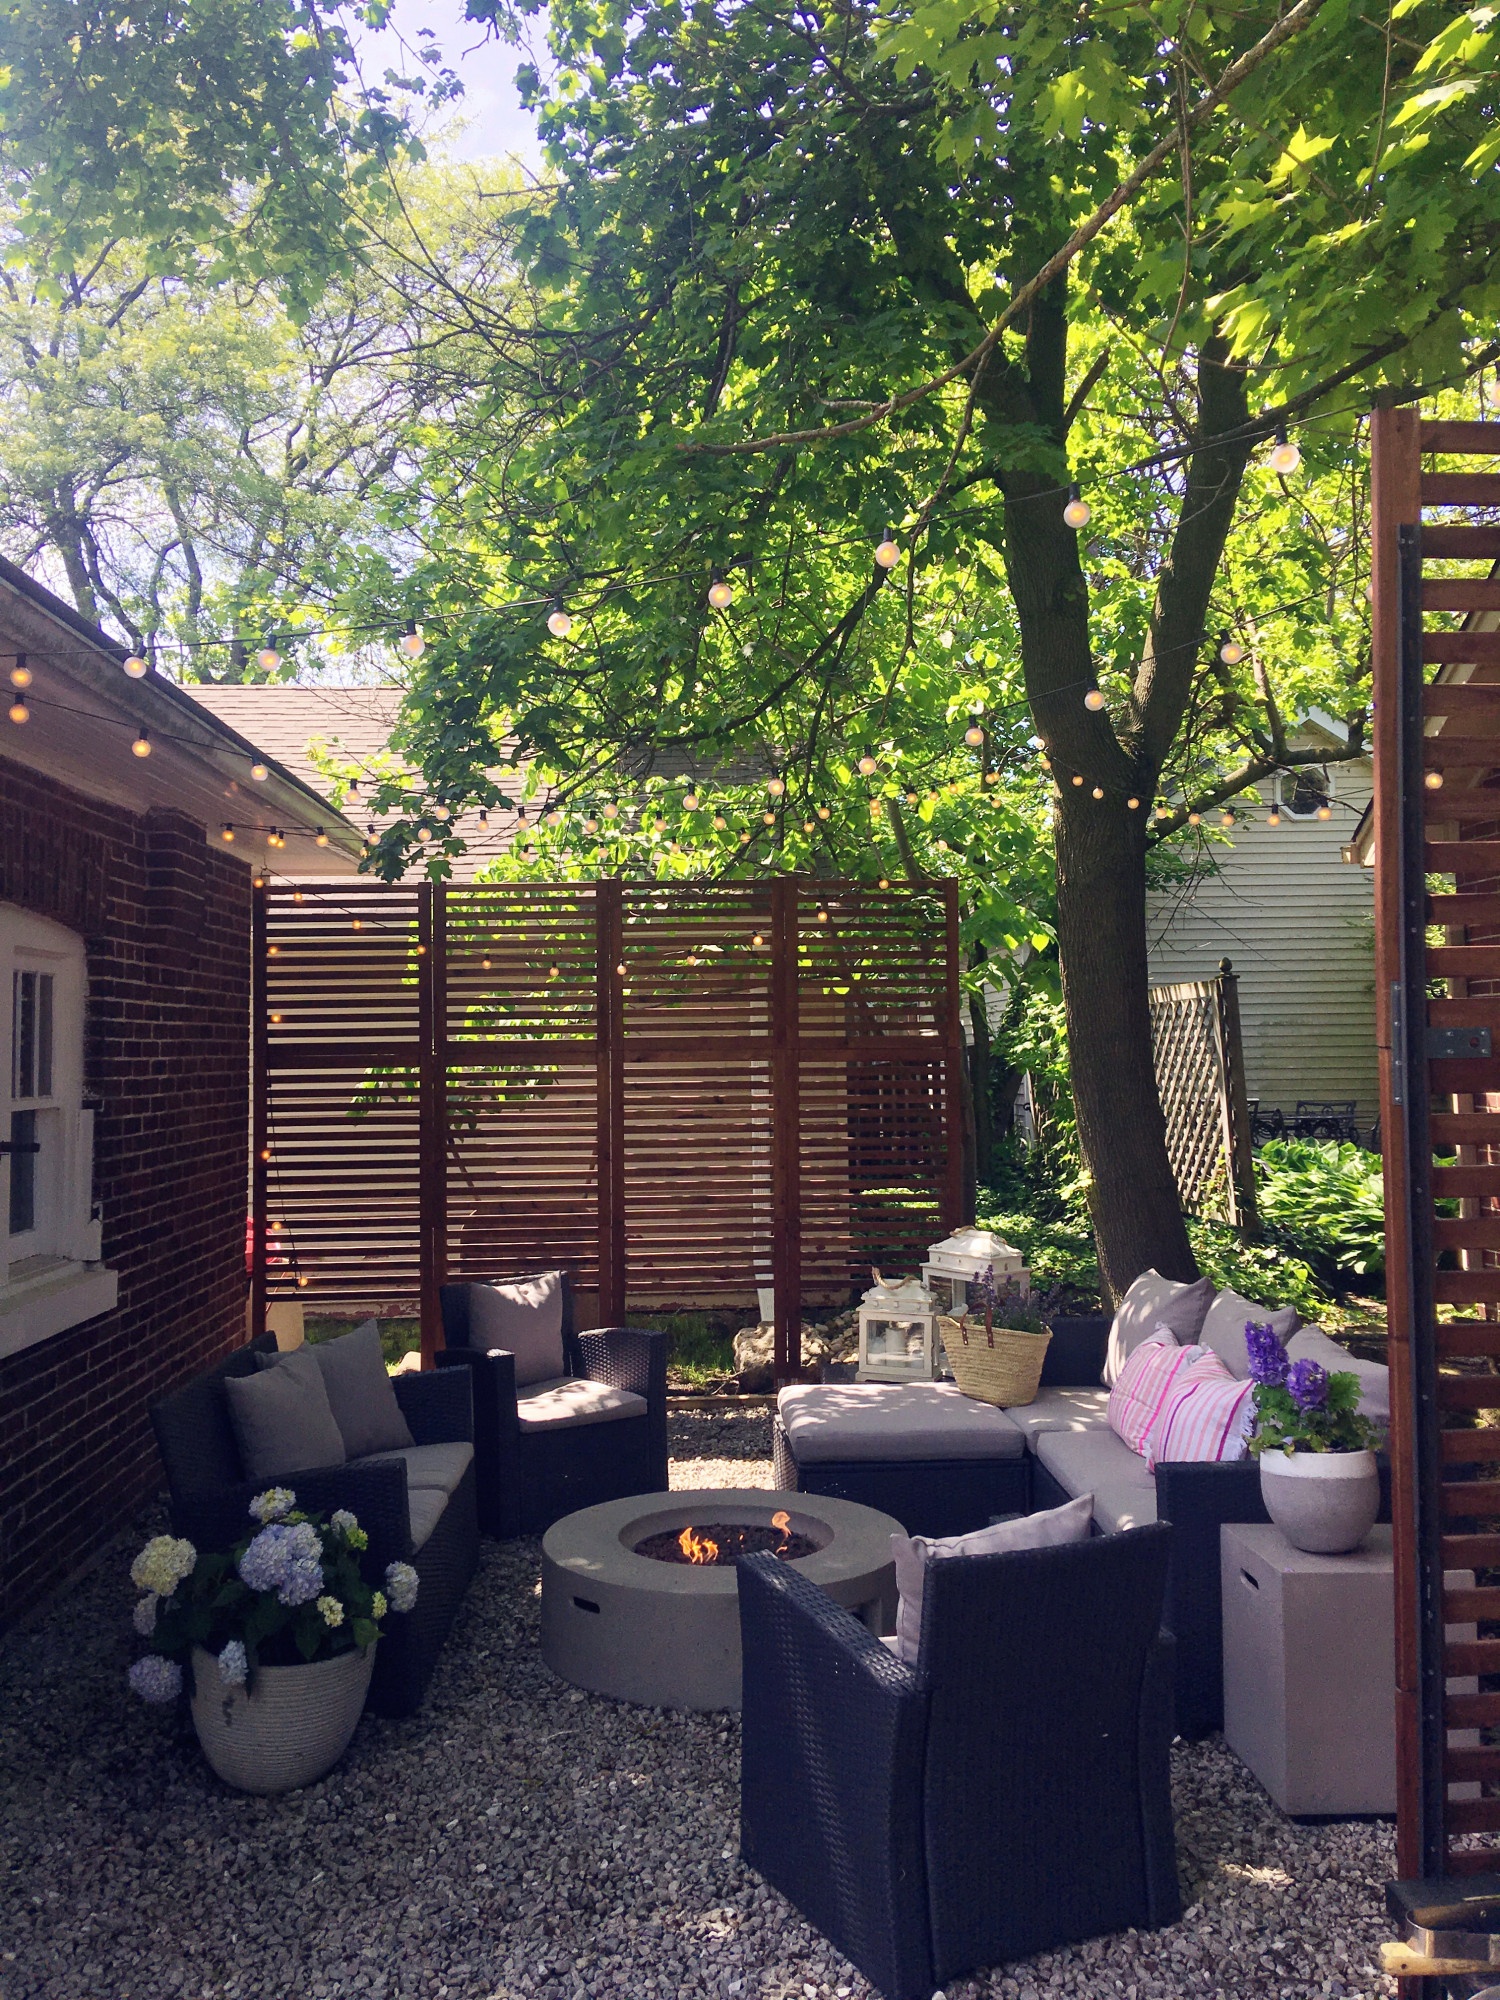
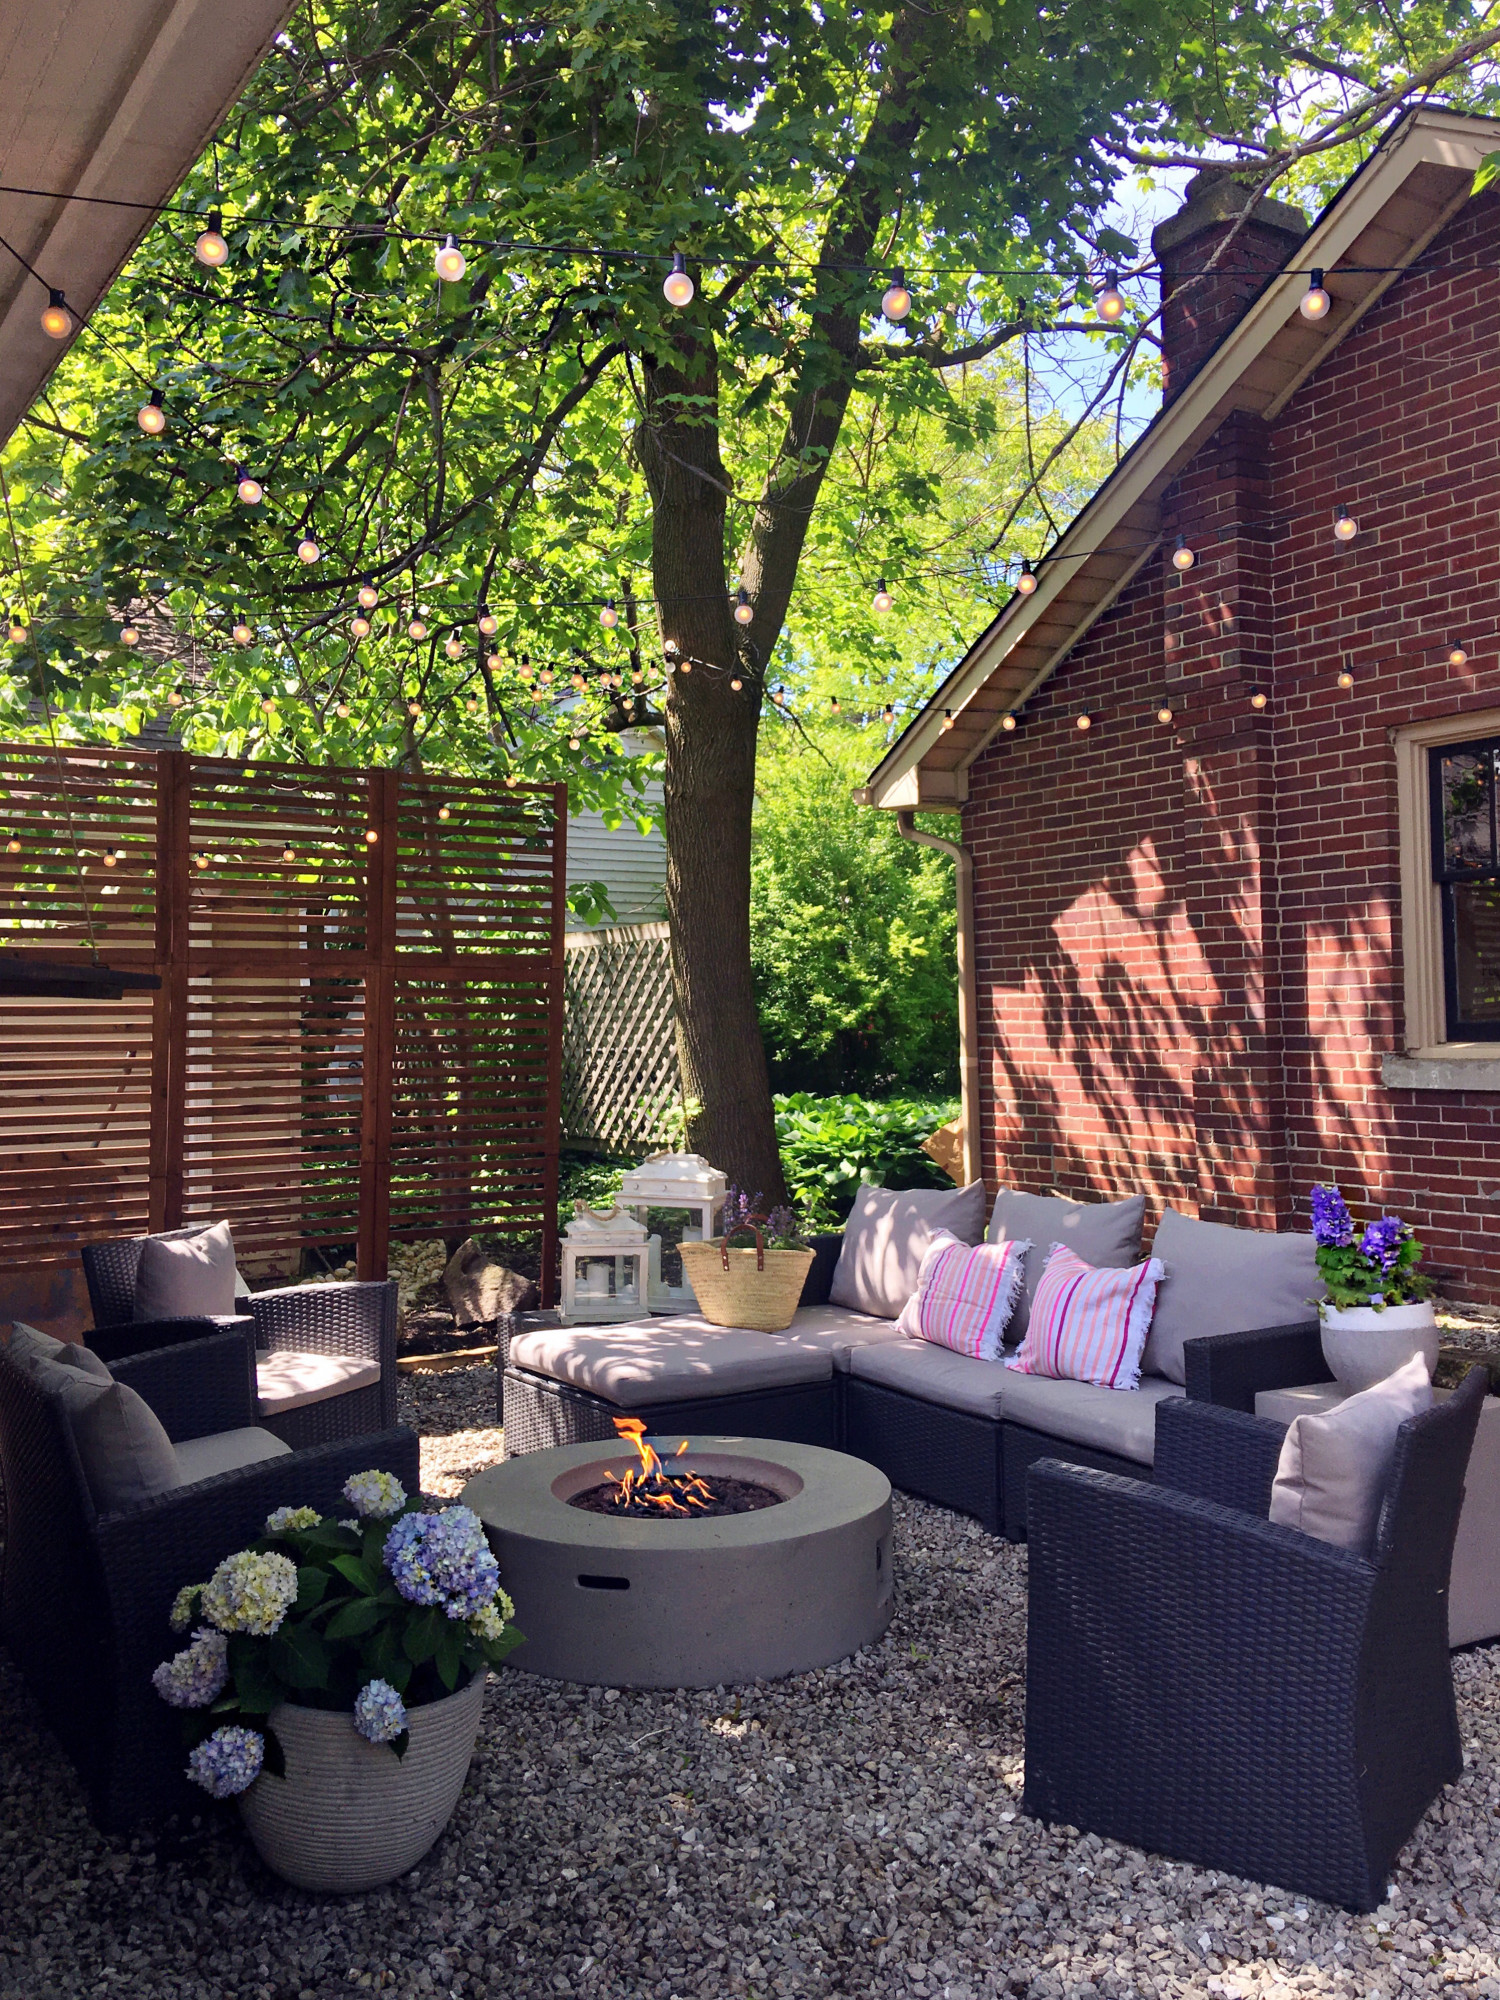
Last year we created this sweet retreat behind our garage. You can read all about it here. We turned this unused space into a fun gathering spot when entertaining, a nice nook to watch the girls play in the yard while mommy’ing and a relaxing retreat while escaping. It’s easily my favorite spot in our yard.

This year we teamed up with Joss and Main on this amazing fire pit for our special space. The most wonderful thing about the fire pit besides its chic beauty, is the fact that I can lite it without my husband’s help! 😉 While I still adore the “real deal” when it comes to outdoor fires, wooden logs and the smell of campfire, I must admit I love the simplicity of this one! And I also love that the propane tank is hidden underneath the matching cement end table! Genius!

I am definitely looking forward to roasting up some smores and enjoying the outdoors this summer! Campfires are definitely amongst my favorite summertime activities!

The seating and globe lights are also from Joss and Main last year, and they’ve held up wonderfully!

I can’t wait for many summer nights, hanging by the fire in our magical space. Thanks for visiting friends!! Make sure you take a look at the other talented bloggers on today’s patio tour, trust me you’ll be inspired beyond belief!

Jennifer Rizzo Design Company

French Country Cottage

Liz Marie Blog

Dear Lillie

My Sweet Savannah

Ella Claire


A Kindred Easter

Cheers from Australia, sweet friends!

Welcome to our little space on the web, we are so happy to have you here! I want to start off by thanking sweet Annie from Zevyjoy for inviting me to participate in this lovely Easter blog hop. If you know Annie you already know just how wonderful she is and how amazing her blog is as well! If this is your first time meeting, I promise you, you will be so smitten with her blog and everything she creates, so make sure to stop on over there and say hello!

Easter will be a bit different for us this year since we will be returning from Australia on Easter evening. We will celebrate some here and then again at home which isn’t so bad considering how much we love the holiday!

Easter is such a wonderful time of year, a time to celebrate our Savior, reflect, rejoice, and refresh. It is also a time filled with so many beautiful memories of colorful eggs, bunnies, baskets of chocolate goodies and exciting egg hunts.

One of my favorite childhood memories around Easter was going over to my grandparents house in Texas. An annual tradition there was to craft pretty, colorful, sequin and velvet eggs with family that hung from the ceiling on dainty, winding ribbon to decorate their house with. Crafting with the ones I loved has always been a favorite memory of mine and it is definitely something that I love doing with my daughters today.

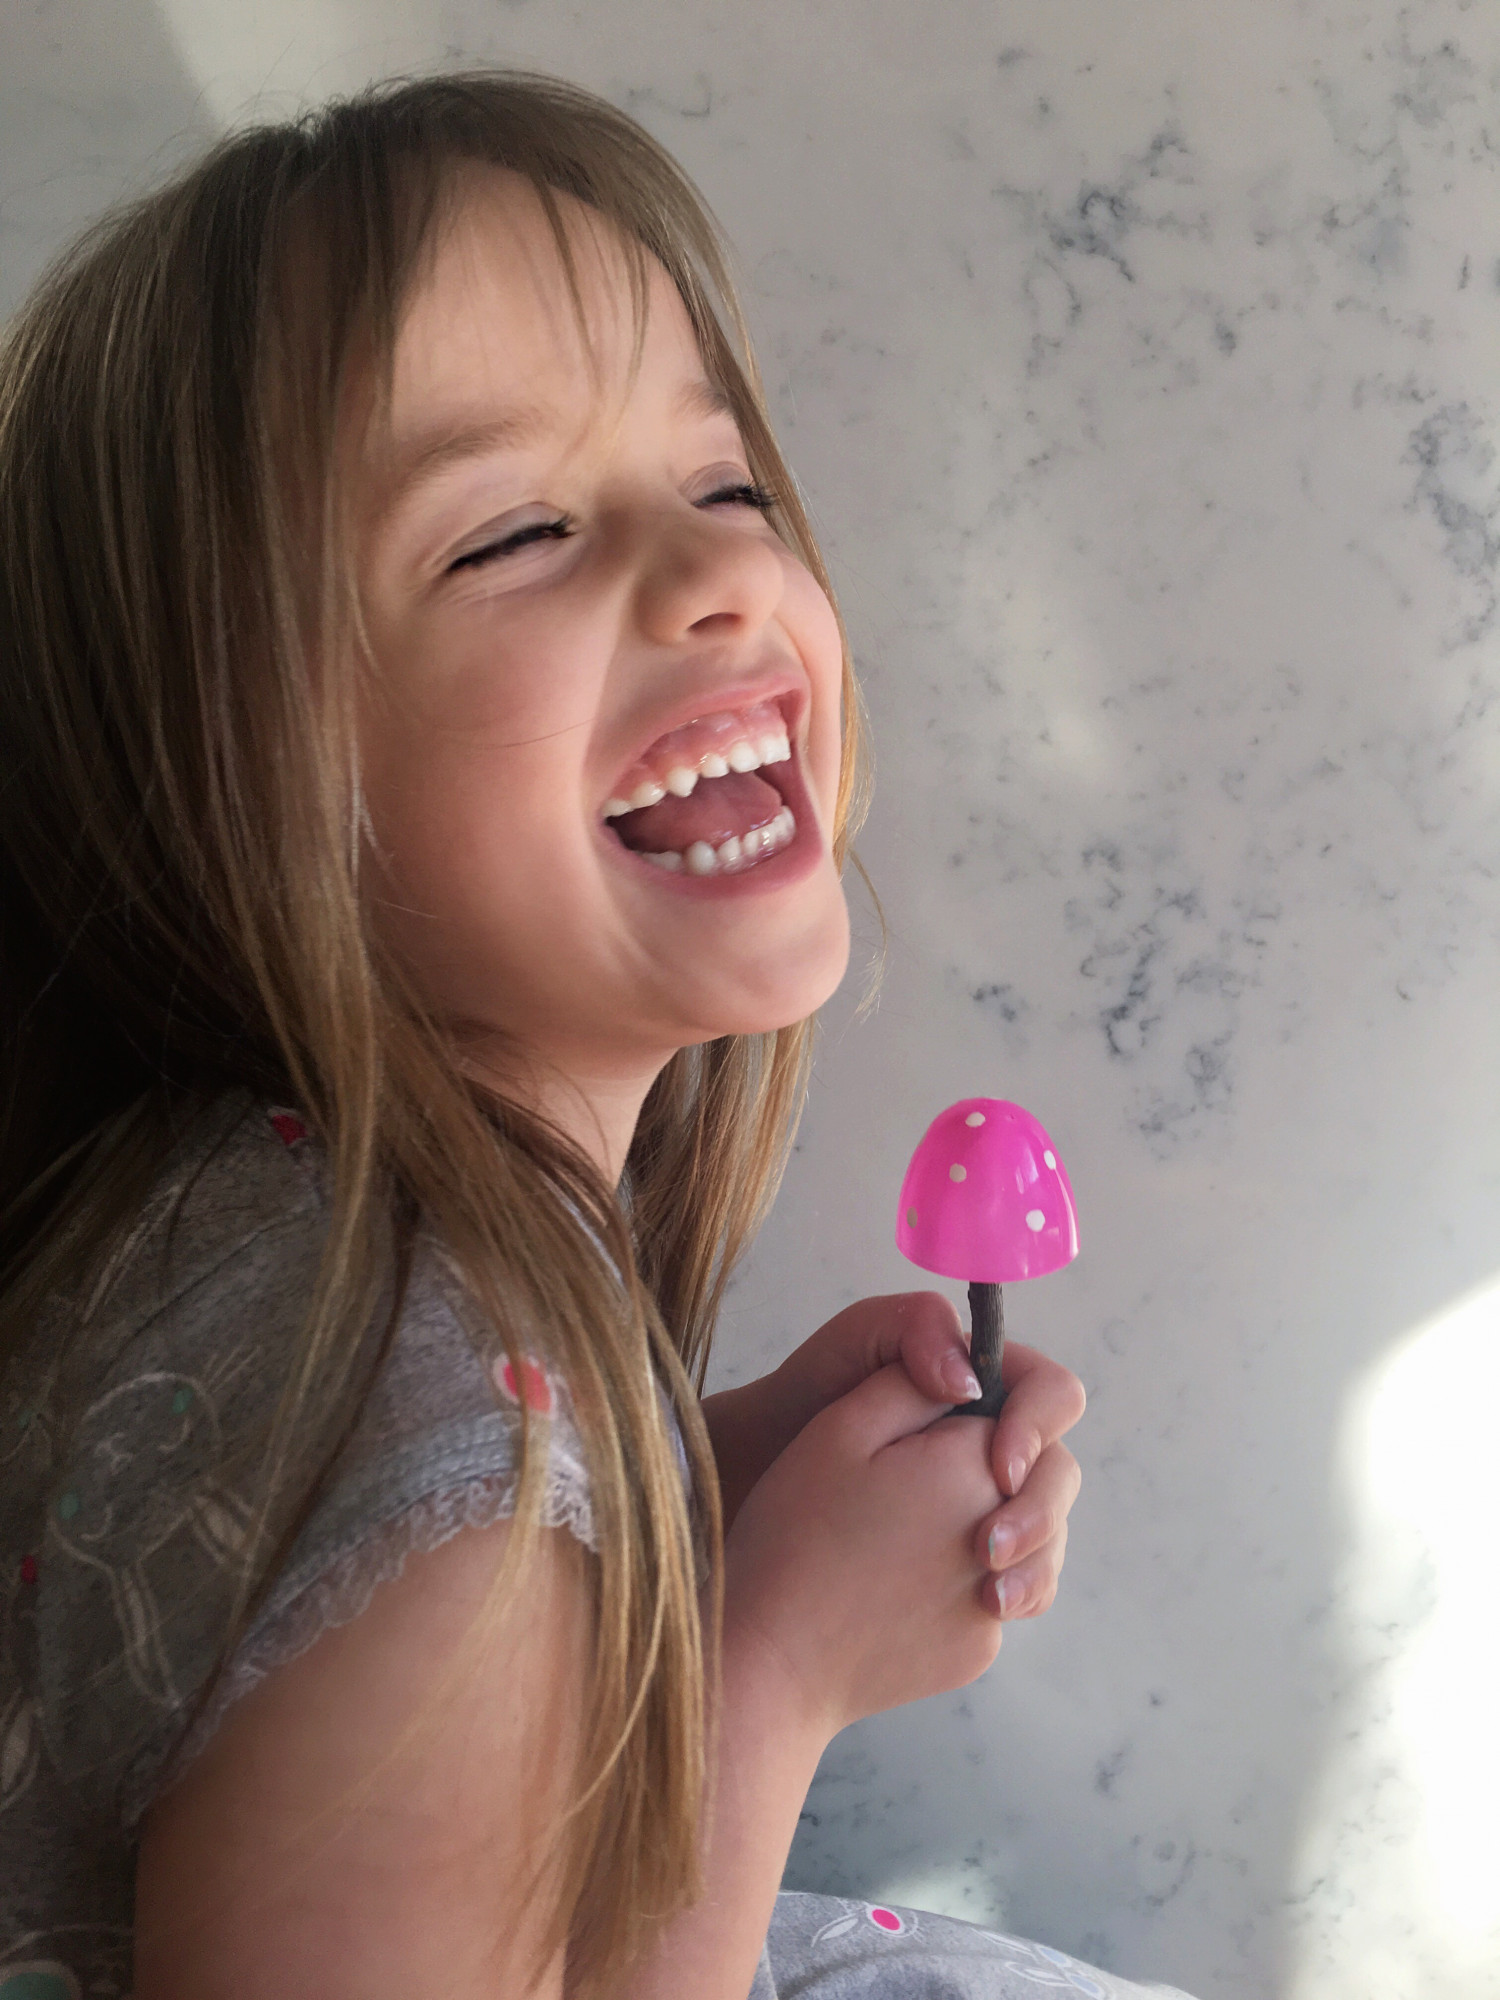
So now that I described that wonderful, luxurious, Easter craft I want to share with you the craft we created for this blog hop. It is completely opposite in the fact that it is so simple and very carefree! Haha! This craft literally took us ten minutes to make but the girls’ had so much fun creating them. On that note, let me introduce you to our Easter fairytale mushrooms! 🙂
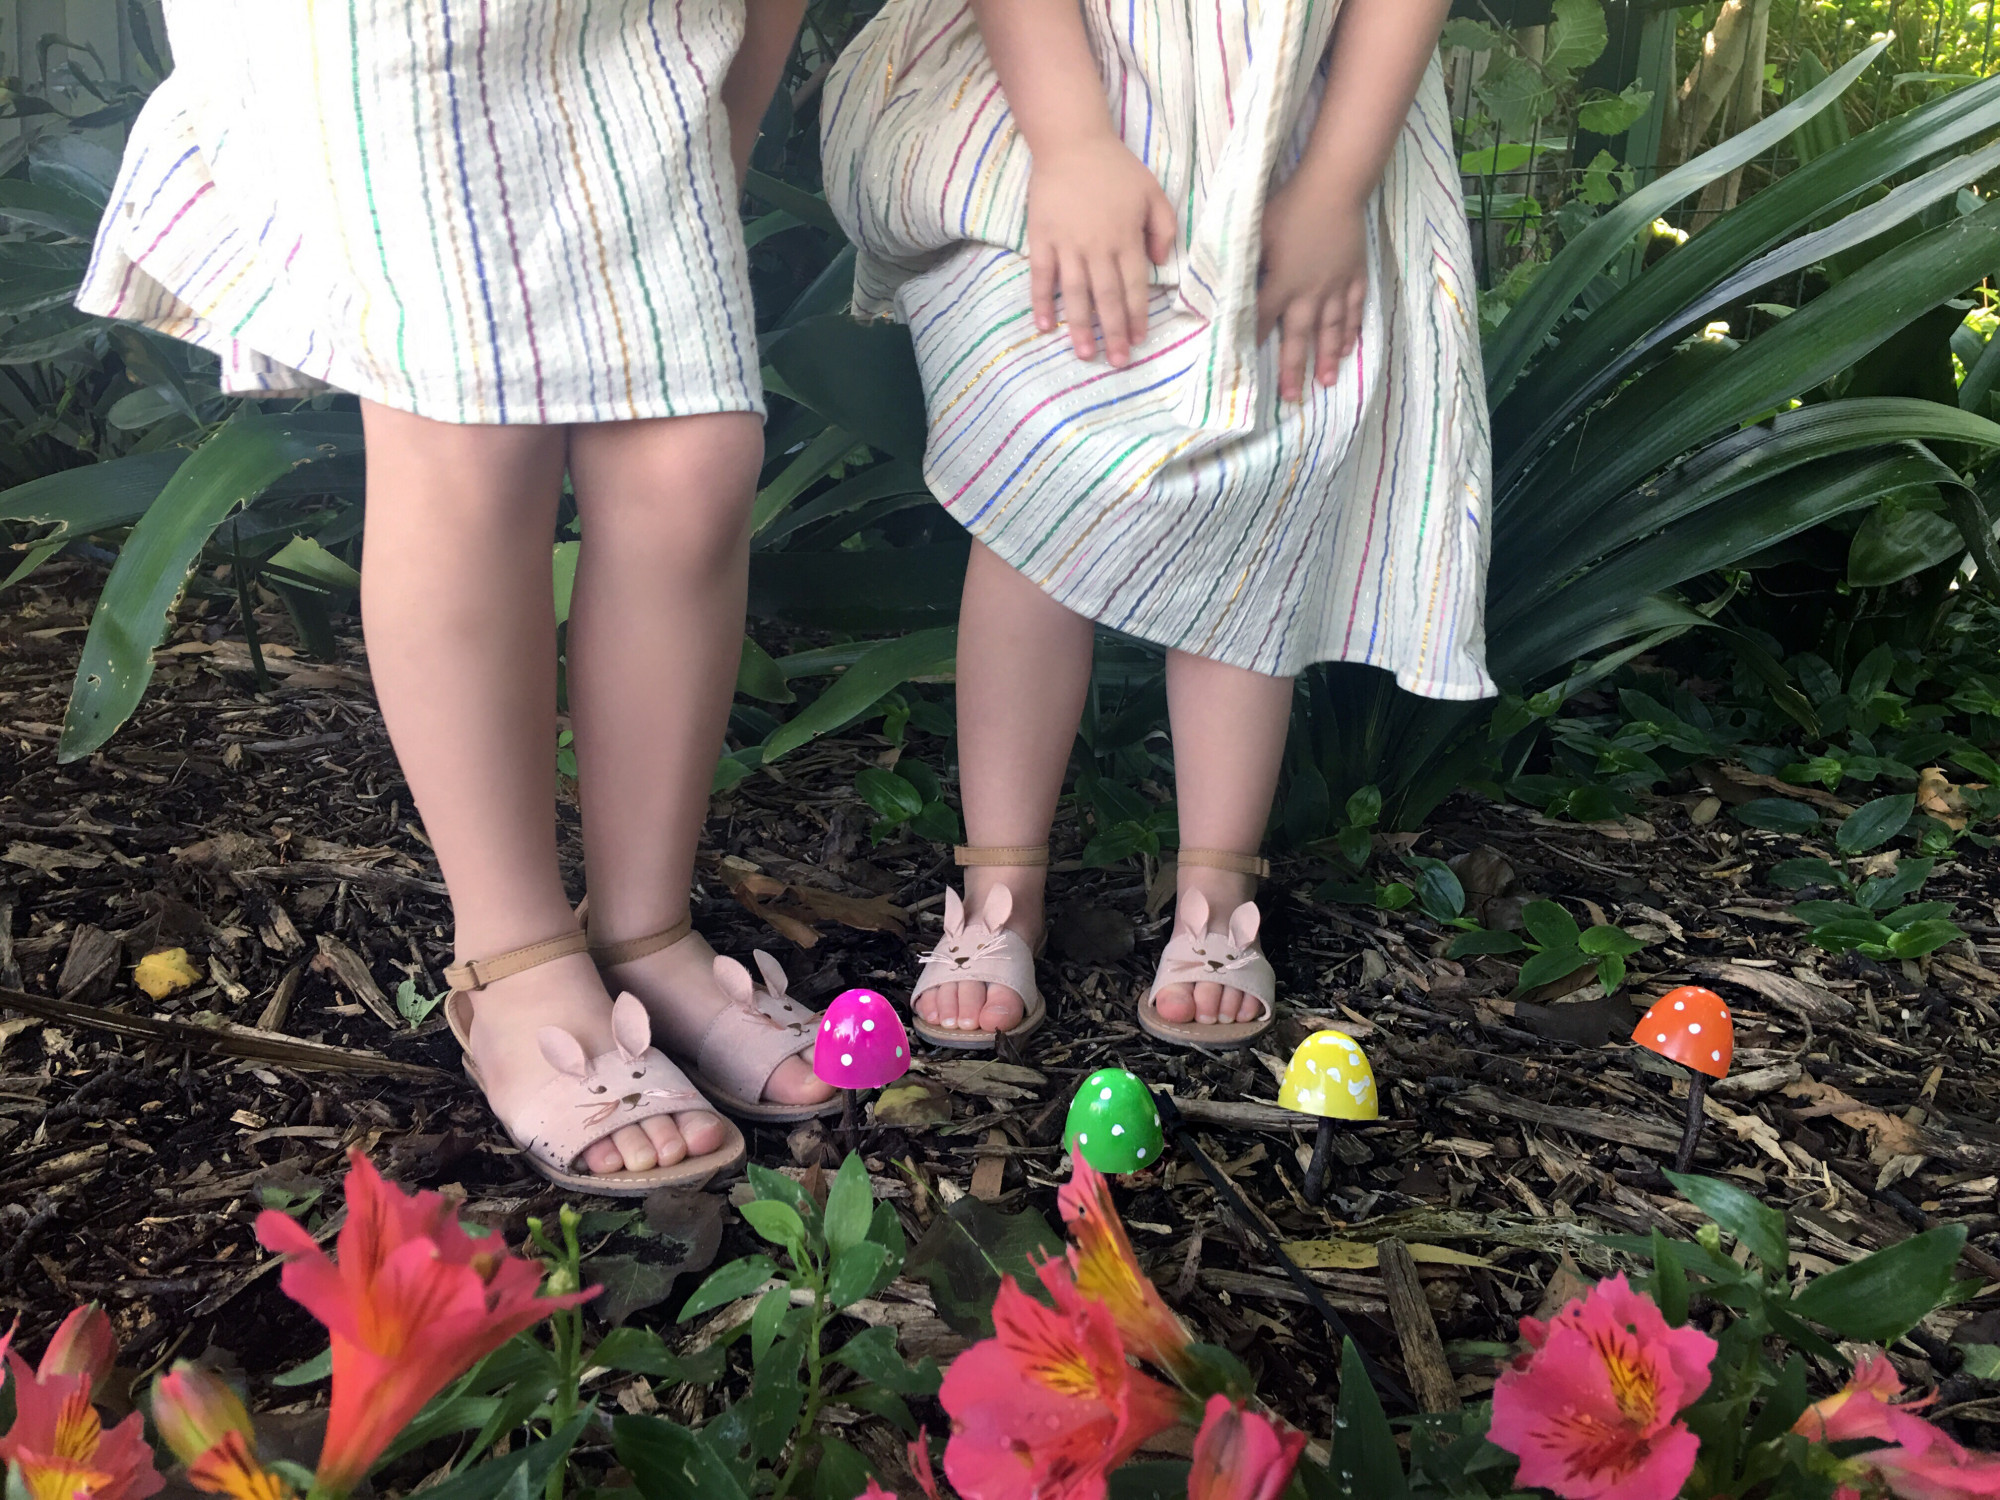
Since we have been in Australia these past few weeks we have been super busy, so I knew we needed something simple and accessible as far as ingredients for the craft went. All this took were some plastic eggs, gathered sticks from the yard, borrowed nail polish from auntie and some tape. Wahla, easy peasy!

*Note, if we would have been at home I would have used hot glue instead of tape. 😉

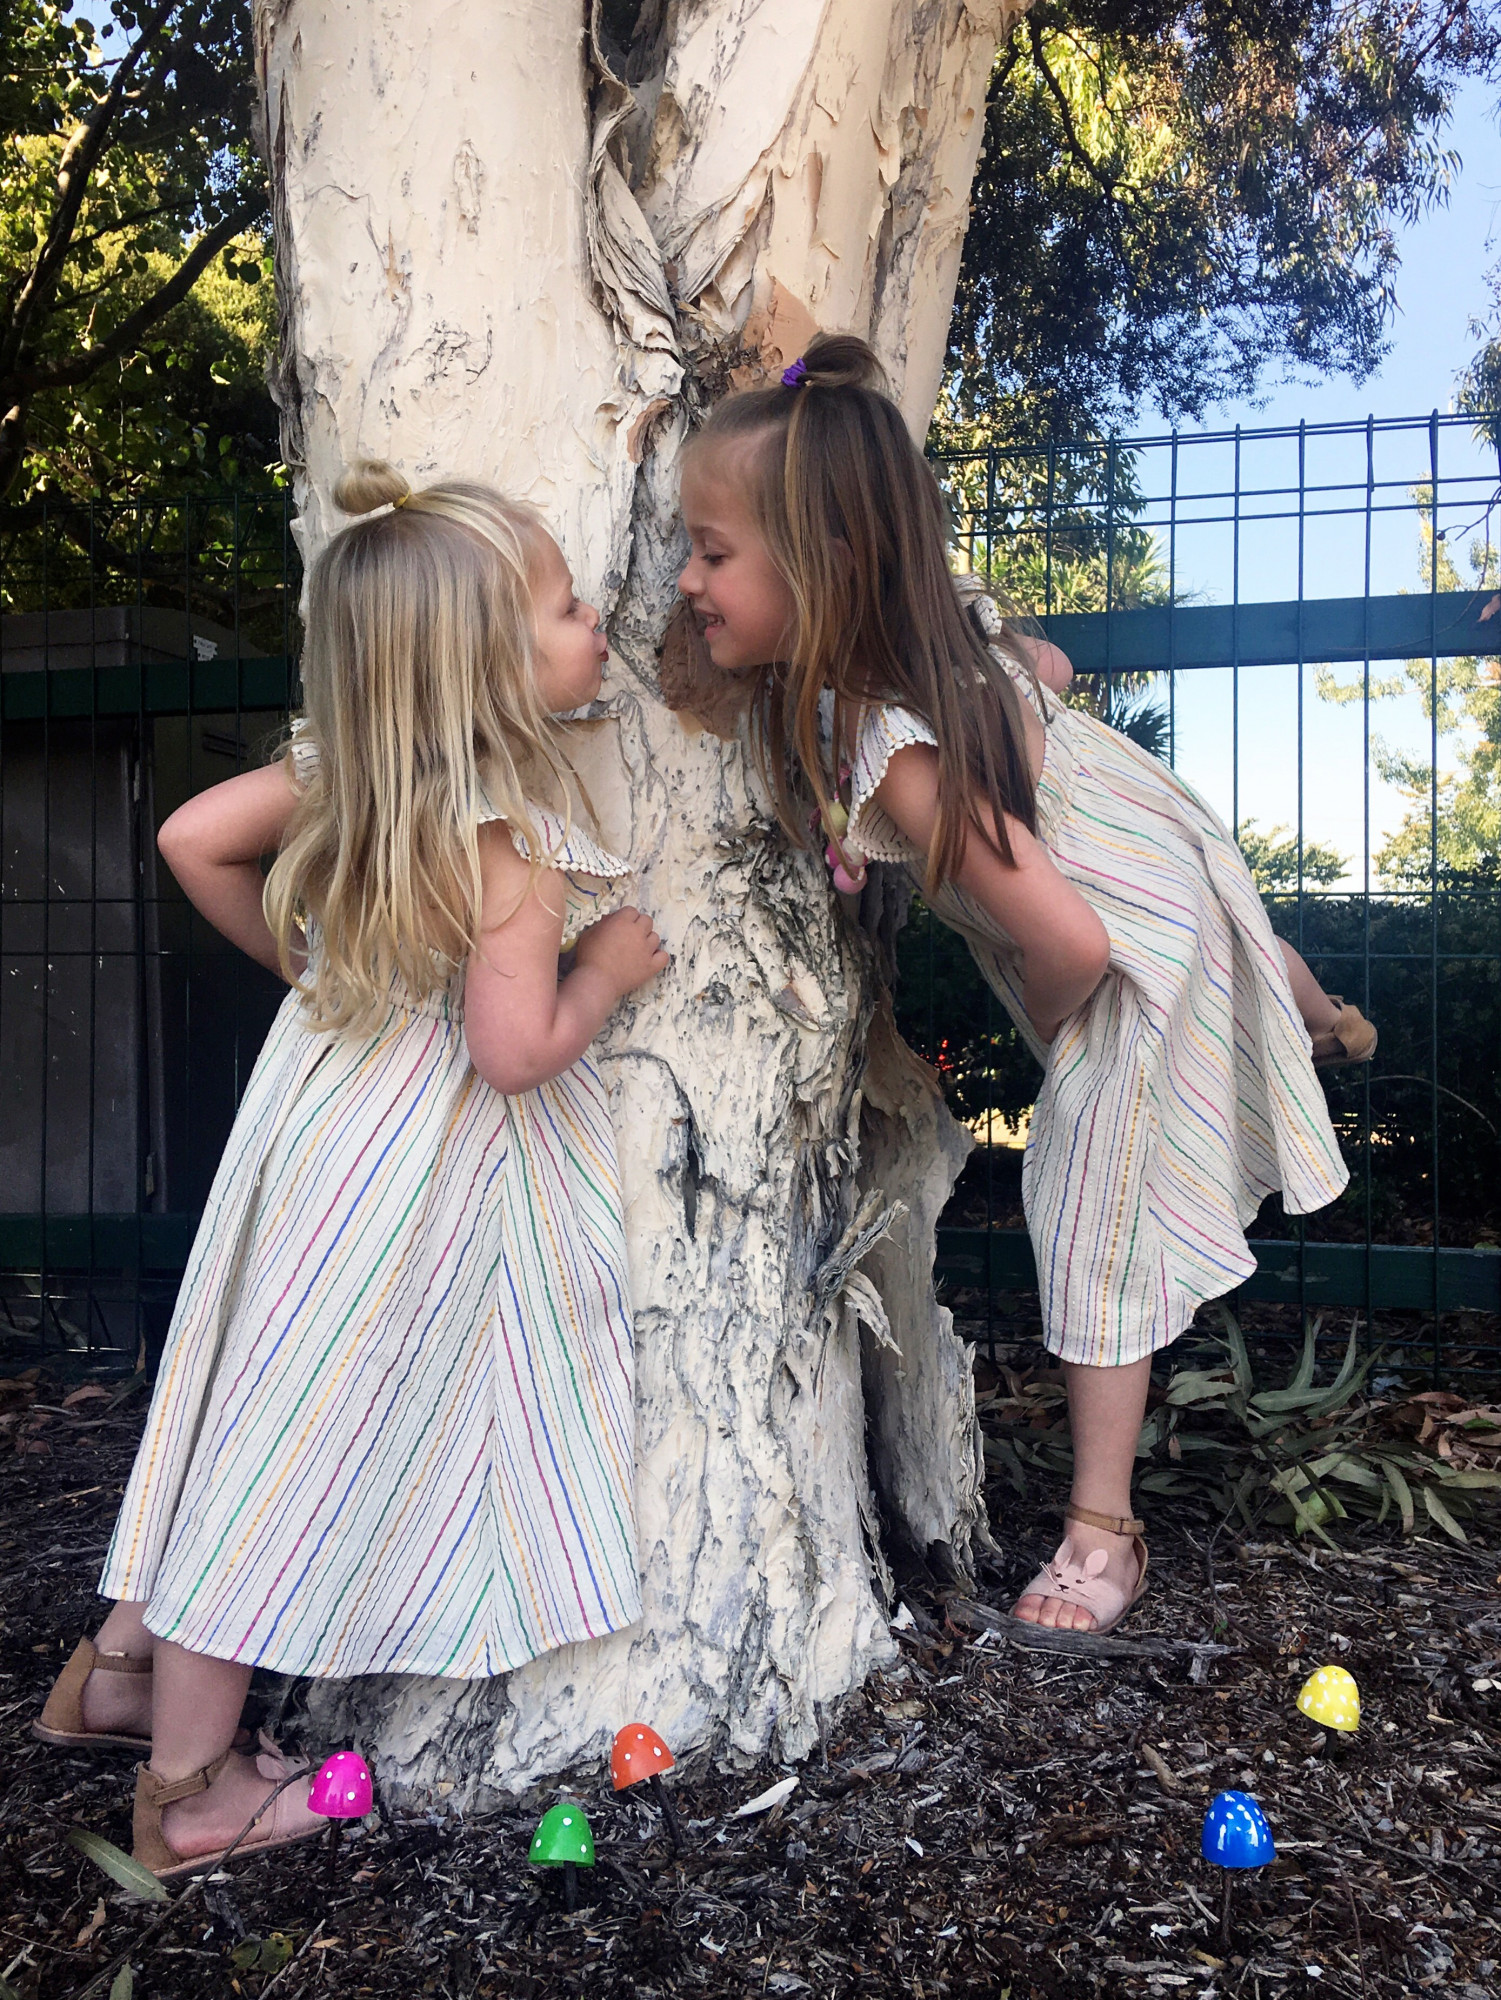
Simply separate the Easter eggs, paint some spots on each half with your nail polish brush and let dry. Once dry, grab some tape or glue and adhere your stick aka stem to the inside of the egg aka fairy mushroom cap. And presto, you have your very own fairy mushrooms! 😉  These fairy mushrooms make adorable photo props, egg hunt decor or can be used in a fairy garden outdoors for play. Just another way to add some whimsy to your holiday, and you know how we adore whimsy over here!

The girls’ precious necklaces were handmade for them by Hooray Everyday. They were the perfect accessory to their darling Easter outfits. The dress, shoe, necklace combo was almost too cute to handle! And they would make such adorable basket stuffers, too!

Speaking of Easter basket stuffers, these darling hand crafted stuffed bunnies from Cuddle and Kind stole my heart when they arrived! I CANNOT wait to see the girls’ faces when they see them Easter Sunday! Aren’t they the sweetest?!

I hope you all have the best Easter ever, and that you enjoy some down time making memories, be it a craft or a conversation, with the ones you love most.

For more Easter craft inspiration make sure to check out the other incredible bloggers on this tour. Enjoy!

xoxooo•

Susan

Kid’s Easter Table by Summer Adams

How To Dye Eggs With Food Coloring by TIDBITS | Easter Wreath by Shades of Blue Interiors | Easter Egg Decorating Idea – Mini Floral Bunny Ears by A Burst of Beautiful | DIY Easter Sign – Hello Peeps by My Sweet Savannah

DIY Bunny Napkin Rings by Craftberry Bush | A Kindred Easter with Kindred Vintage & Co. | DIY Metallic Easter Eggs with Maison de Pax | Spring Garden DIY Easter Centerpiece by Elliven Studio

Bunny Ears Bags and Free Printable by Ella Claire | Free Printable Easter Cards by Boxwood Avenue | Simple Modern Easter Tablescape by Cherished Bliss | DIY Vintage ‘Happy Easter’ Eggs by So Much Better With Age

Printable Watercolor Easter Banner by Nina Hendrick Design Co. | DIY Bunny Garden Easter Basket by Zevy Joy | Easter Cake – Paleo Coconut Pineapple Cake with Topper by Nesting With Grace | Moss Wrapped Candle by Design, Dining and Diapers

Valentine’s Day just made my mama heart explode!

Good Morning Beauties!
I must say I am so very happy you’re visiting my little space on the web for today’s post! I am just going to add in this disclaimer, I admit I have been in a tiny funk lately. Maybe it’s the weather, maybe it’s for personal reasons, or perhaps it’s just because, but good news, today’s post zapped me right out of it! 🙂

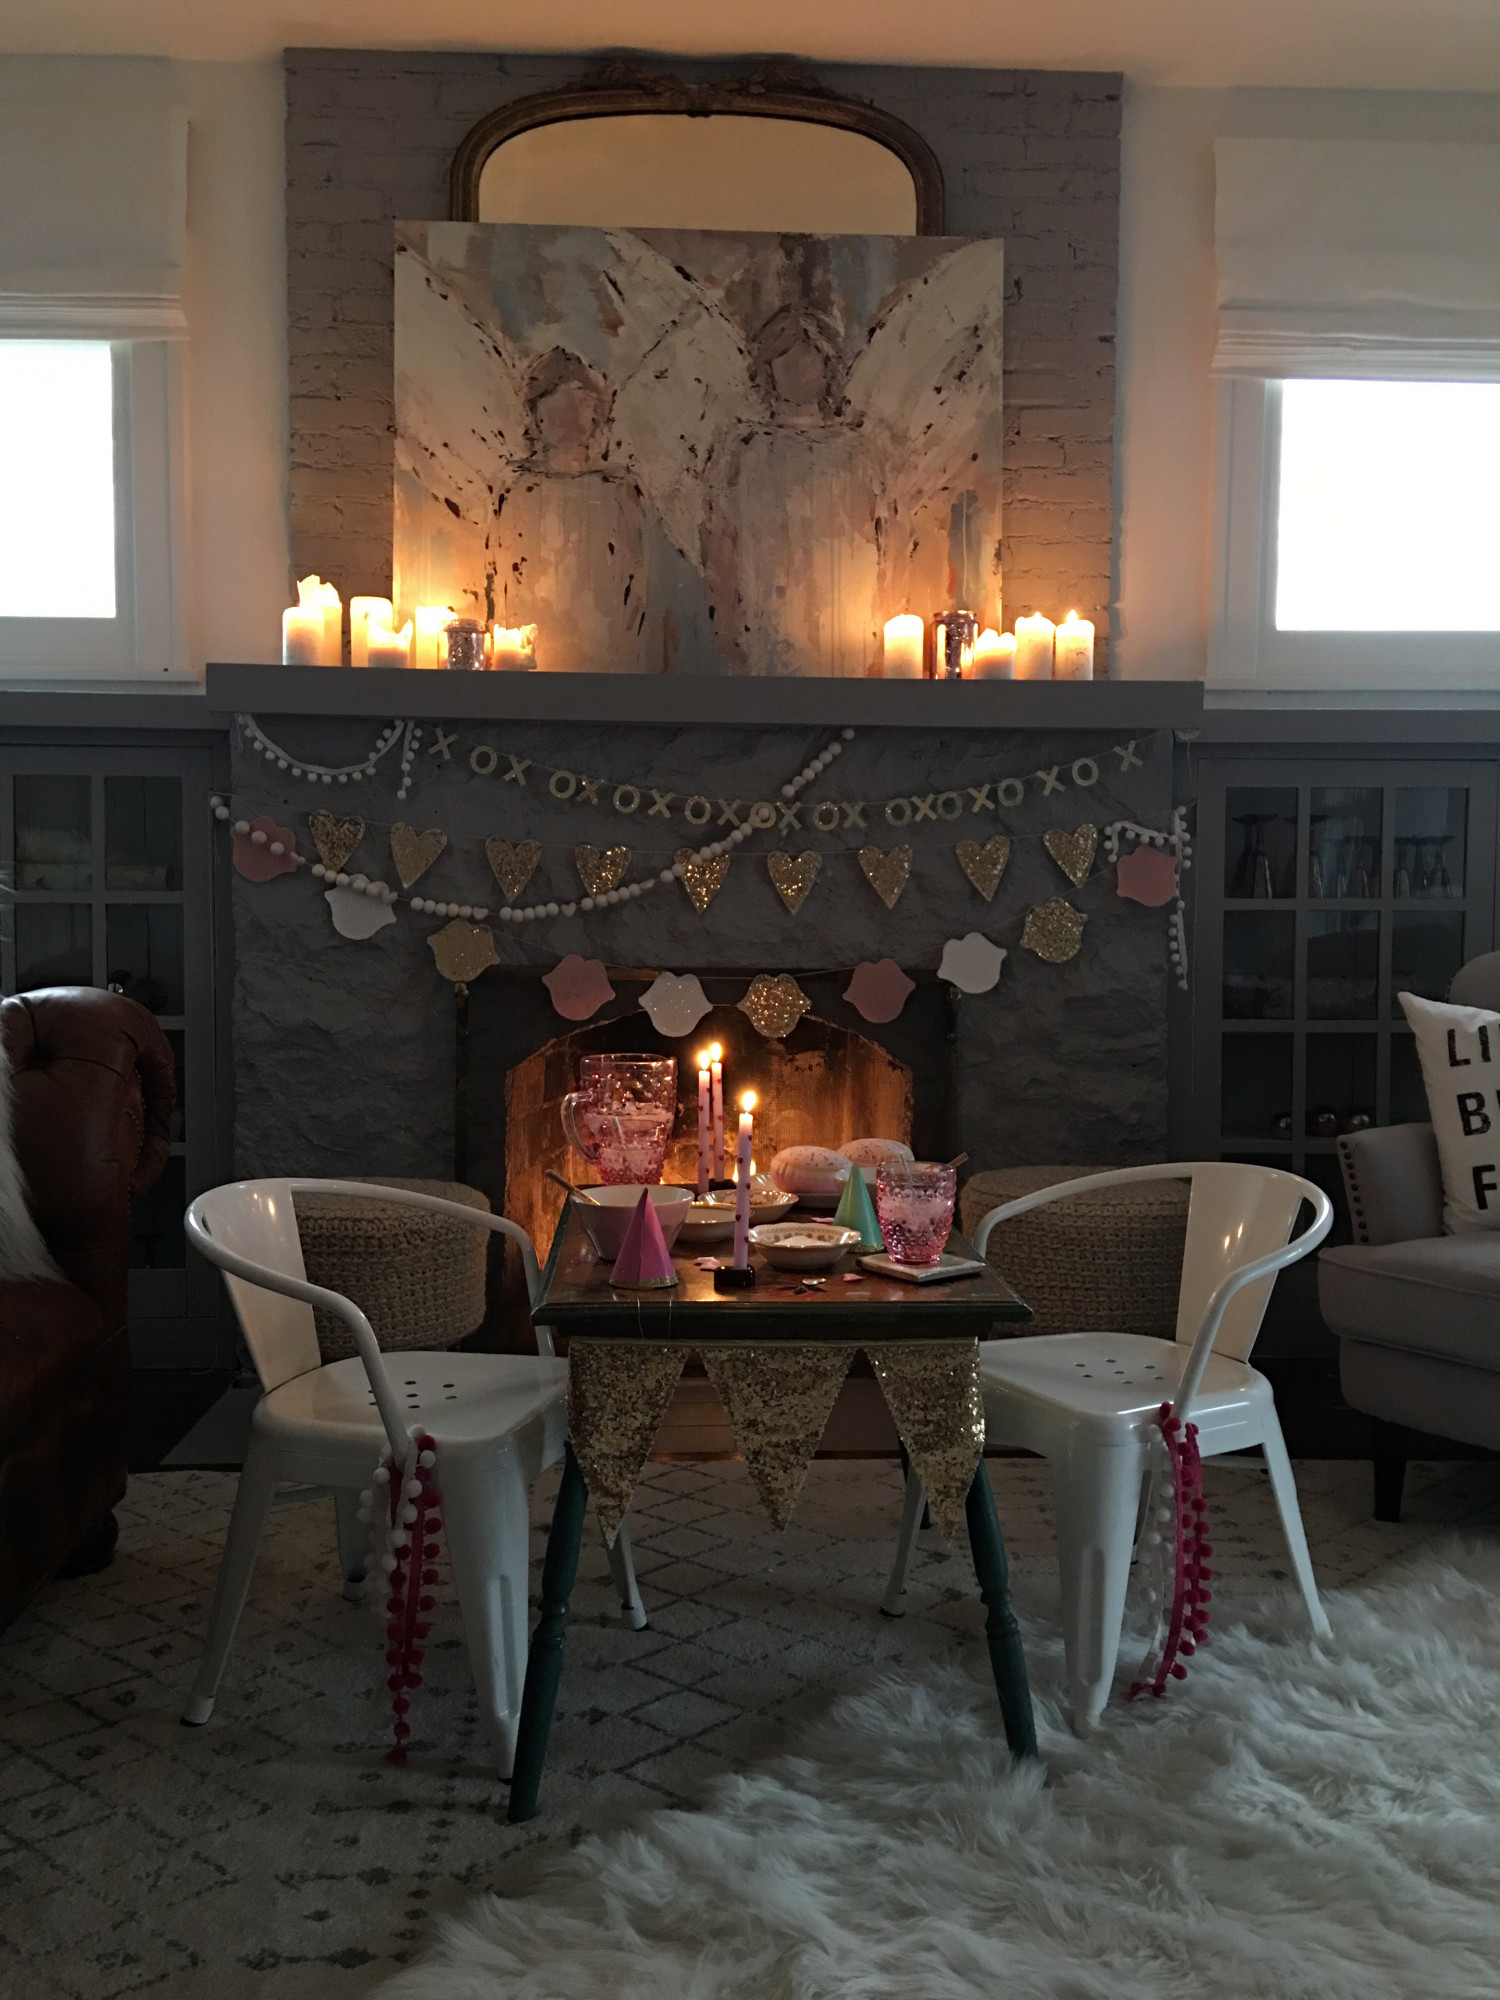
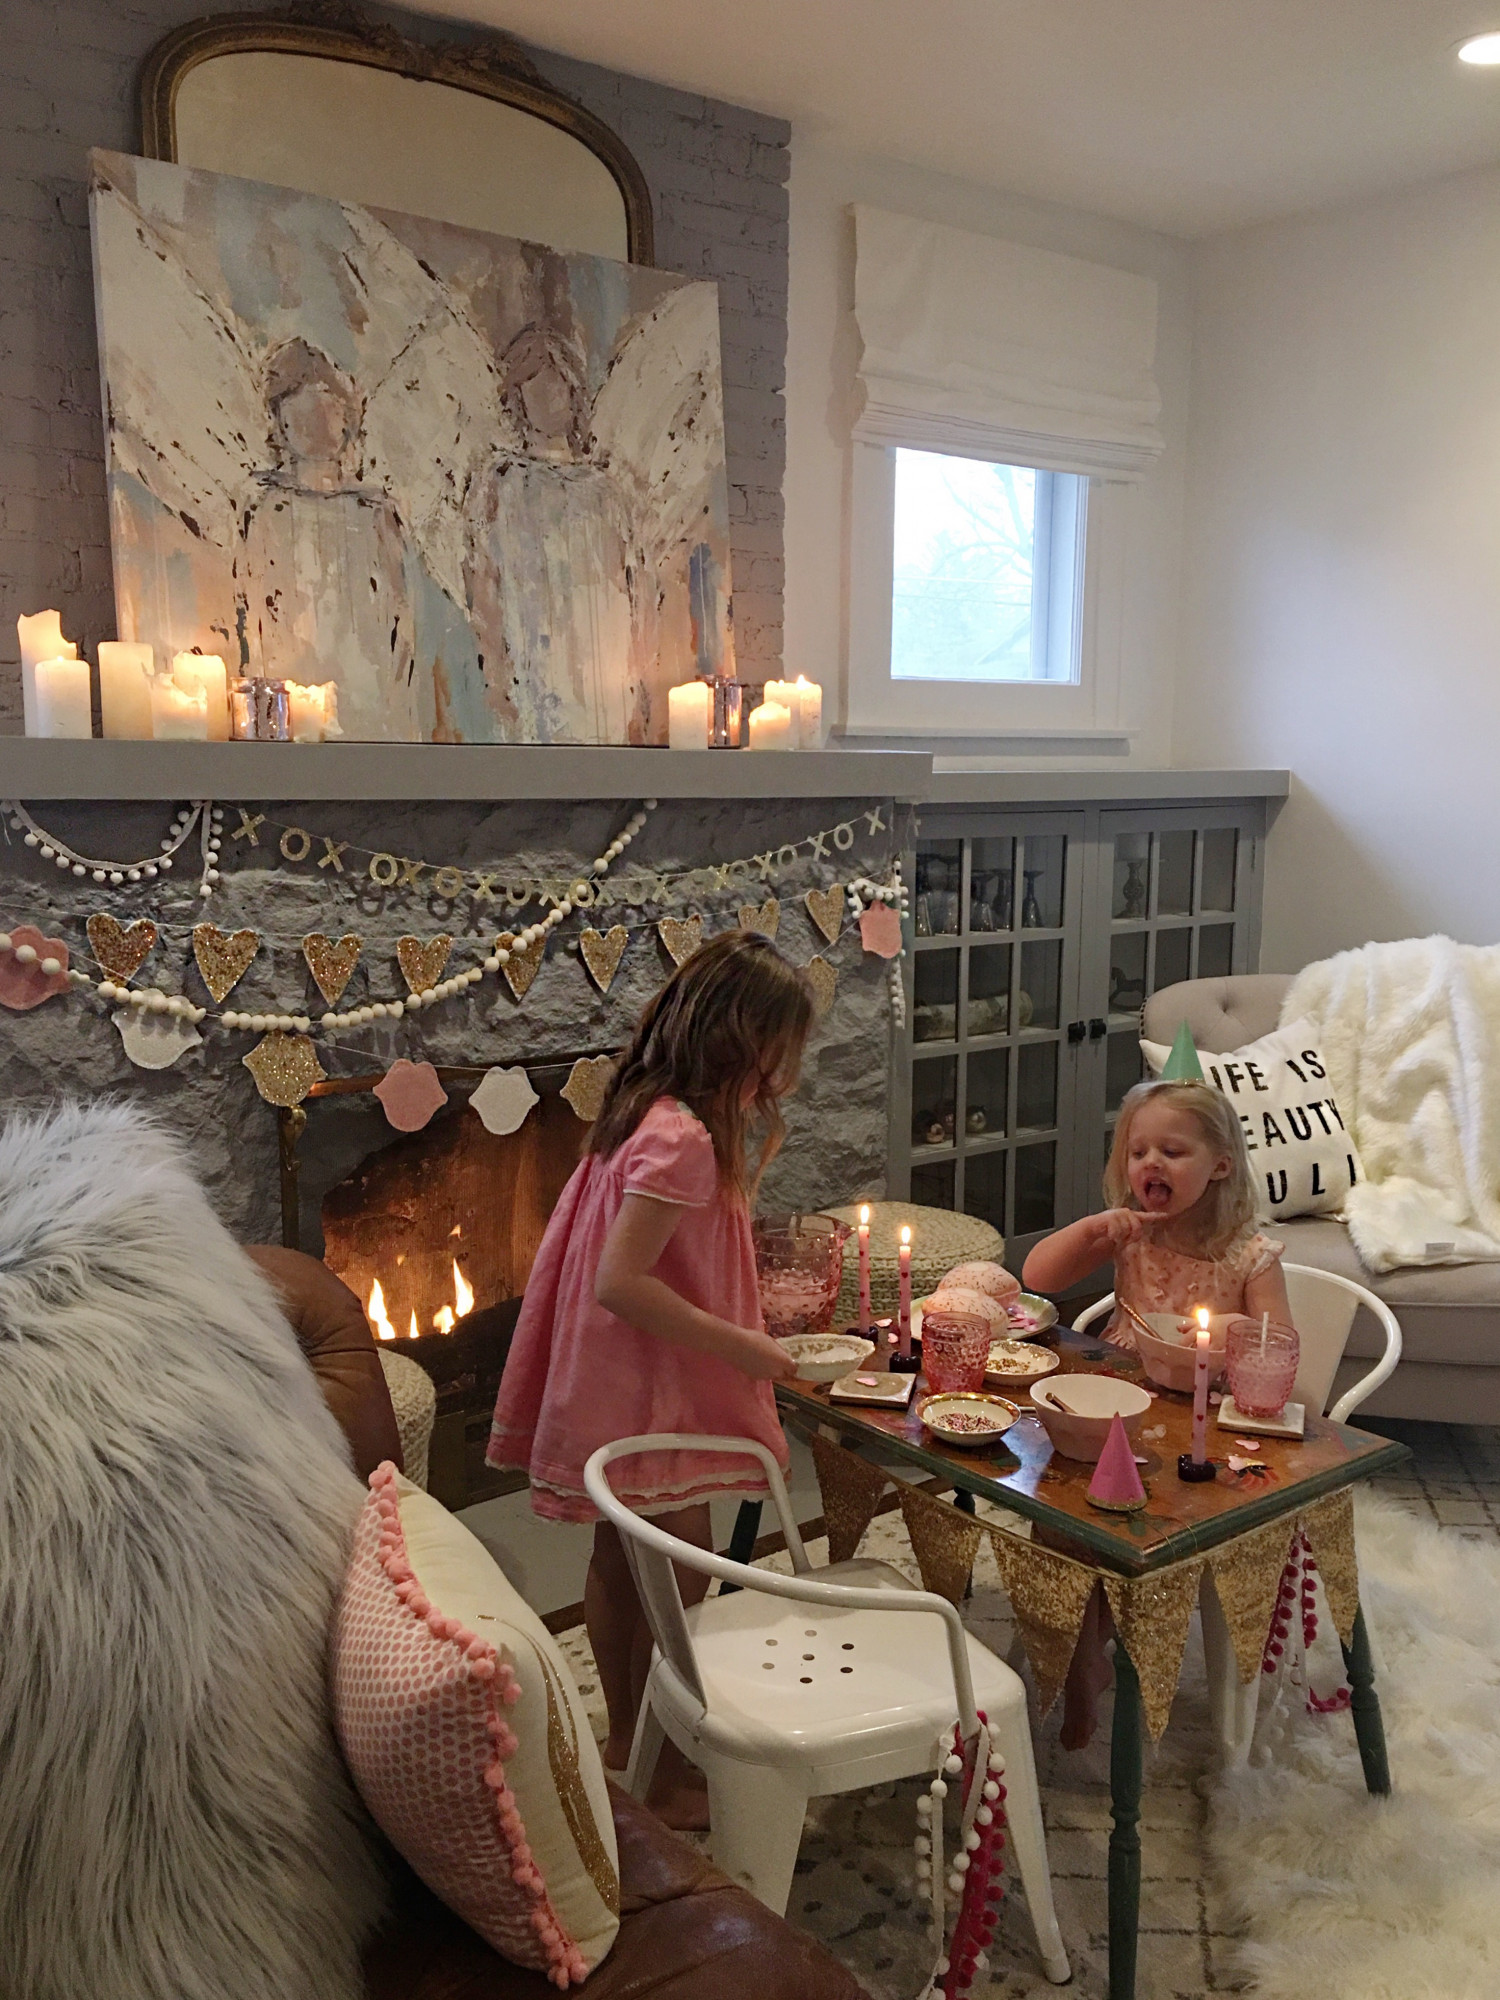
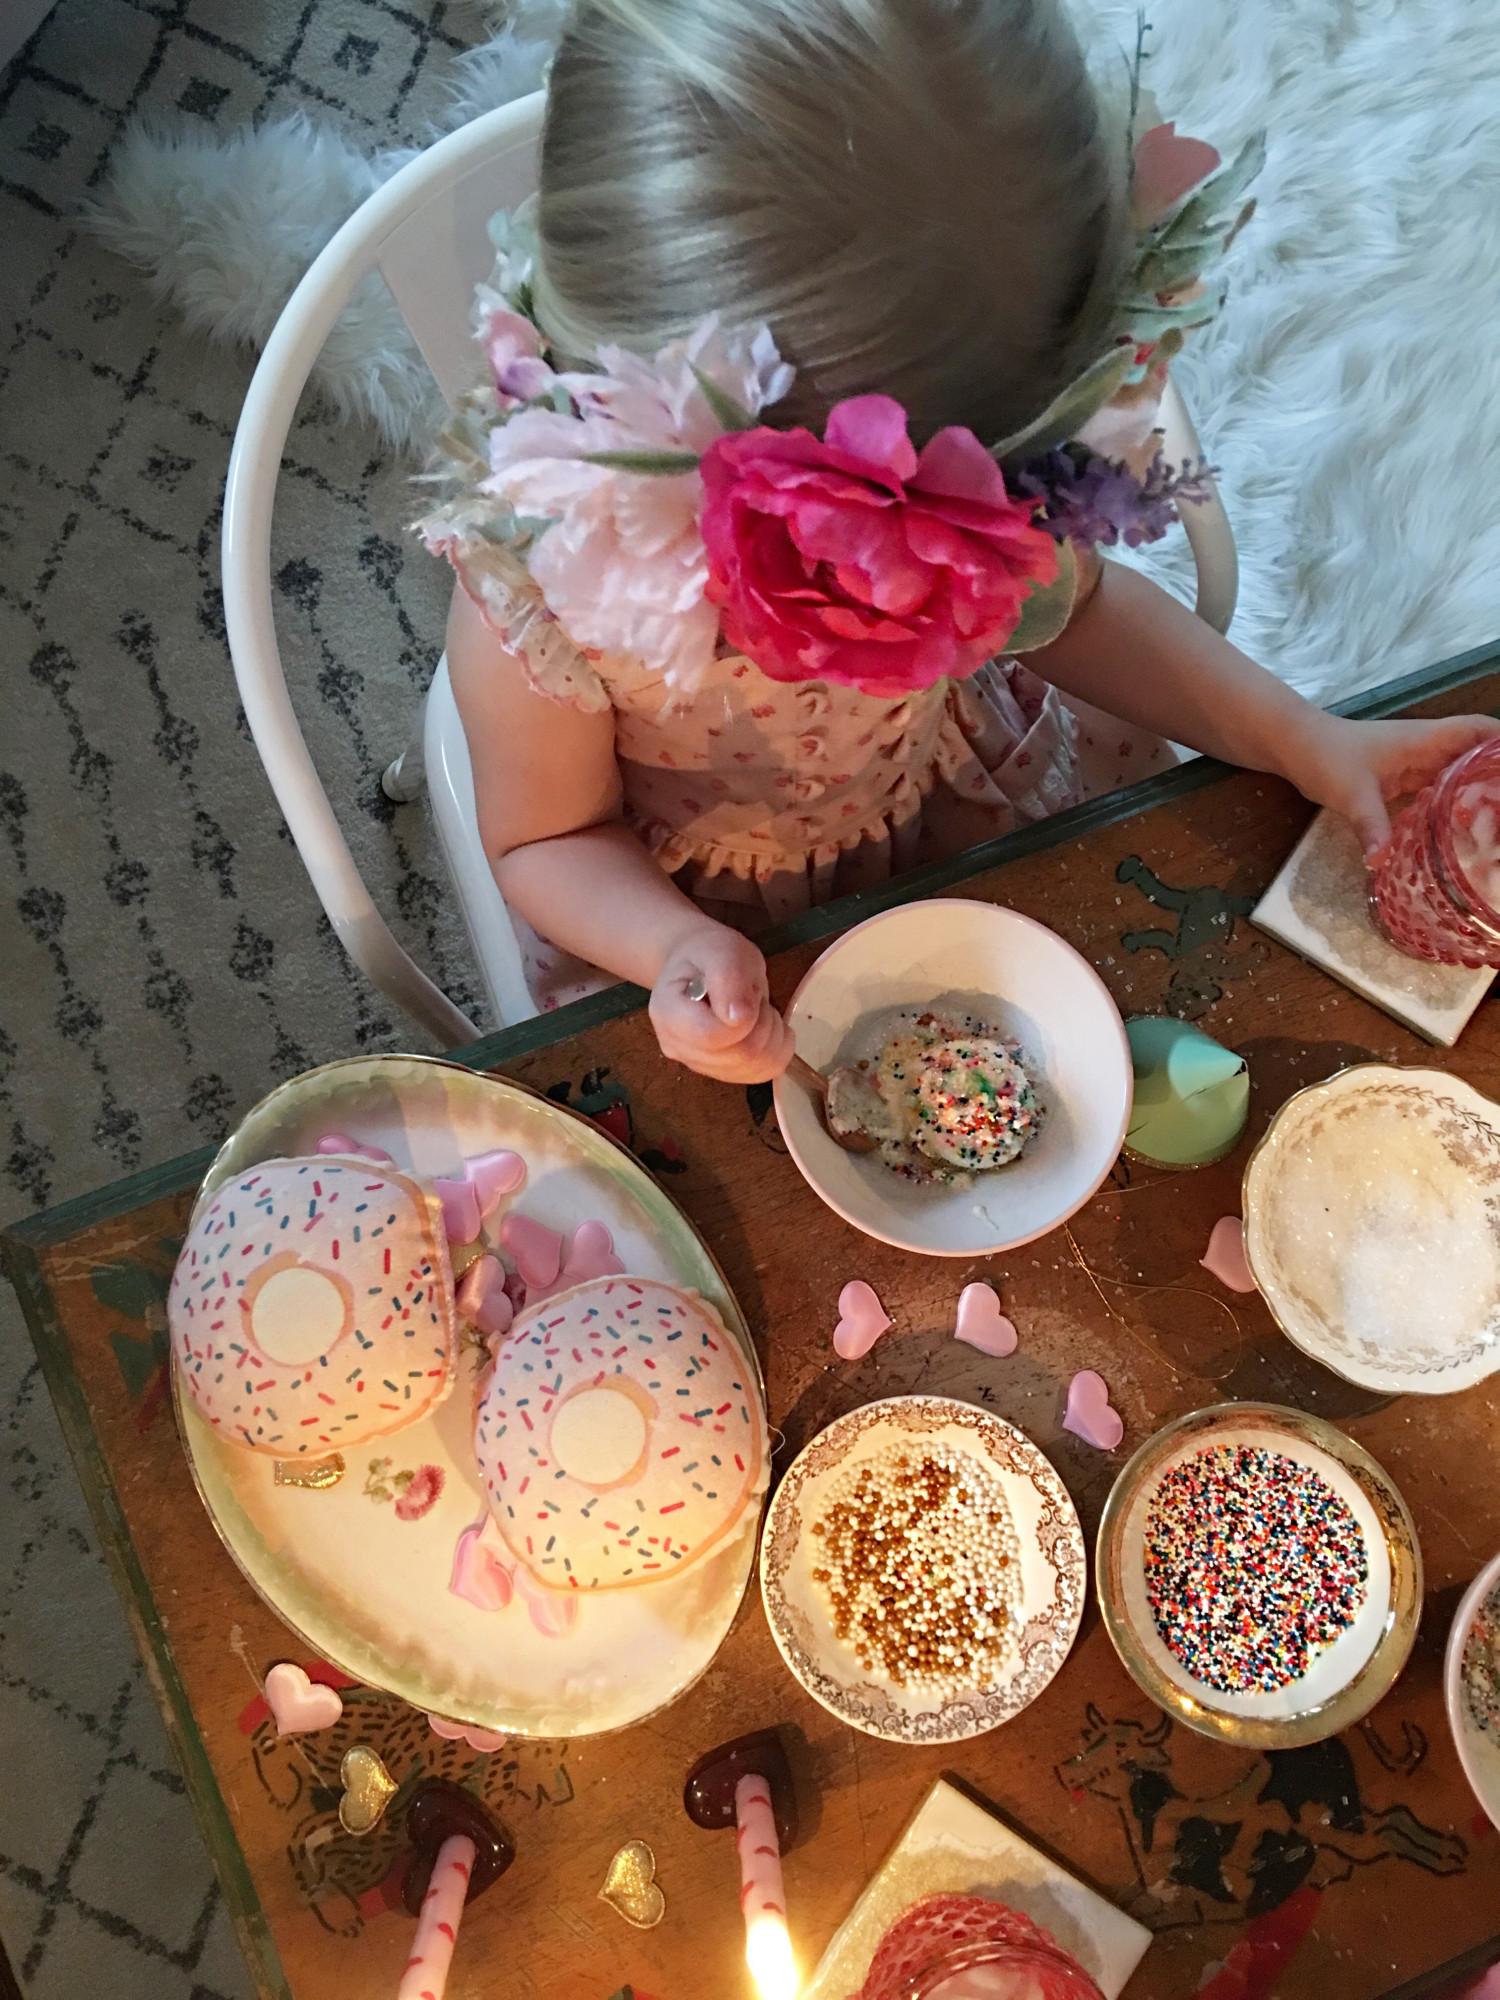
Aside from the fact that I haven’t seen sunshine or felt warm UV rays on my skin in WEEKS, I managed to put on my party pants and throw a little “Welcome February & Valentine’s Day” party for our sweet girls! And it filled my heart with joy!

January and February are hard months here in Illinois since the sun hides and the grey gloom grows. However, in our household besides the fact that there’s a special Holiday in February which we all know and love, it’s also the month that my husband and I welcomed both our angels into this world! At just two years and ten days apart, this month is definitely one to celebrate!

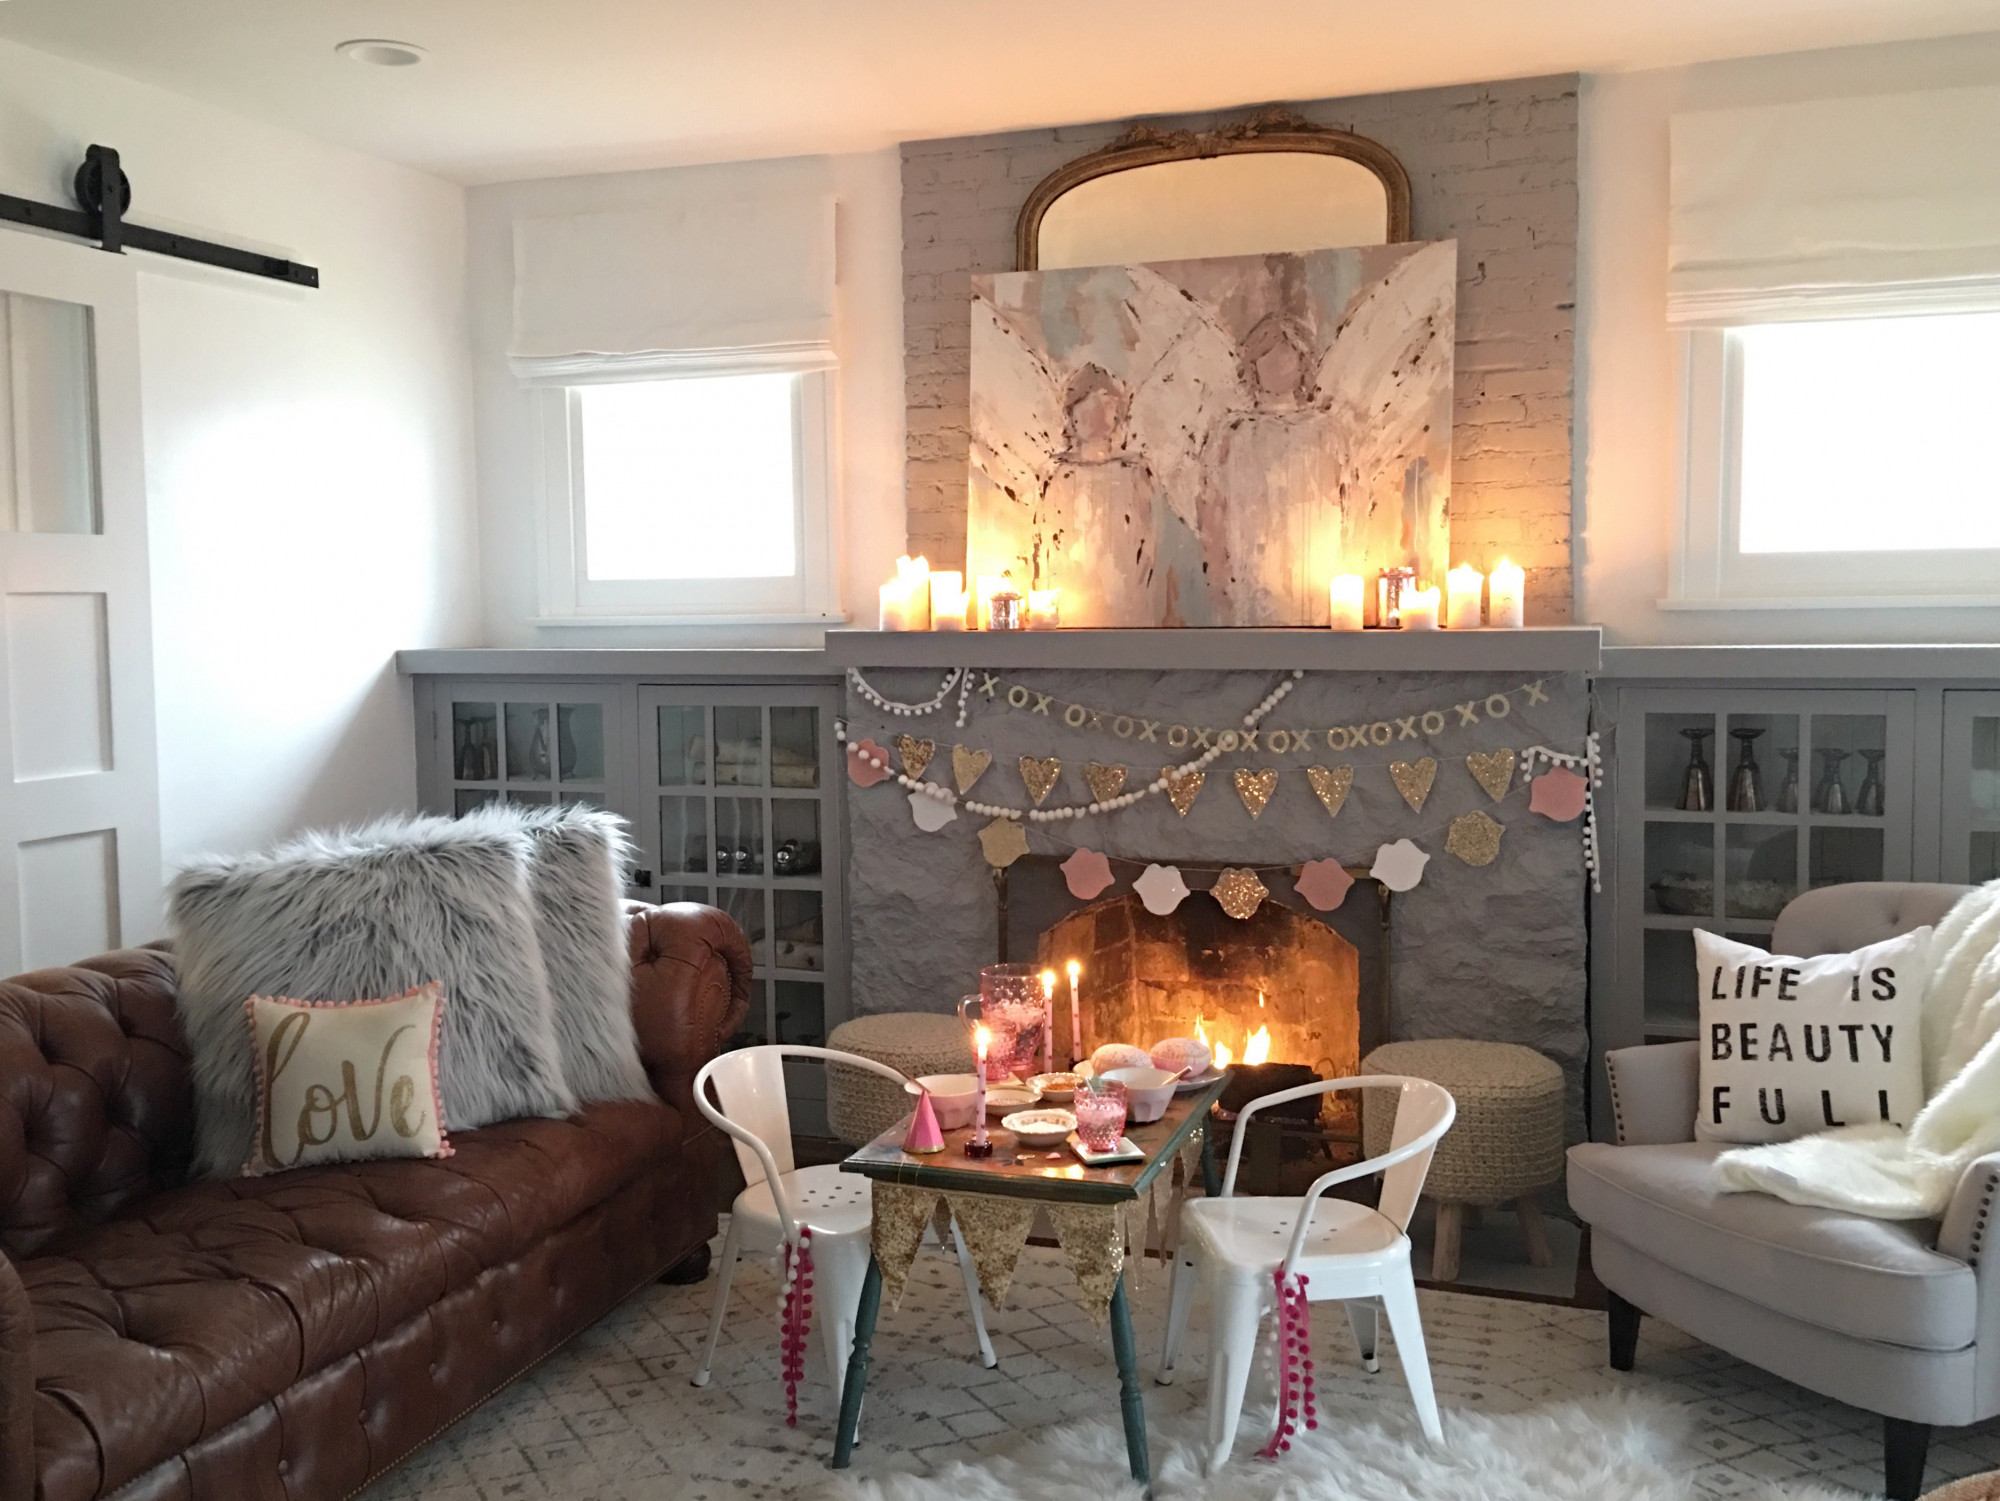
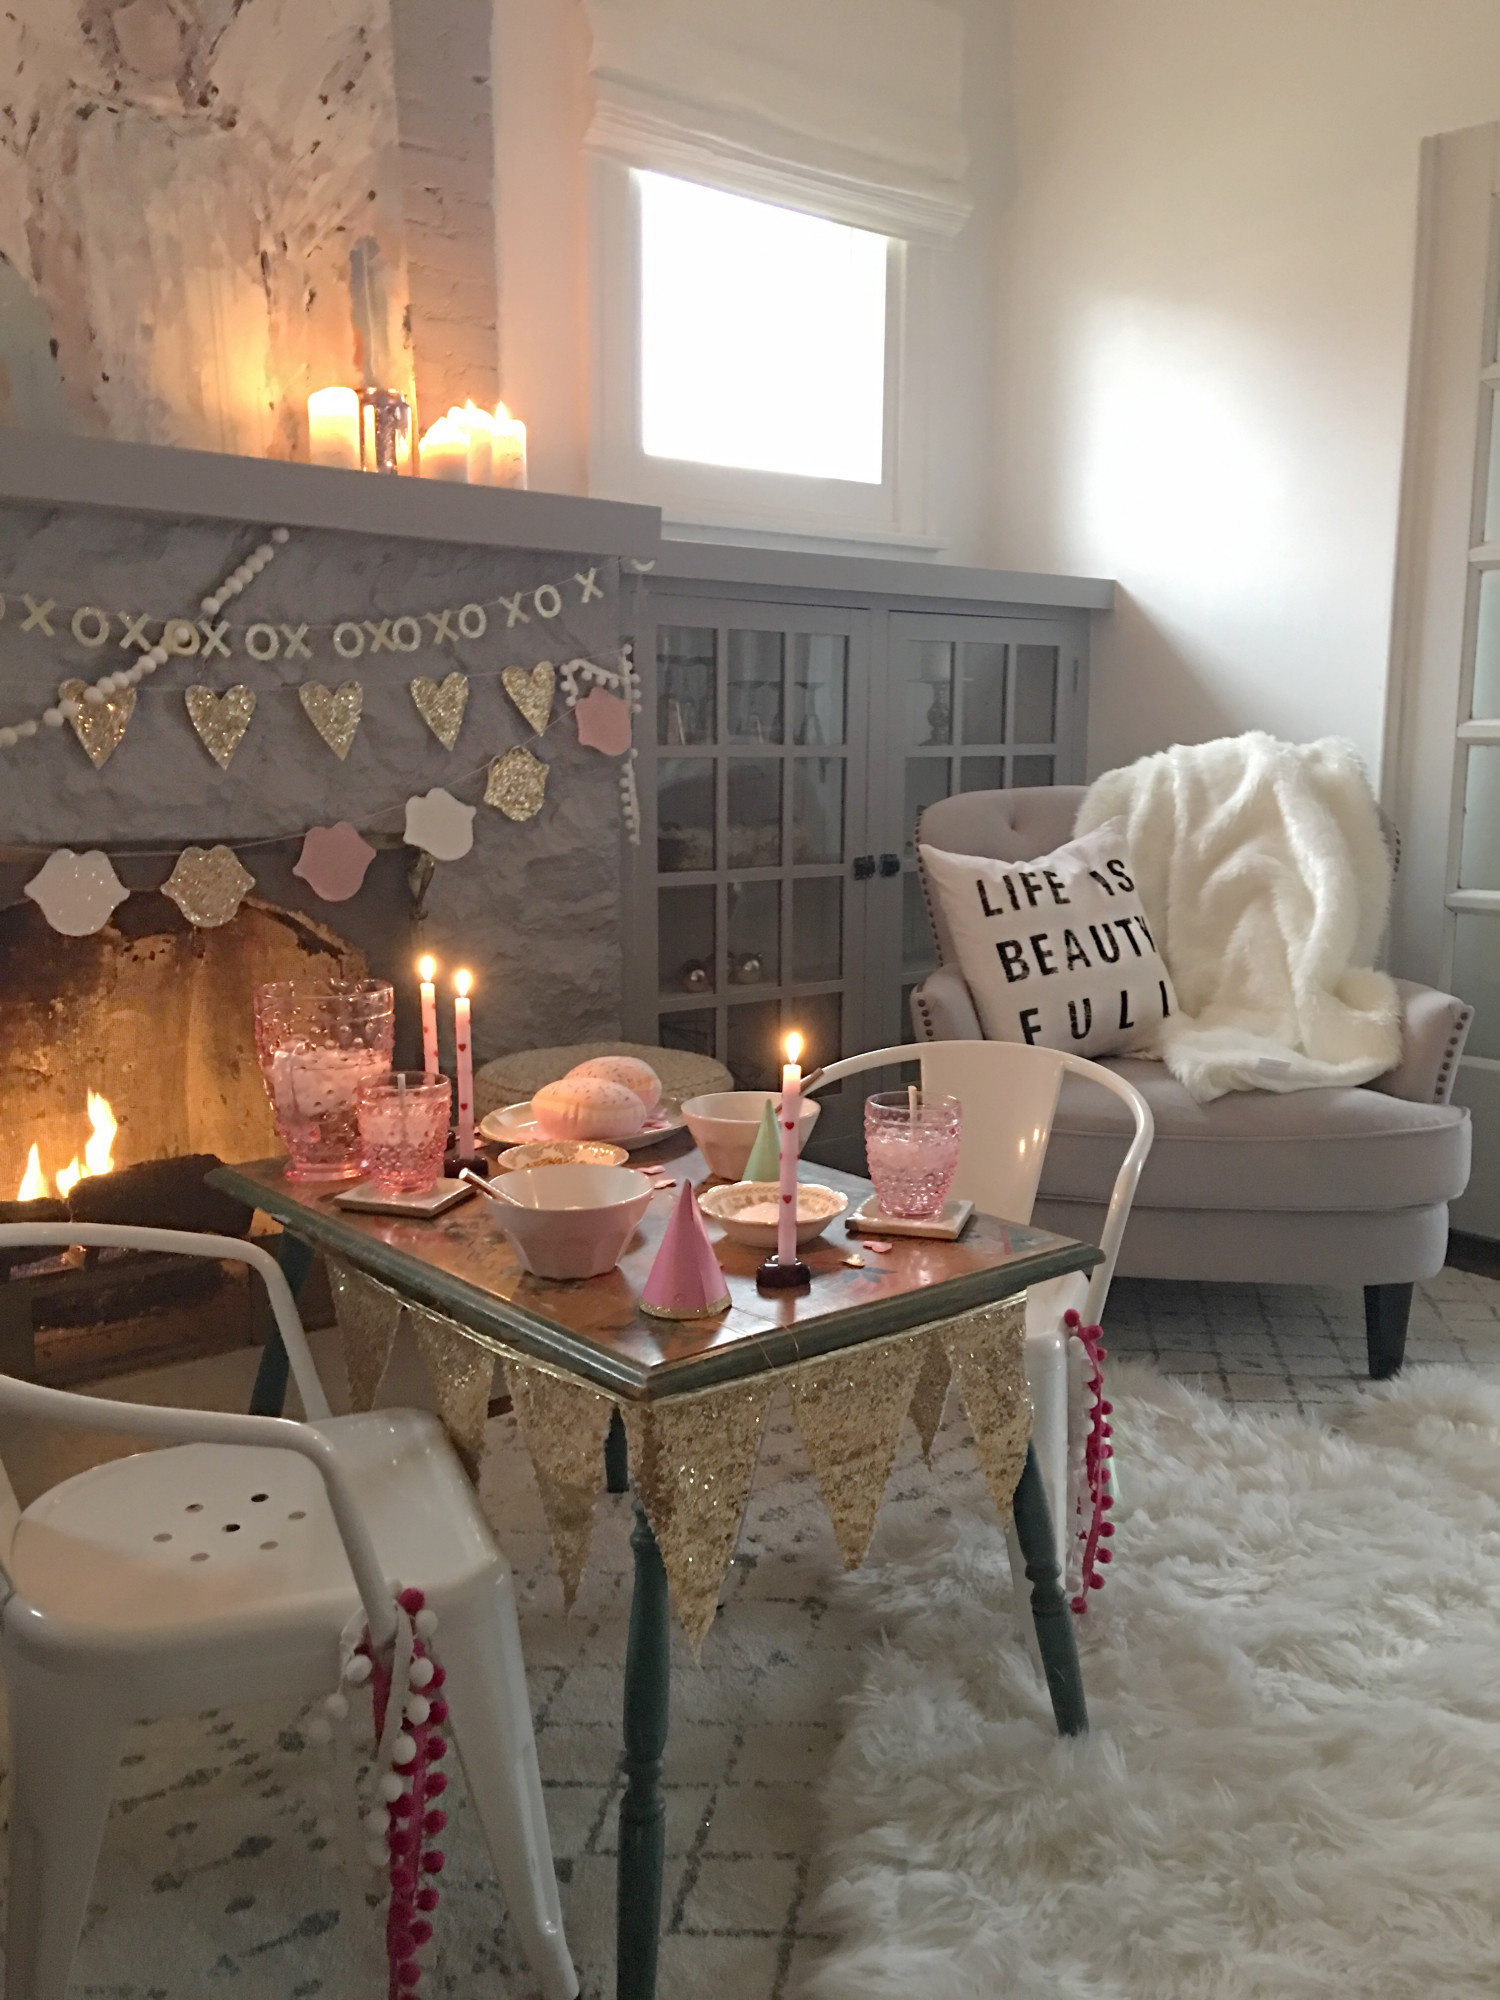
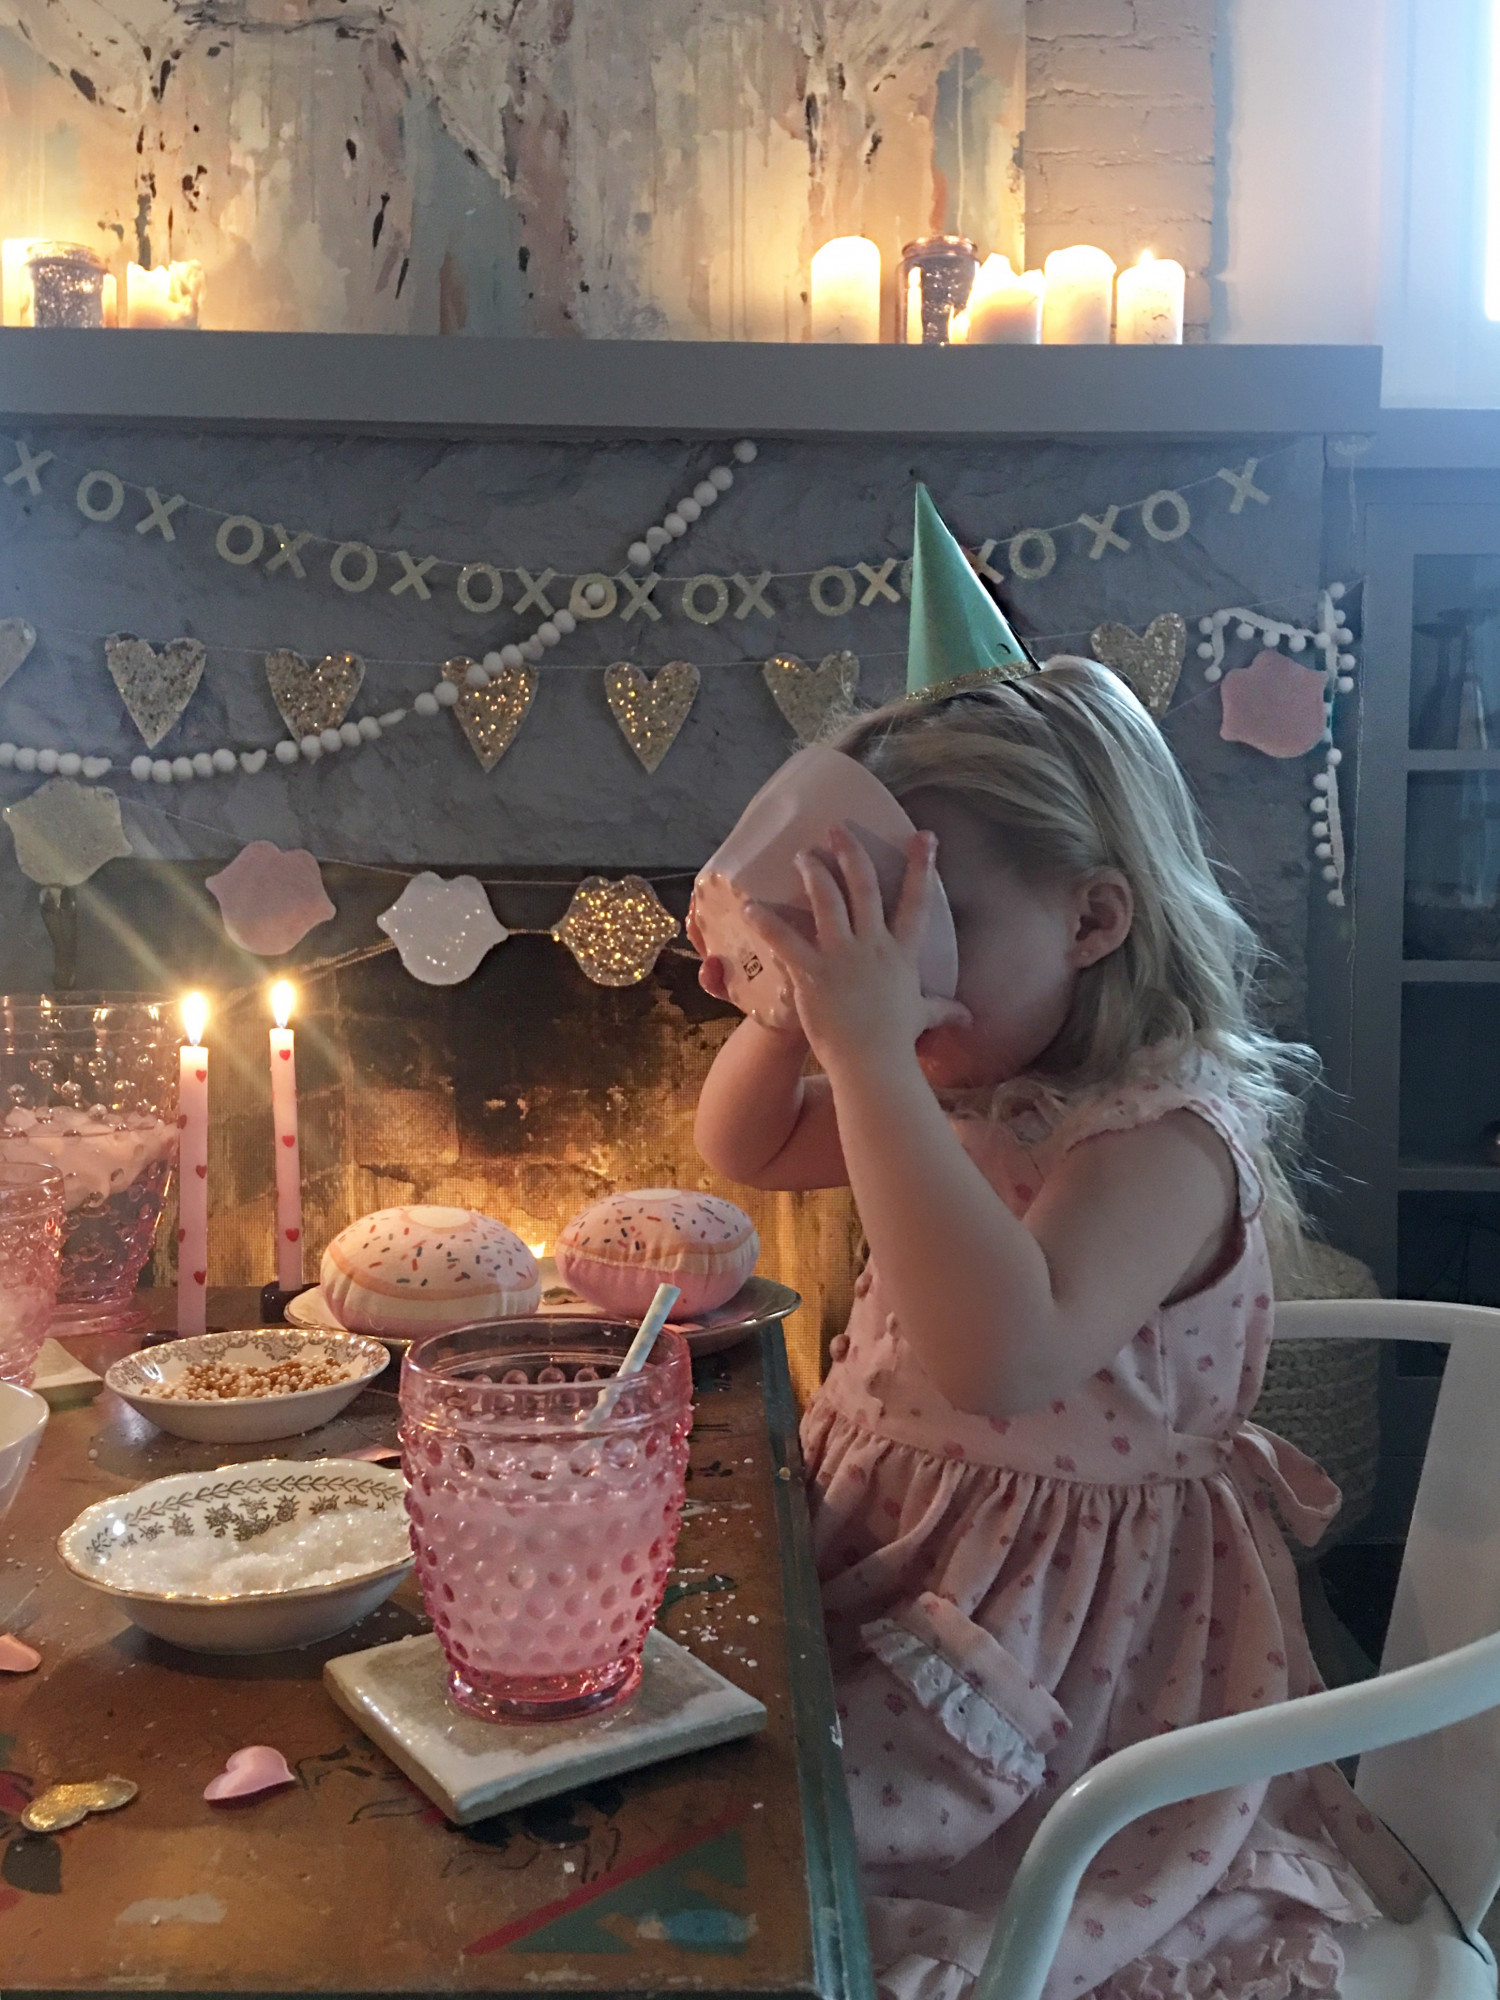
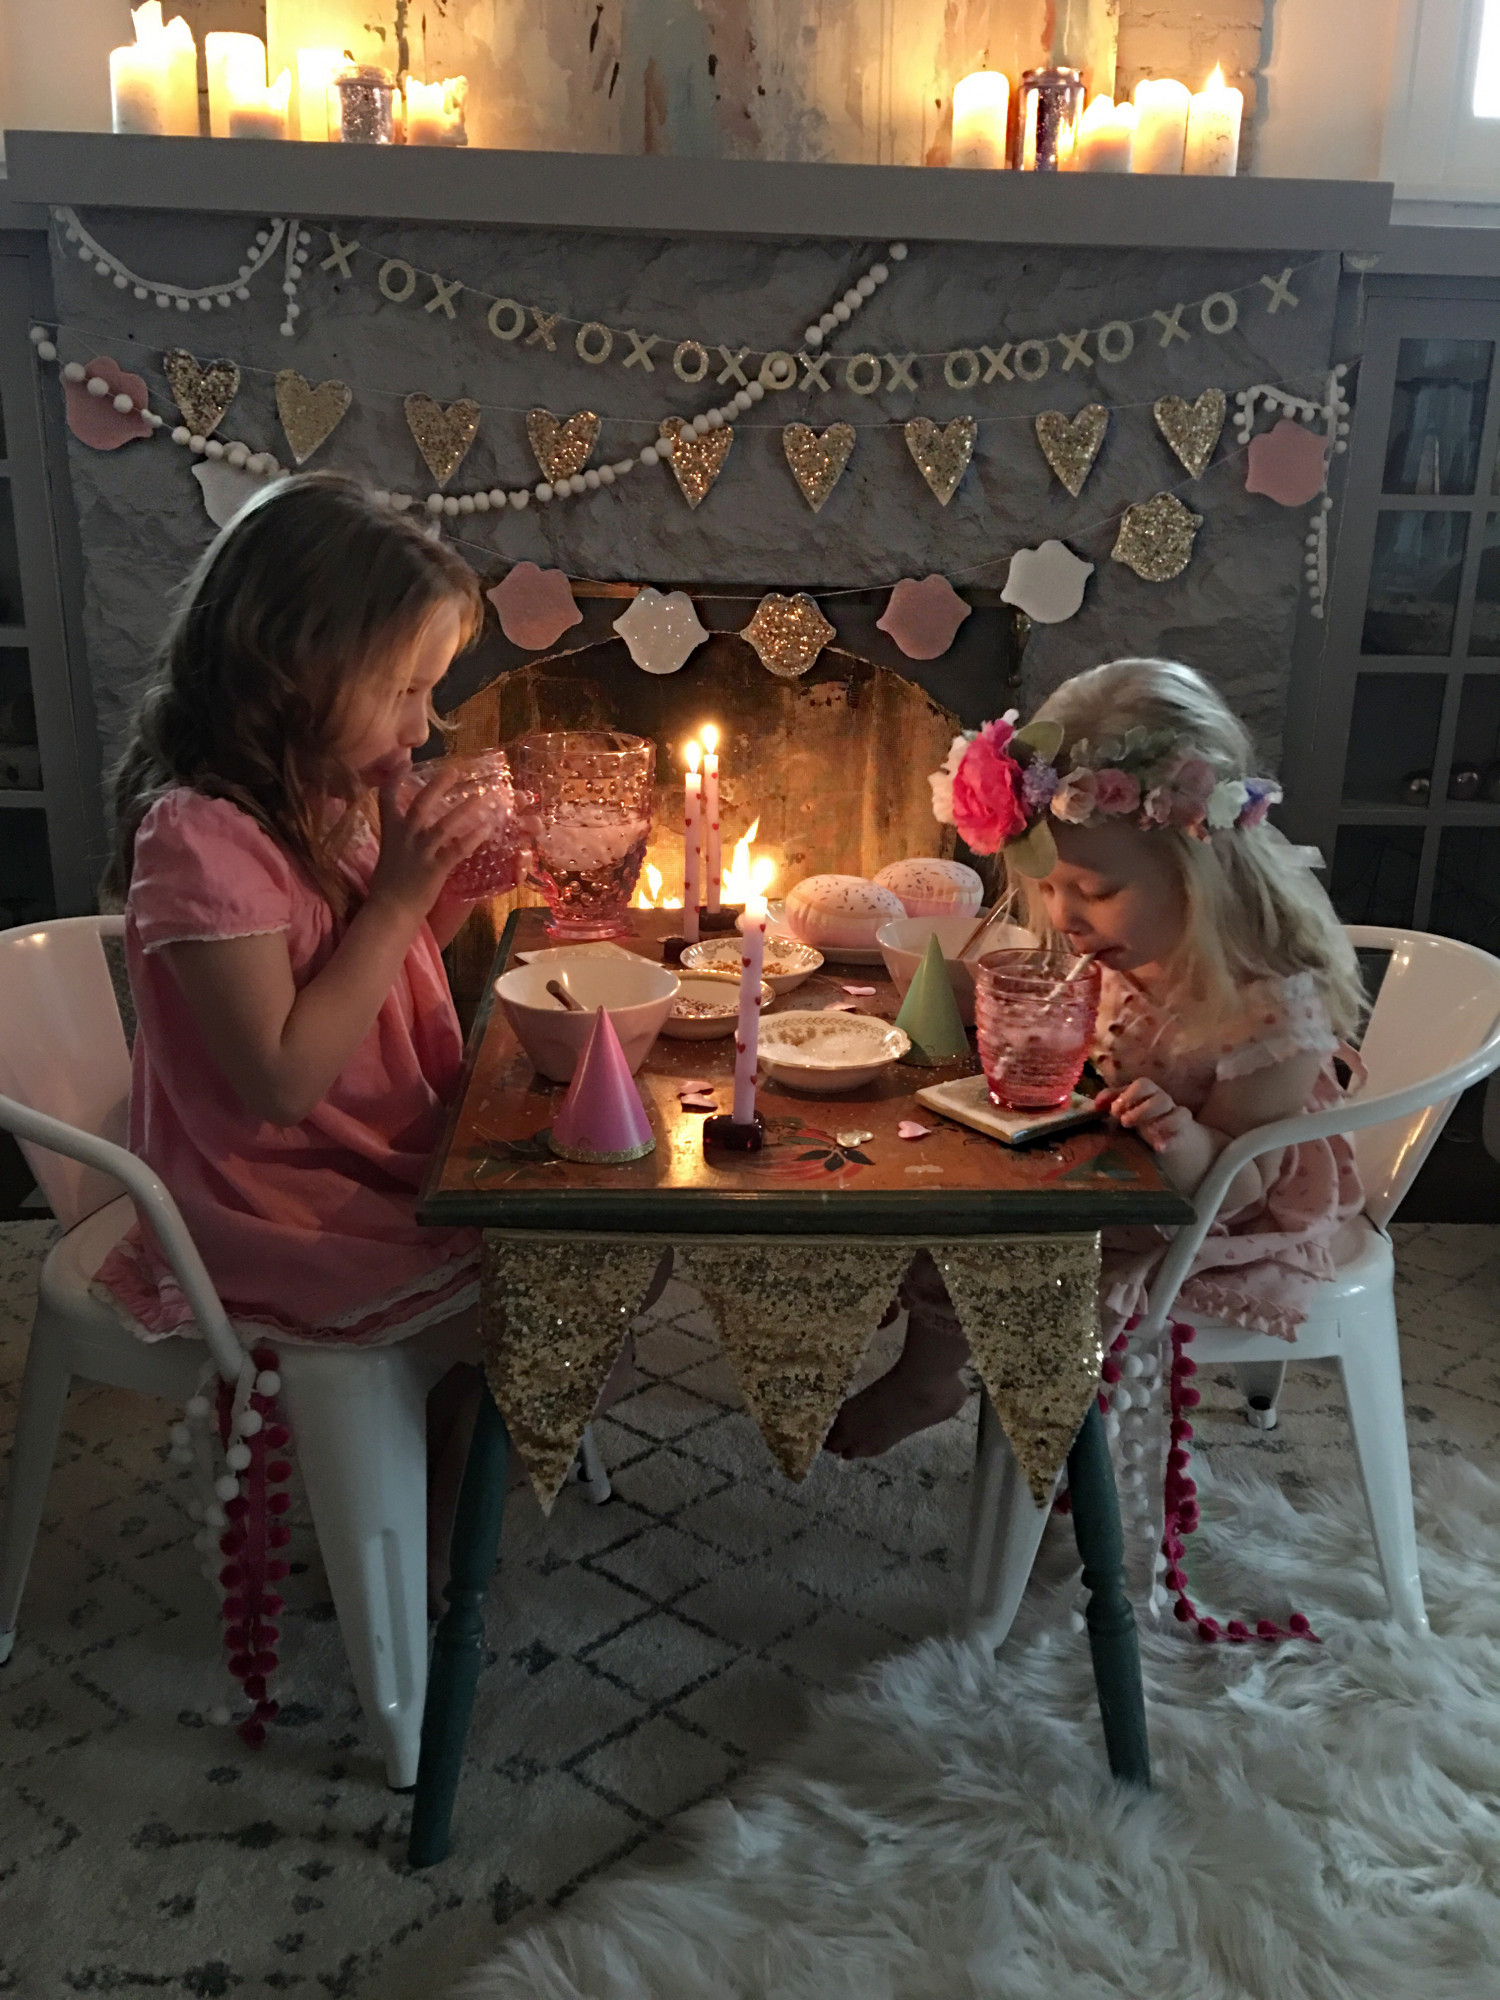
So I hung these precious garlands from Pearl and Jane as soon as they arrived and I was already feeling the warmth of the fun month ahead. I then beought up this vintage story book table from our basement and paired it with these darling
metal bucket chairs from Target and I was smitten with the combo. Old meets new gets me every time.

Afterwards, I grabbed our treasured Deannart painting from its spot on our wall and added it to the mantel because, well, I couldn’t resist! It was the icing on the cake for the cuddly and cozy party setting my two angel babies would soon enjoy.

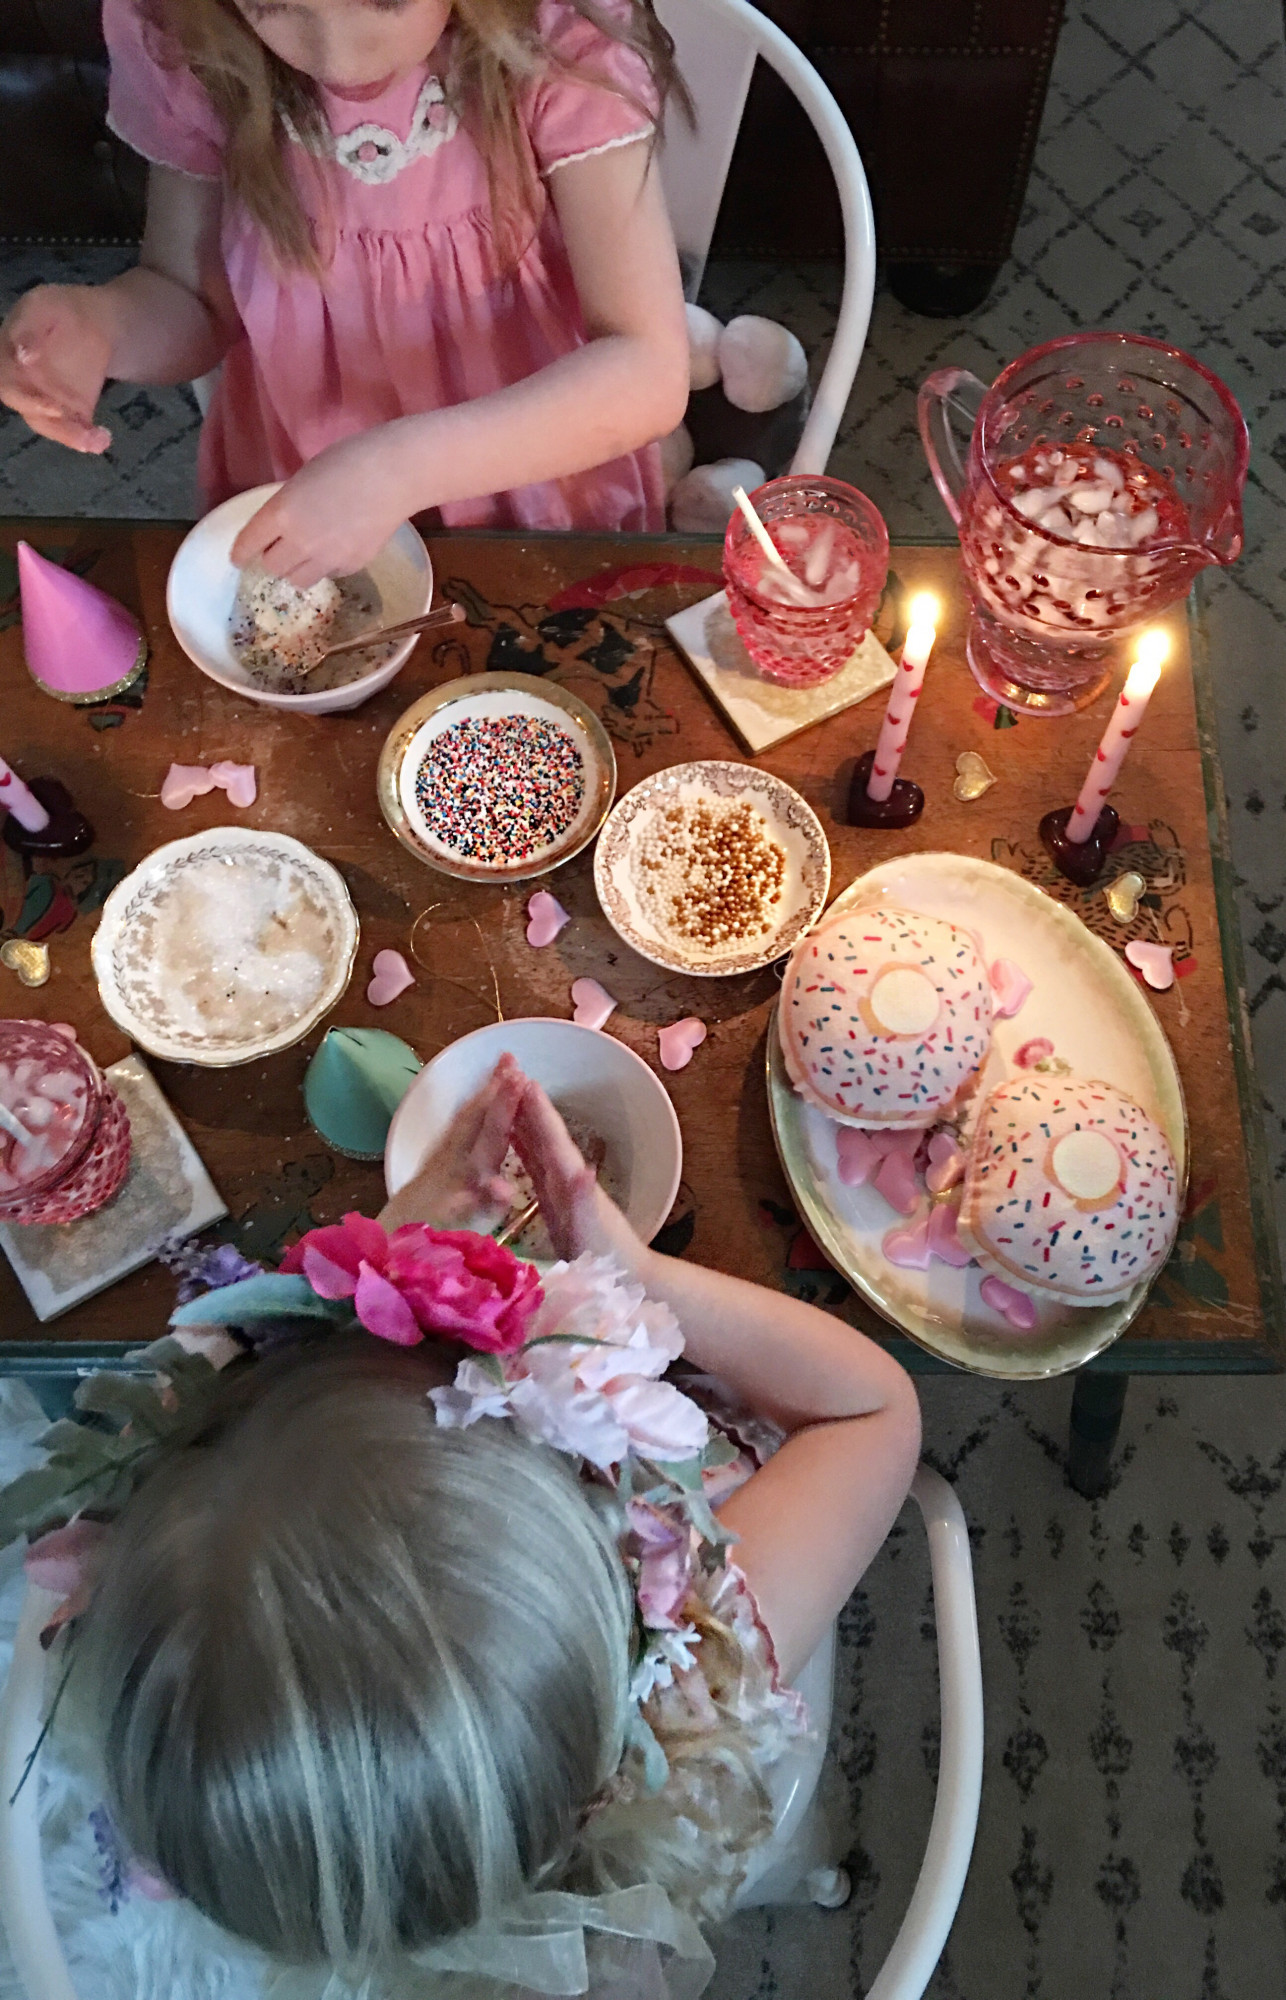
Live Sweet shop always has the cutest accessories so as soon as I laid eyes on these yummy donuts and this sparkly Love pillow I knew they needed to be ours.

Same with this beautiful, LIFE IS BEAUTY-FULL, pillow that will soon be added to our NEW and IMPROVED Painted Fox curated collection! (I know, I know, Eeeek- so excited to say the least, more details to come!!)

Okay, now some more deets on this simple and sweet “Valentine’s Day-Welcome pretty February” party…

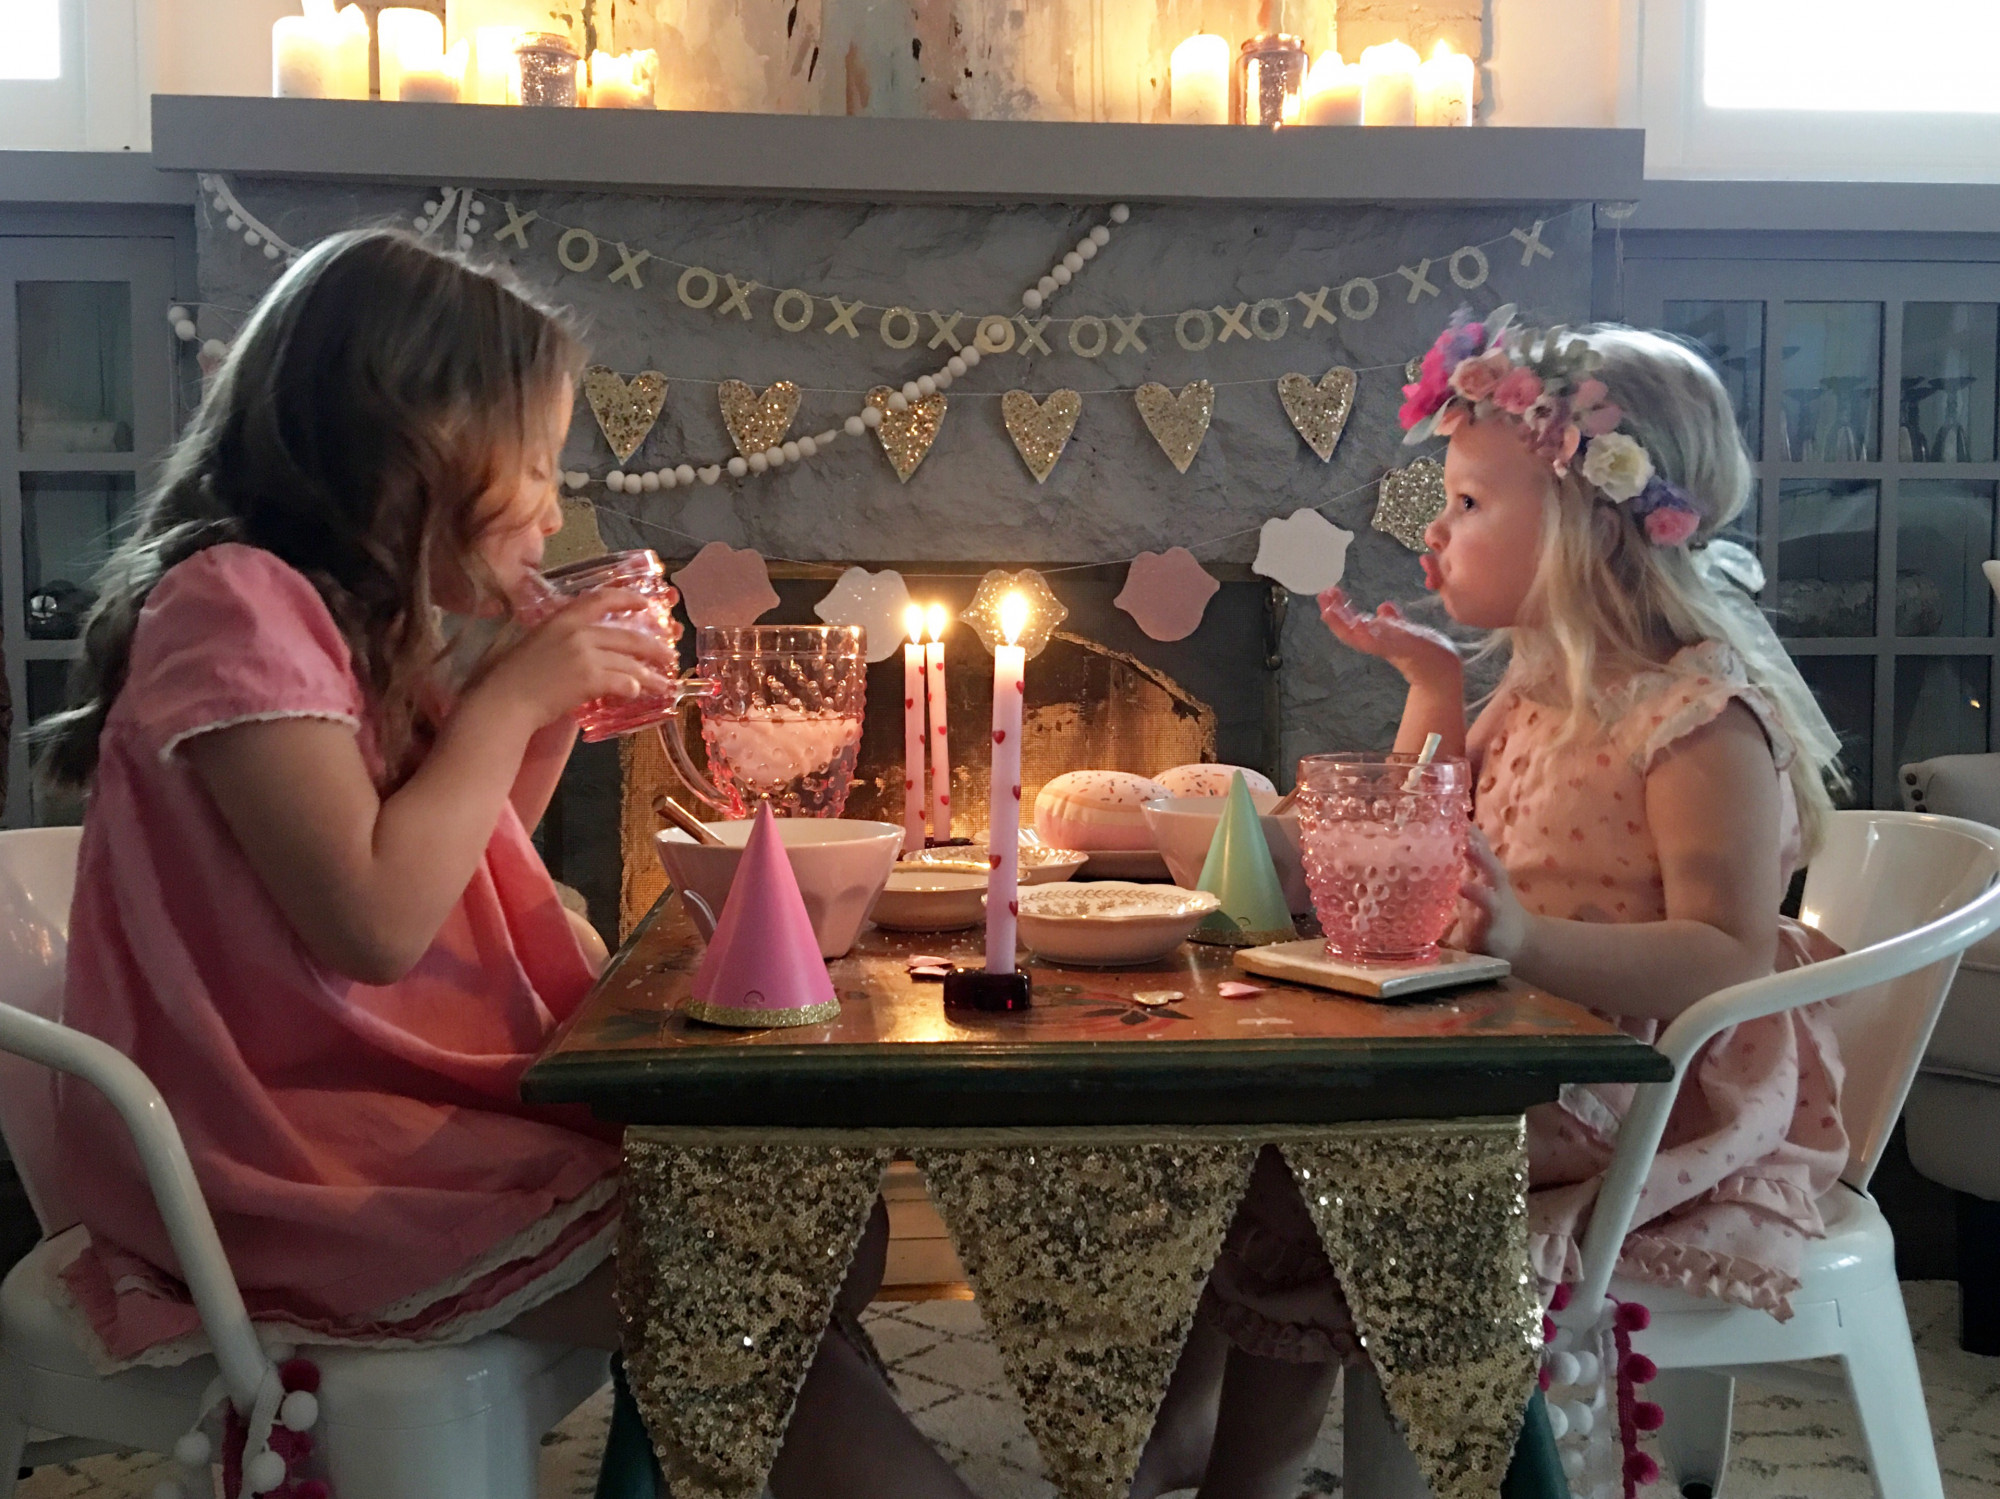
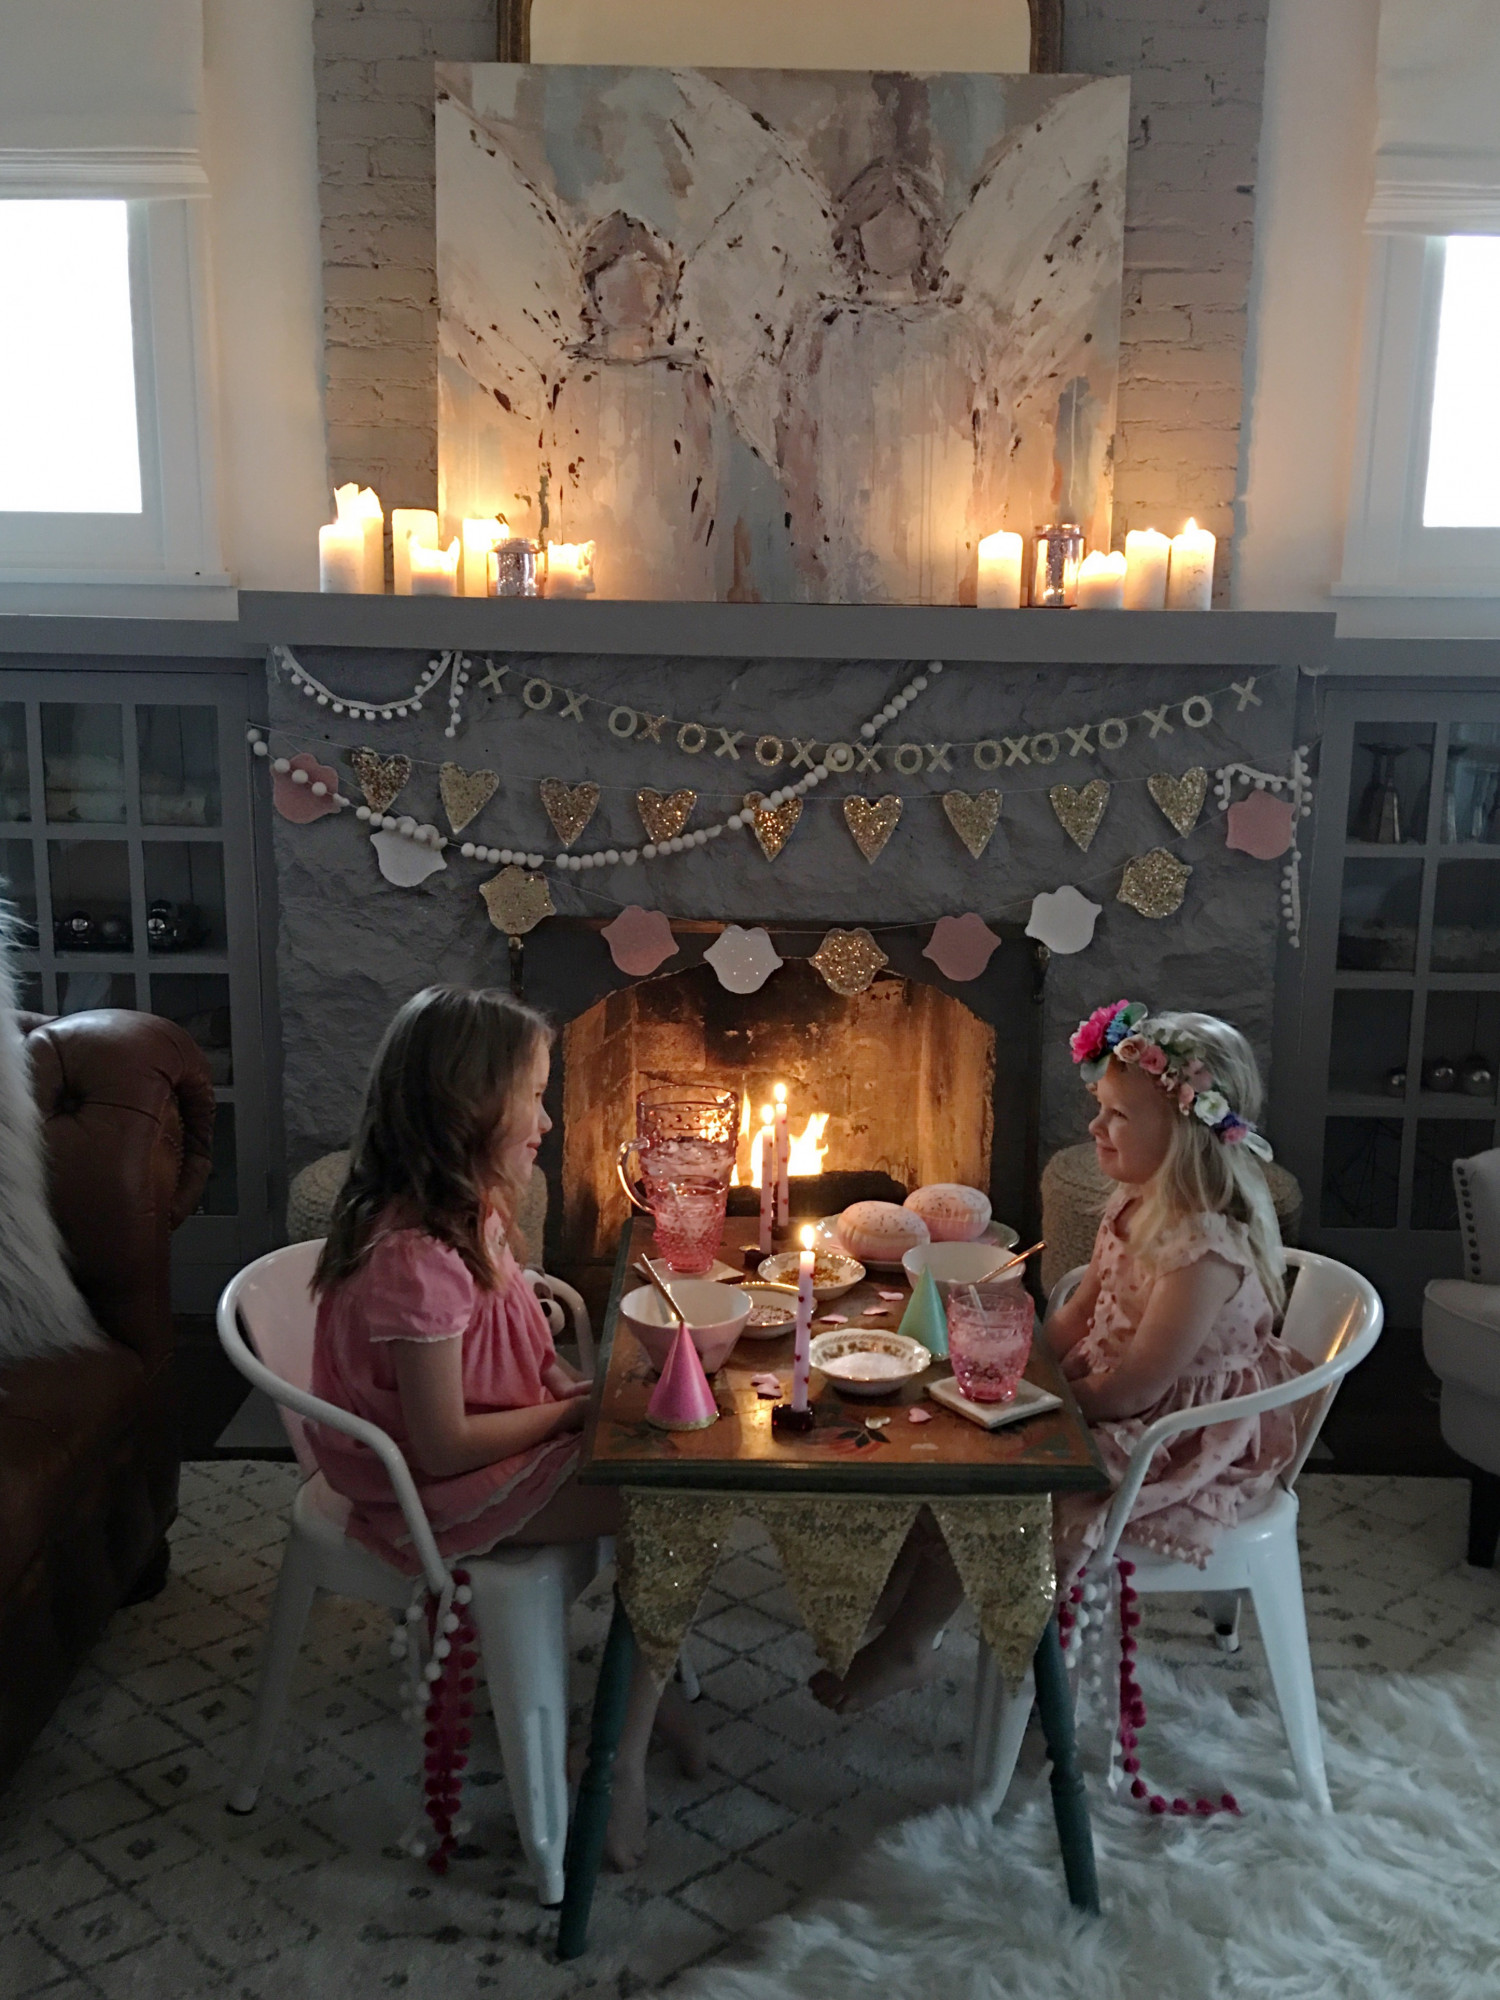
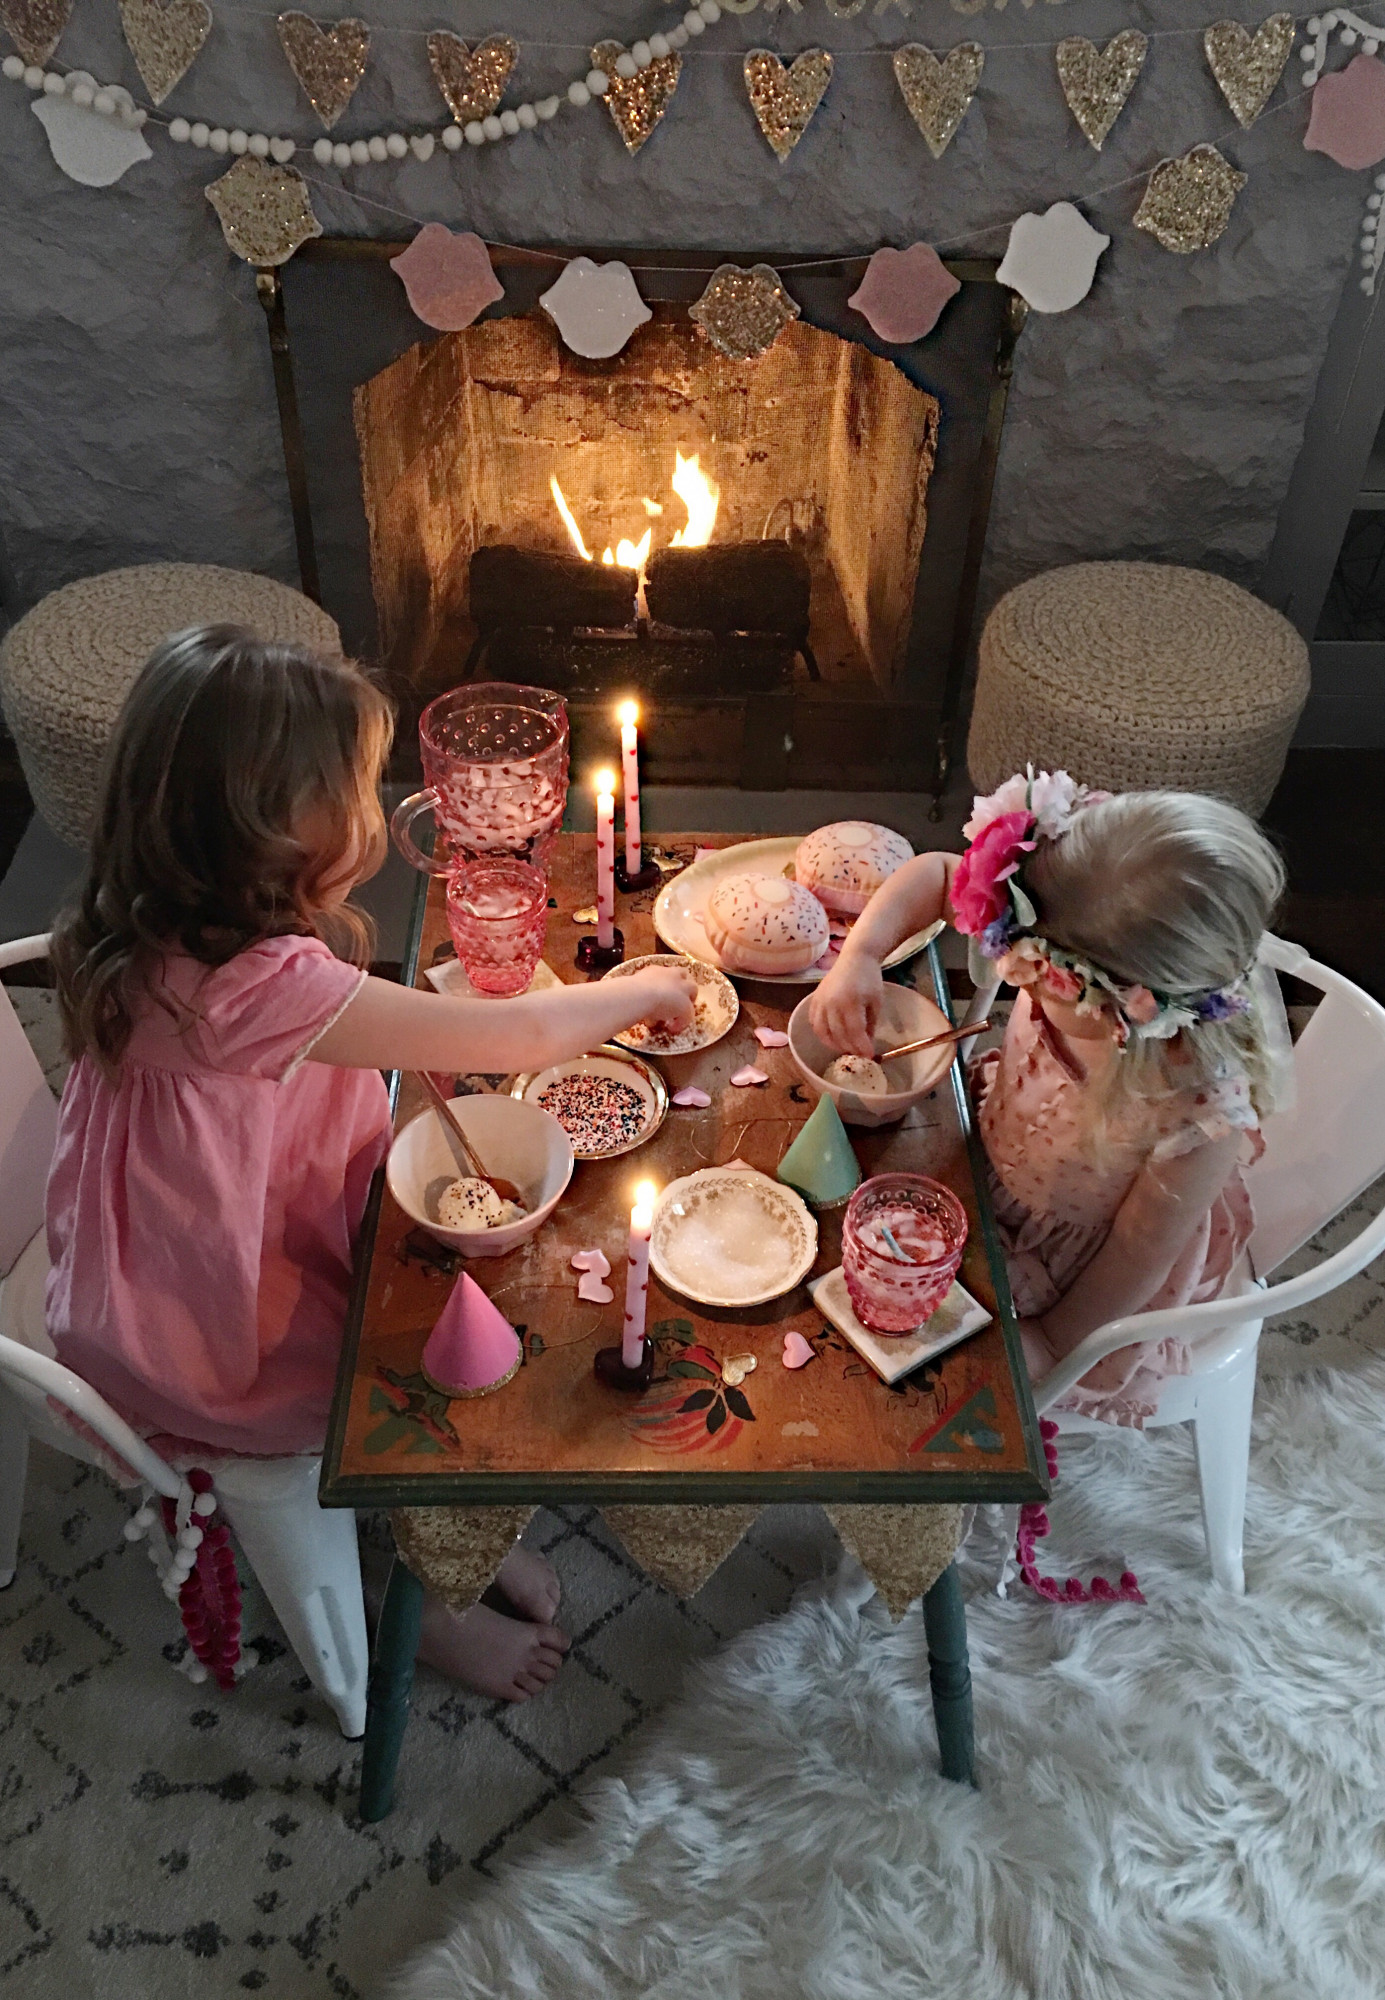
It was quite easy really. I added some pink, gold and white decor, set some tunes, lit the fire & candles then called the sweeties in for a scoop of ice cream and sprinkles. For the record, I had them at ice cream and sprinkles. 😉

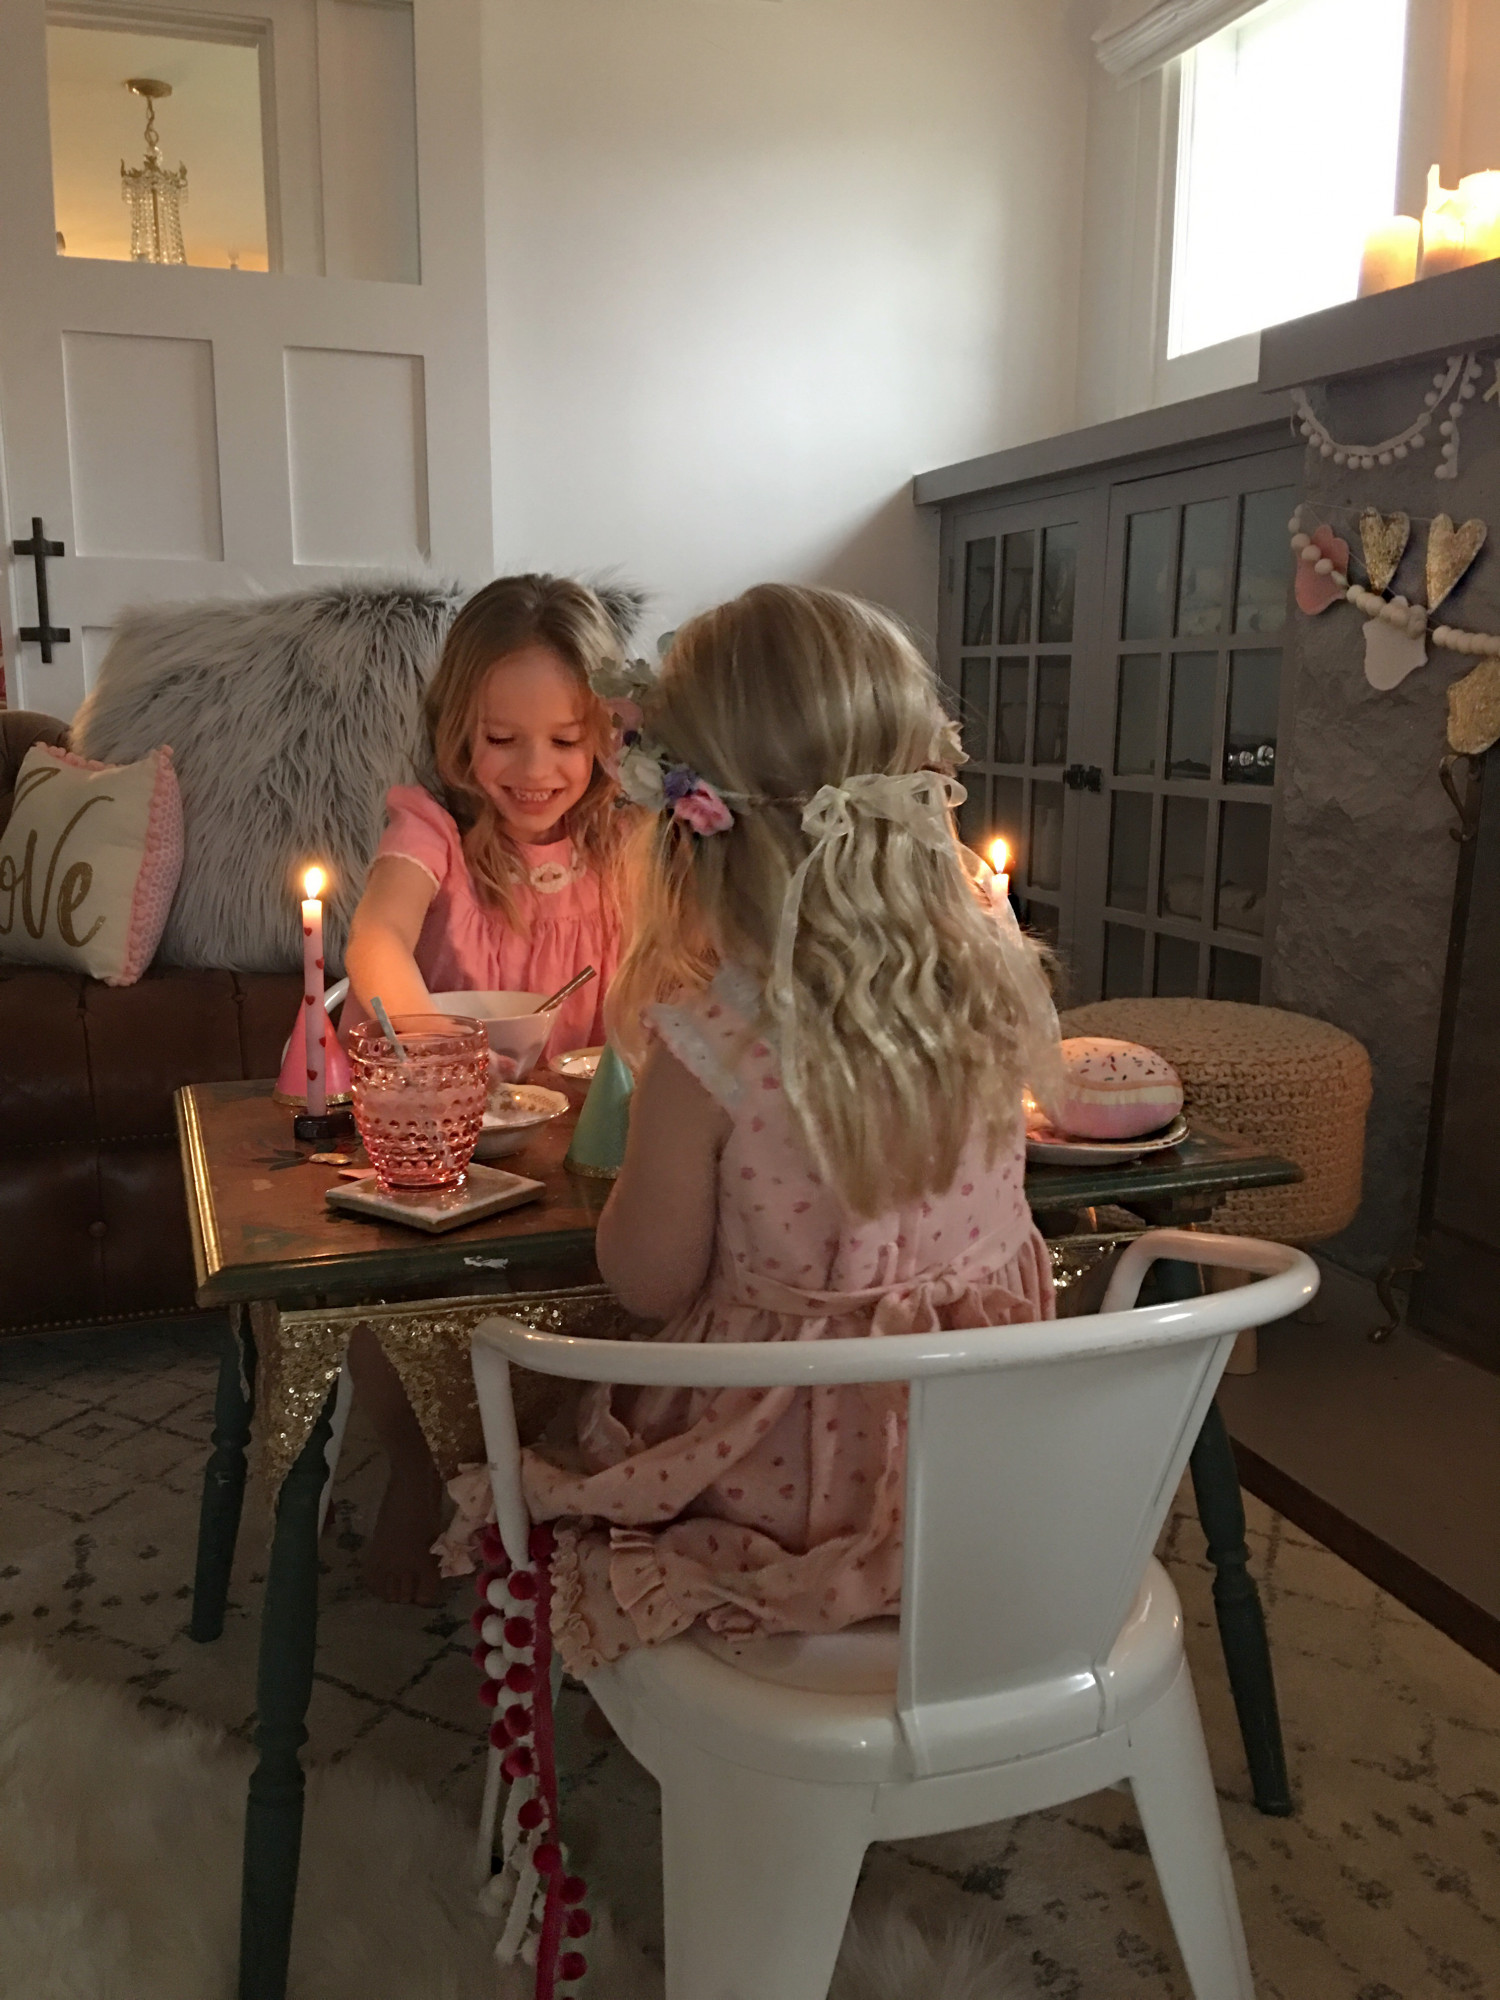
They had a blast pretending to be out to lunch, pouring their drinks and adding way too many candy treats to their sugary dessert. 🙂 The best part, the sound of their sweet giggles and belly laughs. It was simple. It was memorable. It was perfect.

The mood of the afternoon party, was charming and cozy and I had the best time watching these two loves of my life interact and make-believe amongst each other. (yes, I know, it looks like it’s evening but indeed it’s 1:00pm in these photos, told you it’s been dark here lately!) My heart nearly burst when they began blowing kisses at one another. A reminder from above that I’m so blessed and SUCH a proud mama bear.

Now I just want to add this as I close off on this post since it’s been on my heart lately. _ It’s so easy to get caught up. Get caught up in others judgments, their decisions, their opinions, their projections. It is, and I’m guilty of caring, perhaps more than I should at times. But when you step back, glance around at the people surrounding you, and take a look back at the path you’ve taken to get where you are, remember you ARE wonderful. You’re kind, you mean well, and you’re the bees knees.

And just as I was thinking these thoughts … I came across our living room photo from two years ago. The very same living room my darling daughters were devouring their sugary ice cream in. 🙂 This photo was how our living room looked AFTER we moved in here two years ago. Back then it felt impossible to be where we are today. And sadly I must admit, due to the hustle and bustle of life, it’s easy to brush off our hard work and how far we’ve come. So as I sat here typing, I applauded myself, my husband and our girls’ and all the hard work we’ve done, which isn’t easy for me to do when I’m commending myself, but it’s important to do nonetheless.

So today especially I’m remembering it. I’m remembering our story, and grasping onto pride and how happy and grateful I am for the journey. After stress, sweat and tears, I now have this opportunity, this moment, this reality, to sit our beautiful daughters down for a cozy, happy party filled with love and blog about it. Blog about the very room I cringed at for so long. Life is good. God is great.

Xoxo•Big Hugs to each of you.

Susan

Don’t forget to check out these other amazing bloggers for their ideas and Valentine’s Day kiddo parties: You’ll be so happy you did!

She Leaves A Little Sparkle
Zevy Joy
A Thoughtful Place
Kindred Vintage Co.
Eleven Gables
Pink Peppermint Design
Ella Claire
House Of Five
Elliven Studio
Craftberry Bush
Sunny Side Up


A Very Merry Christmas with Minted

Merry Christmas Eve, loves!!

We are busy baking and wrapping and baking and wrapping over here! The girls are snuggled up for a nap so we’re actually getting a lot done, I say it’s a Christmas miracle! 🙂

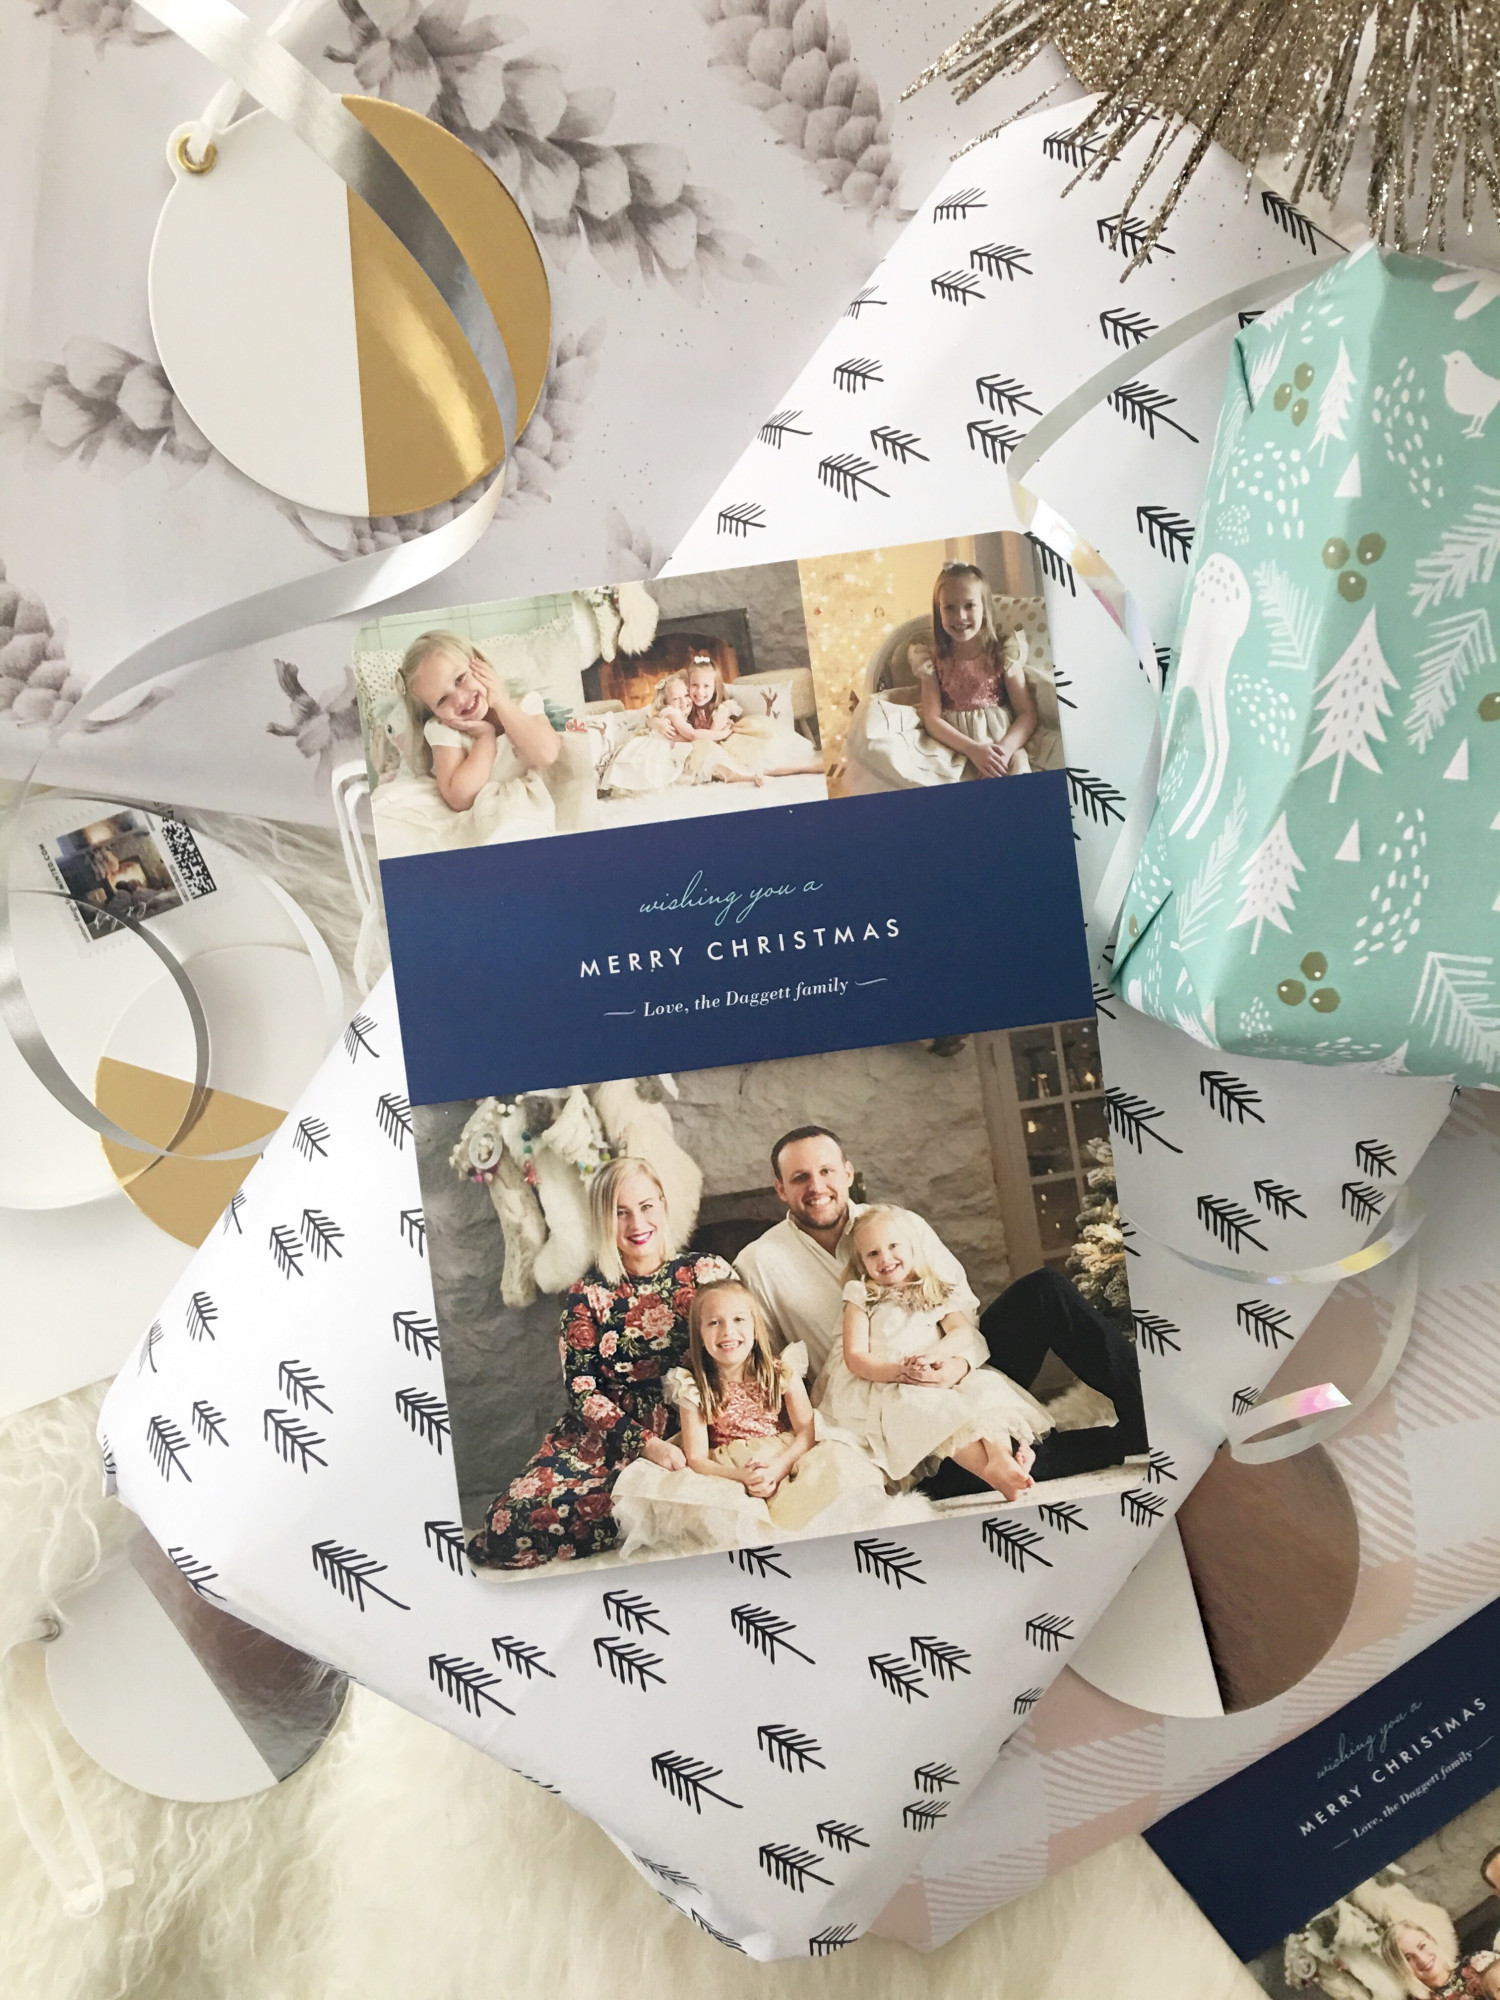
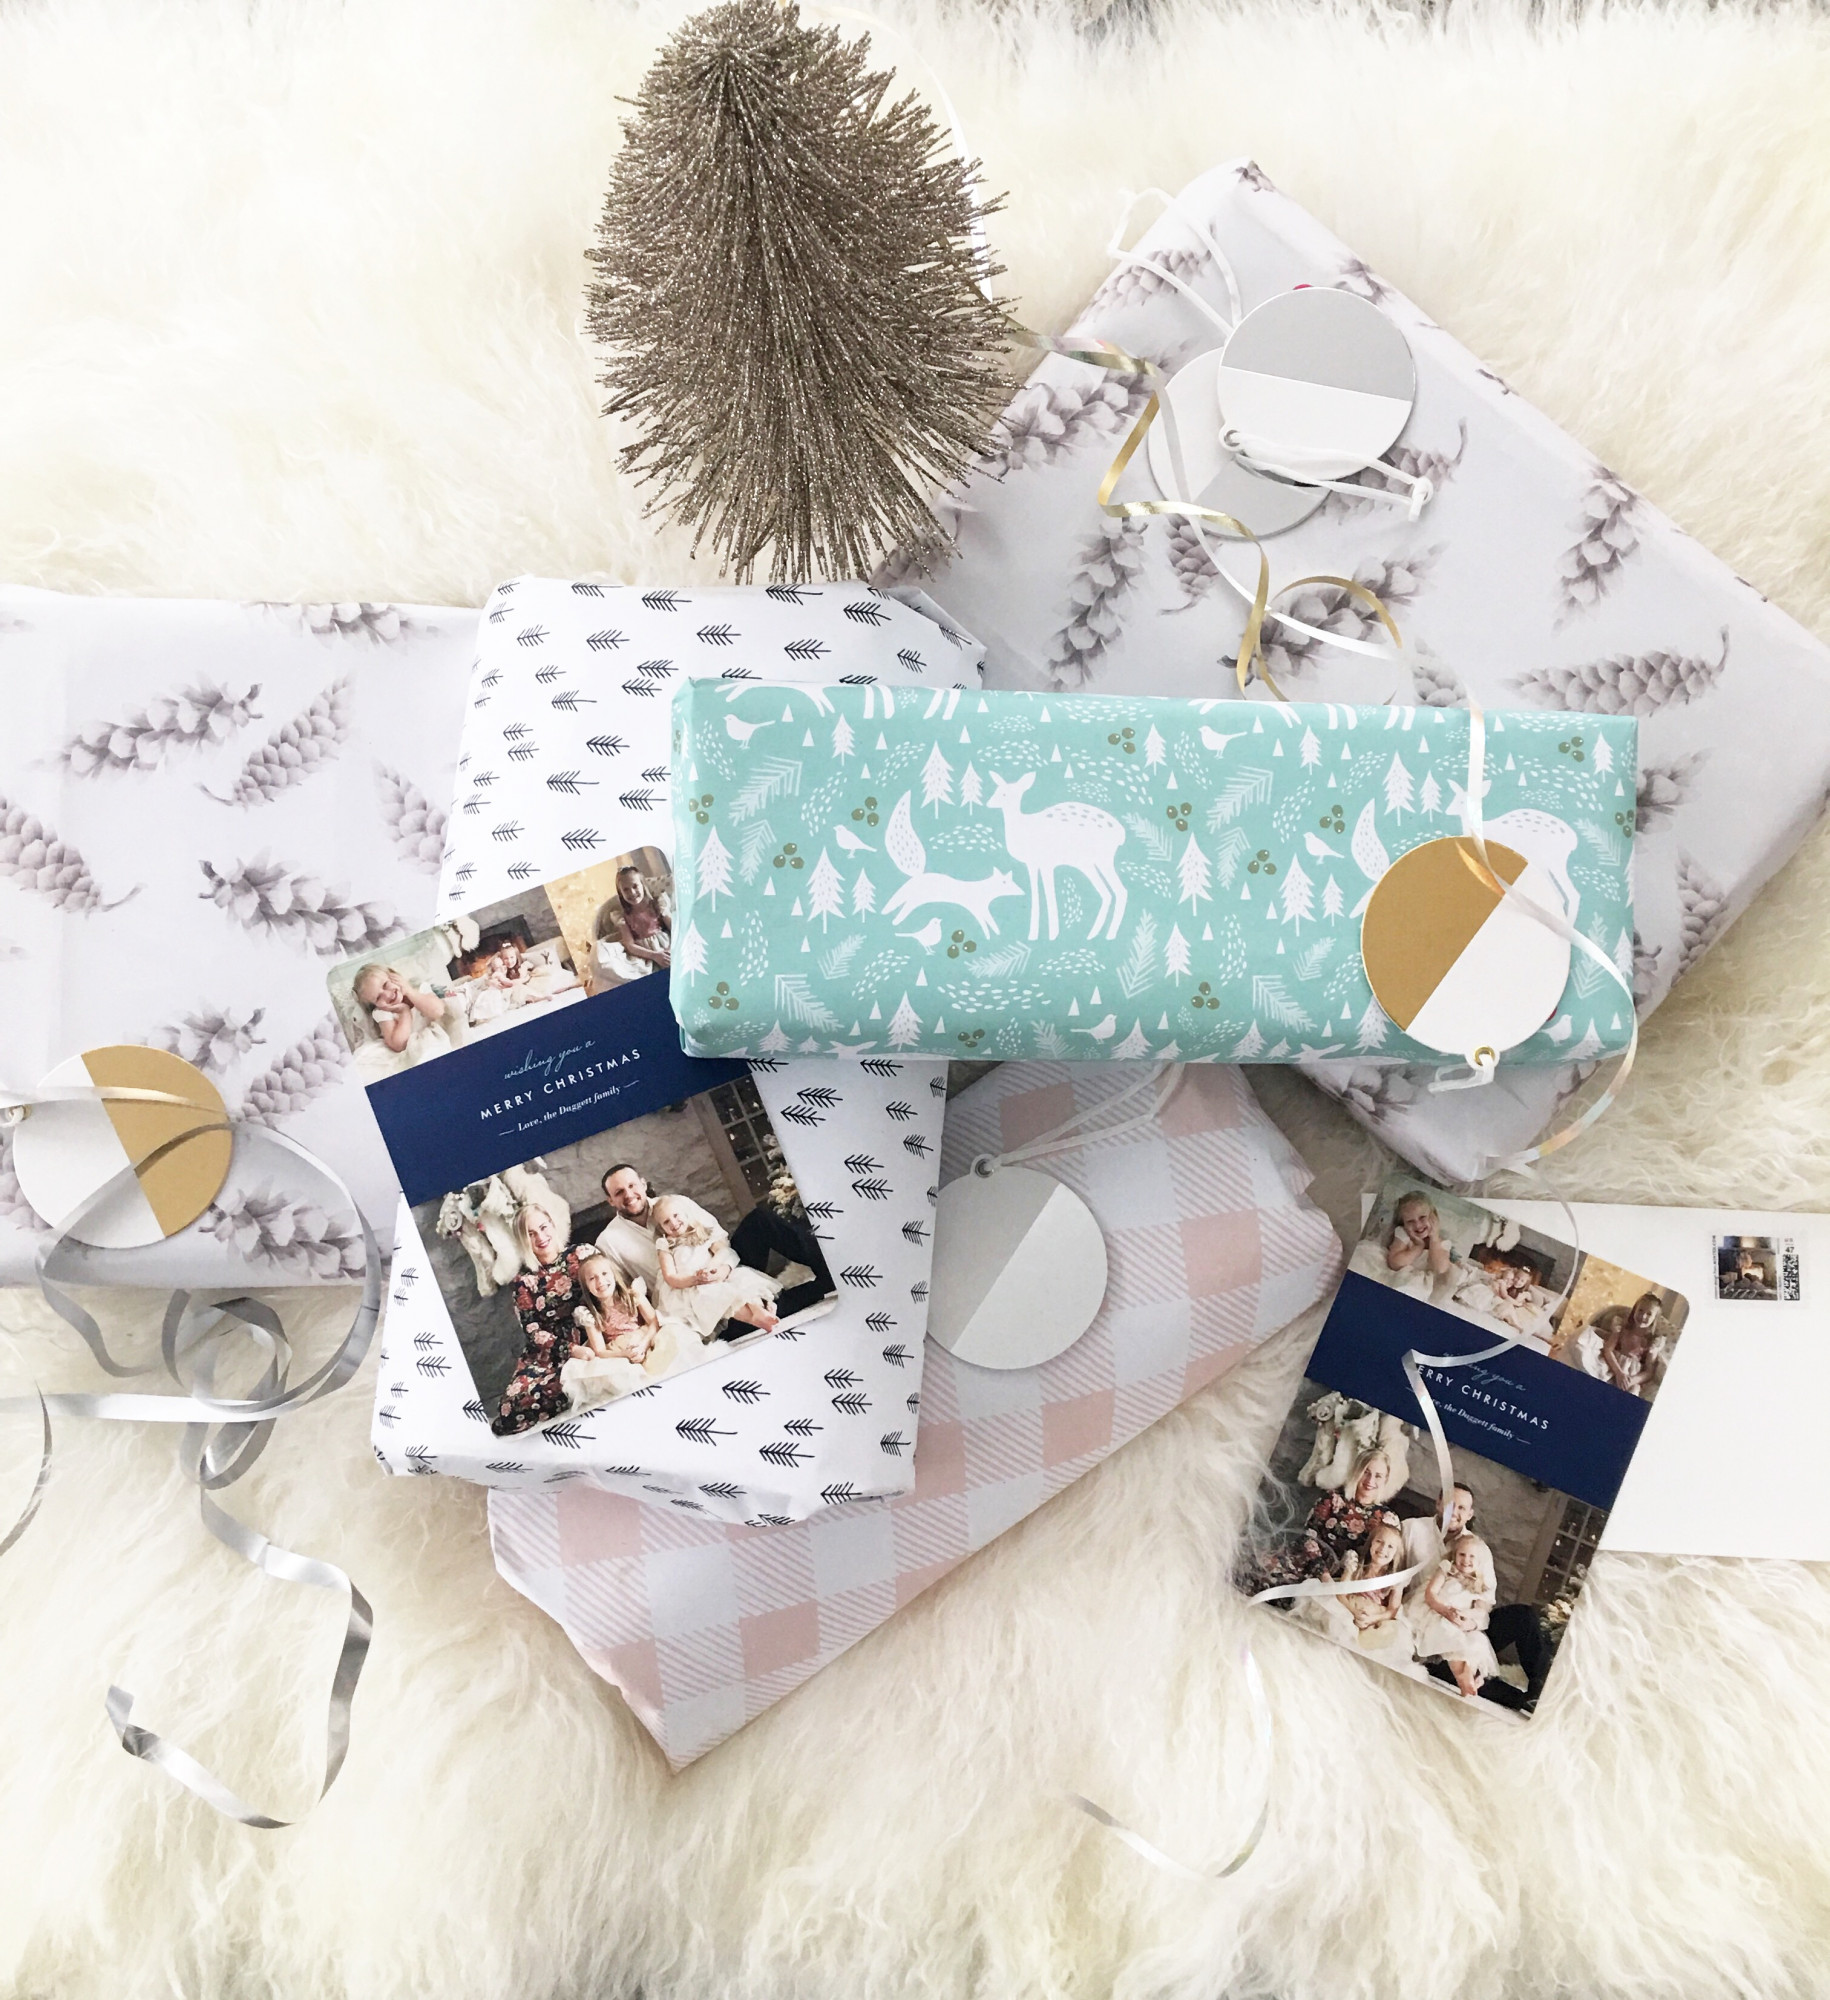
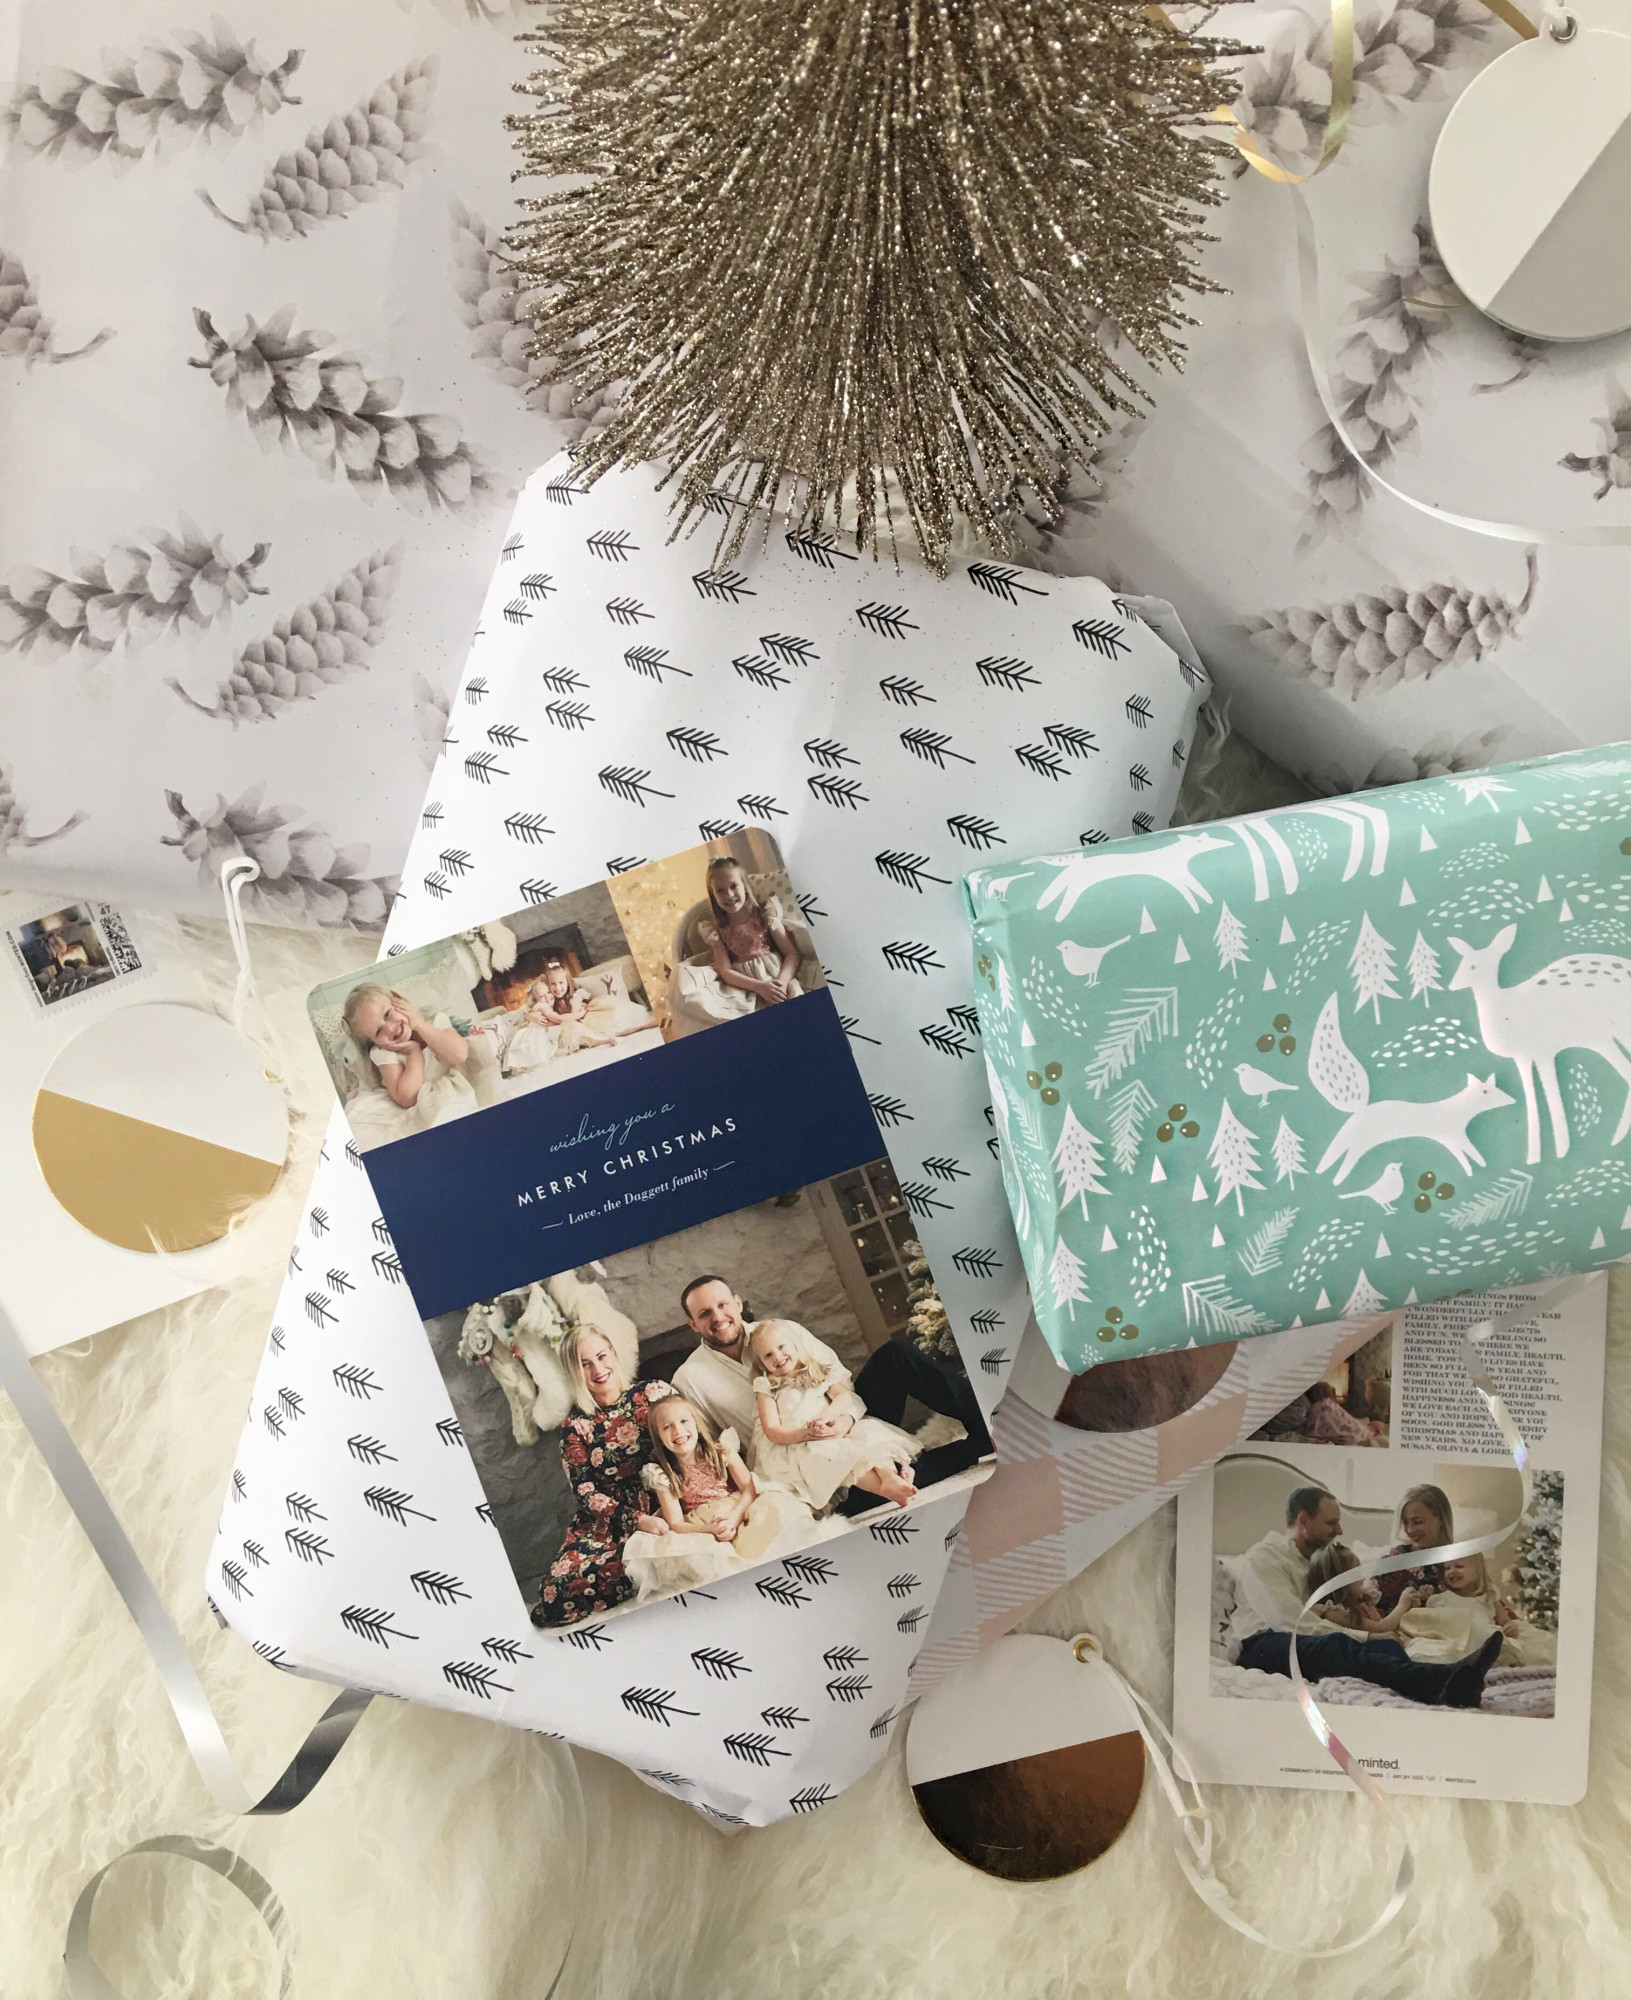
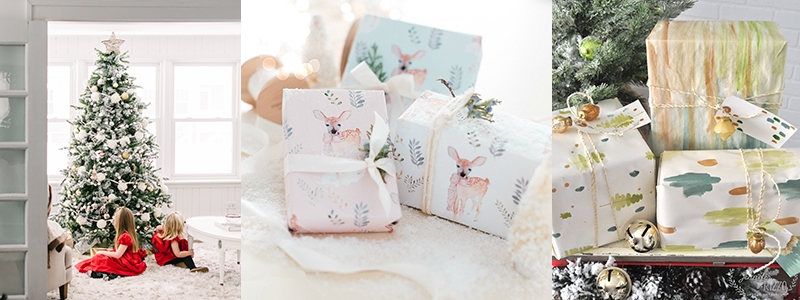
I wanted to share with you our holiday cards this year, they’re precious and they’re from Minted! When I think of Christmas cards I think of them, ever since before I started blogging they were my go to for cards. I just loved their options and I love that they have so many that say MERRY CHRISTMAS! It’s my thing, and not that I have ANYTHING against a happy holiday card but for me, it must say Merry Christmas! (I don’t even look at the others so they don’t tempt me! Ha!) Also, another thing I tried this year that I have never done before… customized stamps and ornaments which I used to decorate the presents!! I took the photo of the girls sitting in front of the fire and turned it into our Christmas stamp and then tires on a pretty little gem. Totally mind blown I tell ya! I love them so much!

This year we also got our wrapping paper from them and let me tell you my honest opinion. From the quality of the paper you would swear they were a company who solely specialized in wrapping paper! It’s fantastic!! It comes in sheets instead of rolls and I must admit at first it appeared intimidating but one present in both my husband and I were sold! The sheet sizes were so convenient! Also, there’s few things worse than getting to the end of wrapping a present to have the paper tear on you. Am I right?! Well with this paper, I’m so relieved to say that didn’t happen once! Kudos Minted!

Busy and didn’t get your Christmas cards out on time?? No worries friend! Minted also has plenty of gorgeous New Years cards! (And if you’re like me, sending and receiving cards a few week after the holiday is totally acceptable!!) 😉

xoxo

susan


Hanna Andersson Christmas Pajamas

Happy Christmas Eve, Eve everyone!

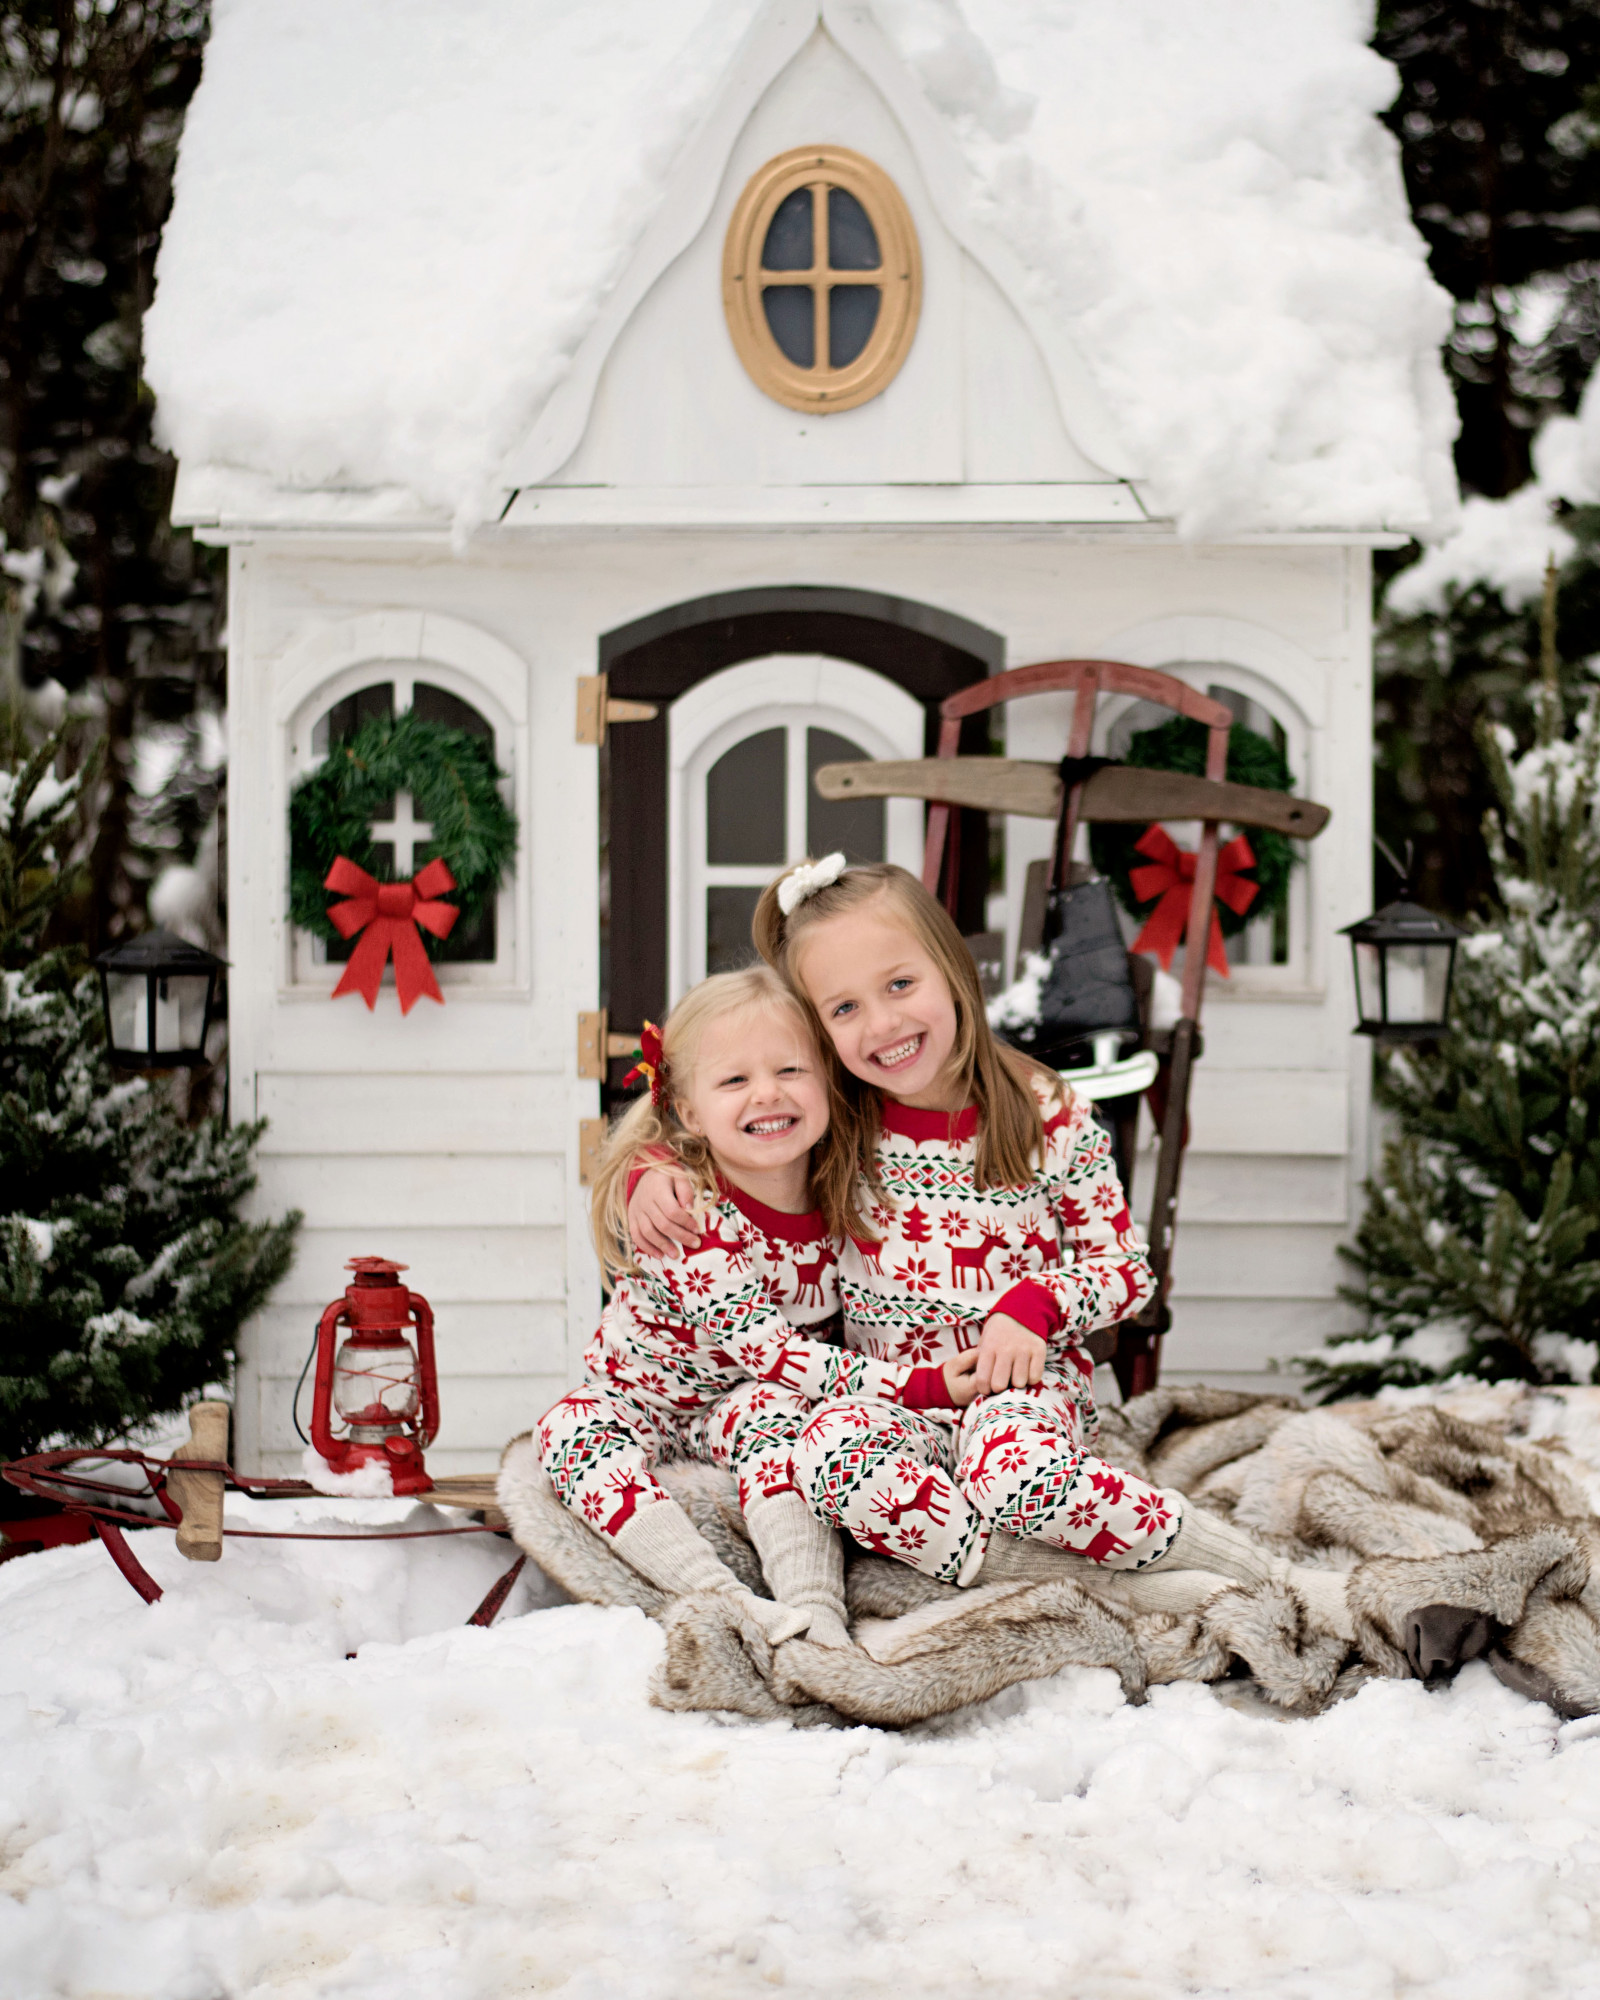
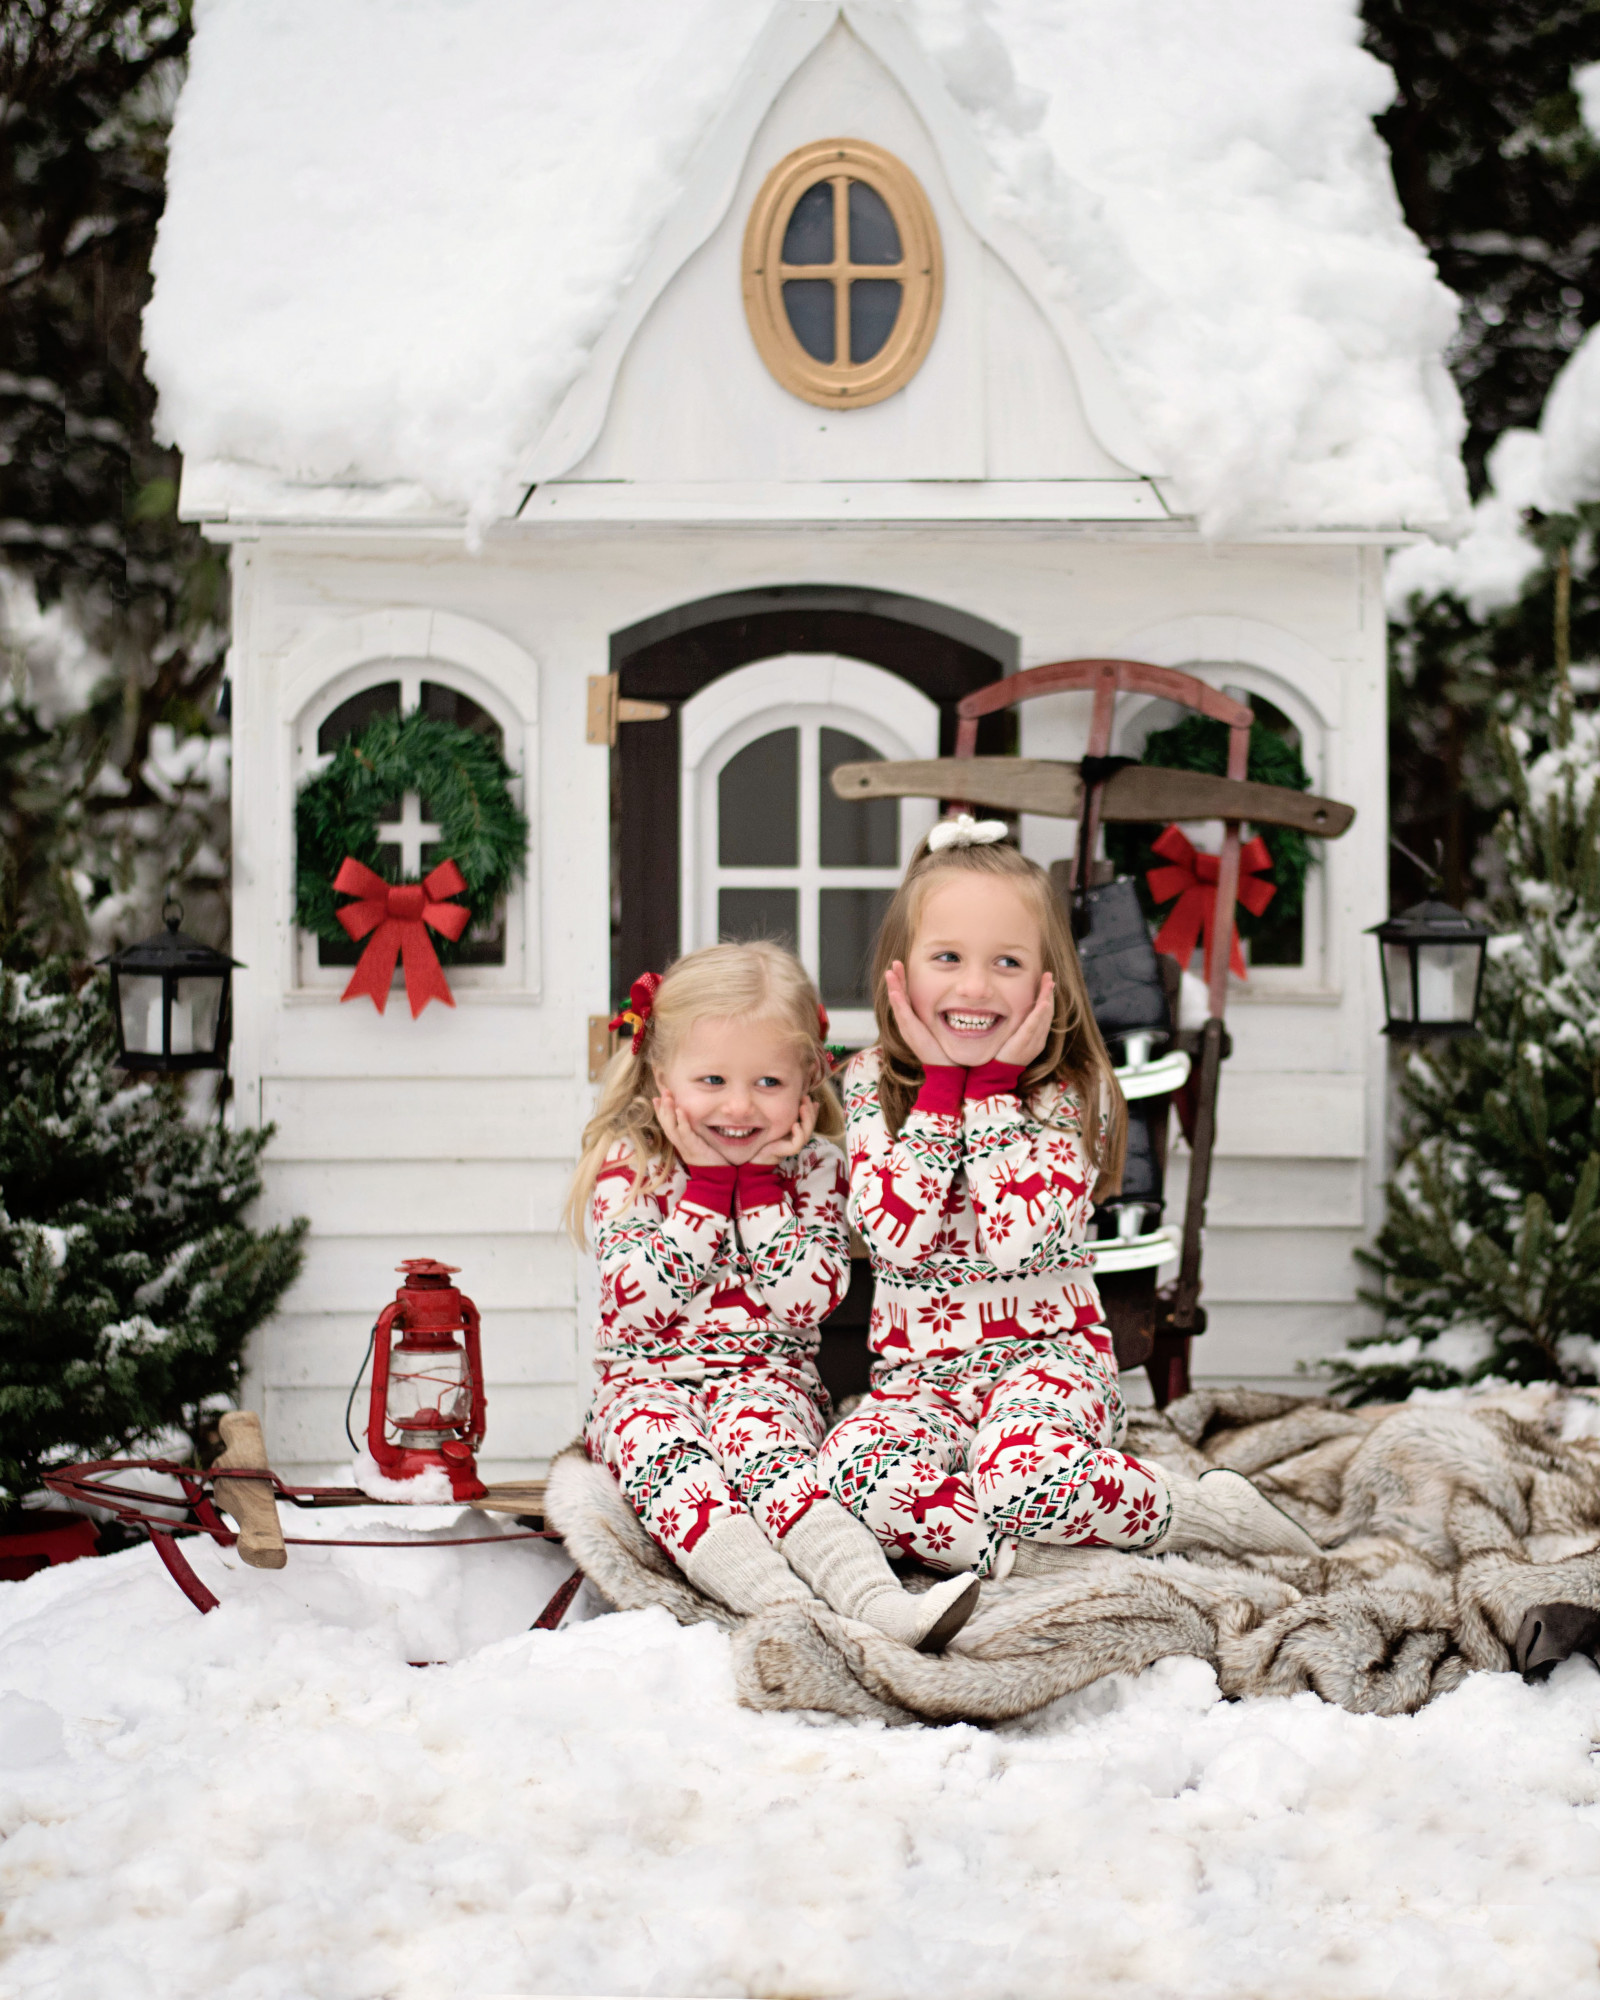
Tonight we are snuggling up on the couch to watch our favorite Christmas shows as a family. I have said it before but it truly is the most wonderful time of the year to me! Don’t get me. Wrong snuggles are ALWAYS super special but when the glow of the Christmas trees, the snow on the ground and all the festive details of Christmas surround us it makes it that much more magical! Speaking of festive details, I HAVE to share with you these DARLING pajamas from our favorite pj shop, Hanna Andersson!

Every Christmas it is tradition to buy new pajamas for the family to wear on Christmas Eve! This year THESE Pajamas were our ones of choice and we couldn’t love them more! My husband and I also got them to match our daughter’s! They have them for the whole family! You can choose to coordinate and all wear the same style or mix and match them! With so many darling options you can’t go wrong either way!

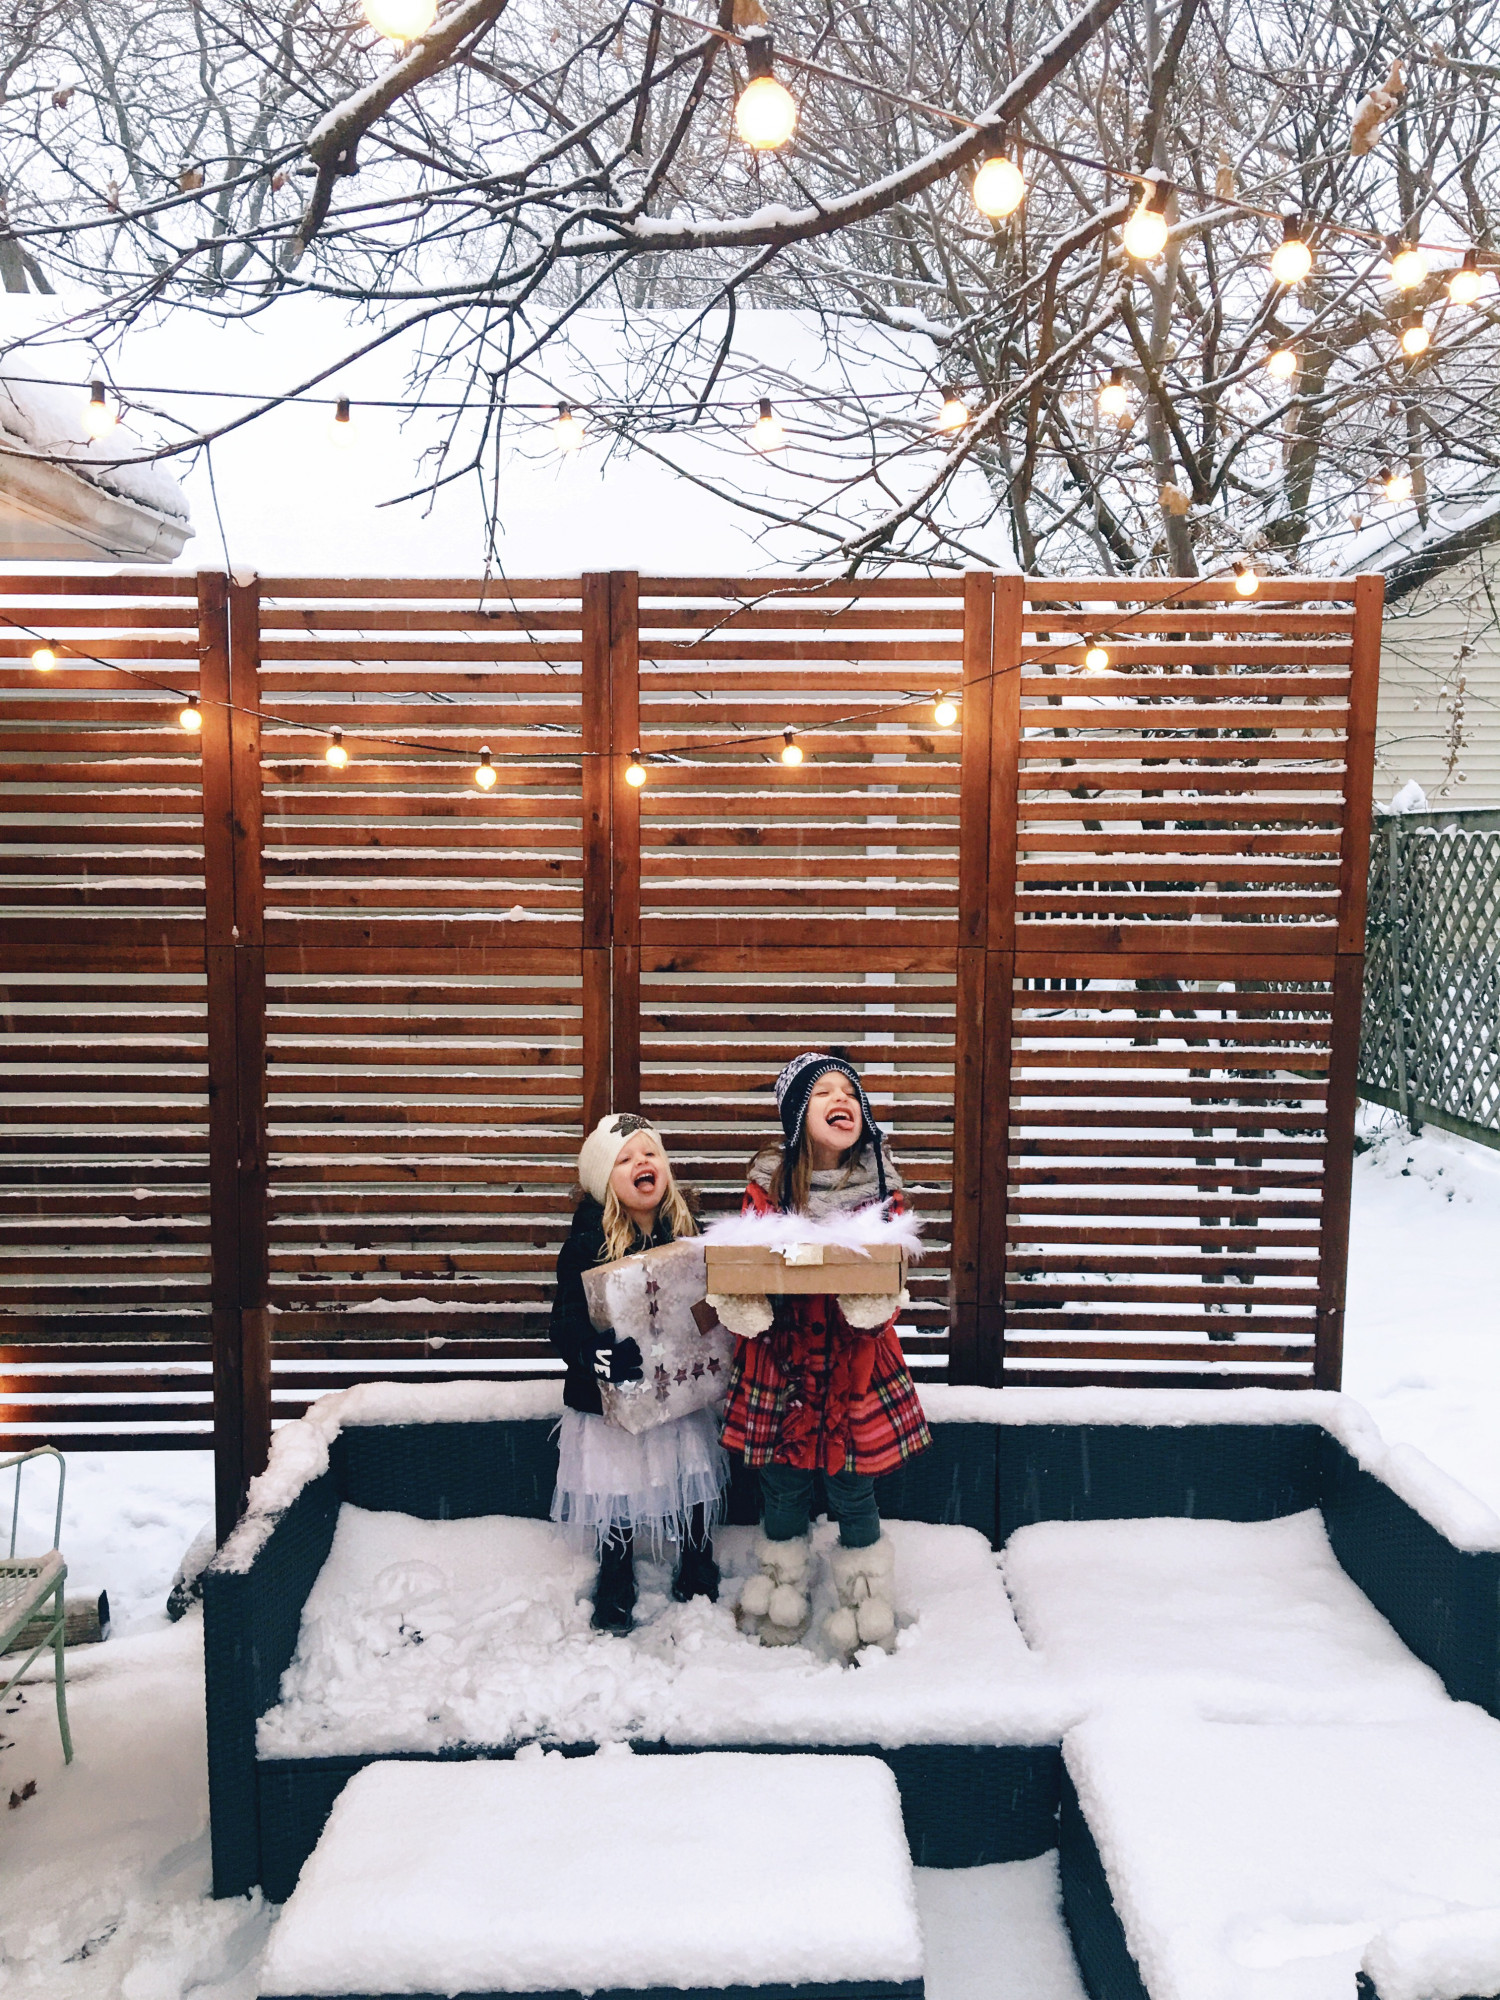
With the freshly fallen snow, our comfy festive pjs, and this sweet playhouse decked out for Christmas. I couldn’t resist setting up a photoshoot! I simply adore how these pictures turned out and I love that they’re in their cozy Christmas jammie’s!

You can purchase them here, as well as their cutie sock-booties! I also think they would be darling for a festive New Year’s Eve party when the kids are rockin’ their pj’s straight into the New Year… or if they’re like mine, 9pm. 😉
Wishing you a Merry Christmas Eve, Eve sweet friends!

This post was made in partnership with Hanna Andersson. All opinions are our own.

xo

susan


Christmas Cookie Exchange

Good morning!

It’s the holiday season and there are few things that say Merry Christmas more than fresh baked cookies!
This year we have made everything from gingerbread men to thumbprint cookies but our ingredients have definitely changed! Our daughter is now 100% gluten free as of this year but we didn’t let that interfere with our cookie baking tradition! It’s intimidating at first but with a few tweaks here and there we were still able to make and decorate delicious Christmas cookies, one of our favorite things to do!

For this post I wanted to share a gluten free cookie recipe that is simple, quick, easy and yummy! So here it is!

Gluten Free- Christmas Butter Cookies:

Ingredients
½ c. unsalted butter, room temperature
1 (8 oz.) pkg. cream cheese, room temperature
1 egg
½ tsp. almond extract, opt.
½ tsp. cherry extract, opt.
1 pkg. yellow Gluten Free cake mix
½ c. sprinkles

Directions:

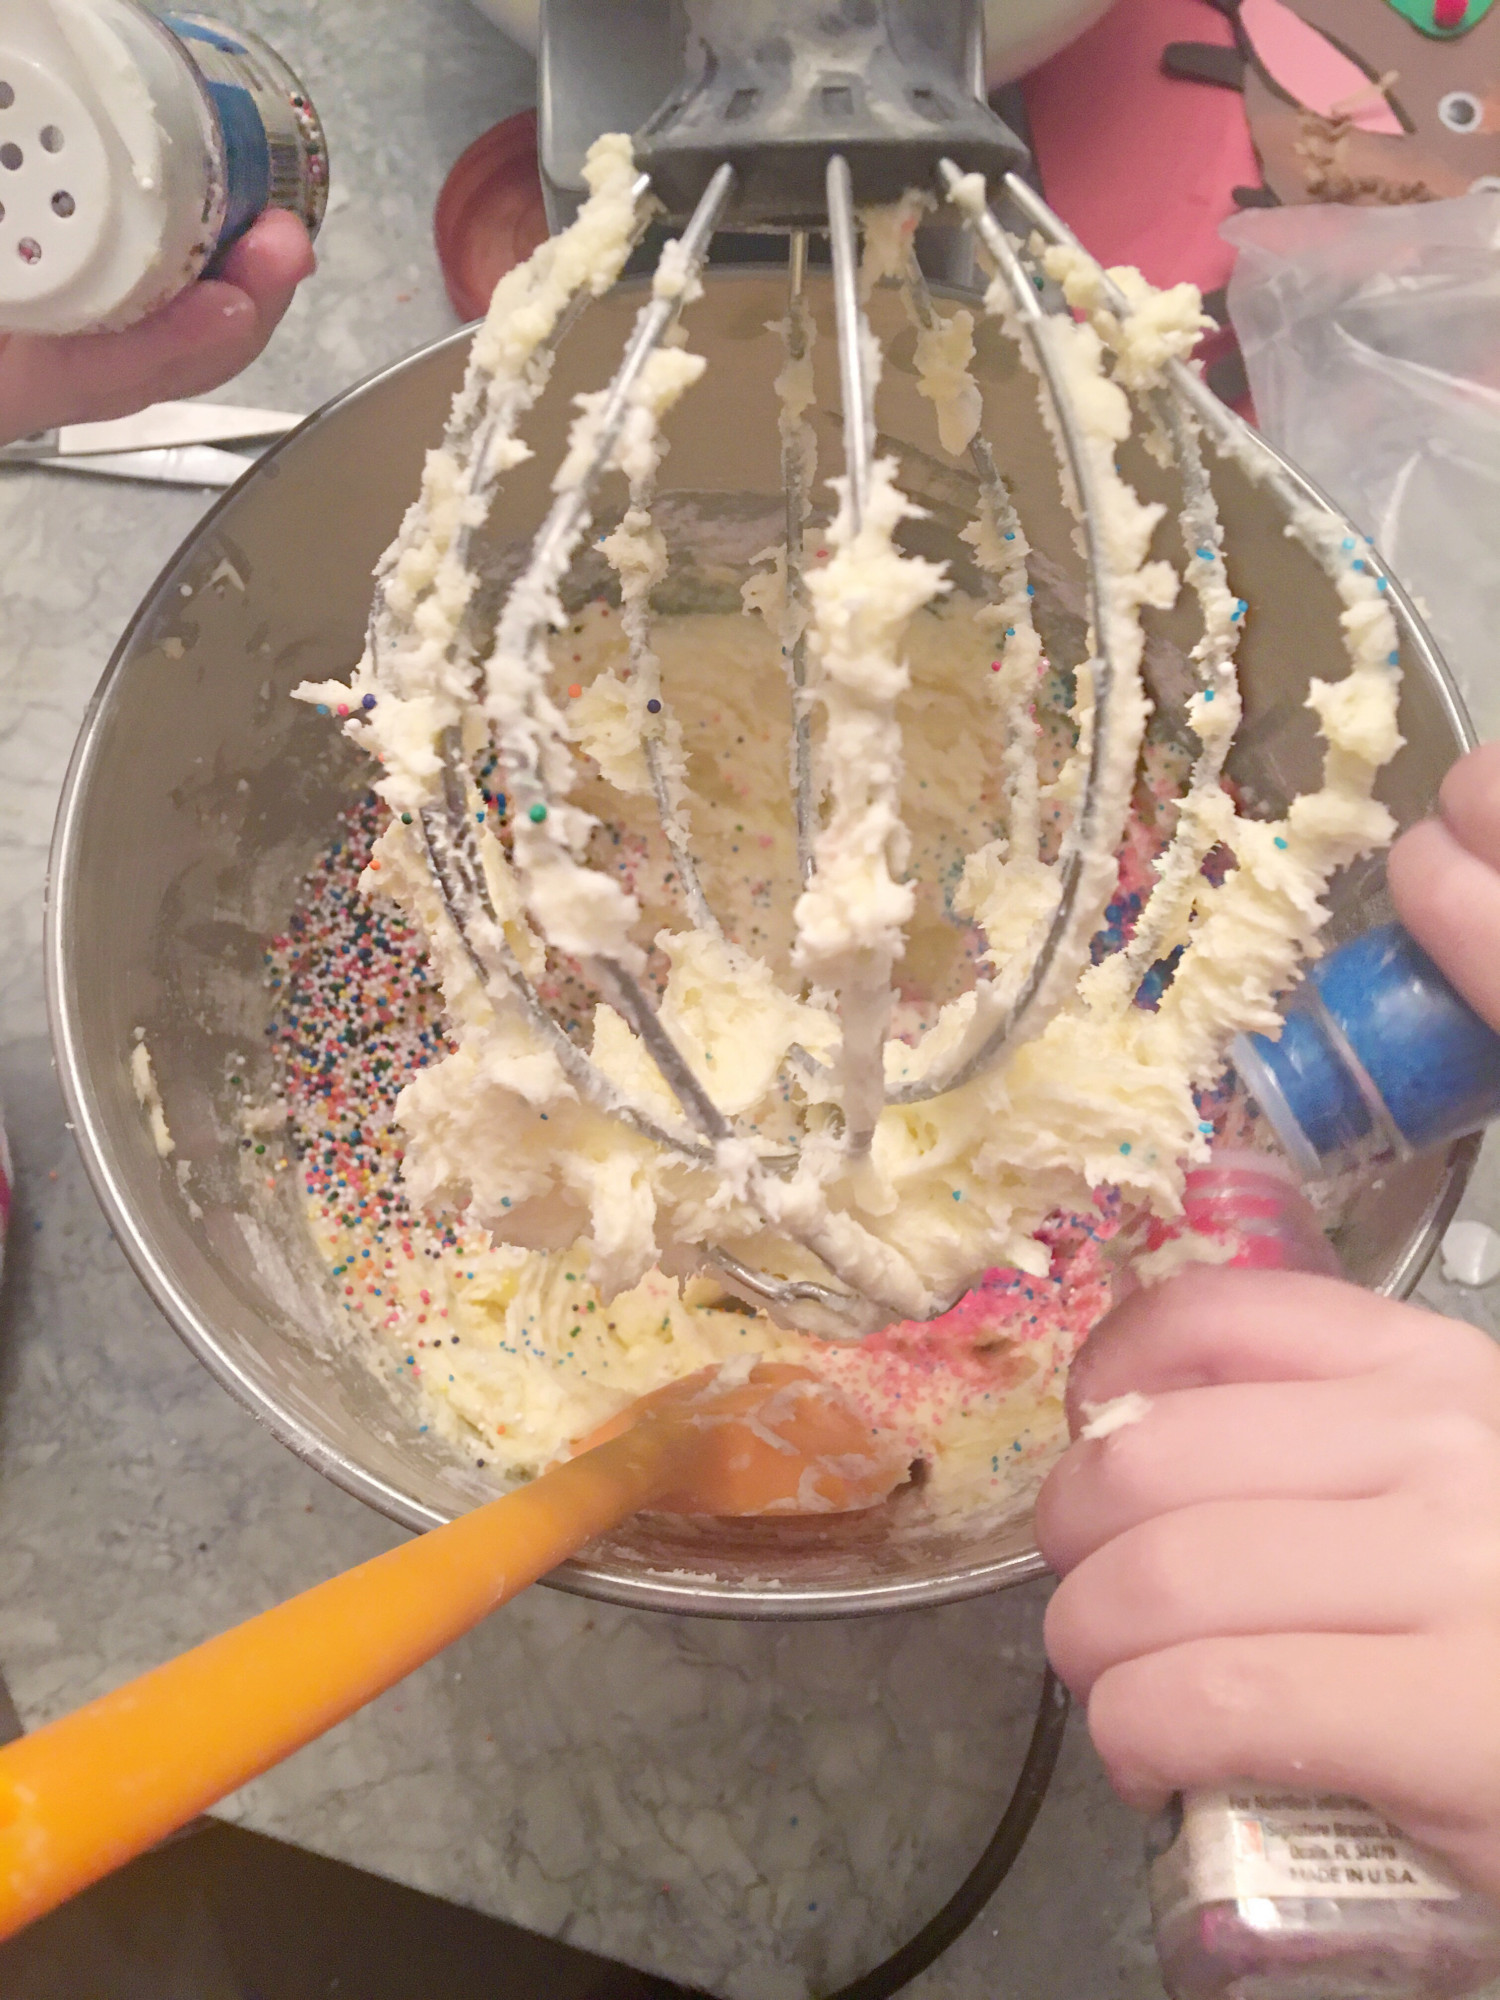
In a medium bowl, cream together butter and cream cheese. Add the egg, almond extract and cherry extract and mix until combined. Add the white cake mix and mix until combined. Stir in  ½ cup of sprinkles. Cover bowl with plastic wrap and refrigerate for at least one hour or up to 24 hours. The longer the dough chills, the less sticky it will be.
Preheat oven to 350 degrees.

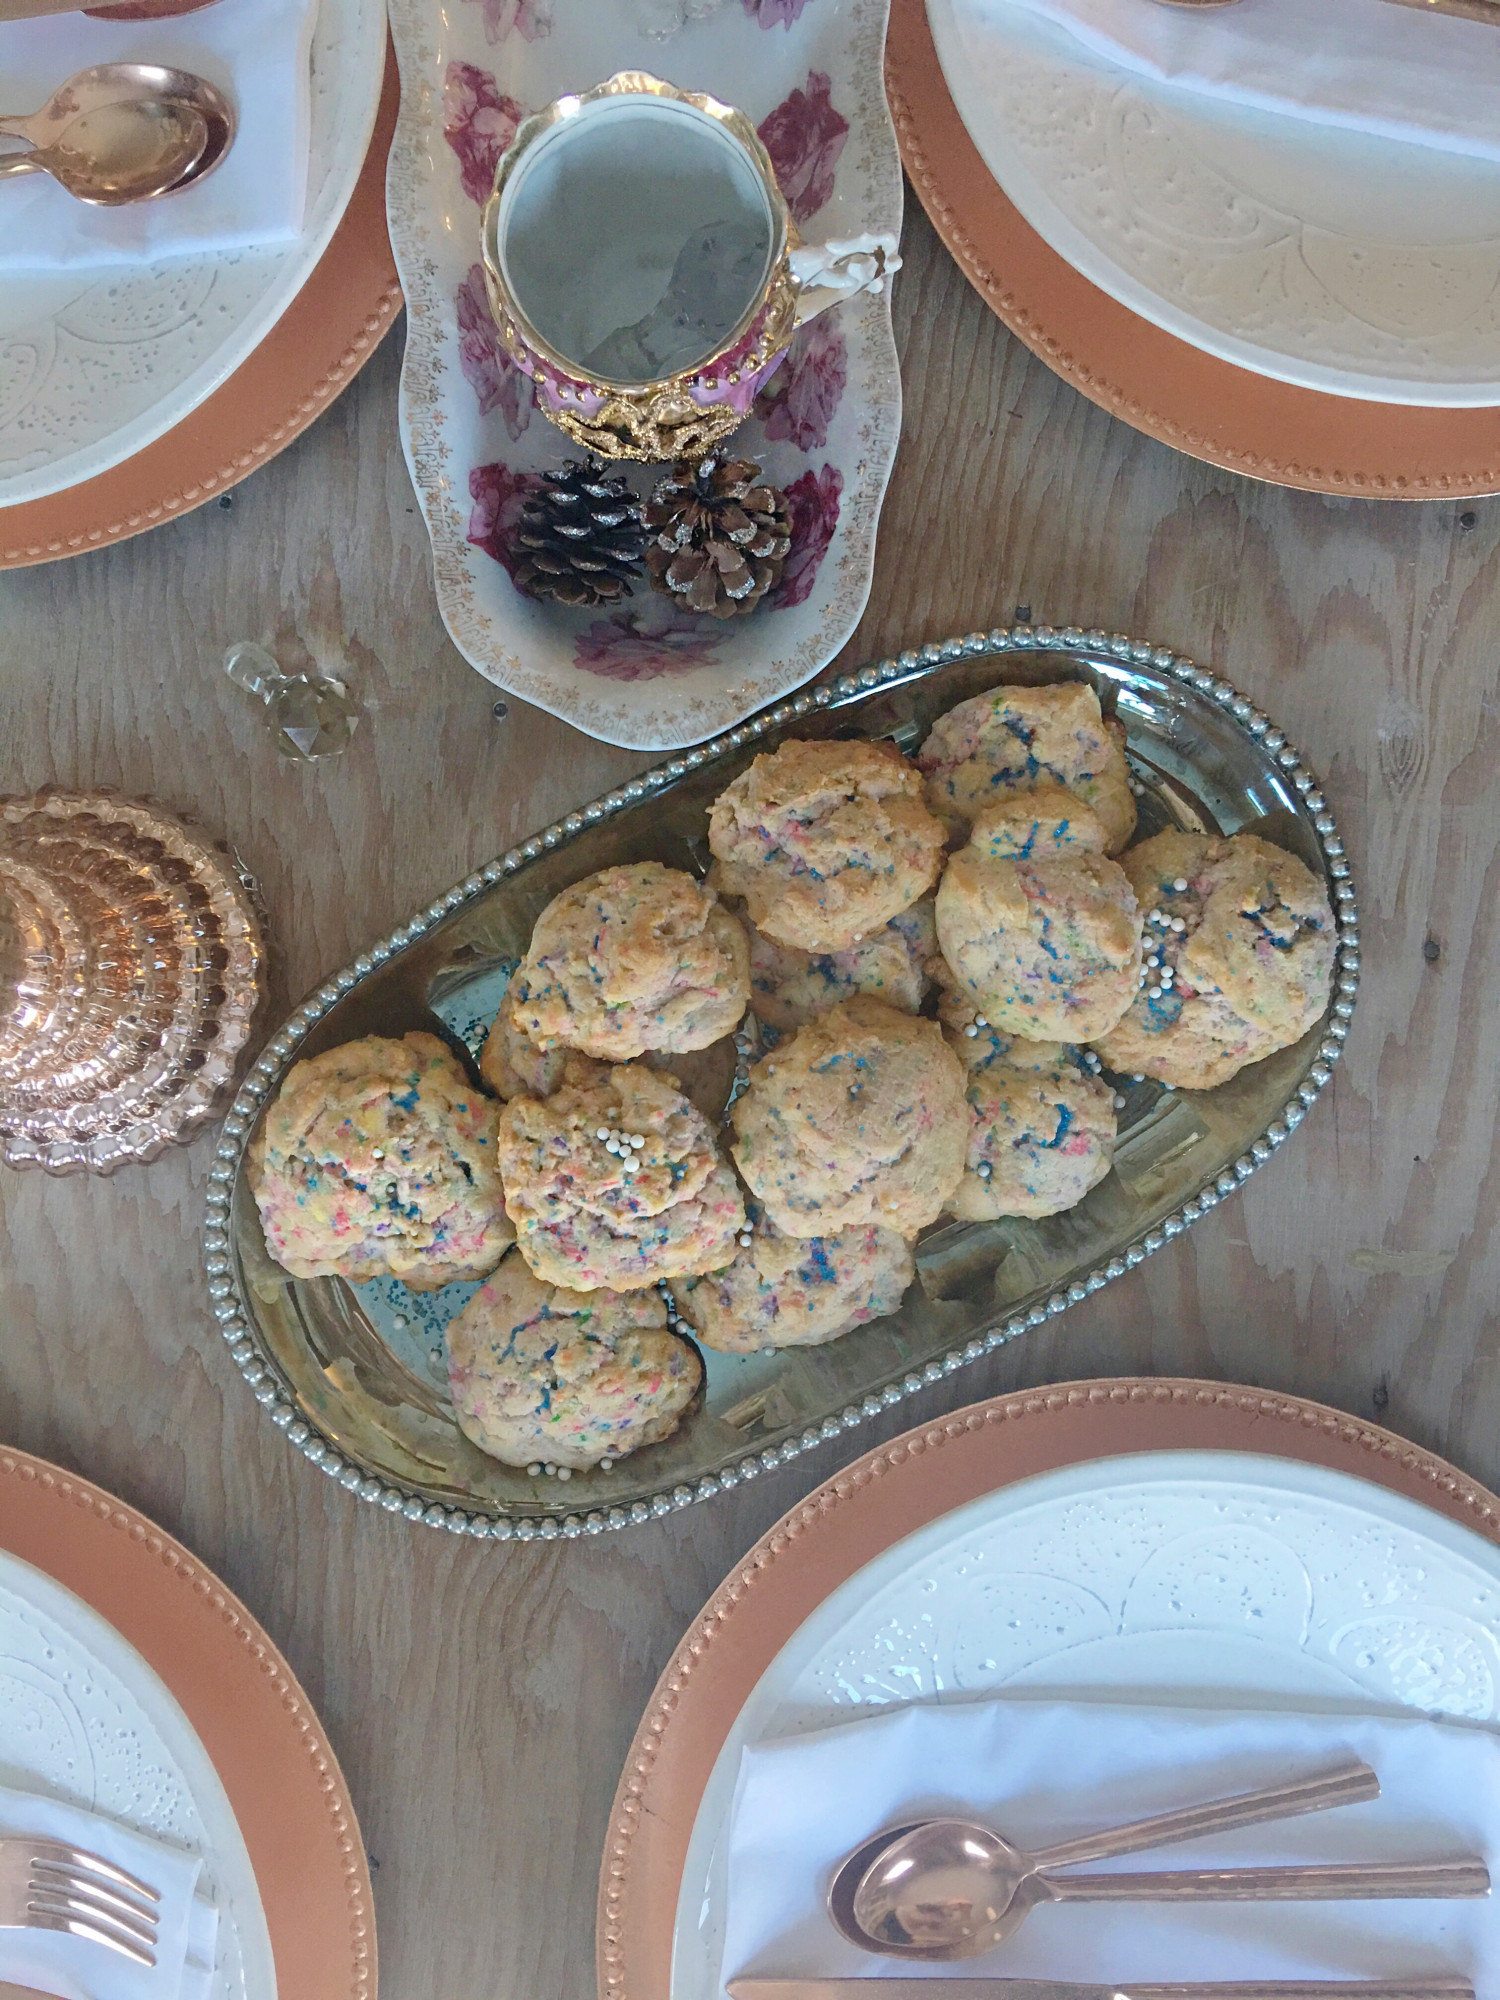
Bake for 10 minutes. Allow cookies to cool on cookie sheet for two minutes before removing to wire rack. Makes around 42 small cookies.

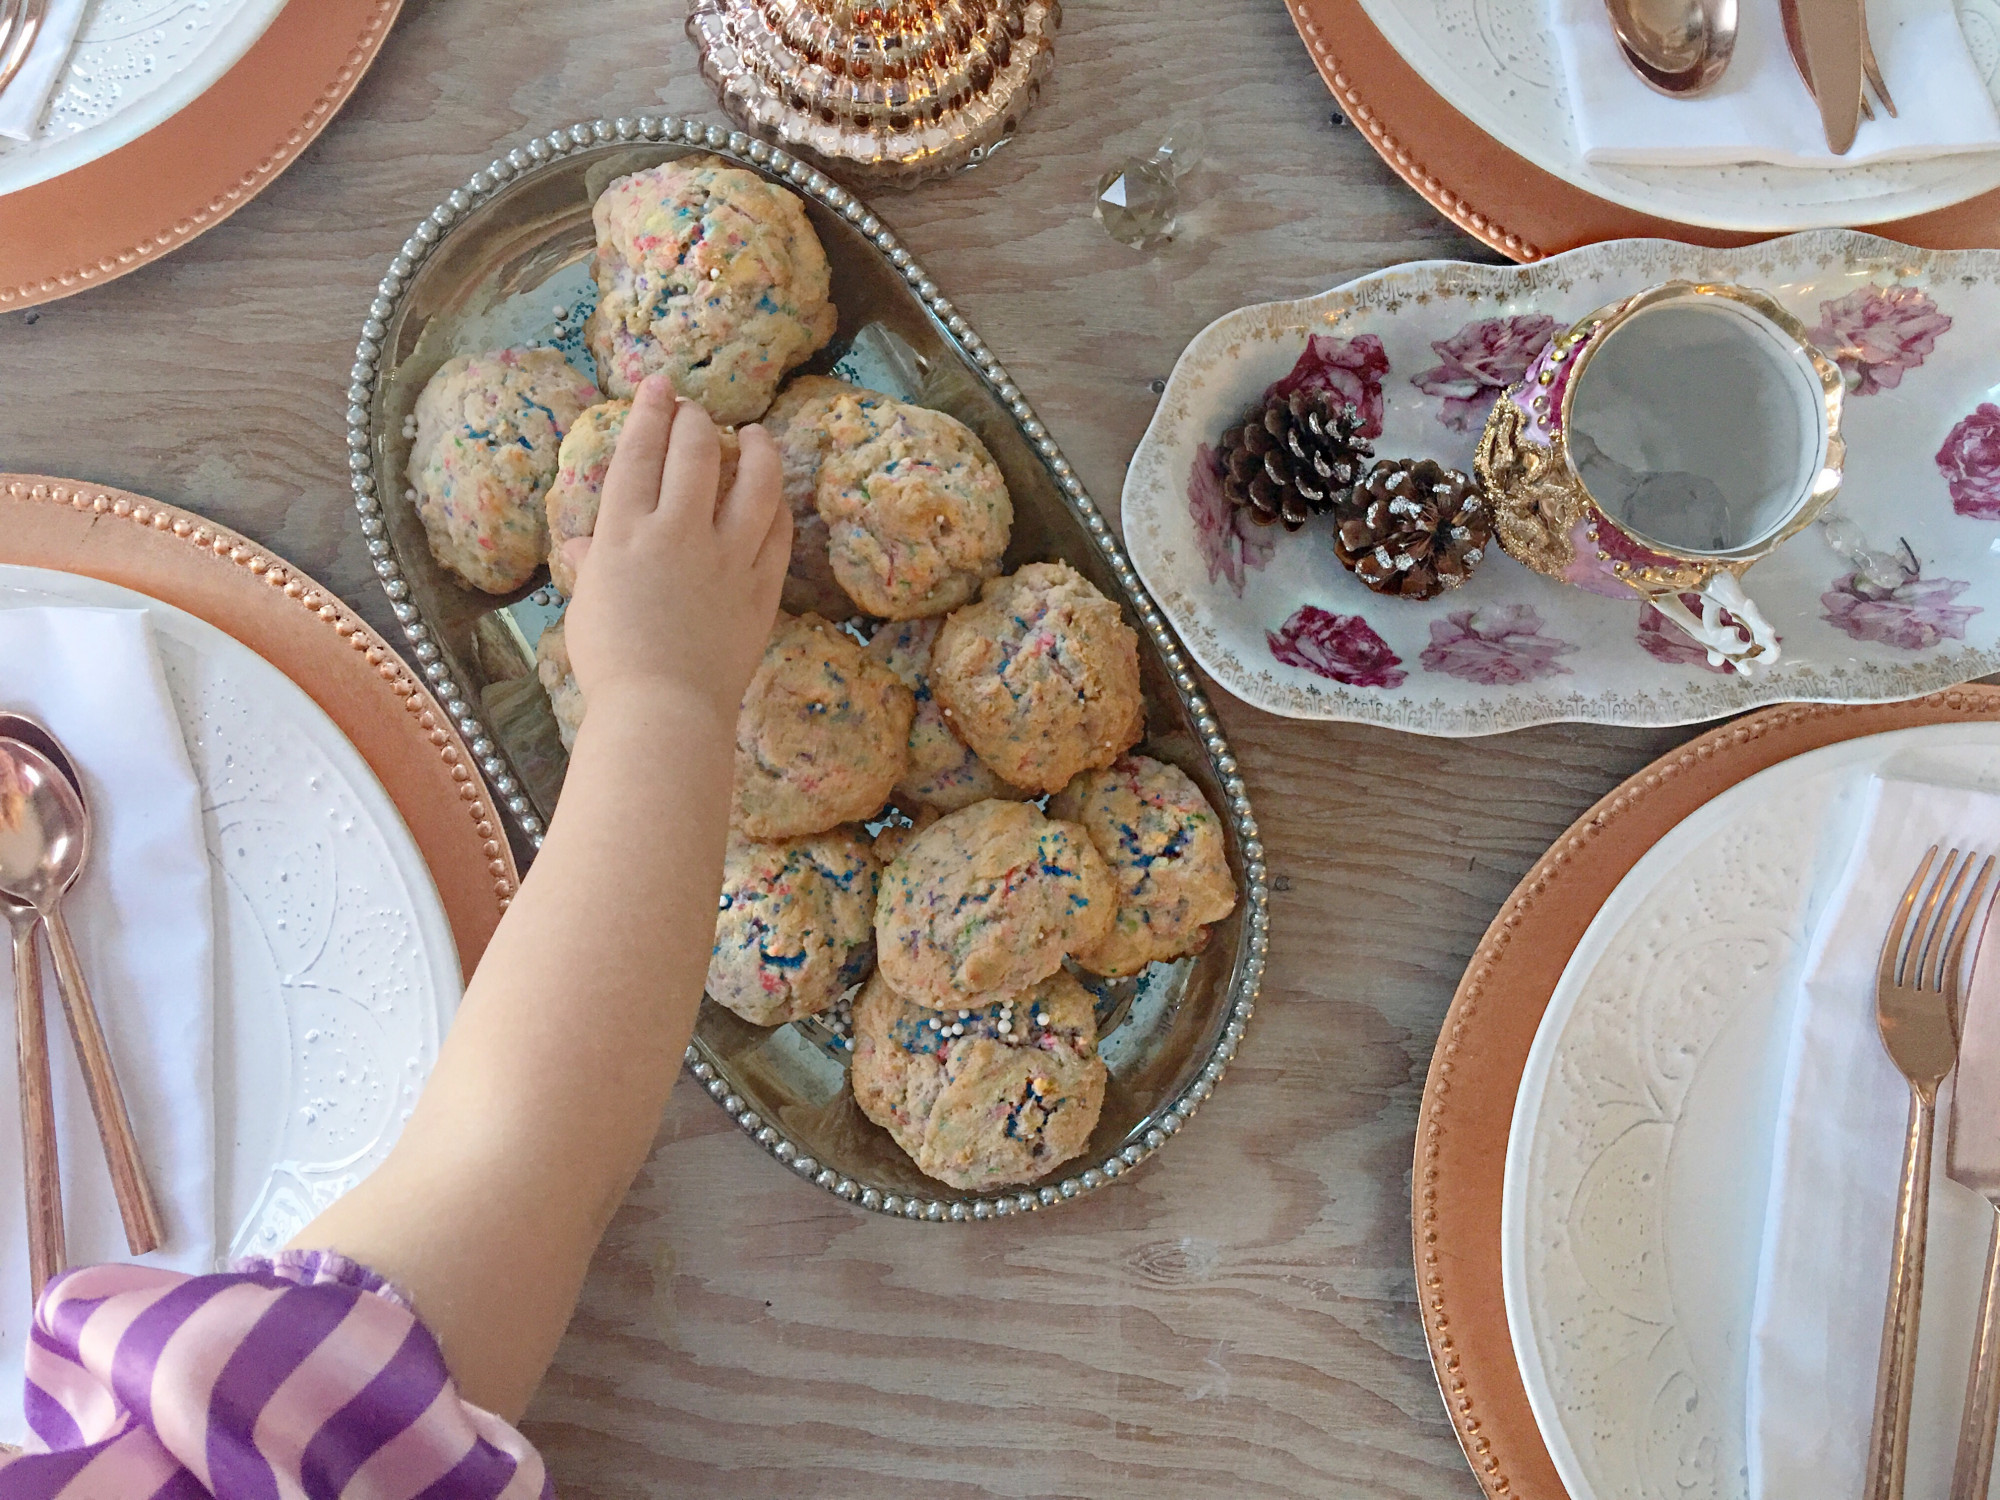
You can add any colored sprinkles, go traditional with reds and greens or like we chose, coordinate your cookies with your home’s Christmas decor. 😉

These cookies are amazing. I would describe them as somewhere between a cookie and a soft, gooey muffin. So yummy and our daughters definitely approved!

I hope you have a wonderful holiday! If you decide to make these cookies I would love to know what you think! Thank you so much for joining our cookie exchange! Make sure to follow the other talented ladies below to see what goodness they’re sharing today!

xo, Merry Christmas, Susan

Craftberry Bush | Ella Claire | My Sweet Savannah

Kindred Vintage | French Country Cottage | Jennifer Rizzo

Oh pretty Presents

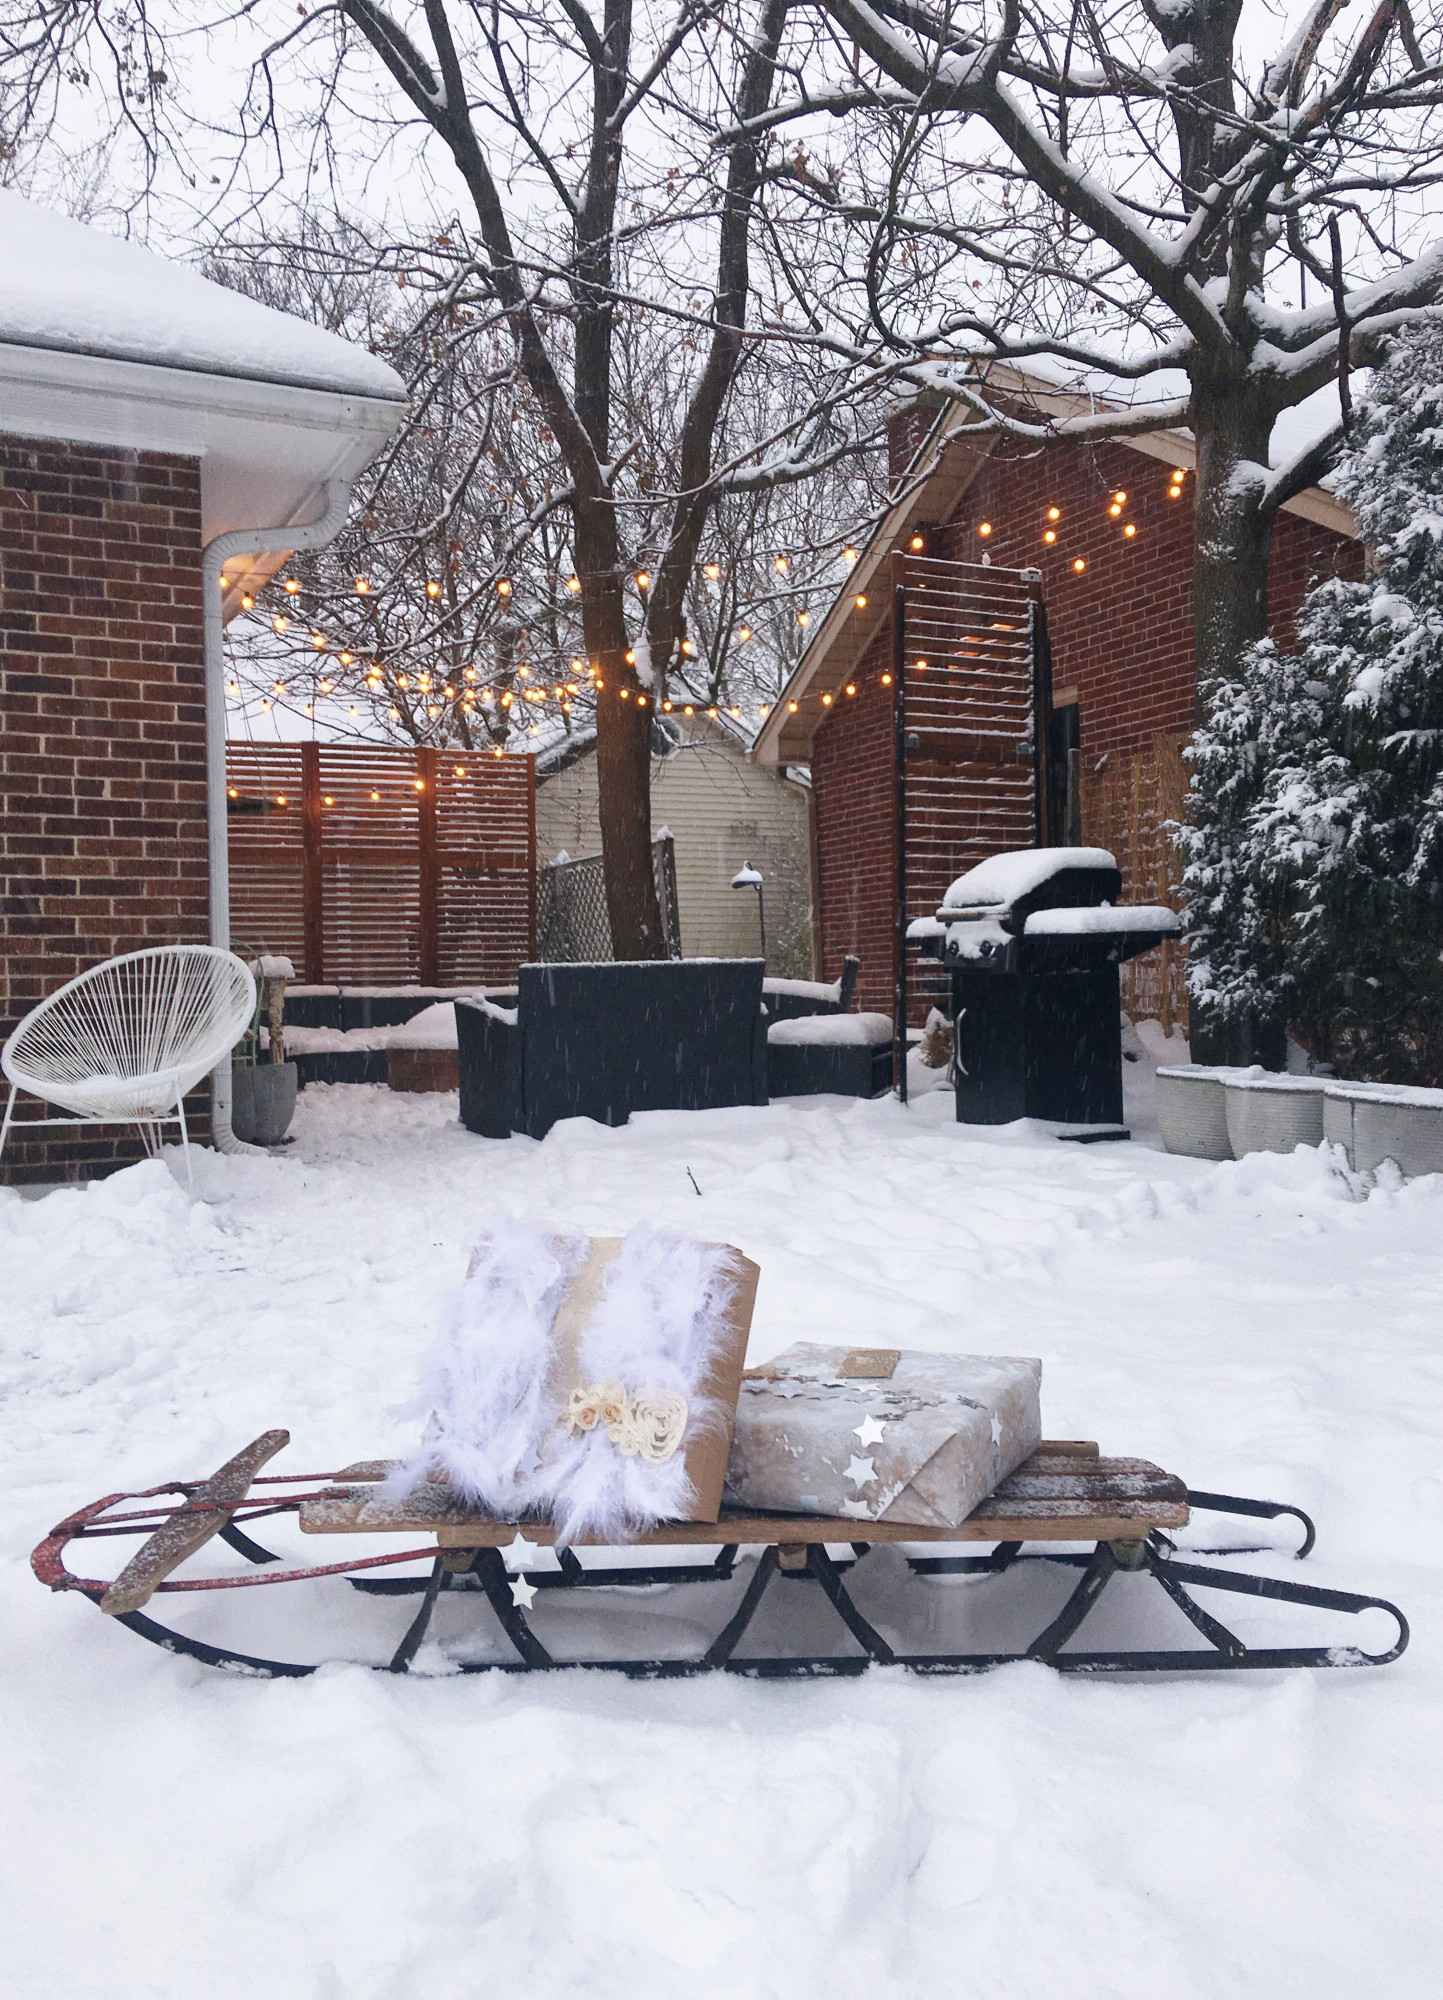
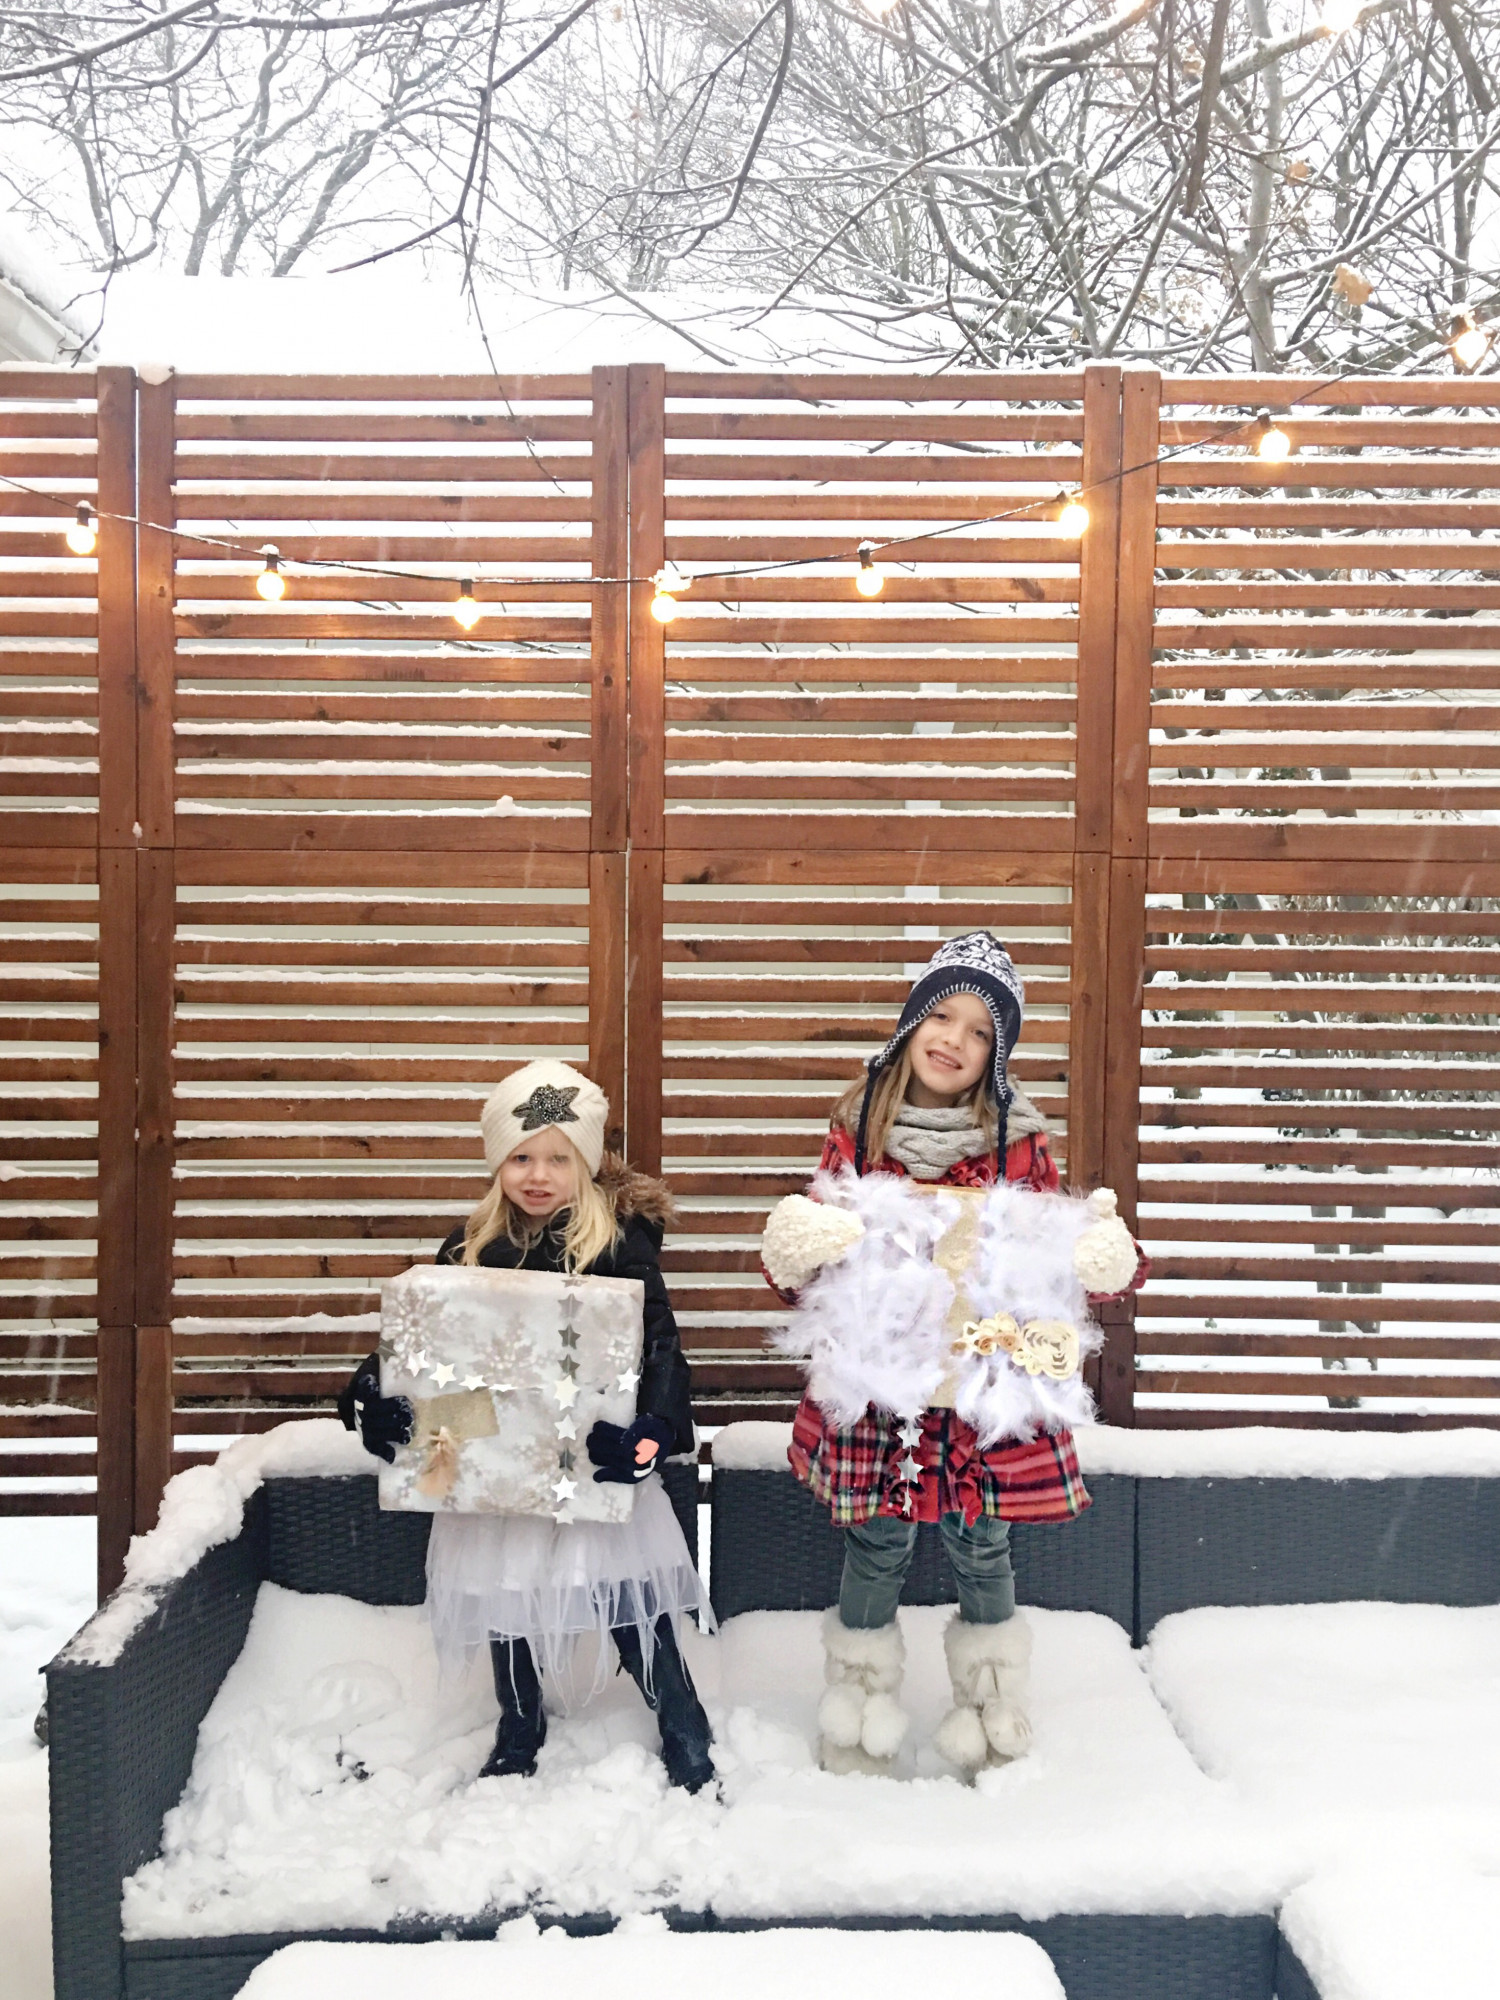
Let it snow, let it snow, let it snow. We just love This season and although it is so much bigger and more meaningful than the Jolly Old Man In Red, having kids who believe makes the season that much more fun, and along with all the fun, comes presents!

img_5514

I’m so happy to be back with another post for the Farmhouse Holiday Series. It has been such a joy to be a blogger in this series! I am truly blown away by the talented the other women in the group share.
Farmhouse Holiday Decor Series

This is a bit of a different post for me. Not only is it a DIY post, it is an ‘on a whim, stuck in a pickle post’. 🙂 My Minted wrapping has not arrived in the mail yet, so in the meantime, I am going to show you what to do if you’re stuck at home in a blizzard without wrapping paper and have gifts to give! 😉

img_5515

I started off by looking around at my home decor and the freshly fallen snow outside the window and then headed down to the basement where my craft supplies is stored for some more inspiration. I came across some gold glittered paper, feathers, spray paint and brown paper. Done, I had everything I needed.

img_5510

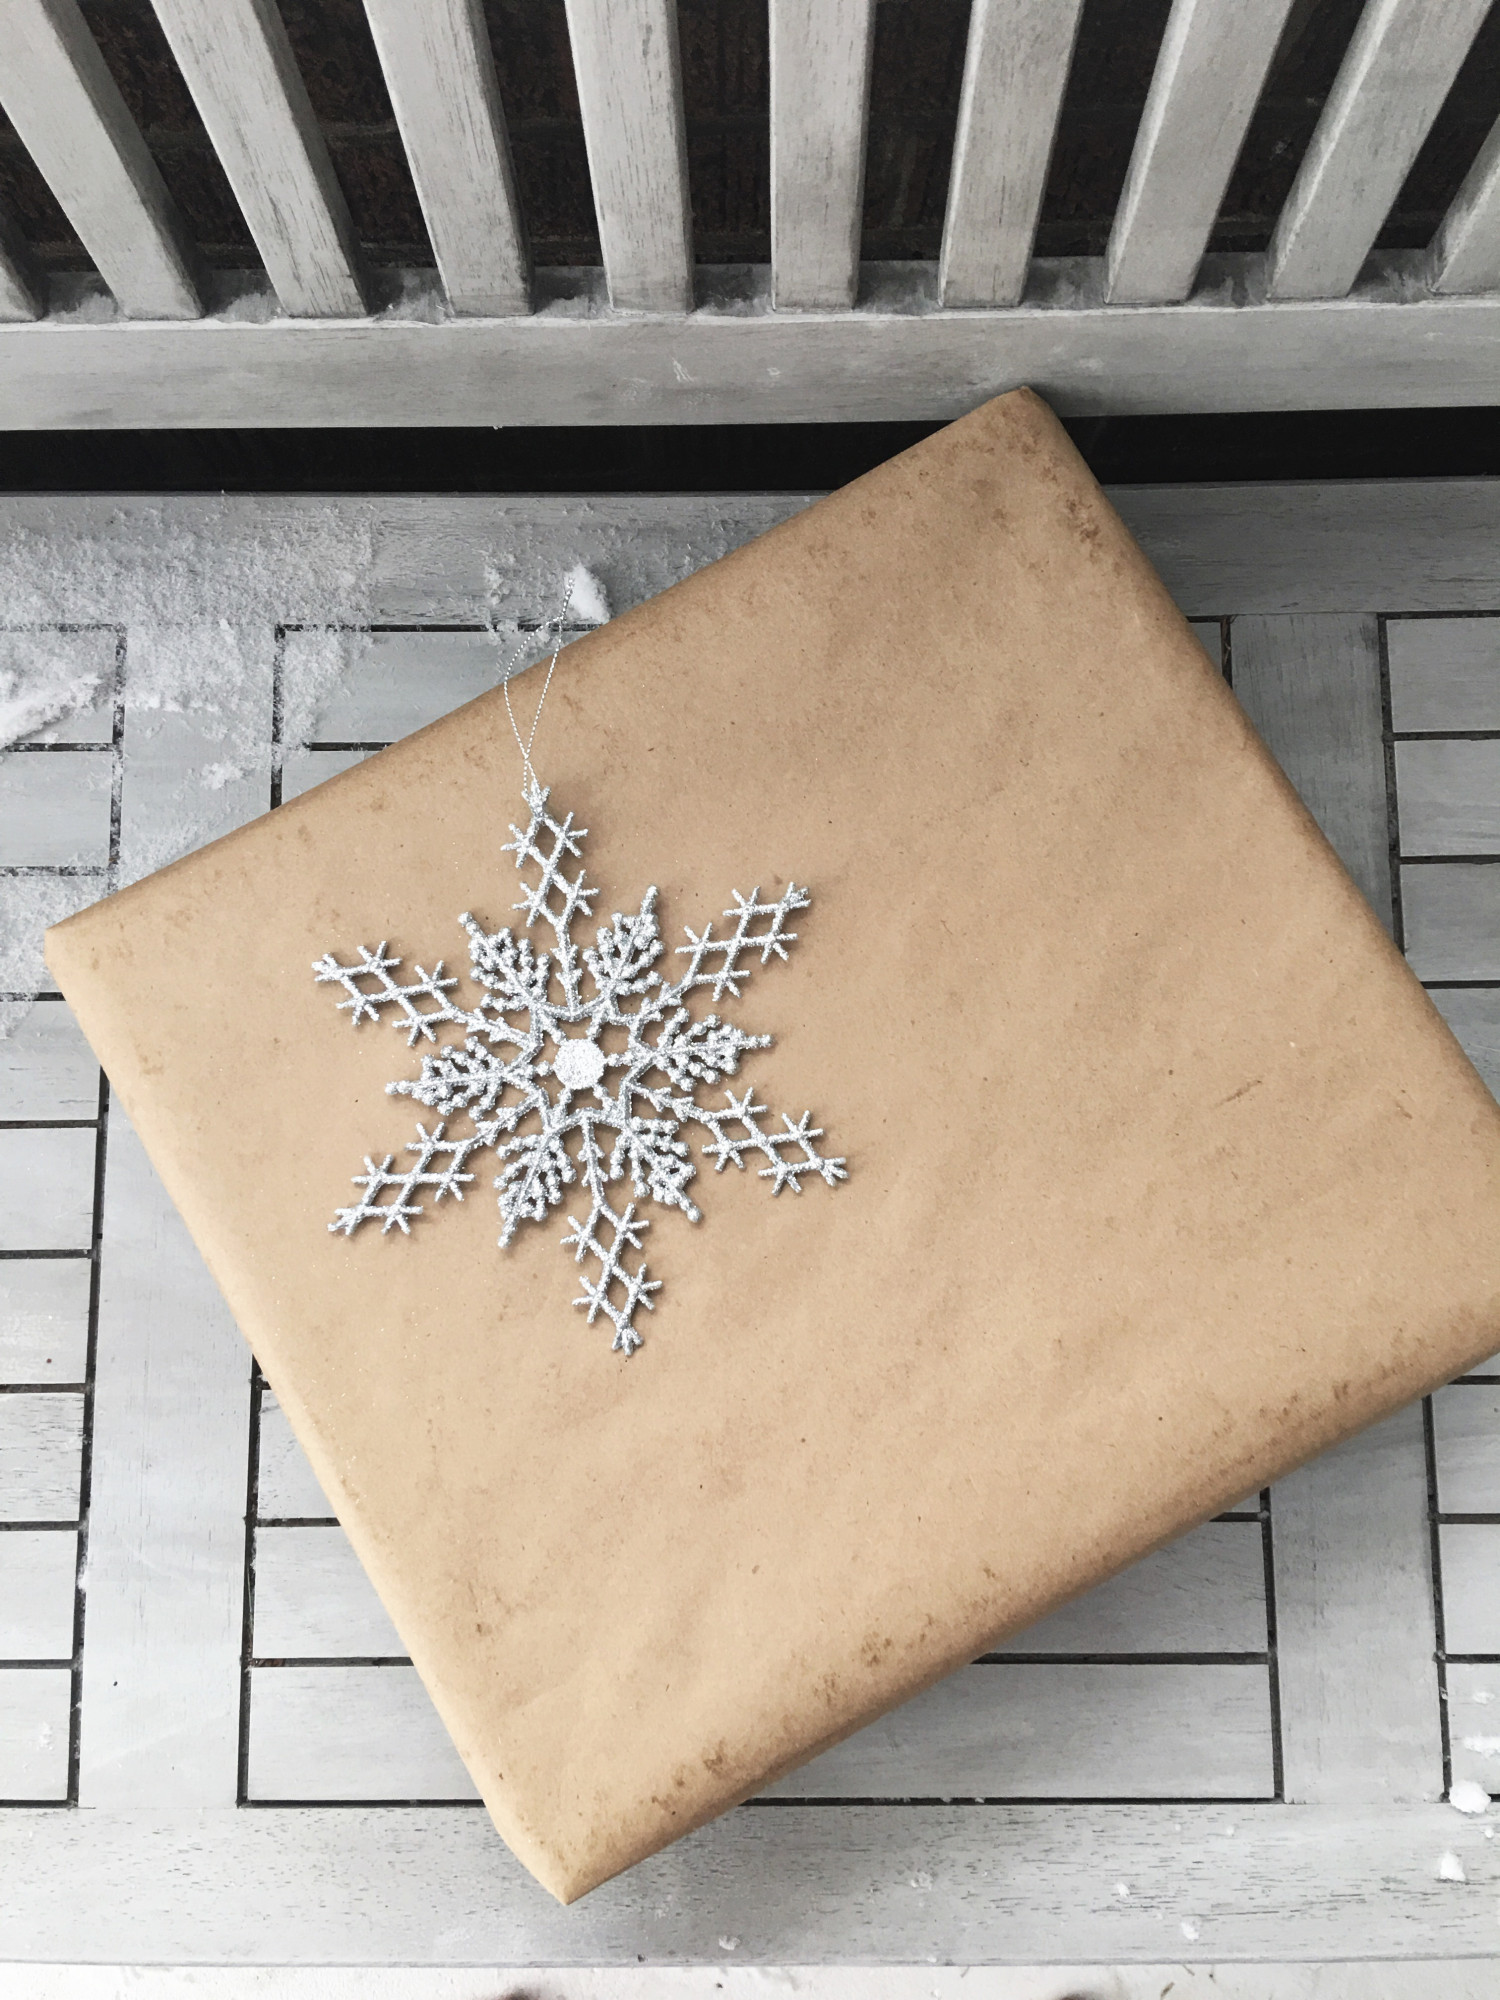
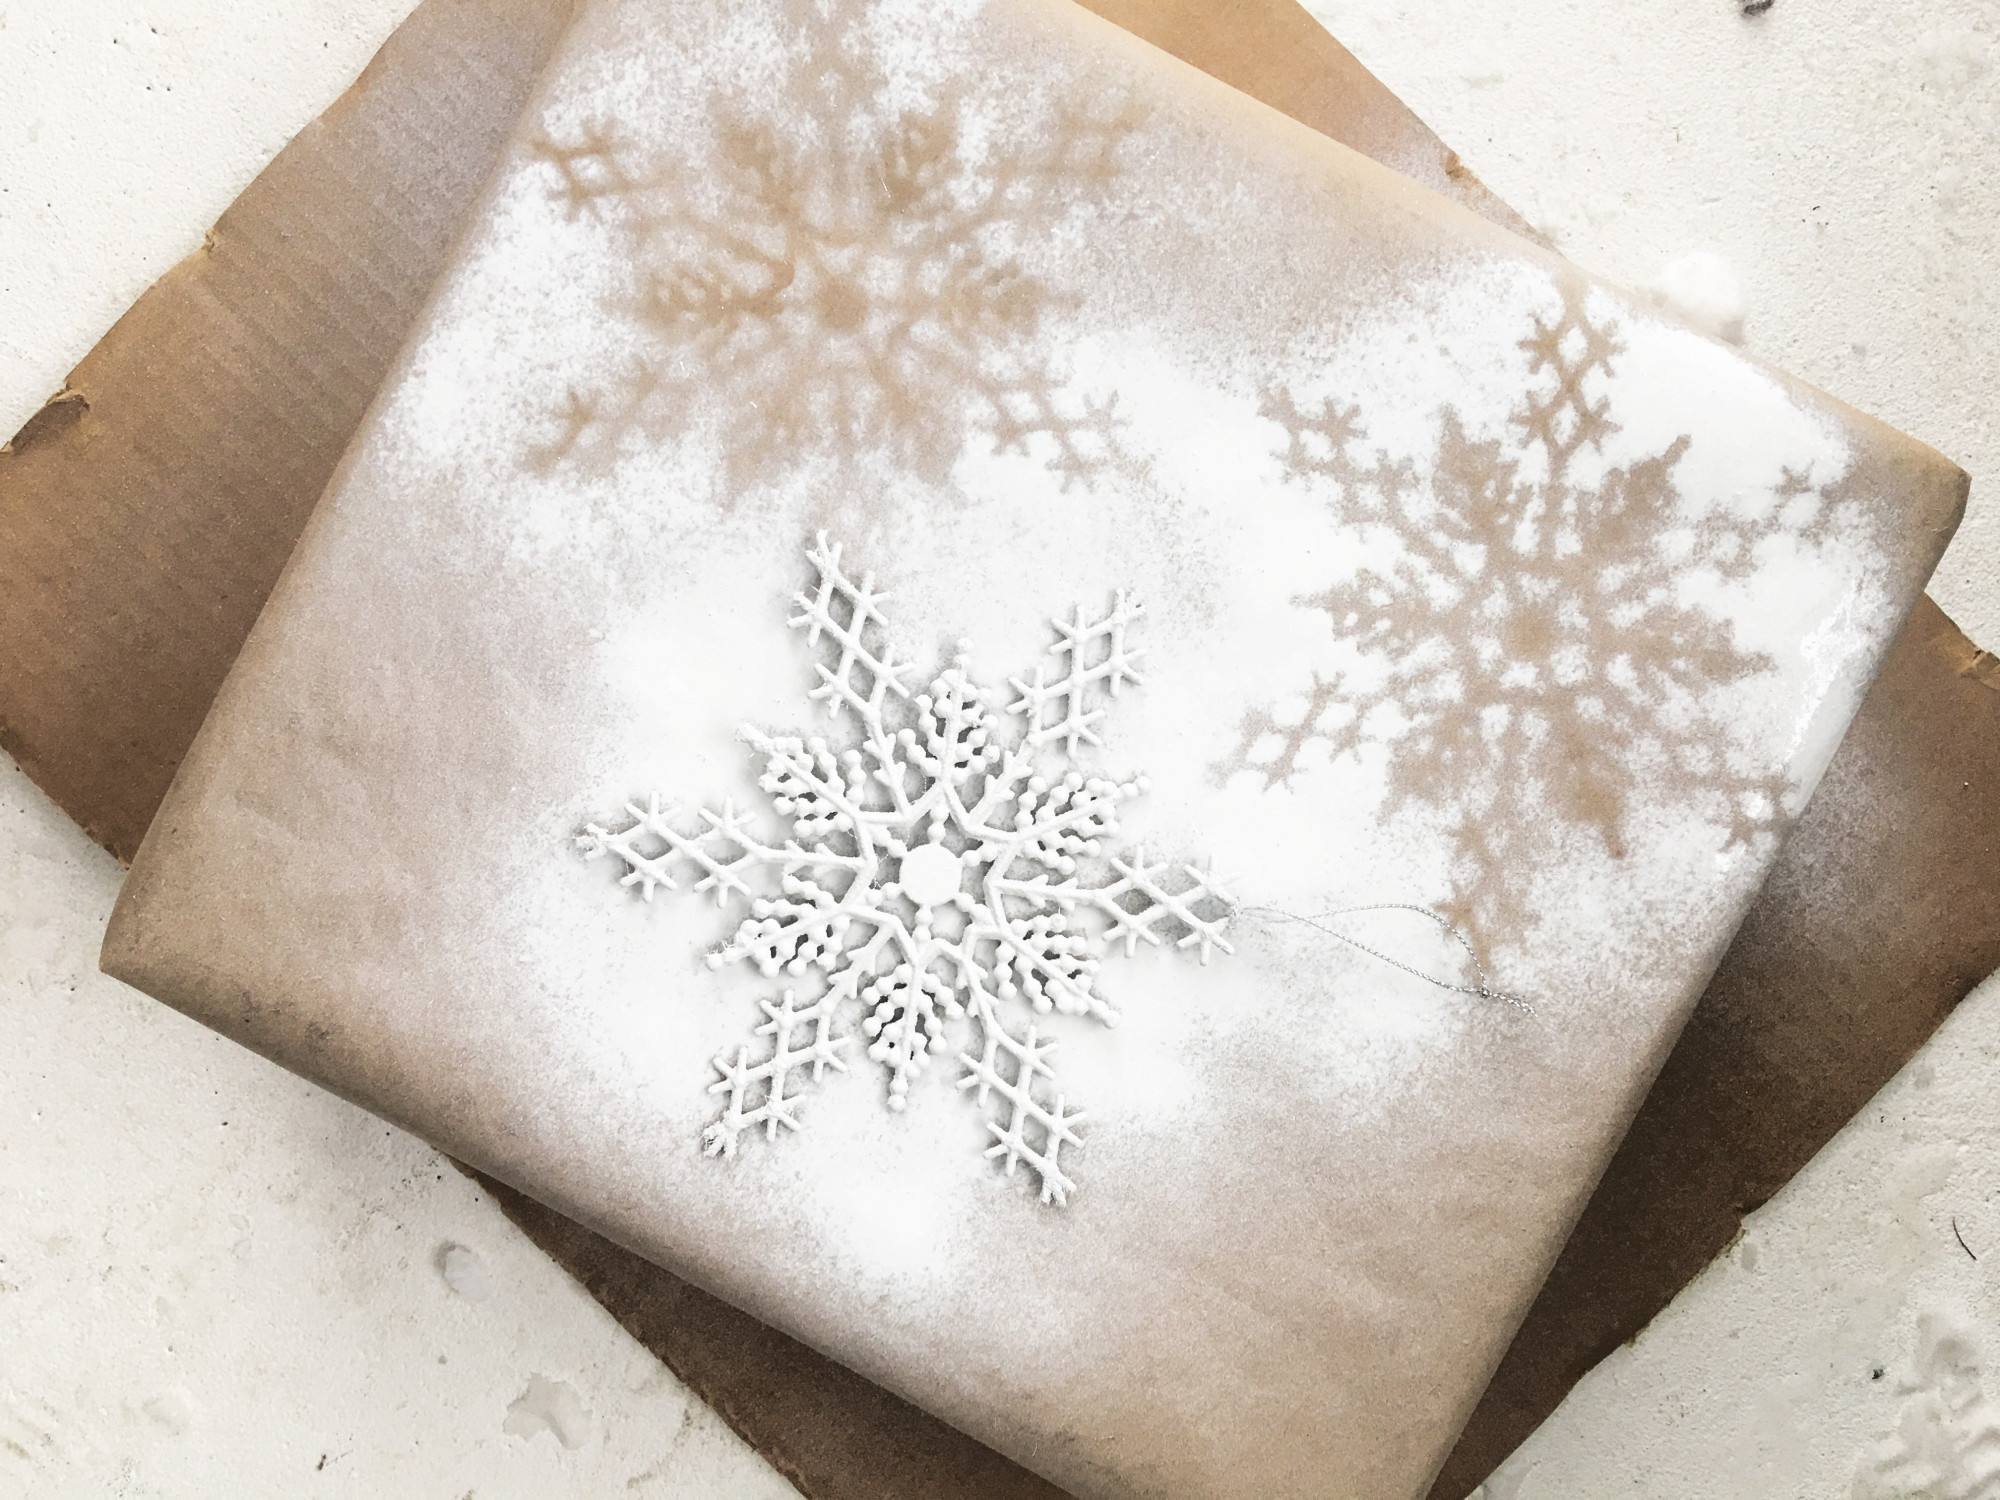
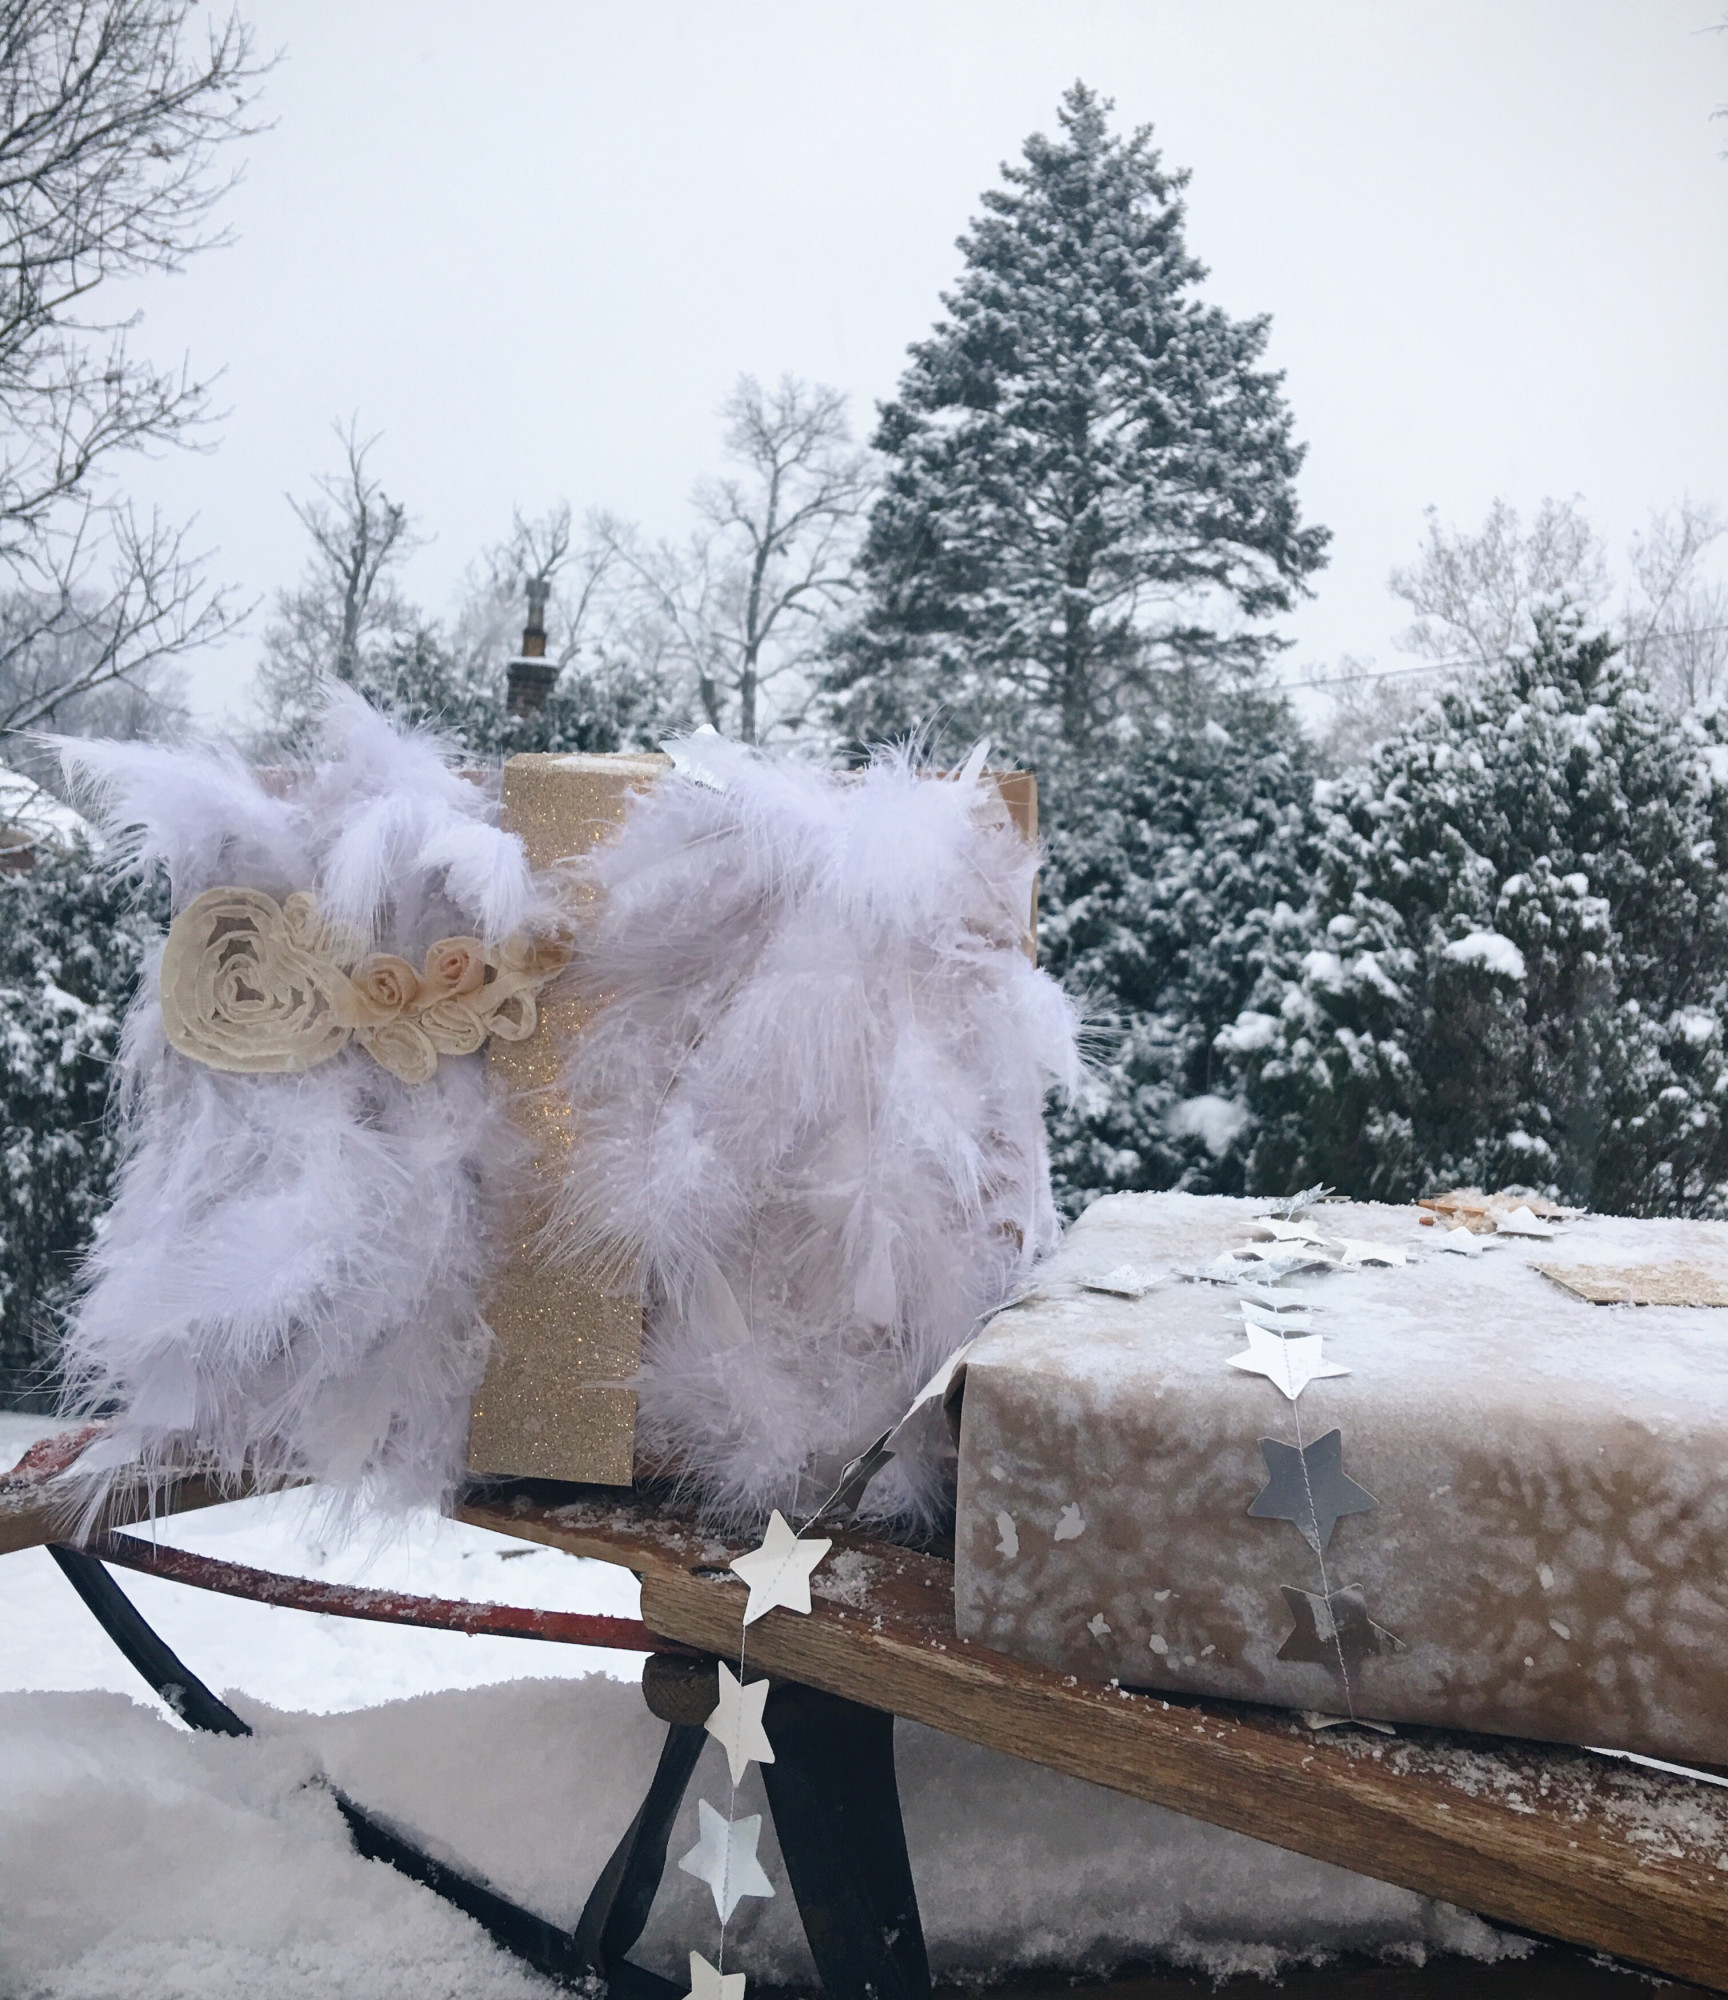
I wanted some softness under the tree so for my first wrapping job I grabbed the brown paper and wrapped my first gift. I then grabbed an ornament off the tree that I had duplicates of and wouldn’t mind losing. It was a snowflake and it went perfectly with my snowy vision. I took it outside onto our porch and gently sprayed white paint over the ornament, moving it slightly, not in any specific manner, just enough to cover the paper. Then let dry for a few minutes before bringing it inside. Once inside I added some star garland I had left over from last year and it was a wrap! 😉

img_5511img_5520

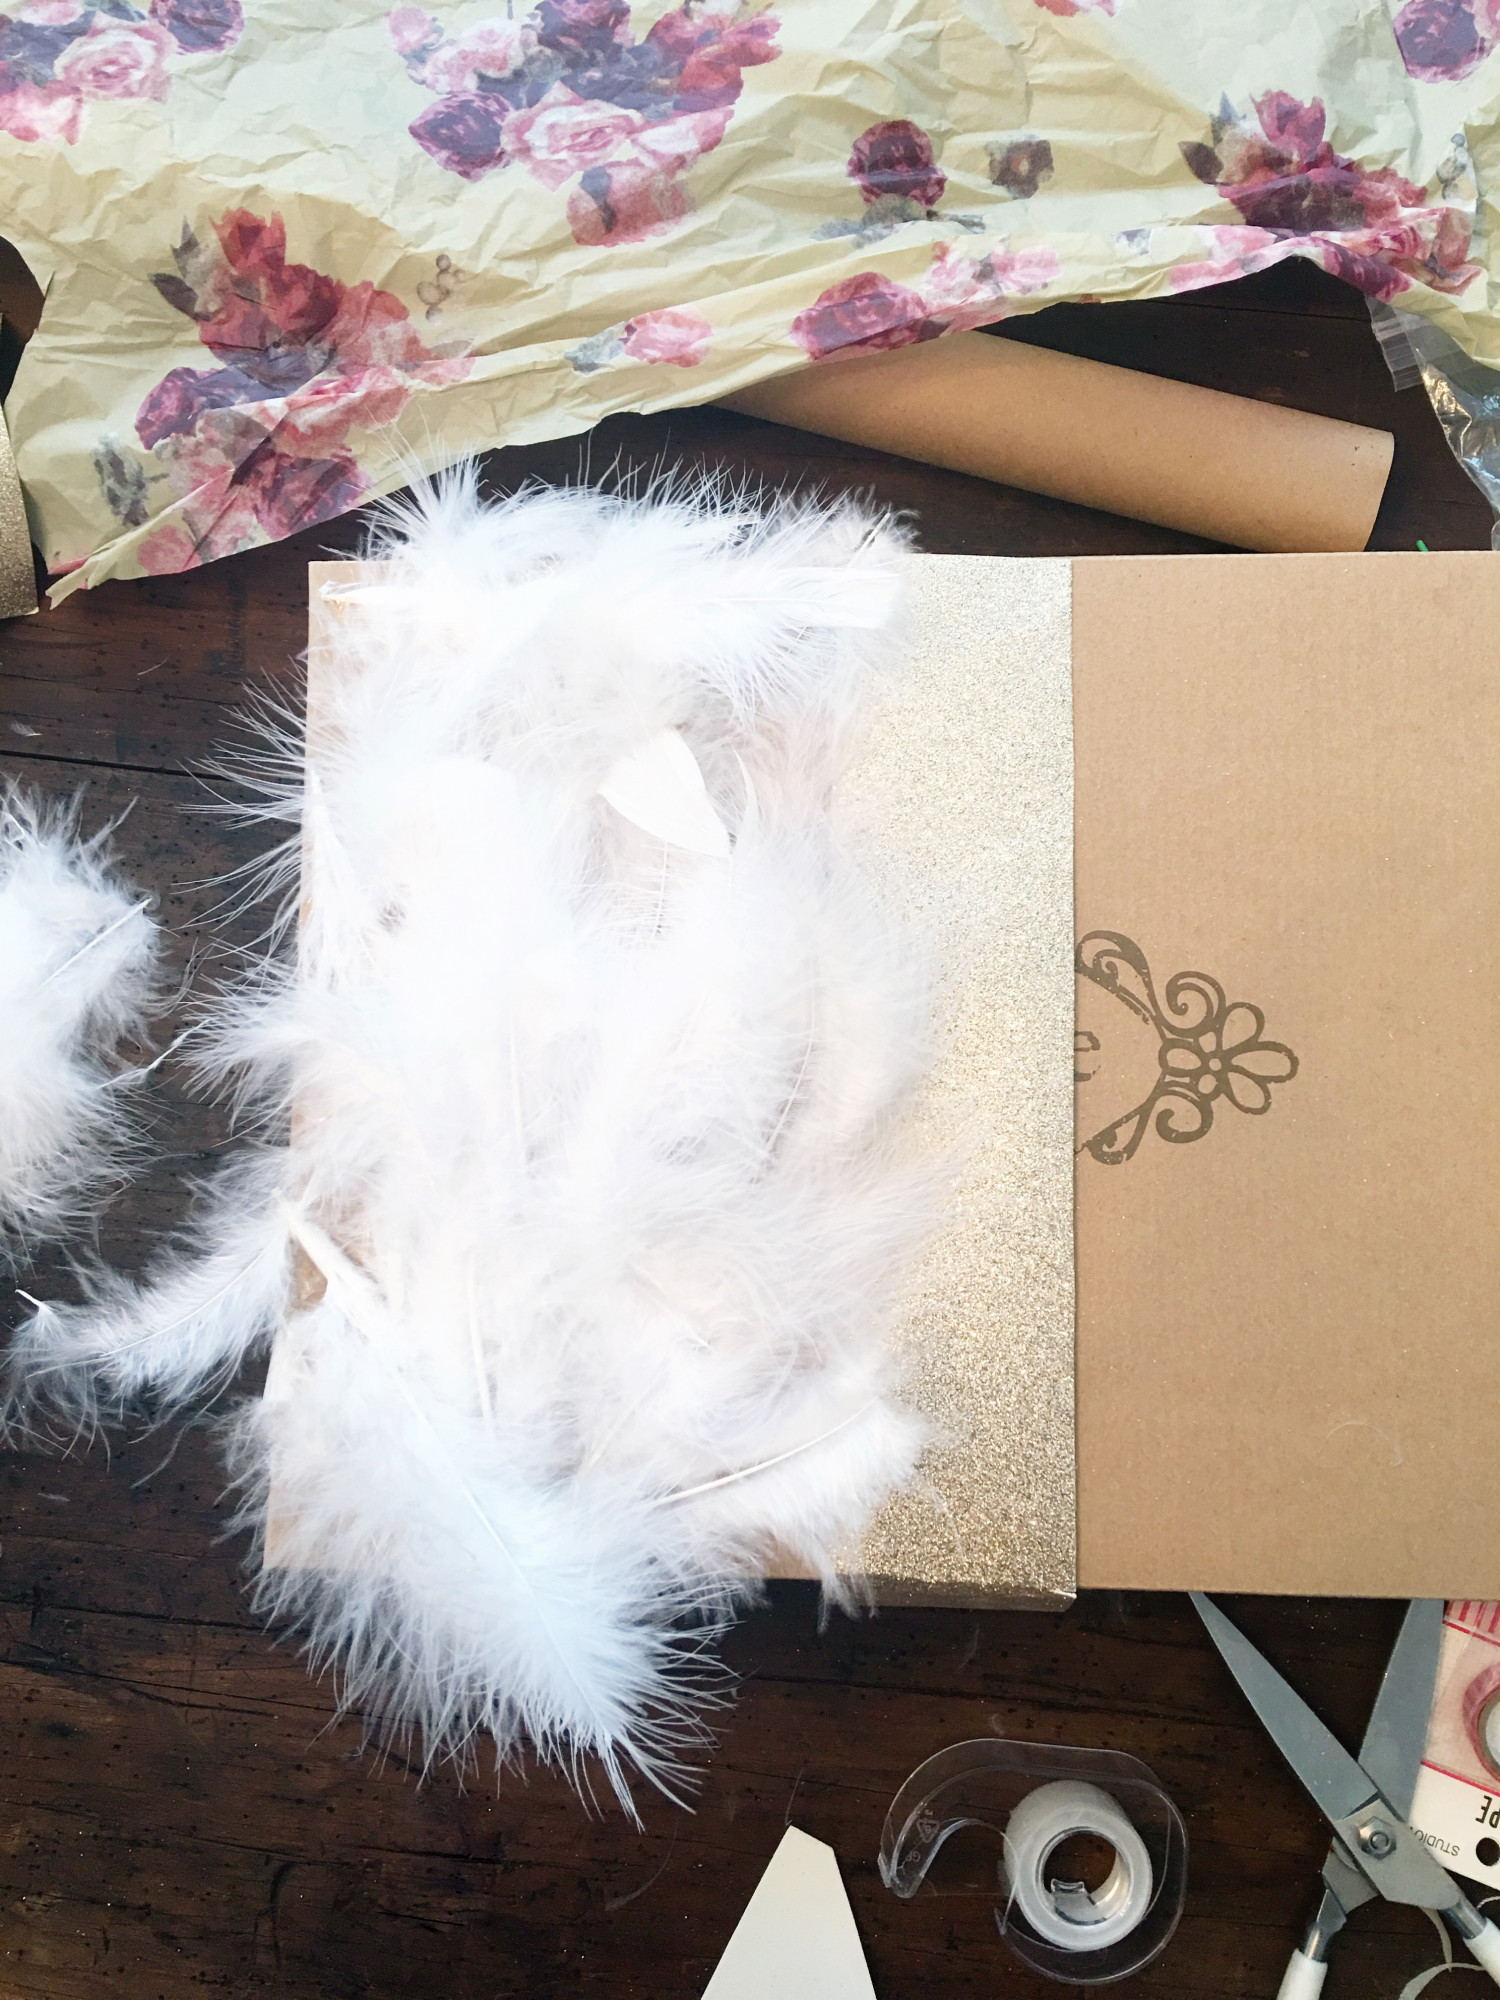
The next package I wanted to try something a bit different and out of the ordinary. I believe it’s due to my love of all things fluffy and furry lately (pillows, faux fur rugs etc) so once I saw the feathers I knew exactly what I wanted to do with them, create a wrapping paper of course!

img_5518

Since I was out of glue I tapped a strip of rose gold, glittered construction paper down the center. Then proceeded to fill in the remaining blank space by taping down the white feathers. To finish I garnished the package with a lace floral decal and I love how it turned out!

img_5516

Although the wrapping my not be perfect, it’s  perfect enough and that’s all that matters in my book! And in this neck of the woods Jolly Old Saint Nick agrees. So make the best out of what you have, and enjoy! The holidays are about having fun and relaxing, so in the midst of the hustle and bustle if a package doesnt arrive when you’d wish’d it would’ve, sigh, relax and make some hot cocoa out of that chocolate Hershey’s bar. 😉 Merry Christmas!
xoxo susan

christmasgiftwrap

Rooms For Rent

christmaswrapping

Ella Claire | Liz Marie Blog | Jeanne Oliver | Shades of Blue Interiors

christmaswrapping2

French Country Cottage | City Farmhouse | Dear Lillie | My Sweet Savannah

christmaswrapping3

Kindred Vintage | Craftberry Bush | Jennifer Rizzo

A Touch Of Farmhouse Charm

Hello friends!
img_5470

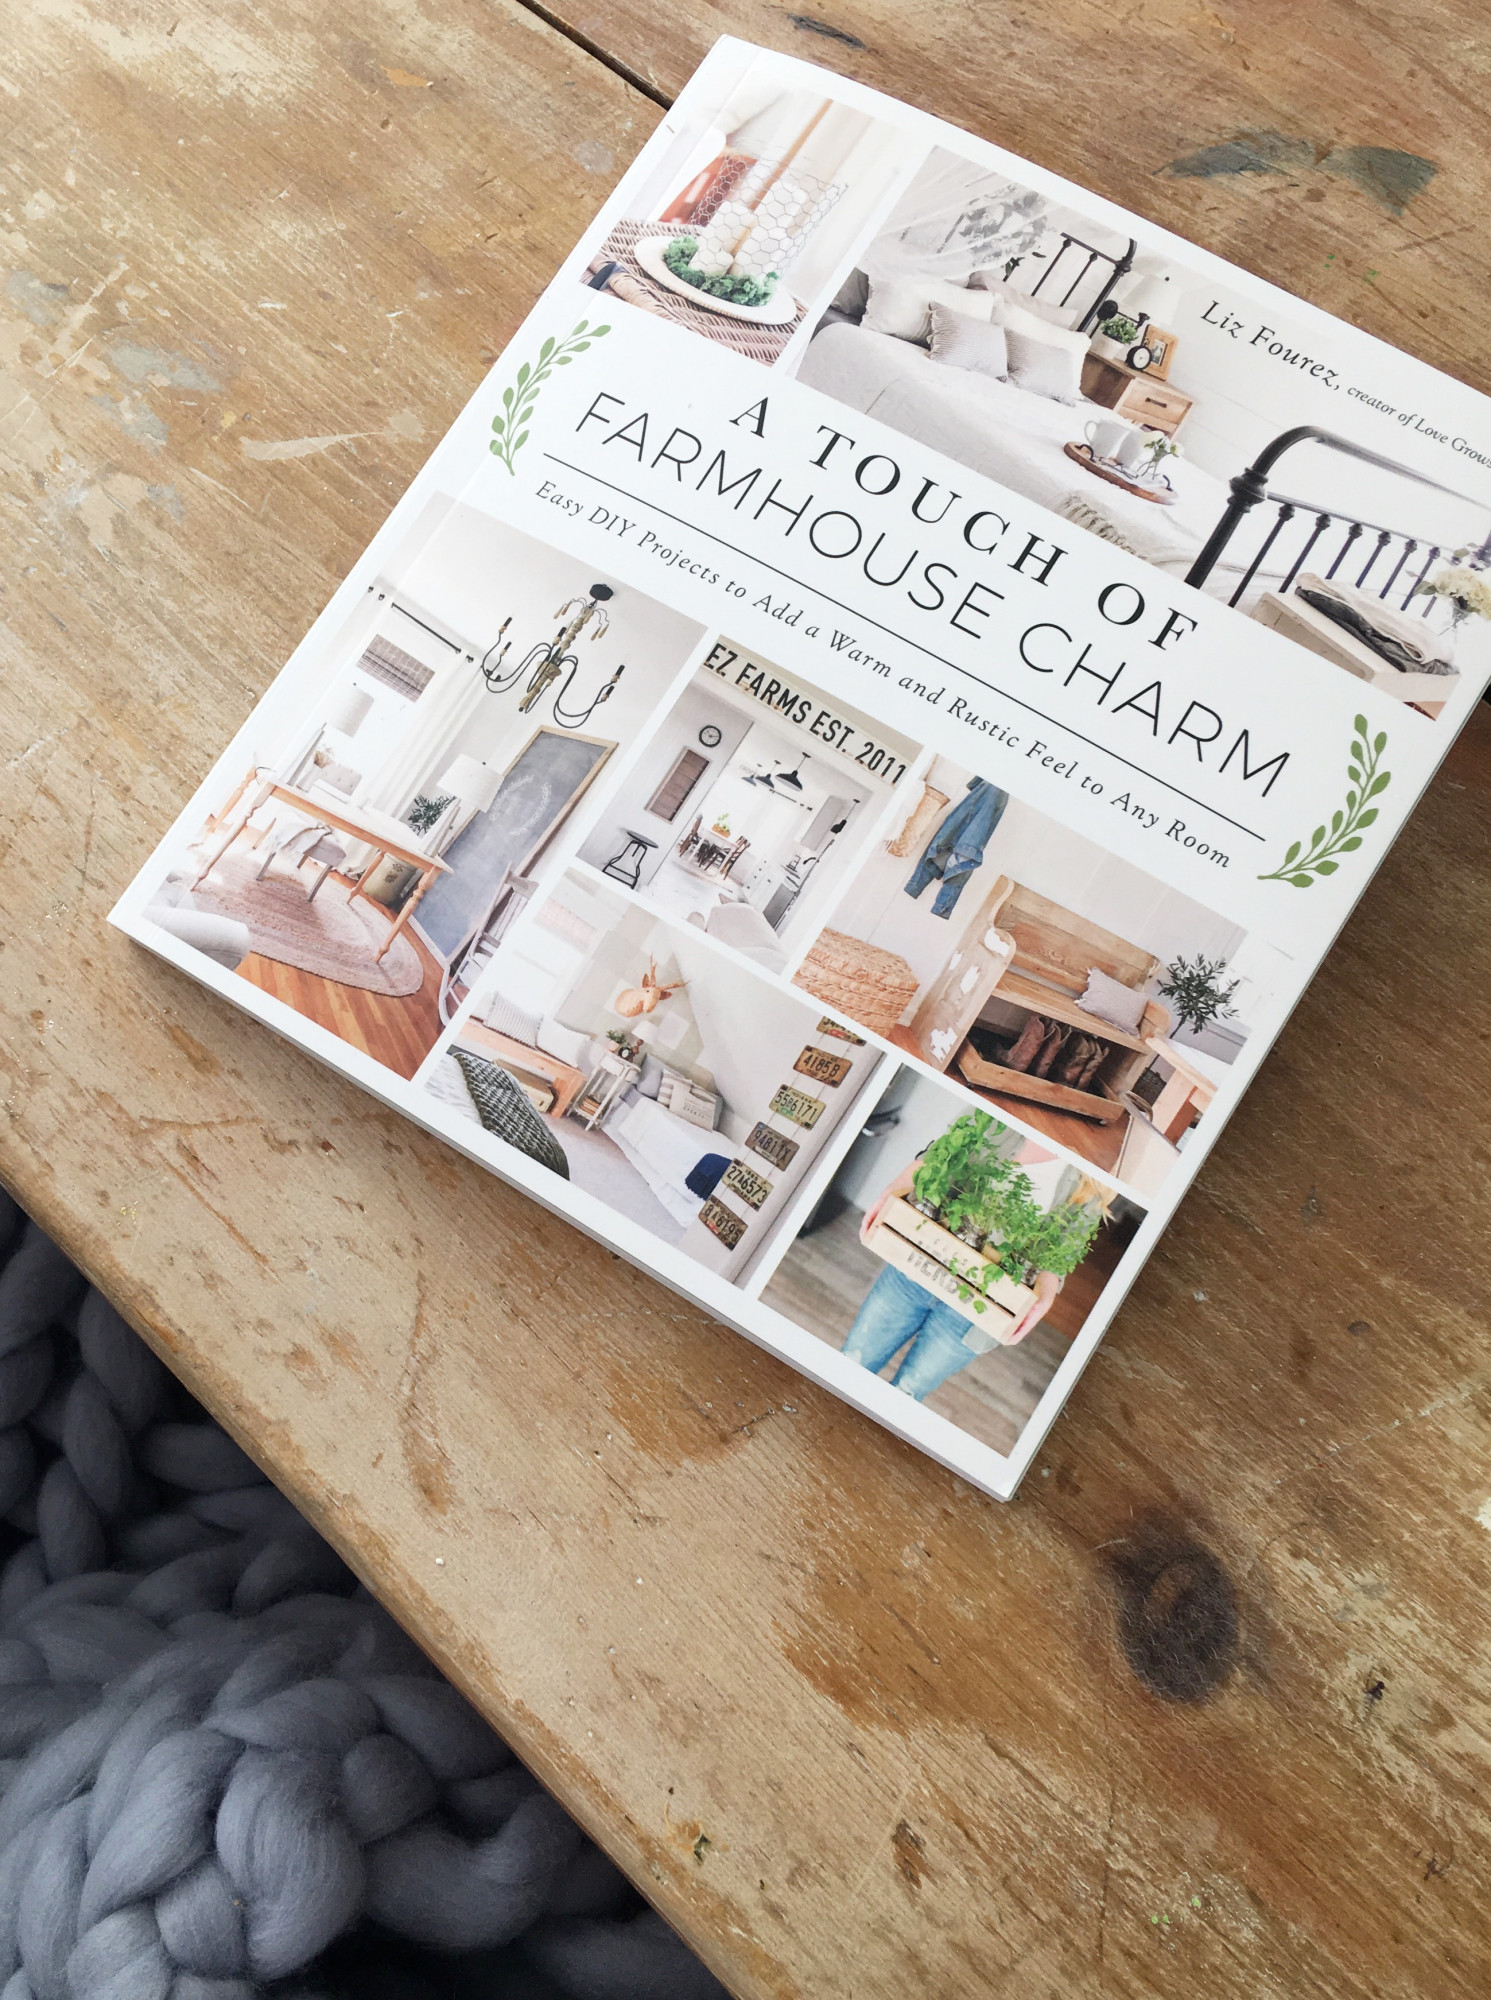
I am thrilled to share with you the book, A Touch Of Farmhouse Charm, by one of my sweet blogger friends, Liz Fourez!

img_5473

Liz is also the creator of Love Grows Wild and she is so very talented so when I was offered a pre-sale copy of her book I was SO EXCITED for the beauty that was about to come my way.

img_5469

The package arrived beautifully wrapped, complete with a sweet pie server and a darling farmhouse hand towel. The cover of the book a lone is so gorgeous and enough to spark anyone’s creative side!

The book gives you step by step directions, complete with beautiful images that allow you to create beautiful DIY projects in your own home. There are many different skill levels from easy to advanced, and each project is so wonderful!

img_5468

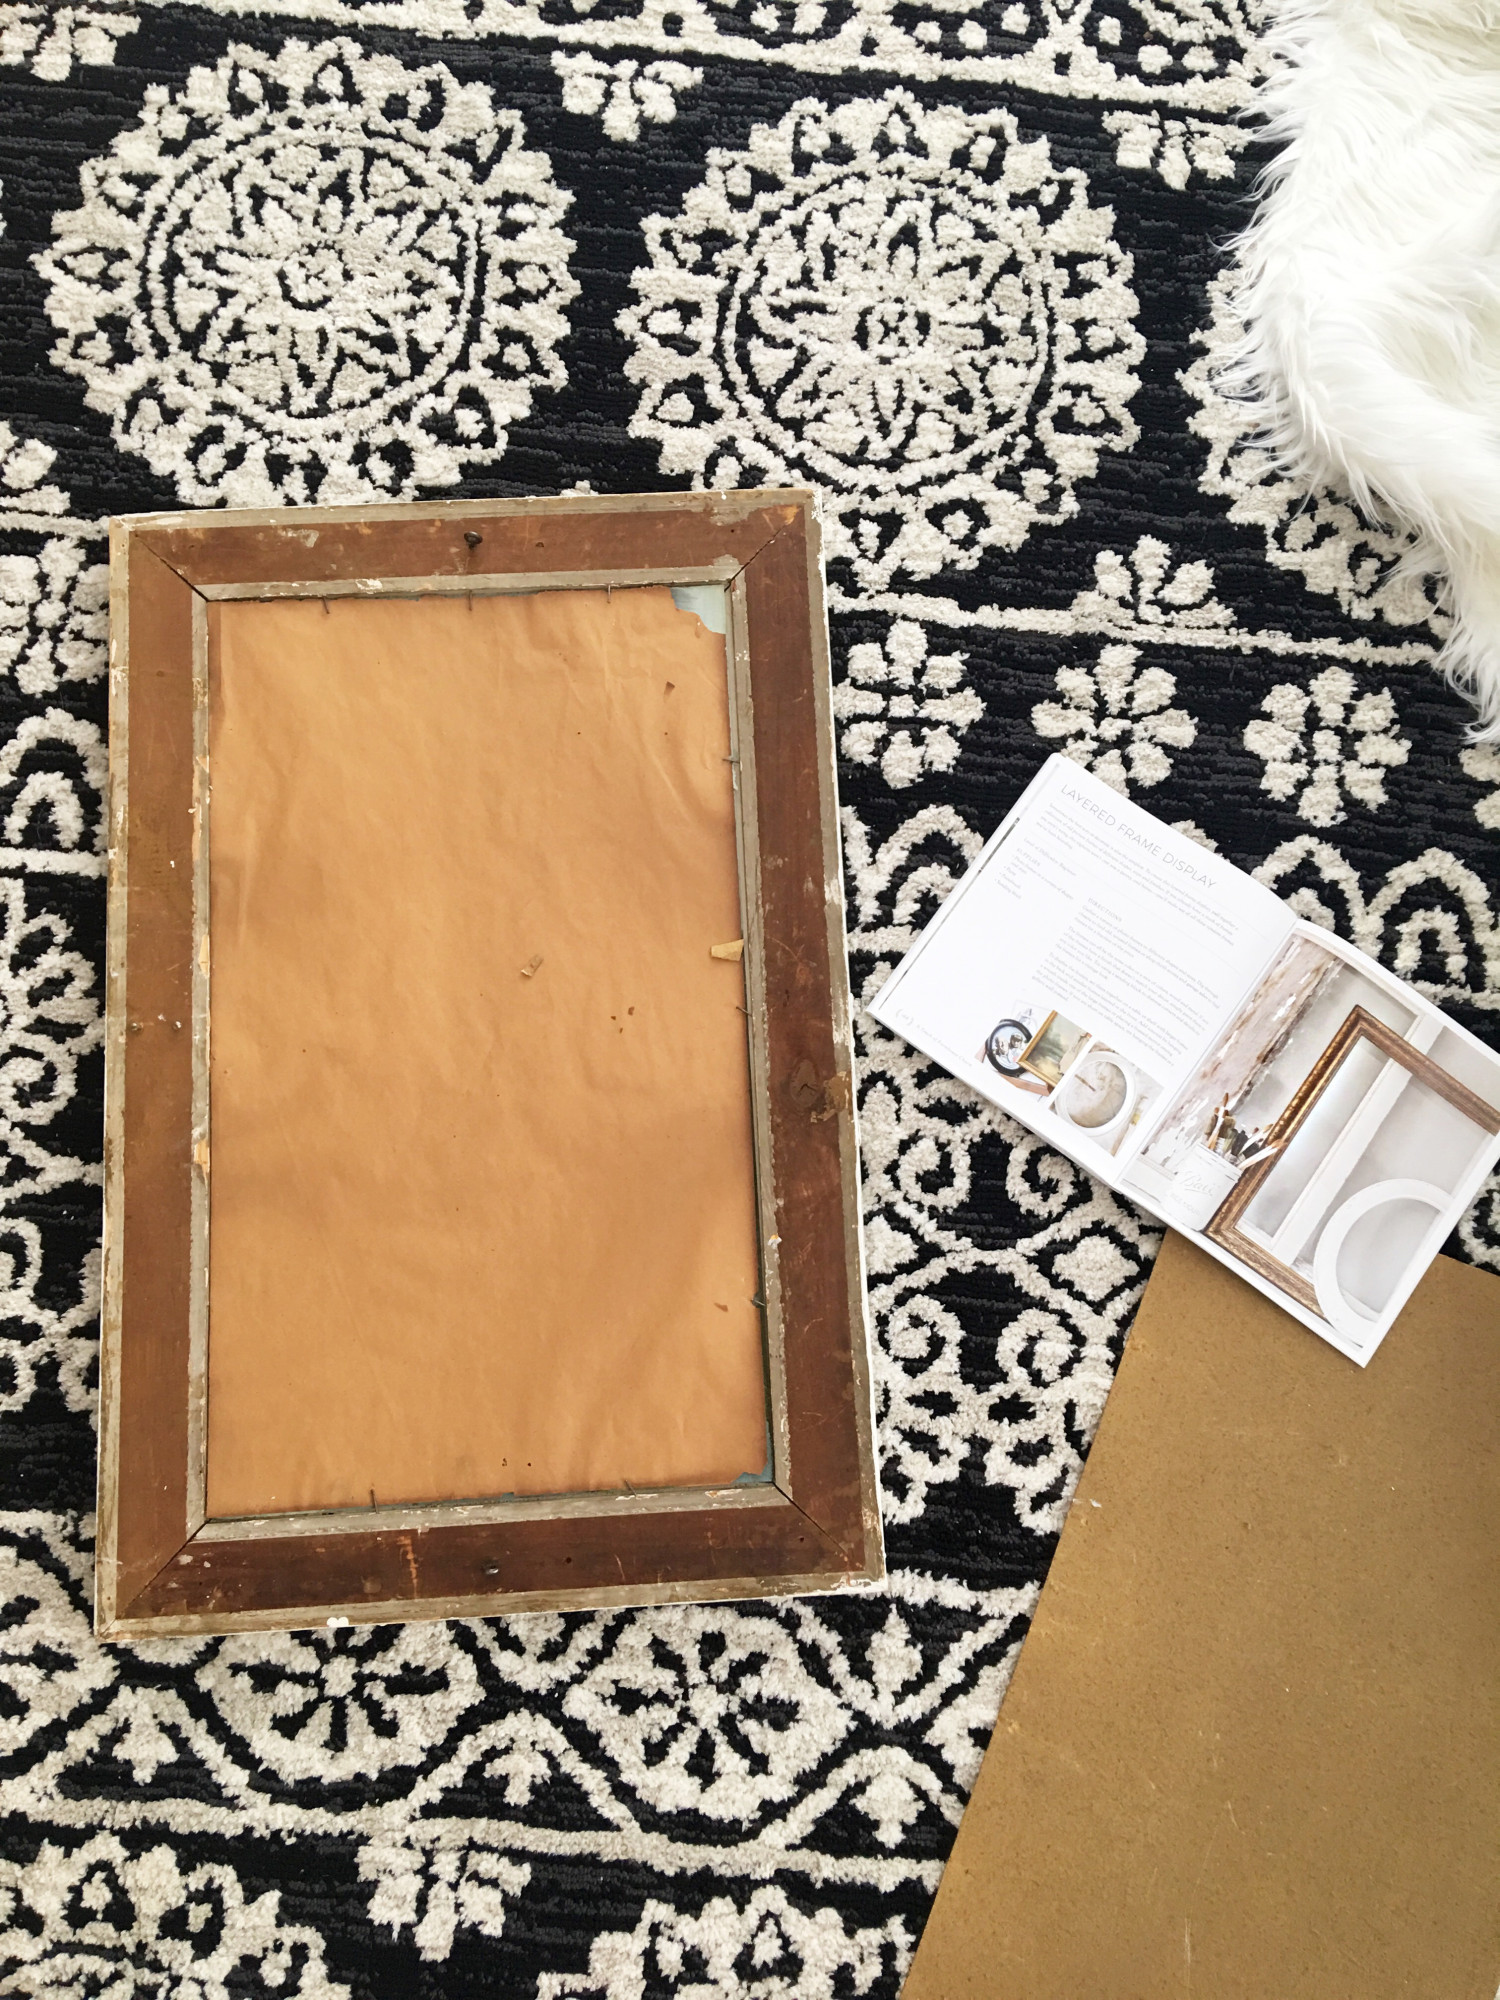
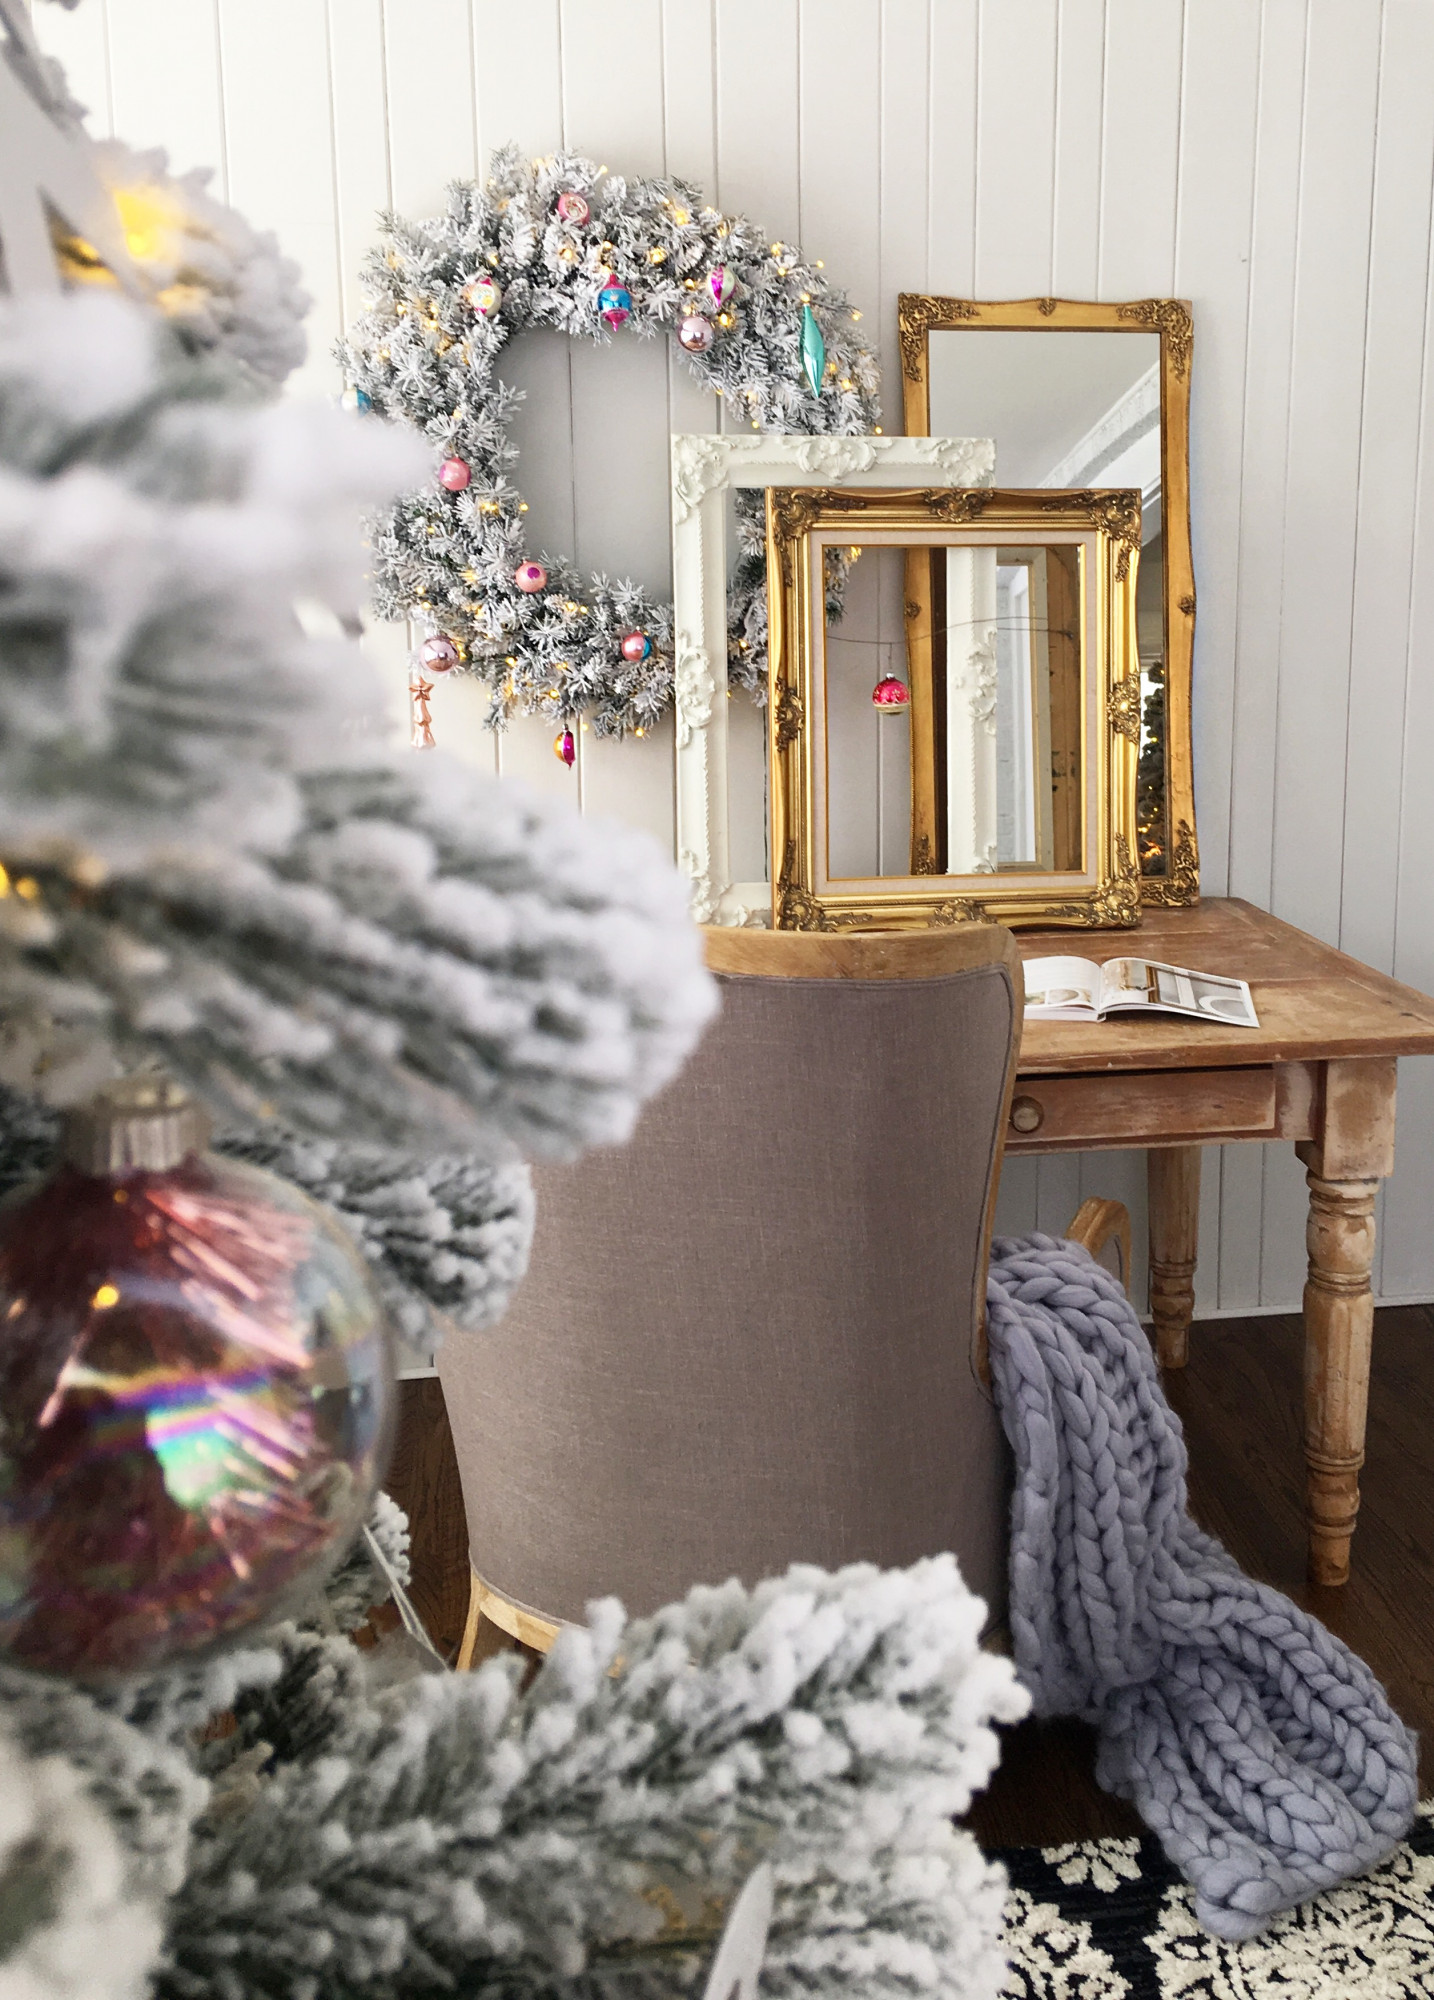
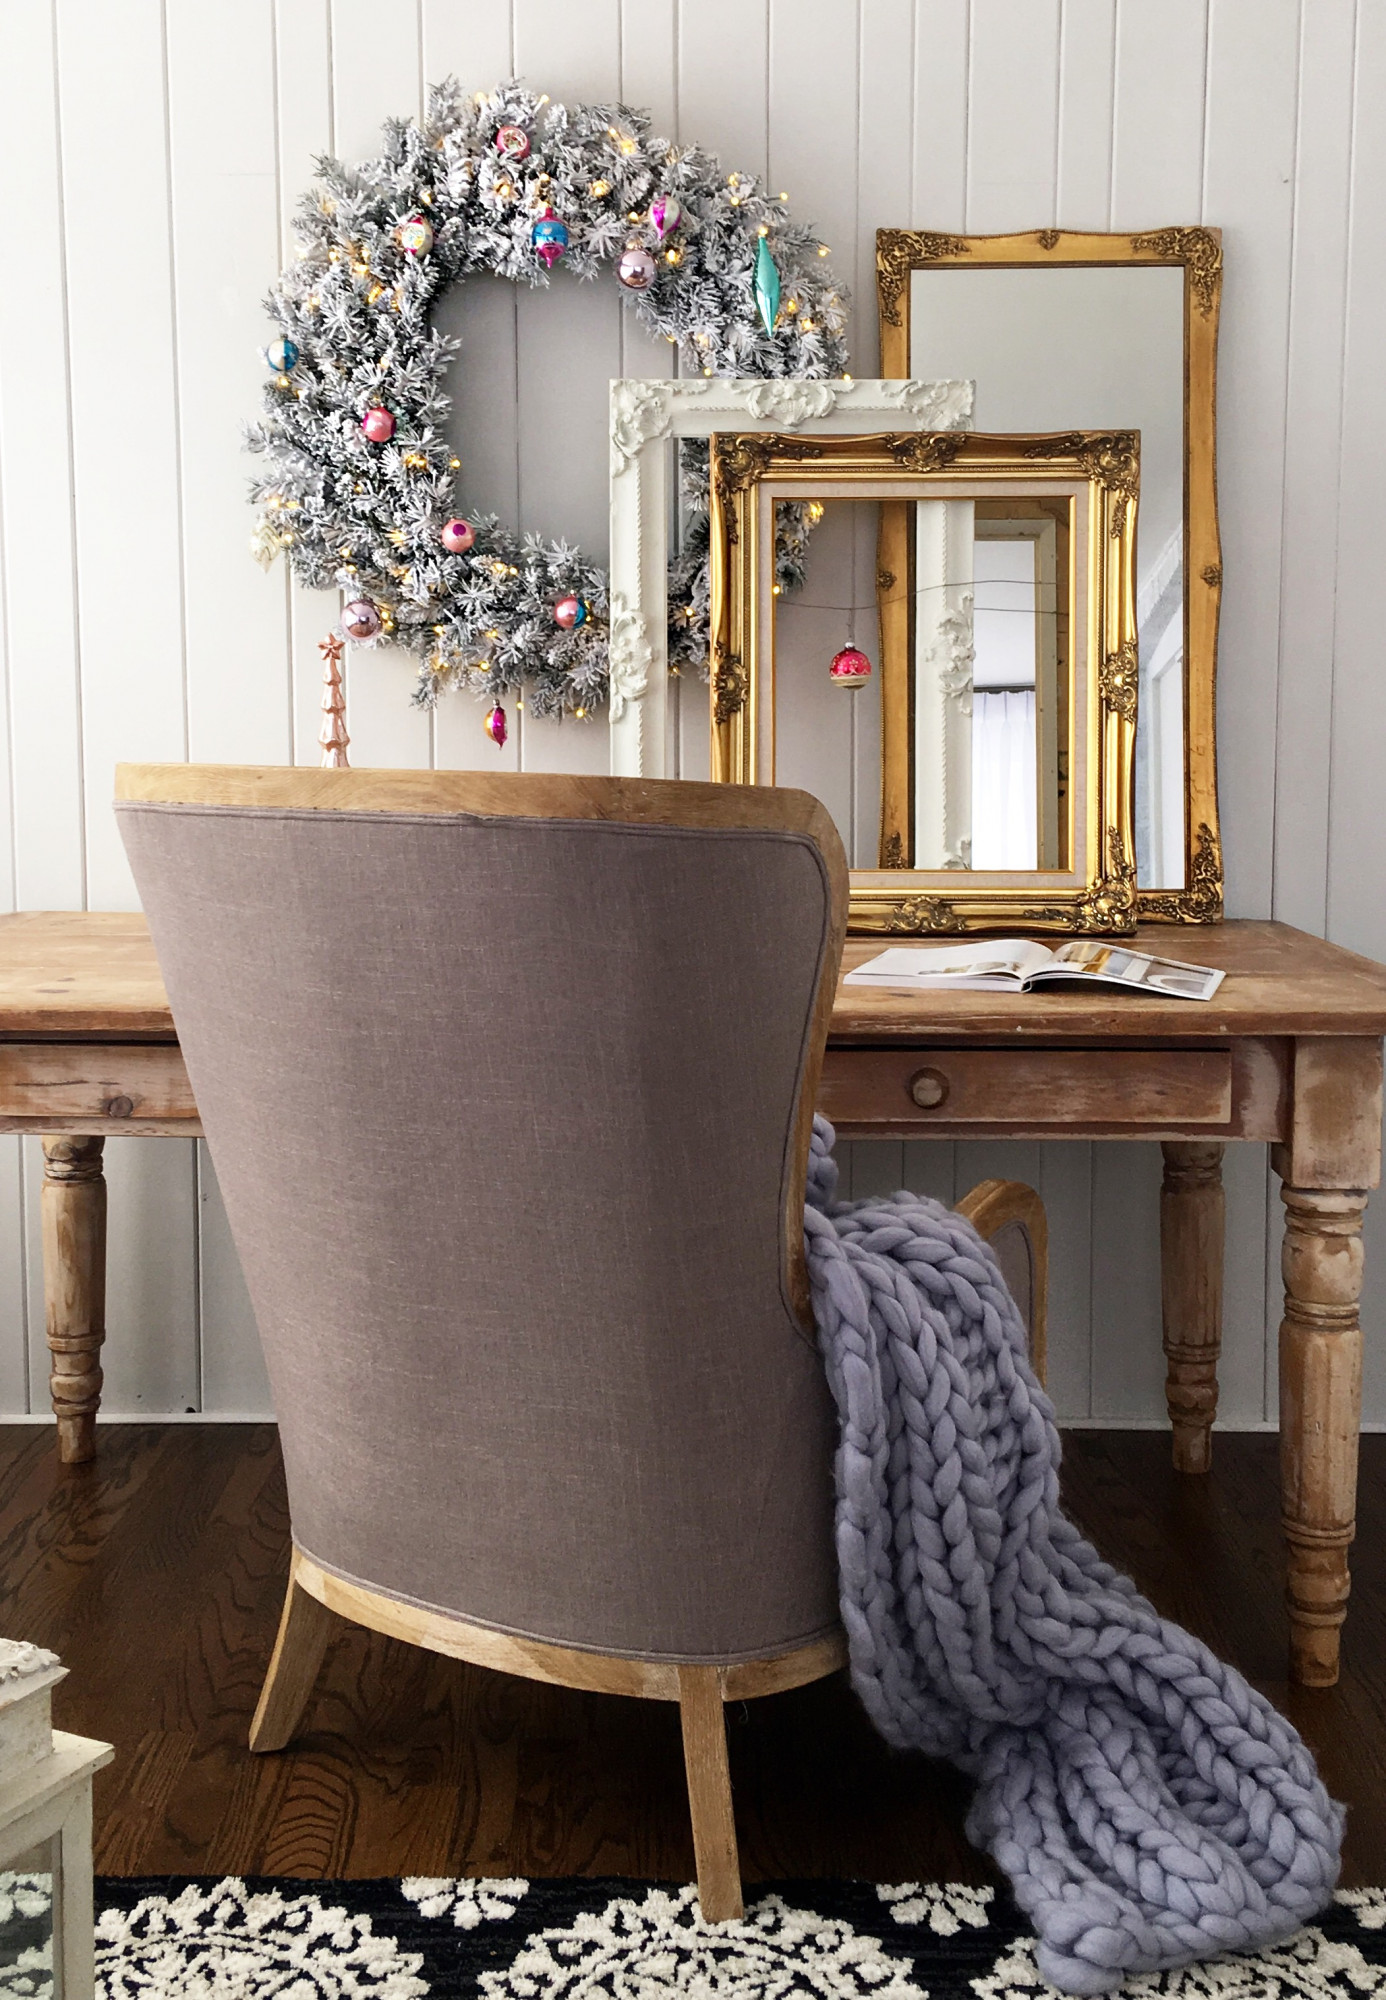
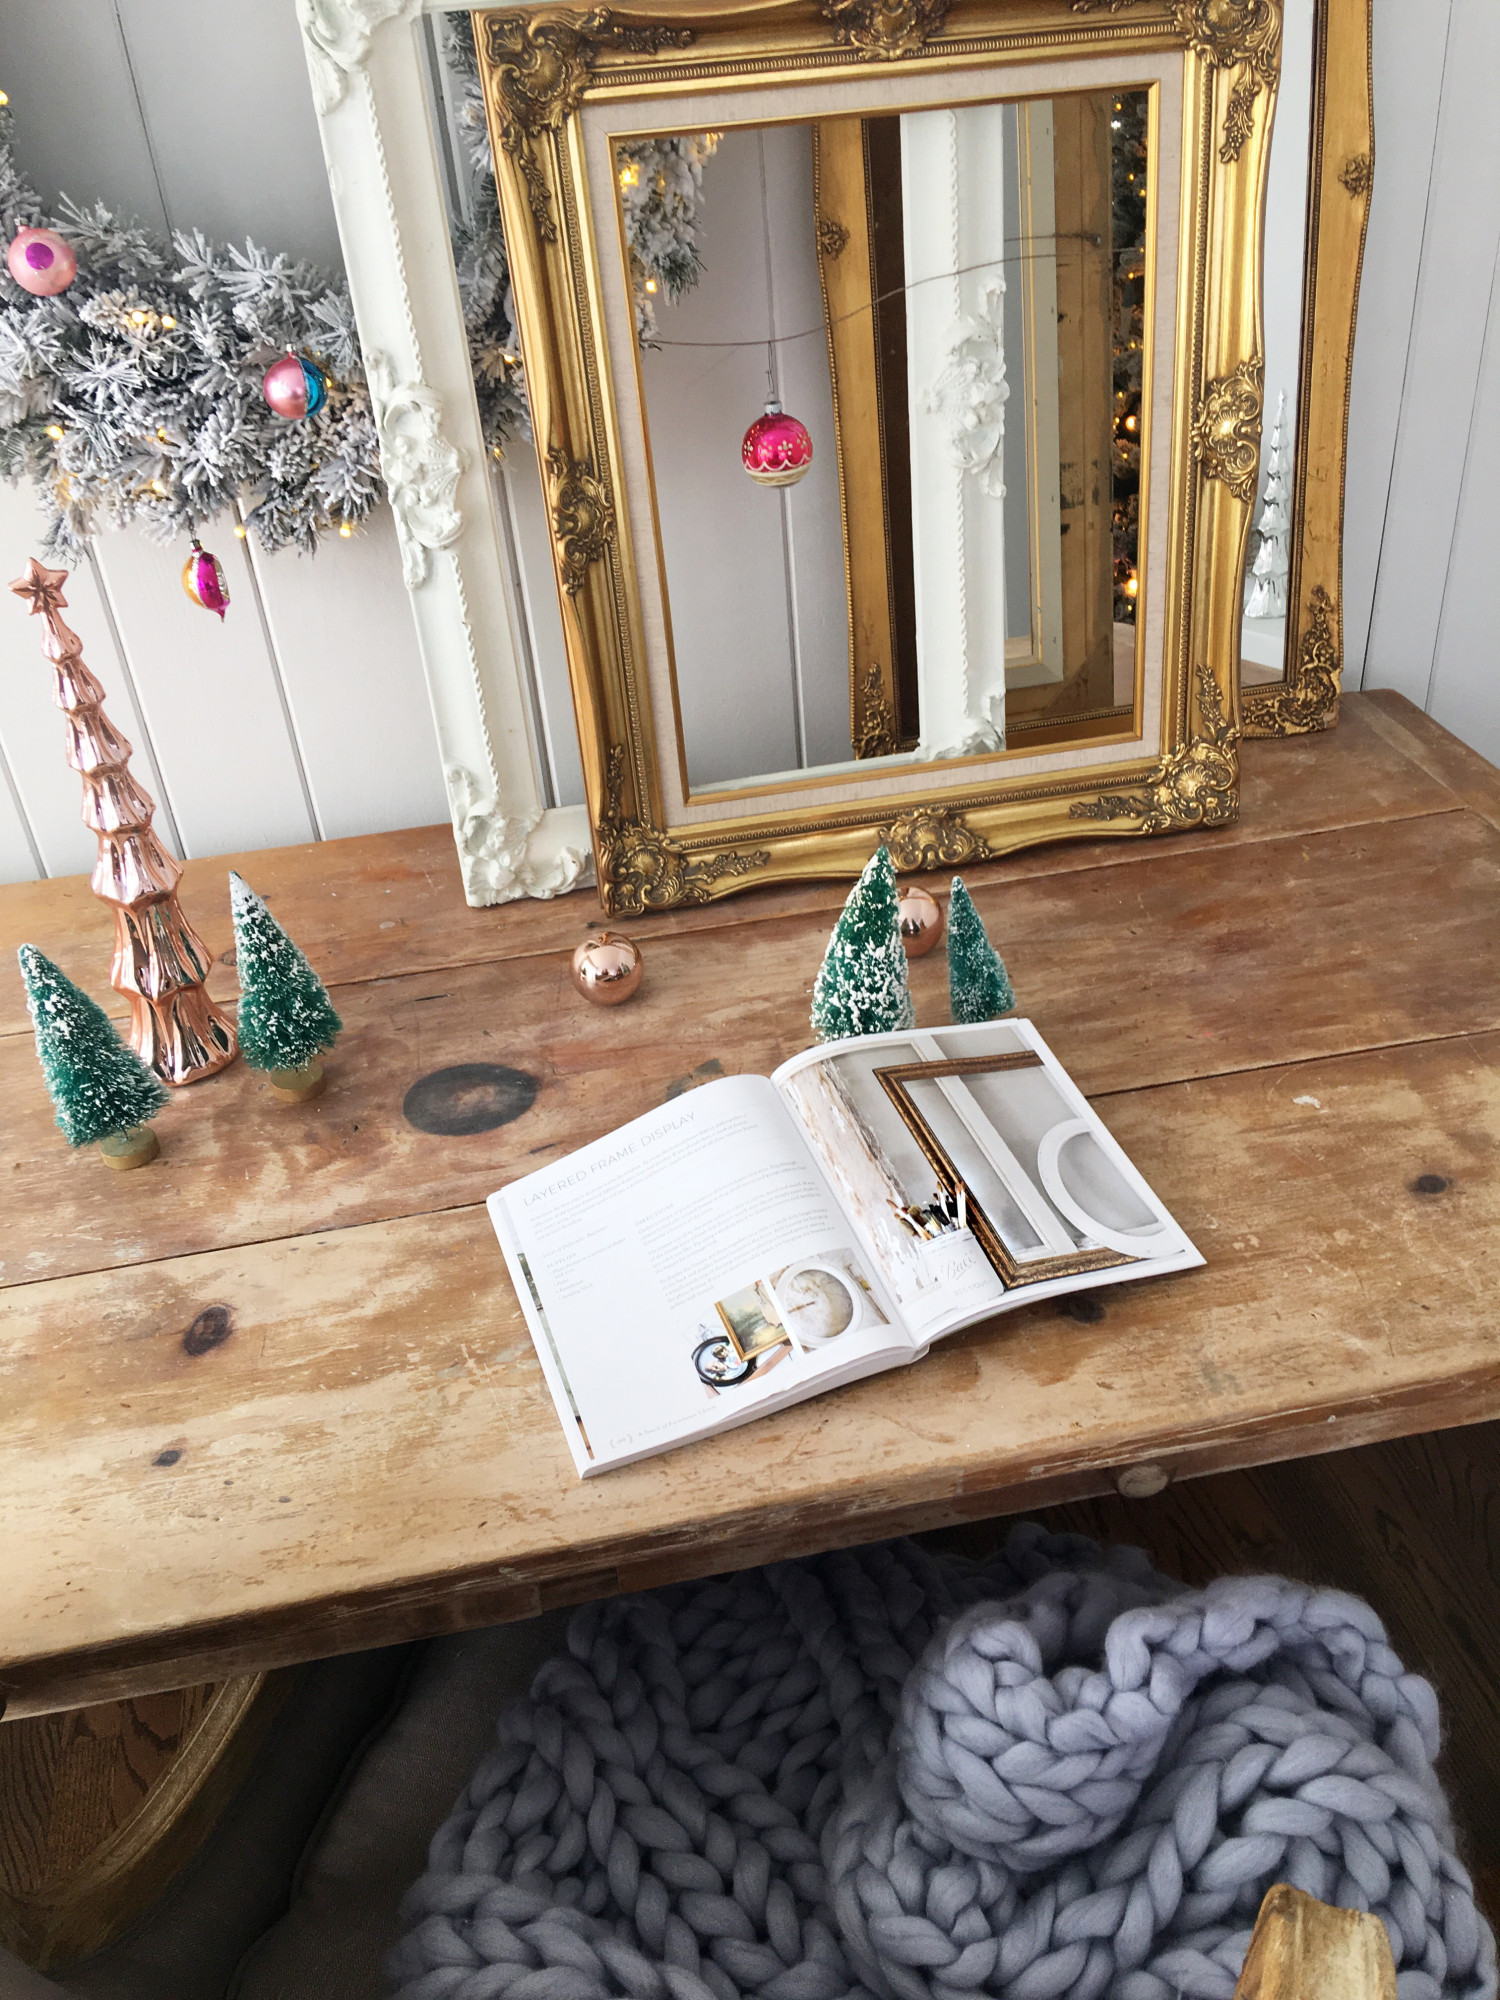
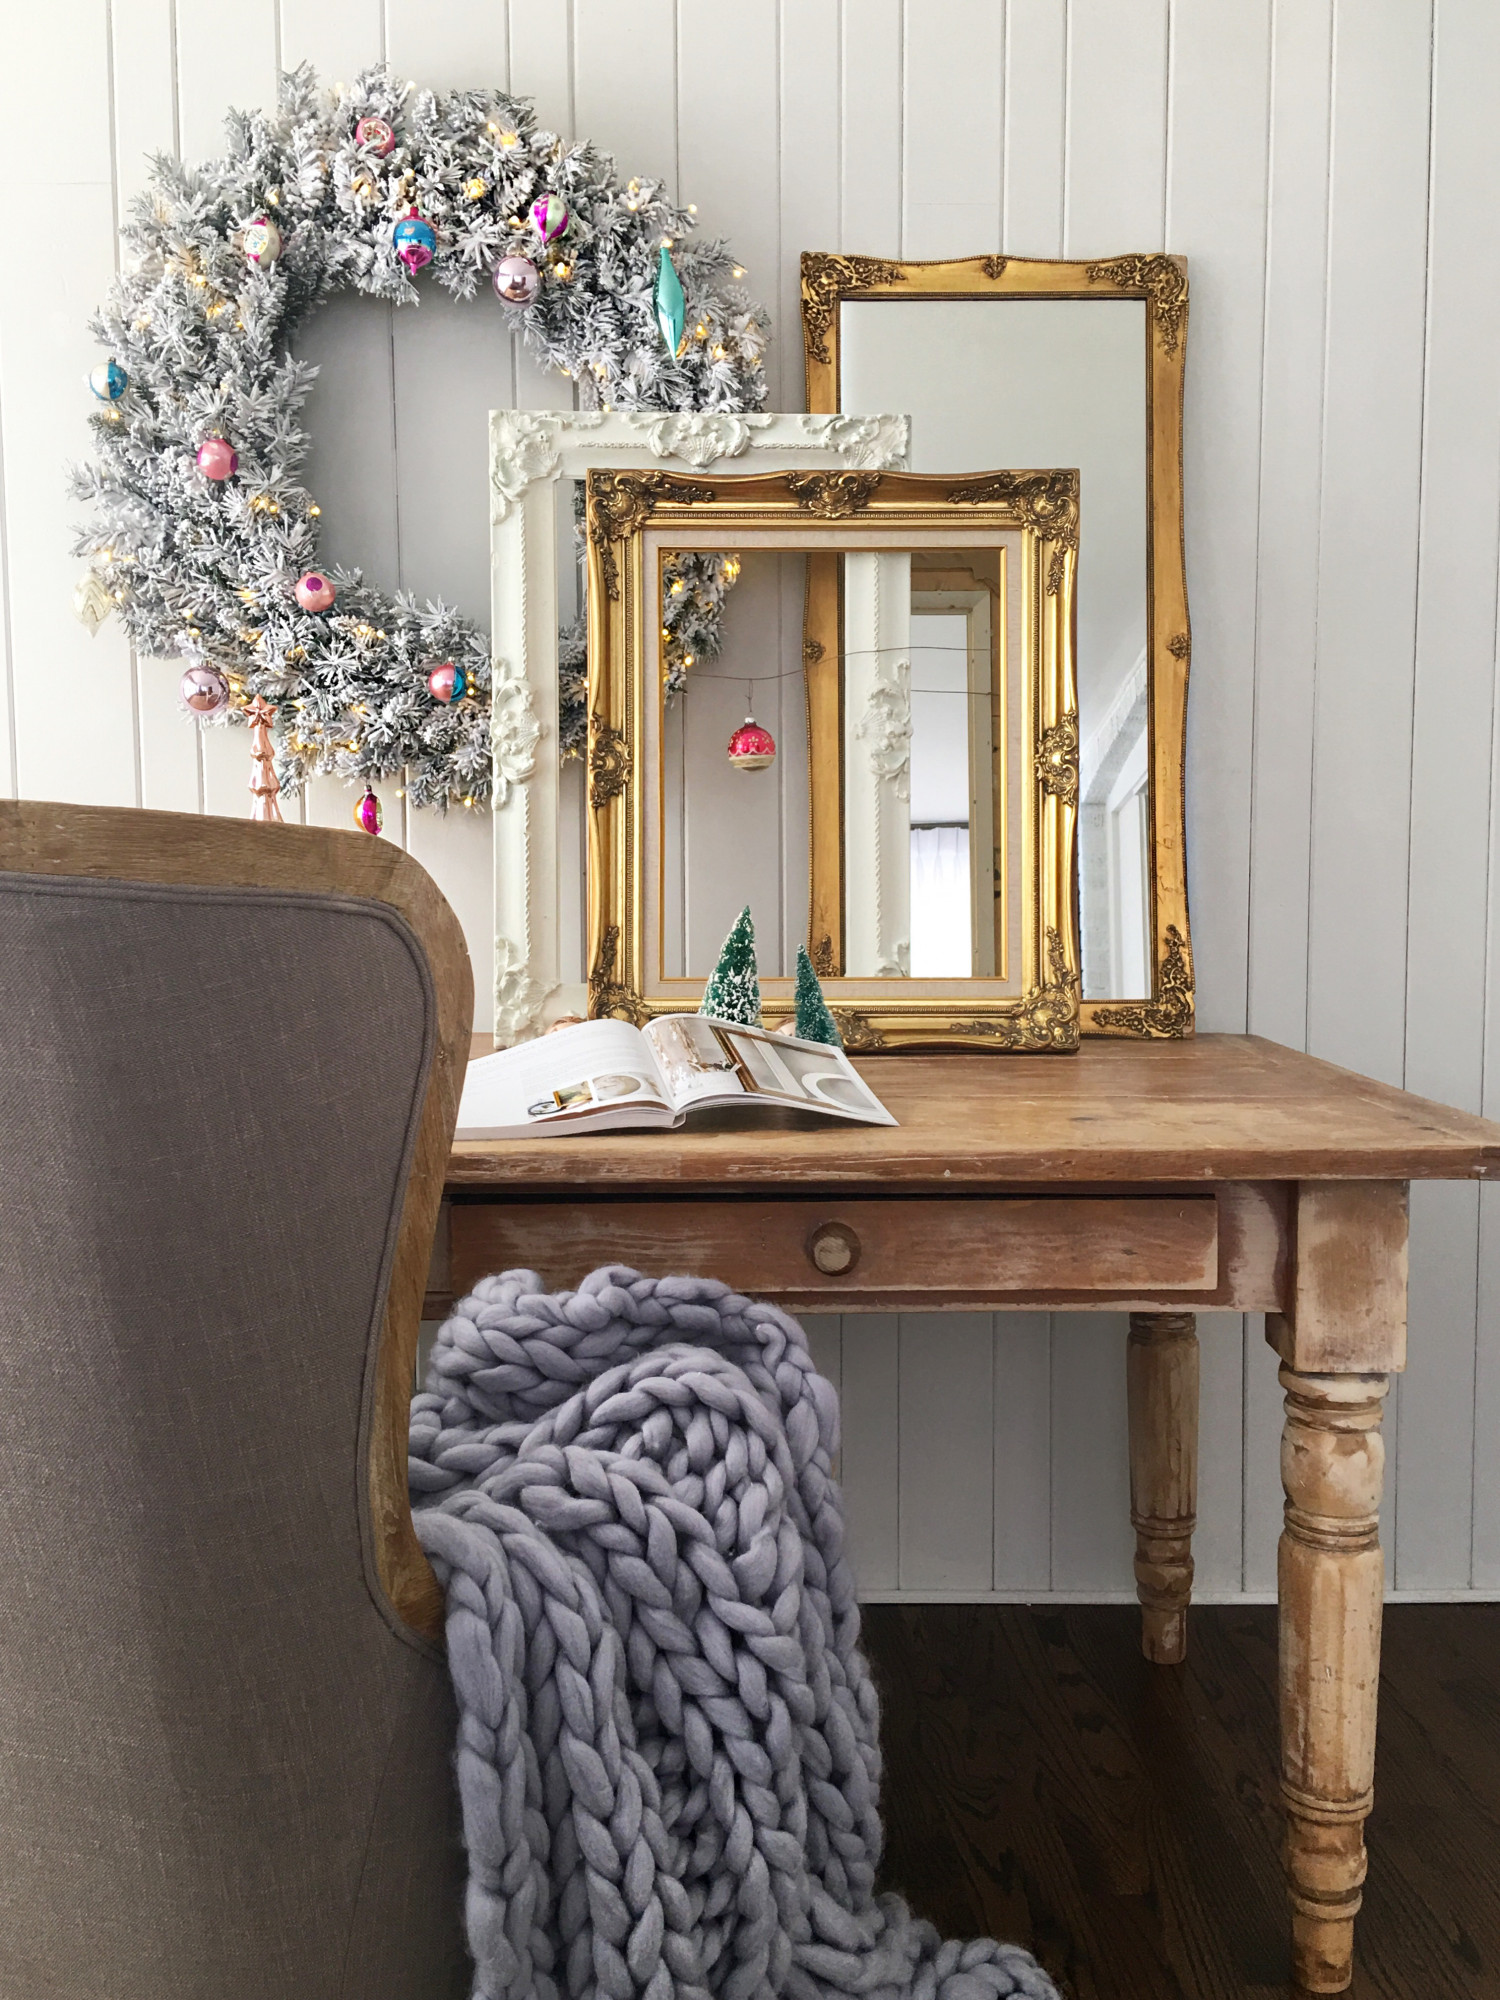
I decided to create the layered frame project! I found a few vintage frames, painted one of them, and layered them based off the vignette suggestion. I love the way it turned out. I even added my own twist by hanging an ornament from the frames wire and layering in a vintage mirror that had the same frame type. I’m smitten with the way it turned out!

img_5472

If you’re looking for the perfect gift this Christmas  for someone who loves to create you must take a look at this book. The book is available on Amazon, Barnes & Noble, Books-A-Million, and Indie Bound, as well as other book retailers.

img_5471

Happy Holidays!

xo

Susan


Christmas Kitchen and a kid friendly appetizer

KV Christmas Kitchen Tree

Hello Friends!

It sure has been a busy week here! Yesterday was our Holiday House Walk, tonight we are hosting our annual Christmas party so I wanted to share with you an appetizer we are making! Which happened to fit in perfectly with the Farmhouse Holiday Series kitchen and recipe post for today!

Farmhouse Holiday Decor Series

KV Christmas Kitchen Tree

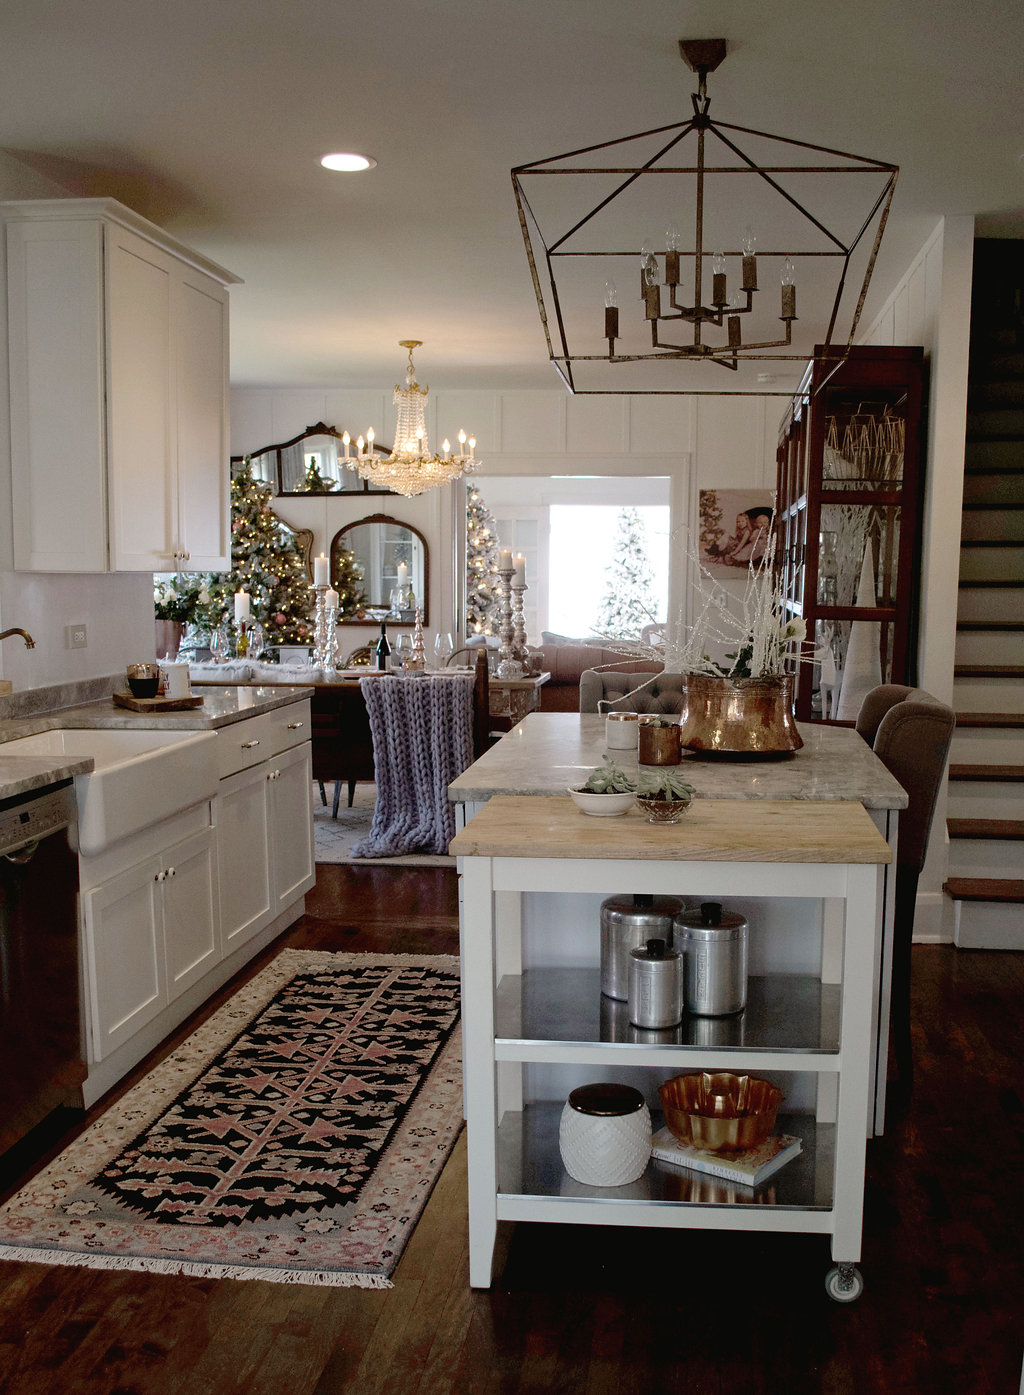
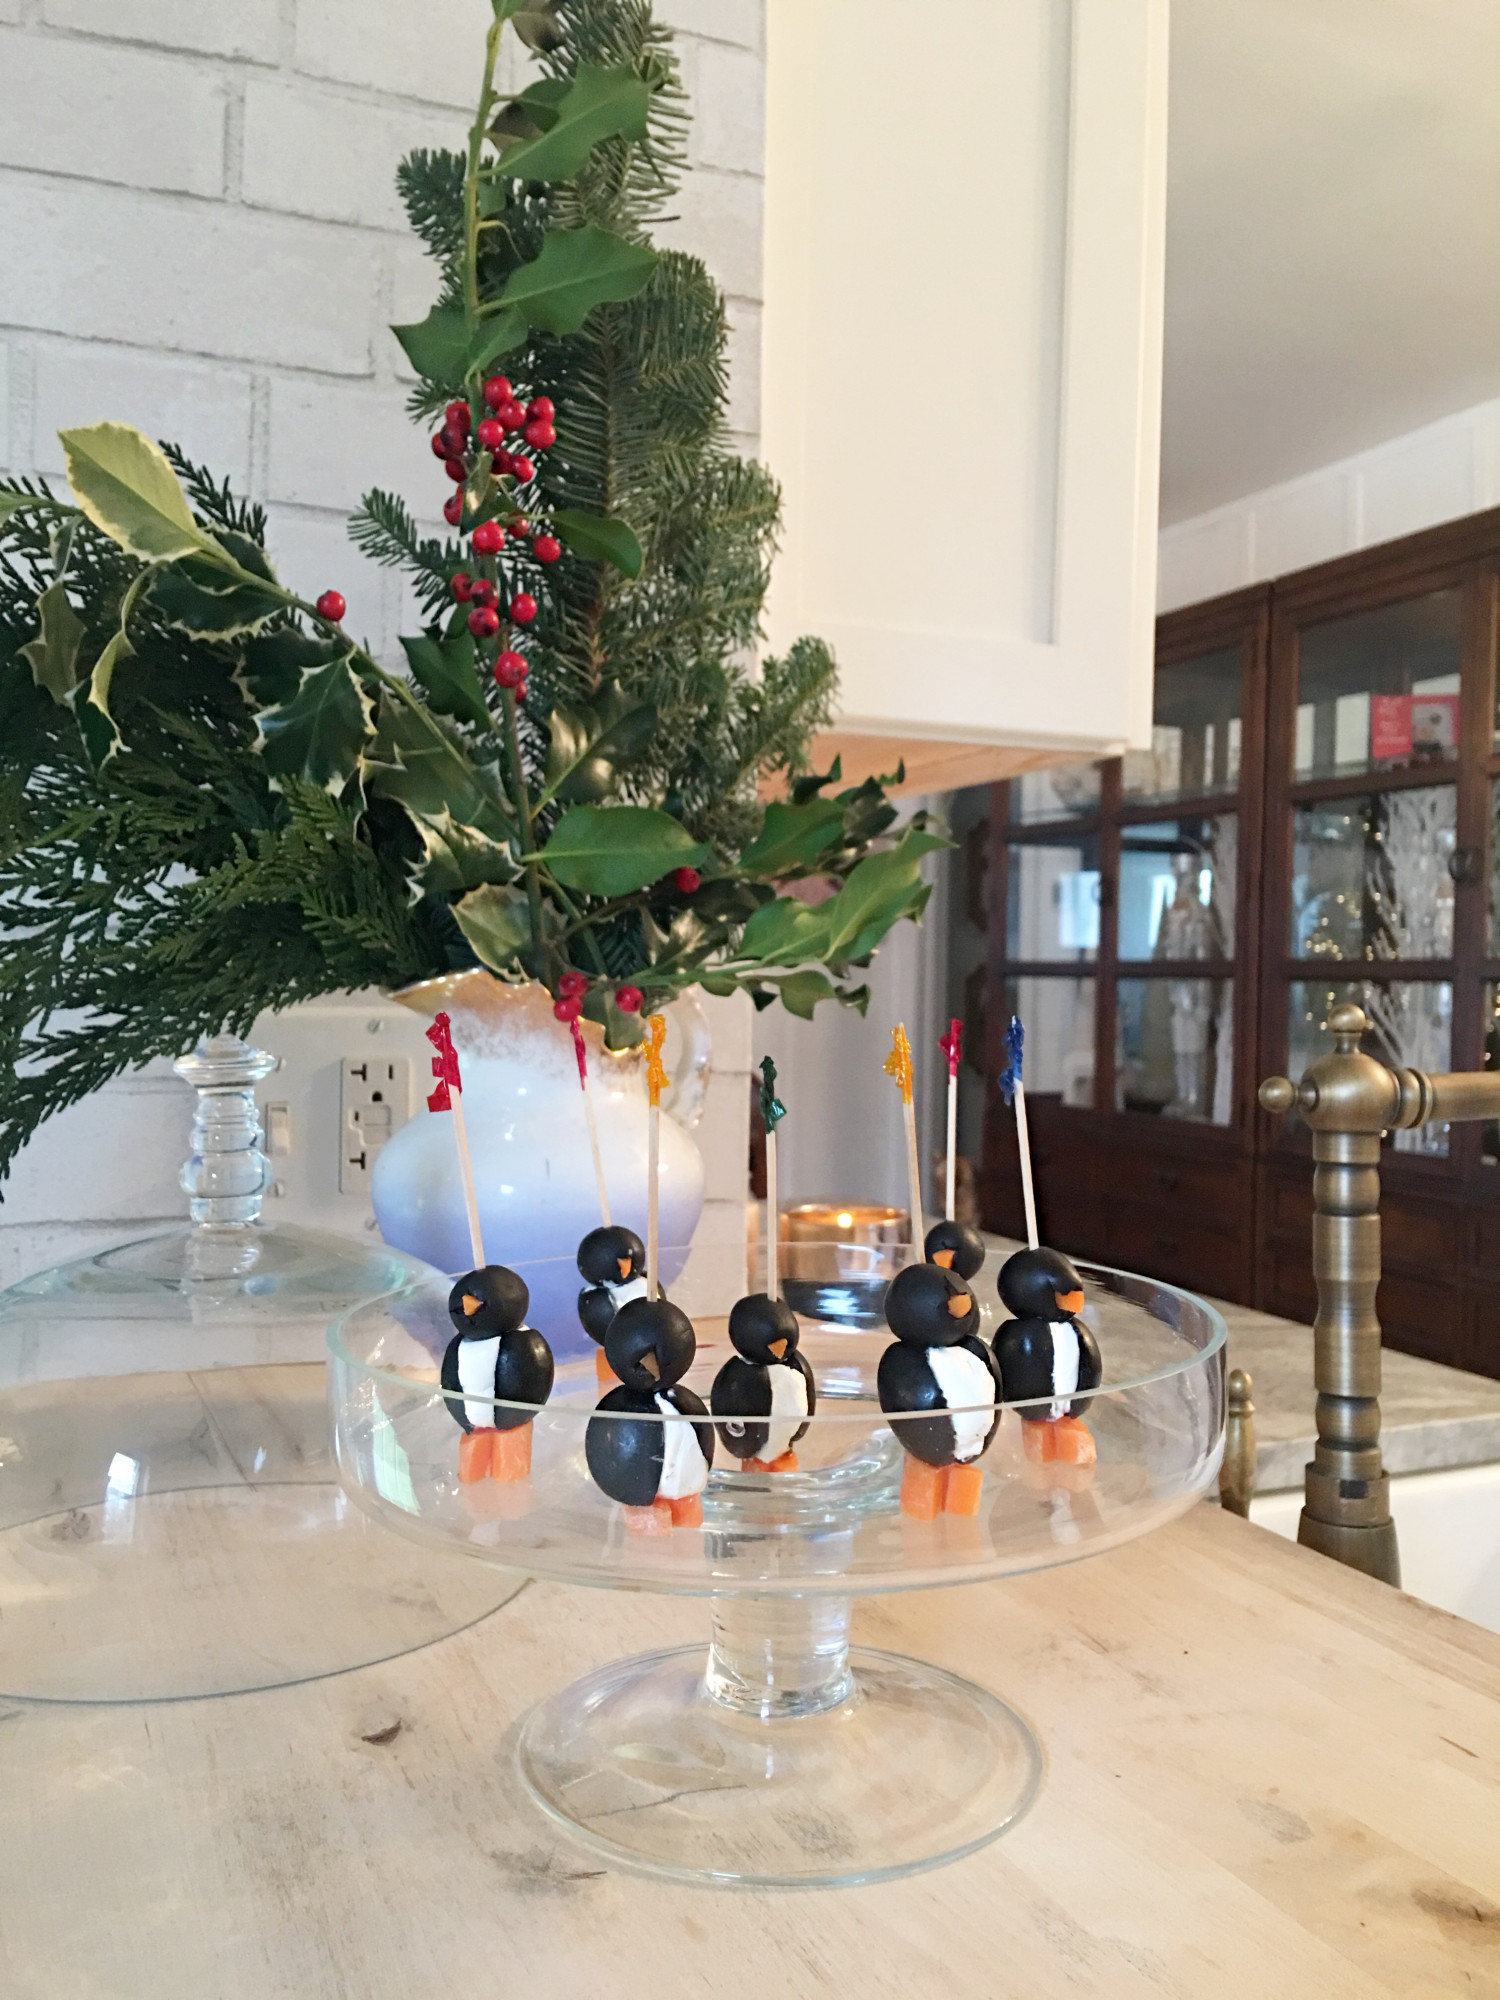
I wanted to show you our kitchen decorated for the Holidays and share with you an appetizer I used to make with my mother when I was a kid!

KV Christmas Dining Room

KV Christmas Dining Room

Some of my very favorite features about our kitchen is that it lands right in the center of our home. After knocking down walls and completely rehabbing the space it has become one of our very favorite hang outs!

KV Christmas Kitchen Tree

This Caitlin Wilson Design rug and this stunning open chandelier from Kathy Kuo Home are the two newest additions to the space and I just adore the warmth and chicness they both bring!

img_5068

Now onto the fun little appetizer. Warning, I am NO chef by any means. I do like to bake during the holidays but that’s as far as I would like to go. 🙂 I’m more of an eater. 😉

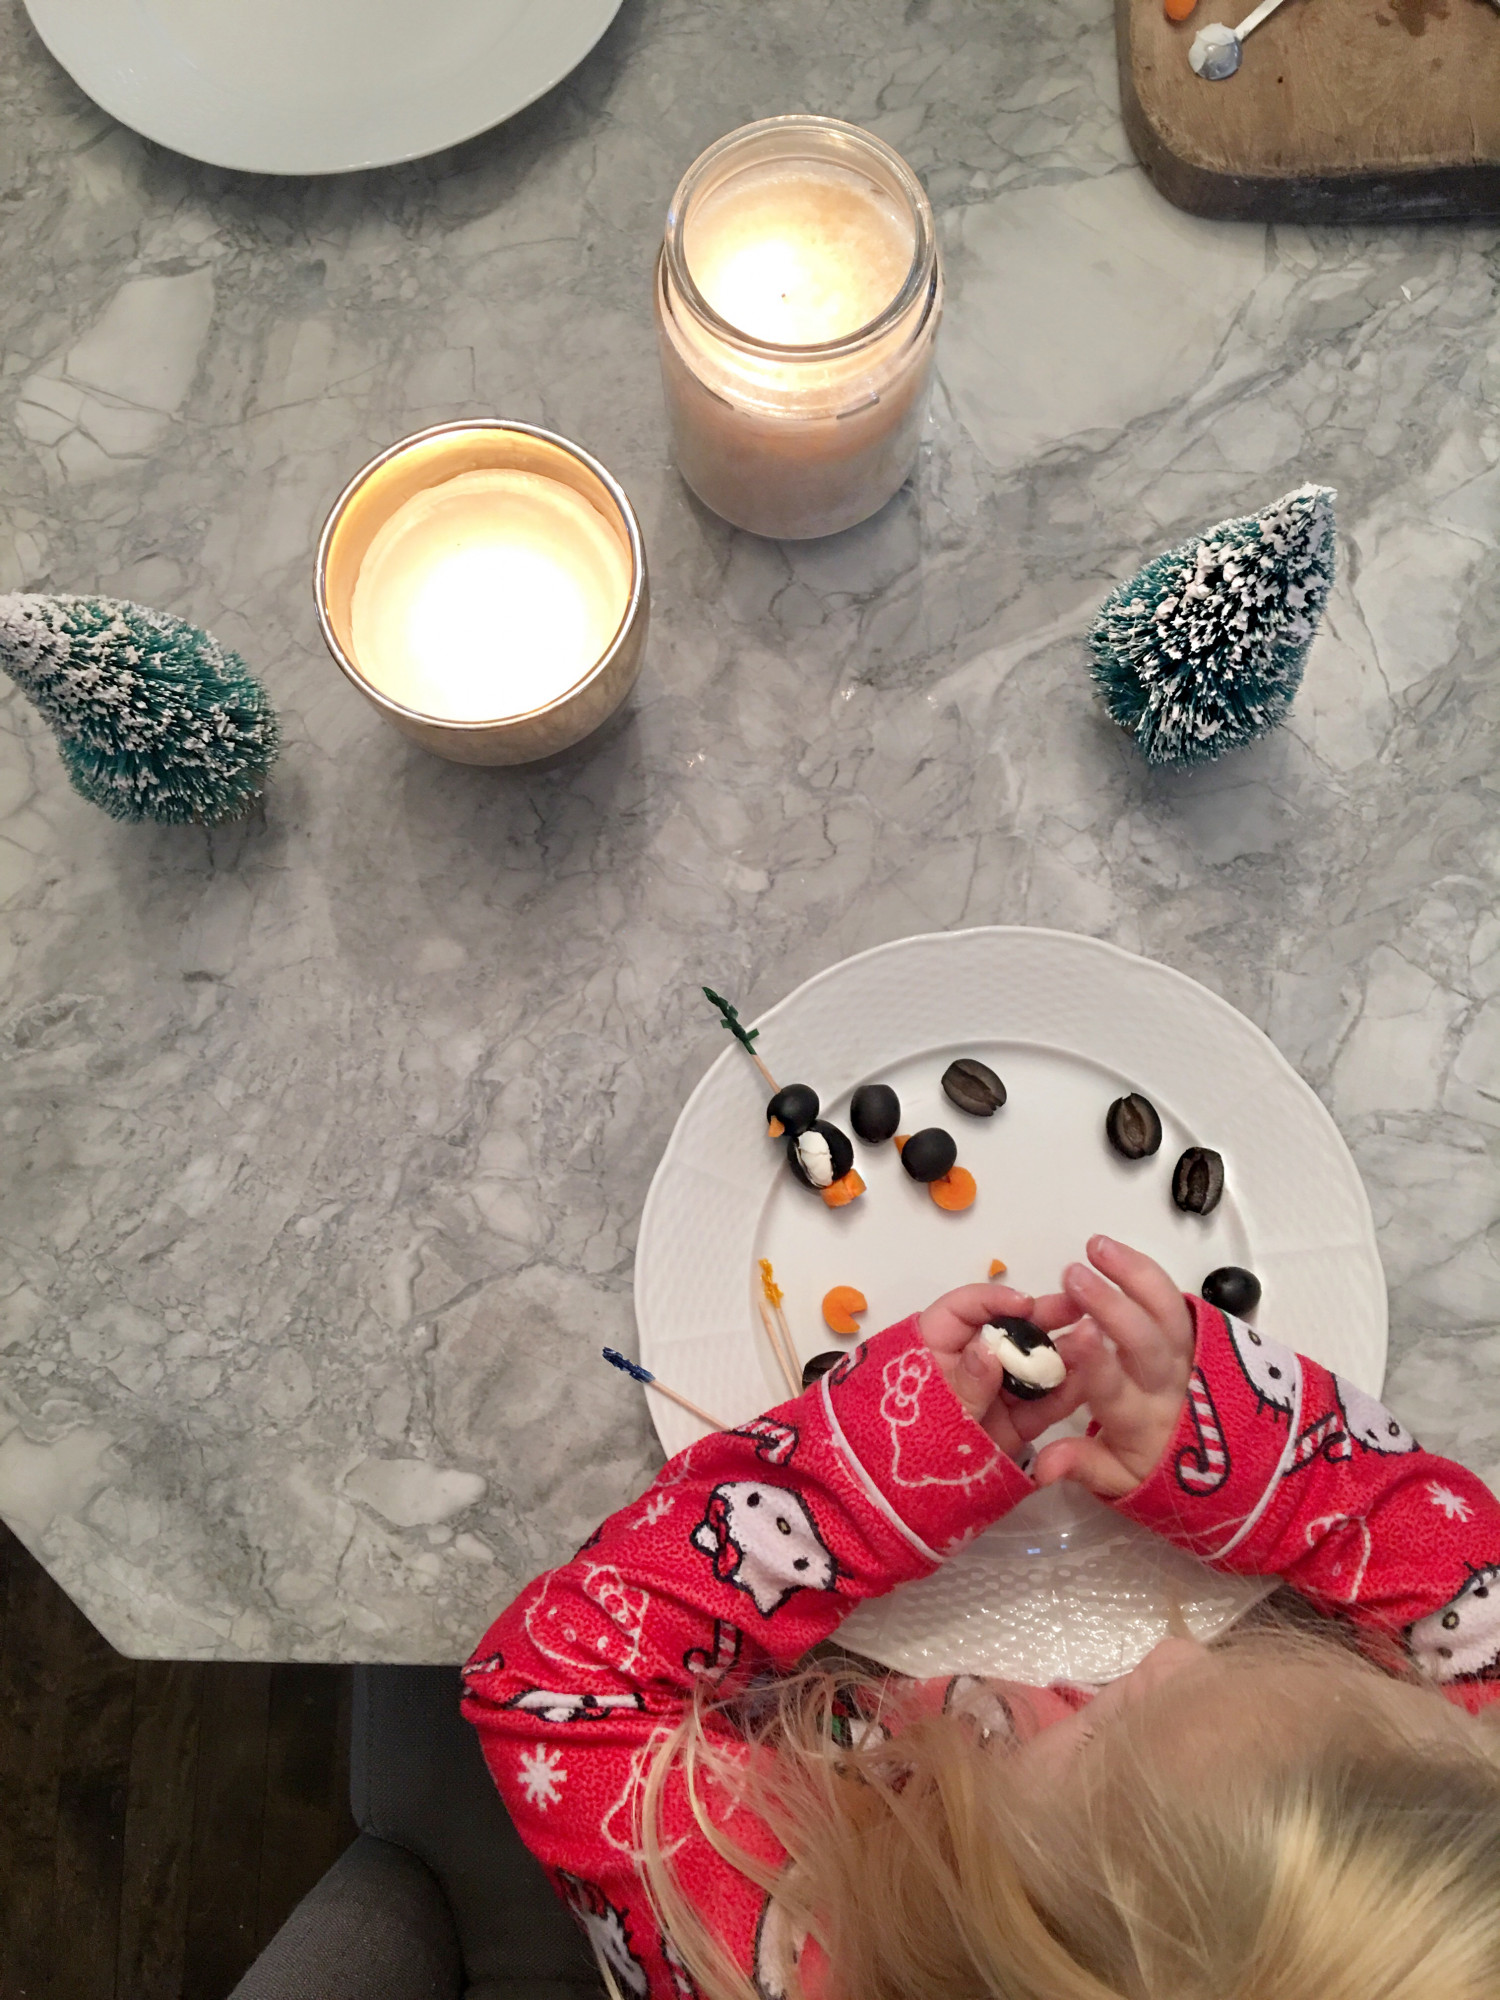
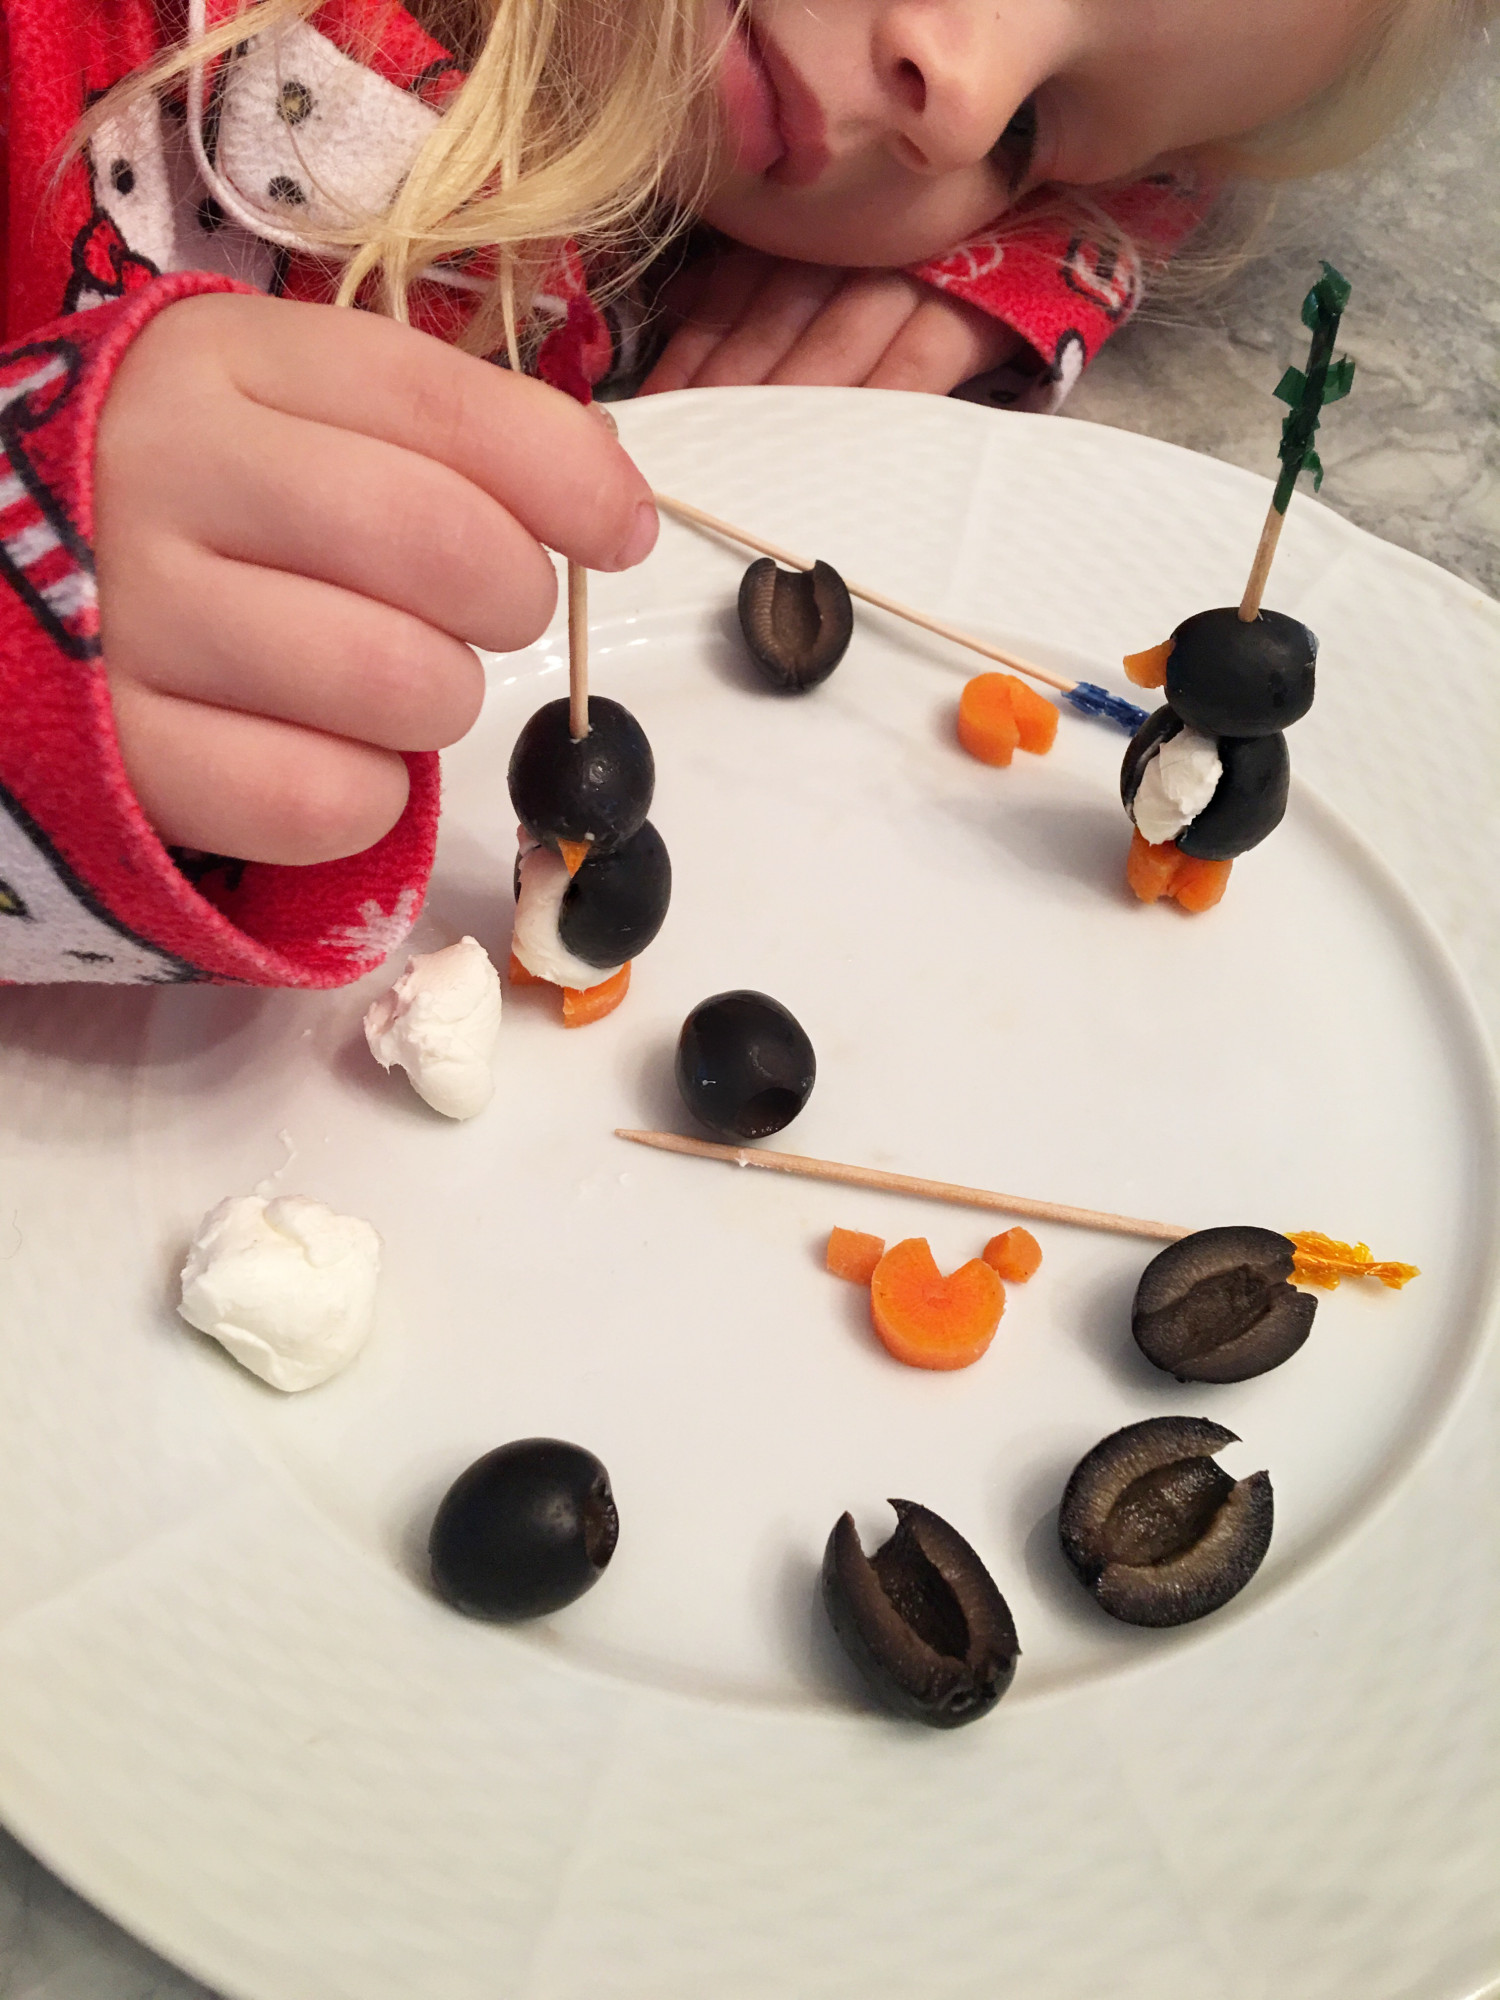
This appetizer is so easy, cute and enjoyable for young ones to make so that’s why I chose to share it with you!

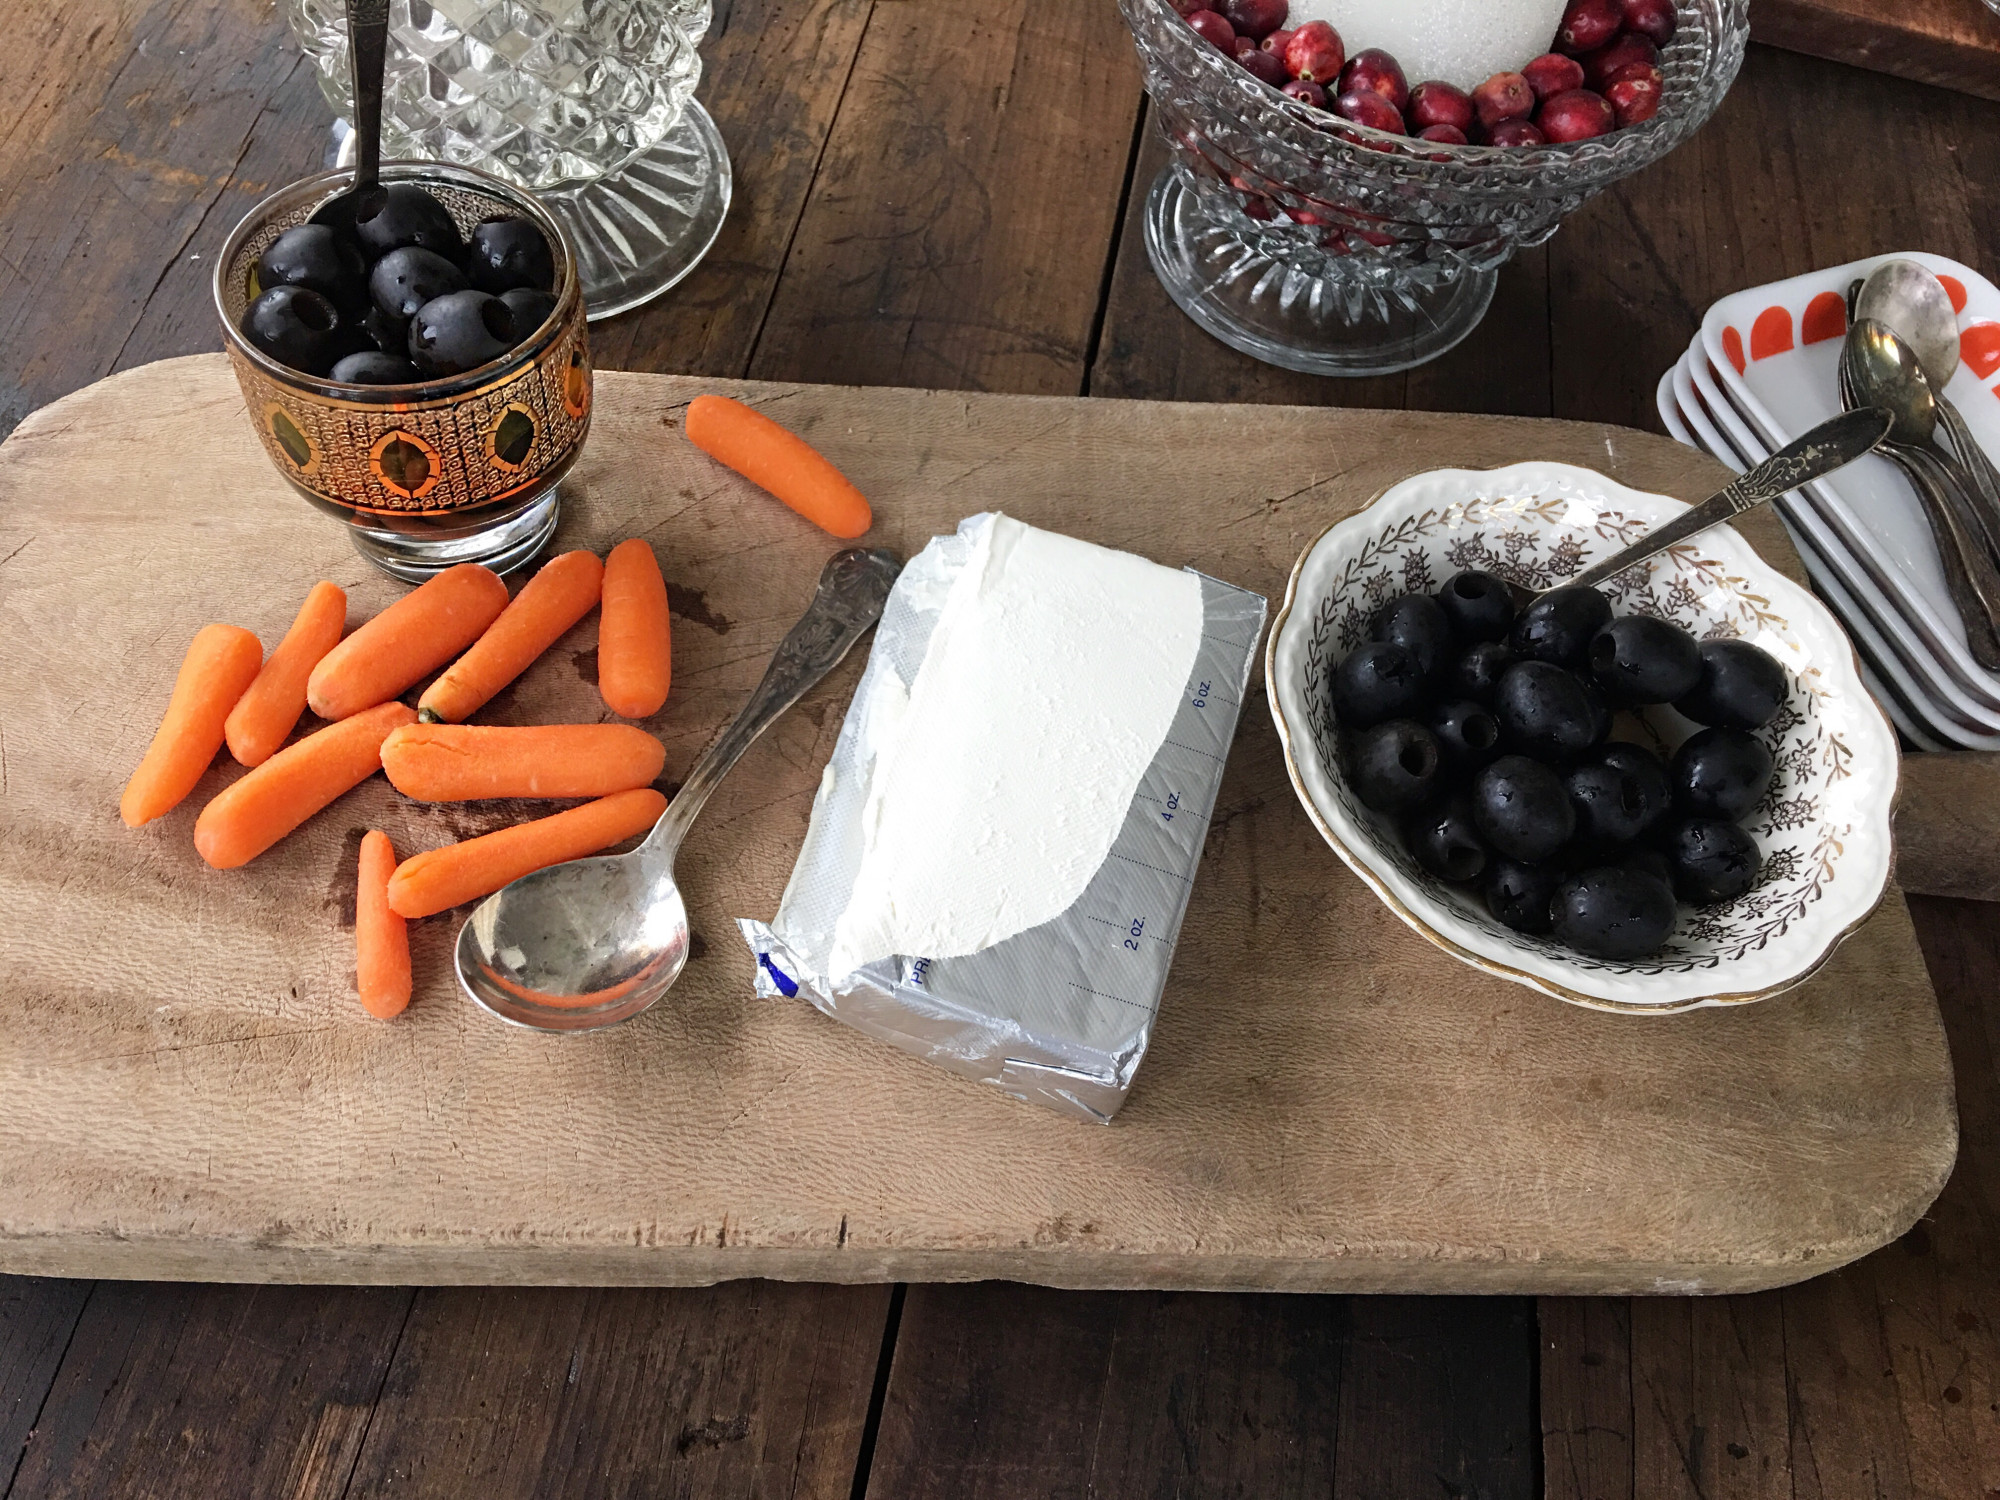
All you need is:

large olives

regualr sized olives

cream cheese

carrots

(I used  baby carrots but large ones would definitely work better)

toothpicks

img_5069

Also, a pair of helping hands makes it more fun if you have any of those lying around. 😉

img_5070

img_5071

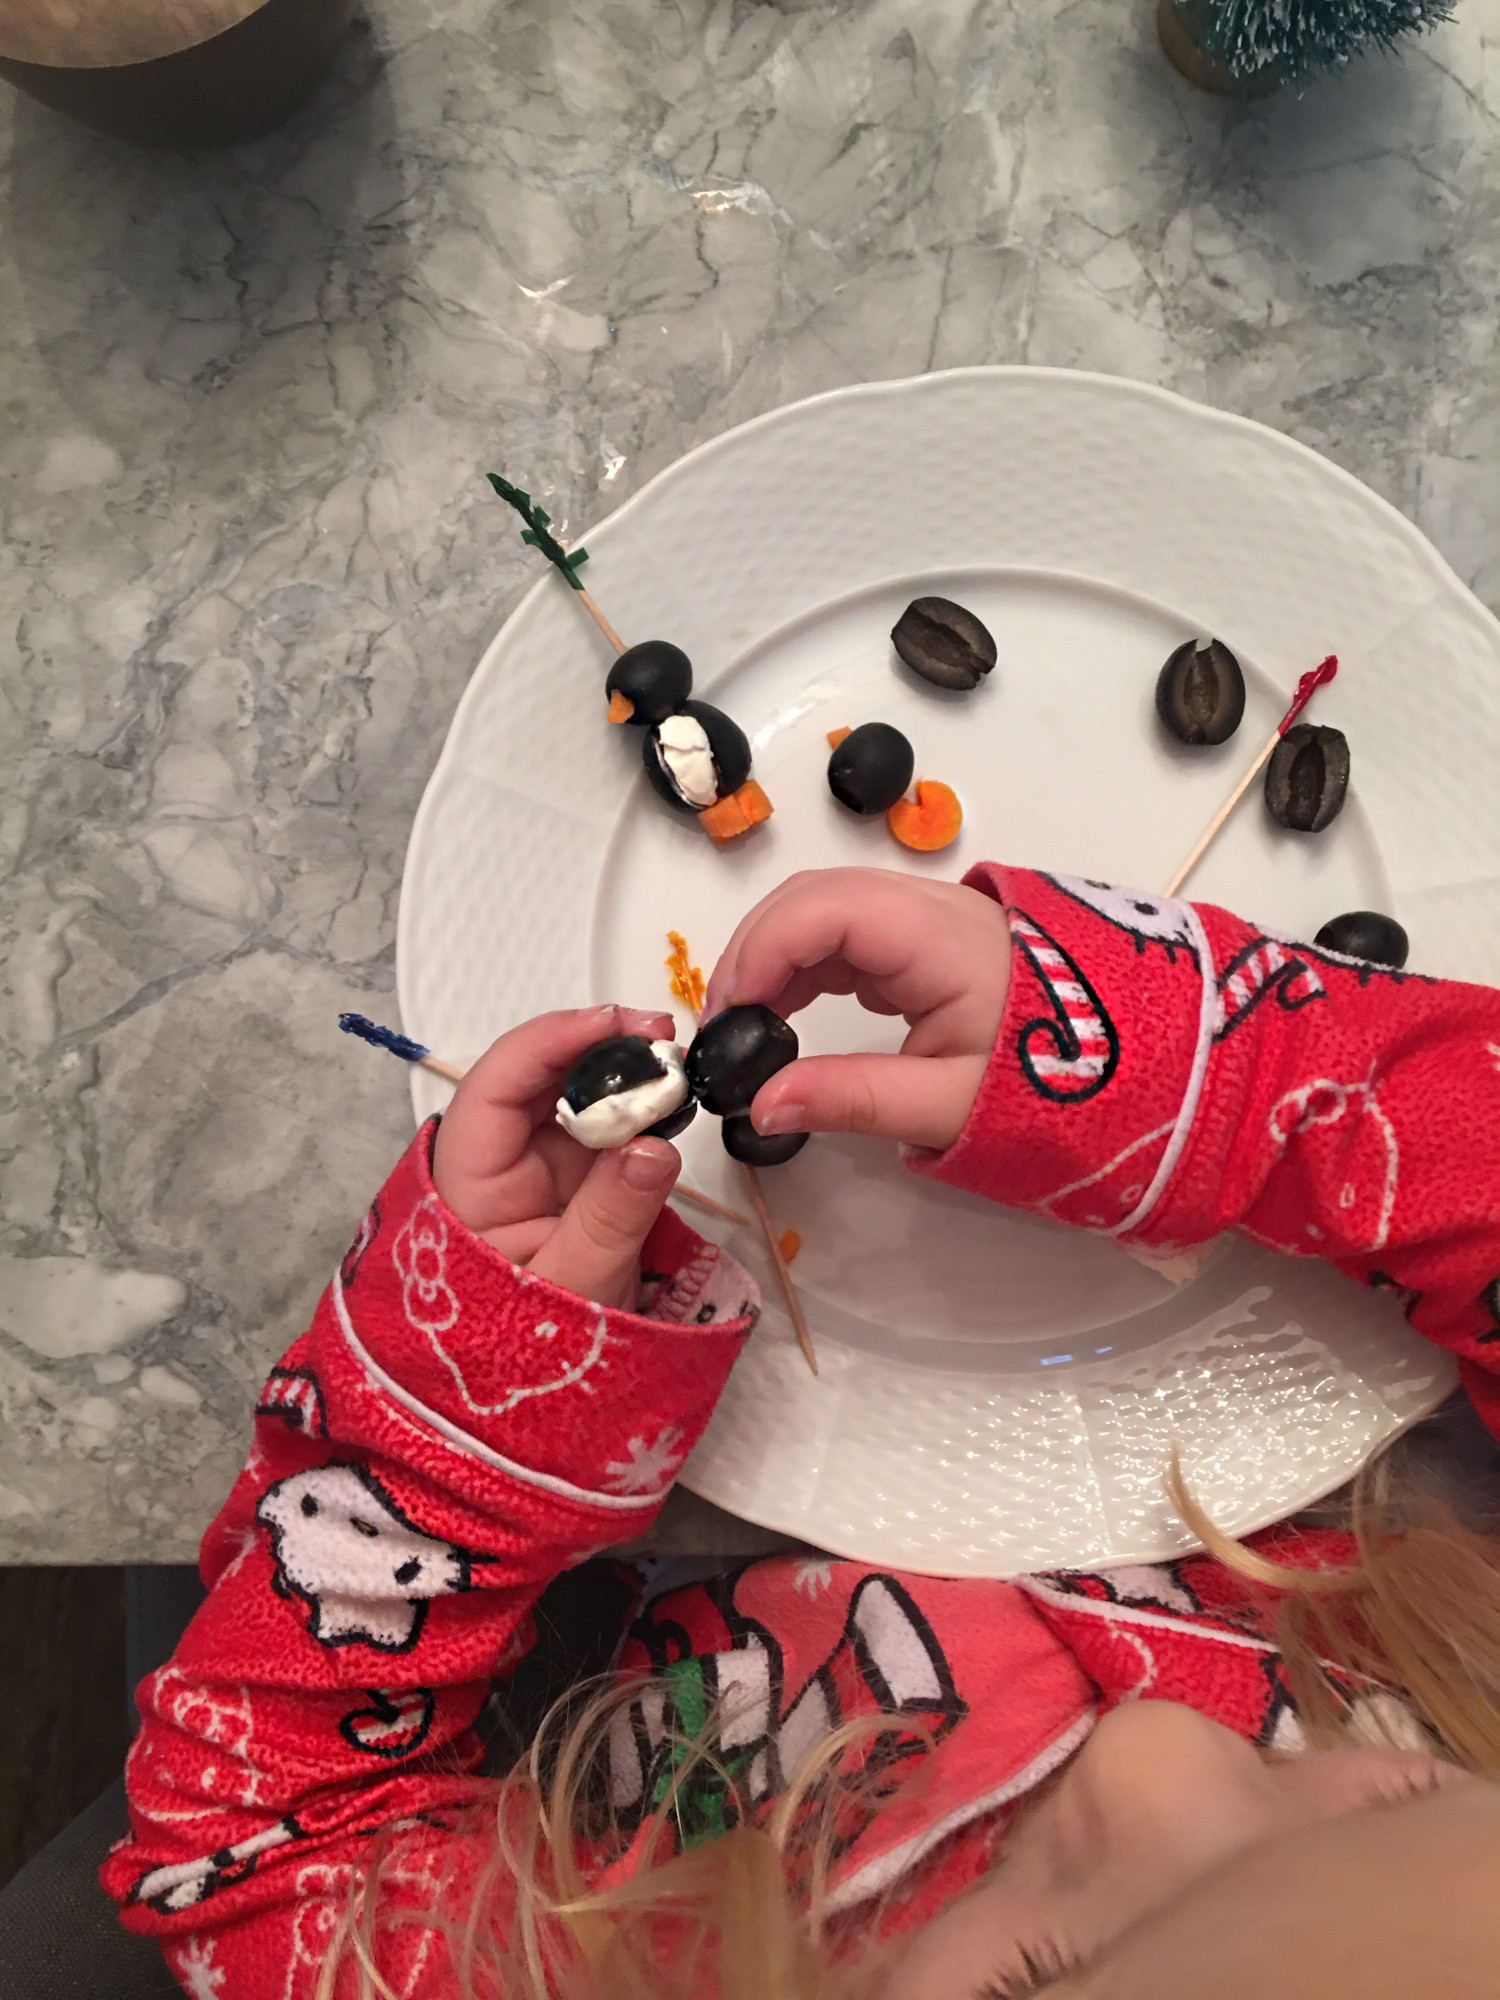
Directions; Make a lengthwise slice halfway into each colossal olive. Gently hold the olive open and push as much cream cheese into the opening as you can, filling the olive. Use your fingers or a paper towel to tidy up along the edges of the opening.

Place a filled olive, large hole side down, on a carrot round, lining up the white of the cream cheese with the wedge cut from the carrot round. Use a toothpick pushed down through the center to hold the “chest” of the penguin to the “feet”.

Push one head, “beak” side lined up with the “chest” and “feet” down onto the toothpicks.

Cover tightly with plastic wrap and refrigerate until ready to serve.

img_5073

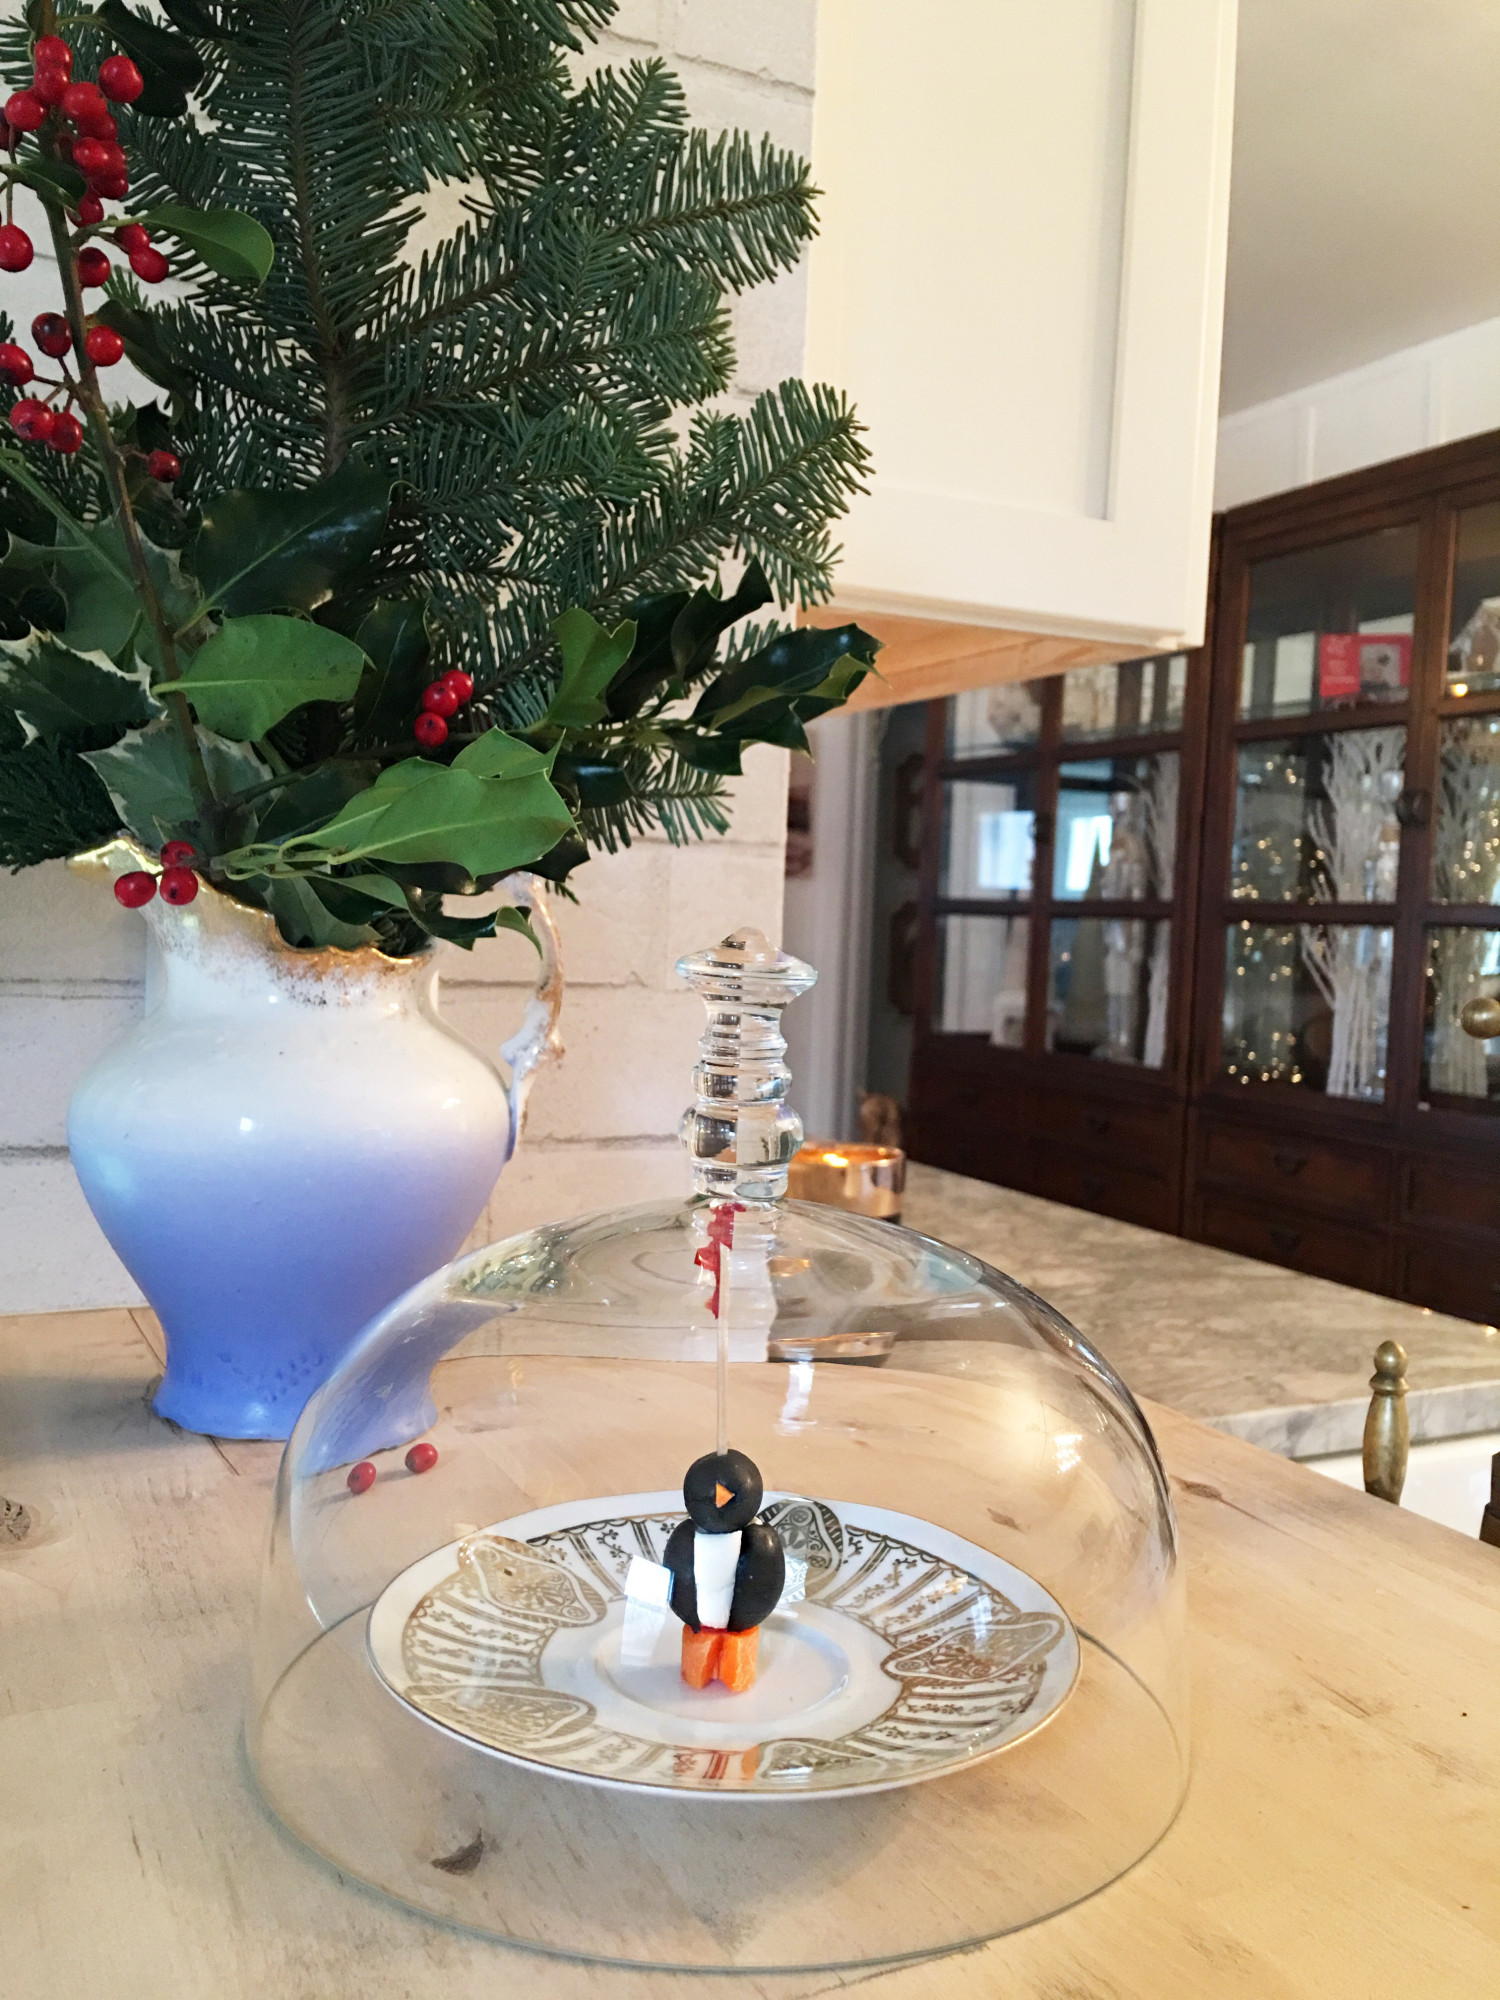
Not only are they yummy and fun to make I must admit they’re pretty adorable too!

img_5076

 And while I have you can we just talk about this brick wall for just one second? Isn’t it amazing, and can you believe it is wallpaper?! This textured wallpaper is from Tempaper Designs and it is amazing and because it is removable it made installation a breeze! I think all wallpaper should be made this way!

Please make sure to check out the other talented bloggers in today’s Farmhouse Holiday Tour! Wishing you a wonderful weekend!

christmaskitchen4


French Country Cottage

christmaskitchen1

Ella Claire | Craftberry Bush | Love Grows Wild | Rooms For Rent

christmaskitchen3

Jennifer Rizzo | Shades of Blue Interiors | Kindred Vintage | My Sweet Savannah