
Hello Friends!
It sure has been a busy week here! Yesterday was our Holiday House Walk, tonight we are hosting our annual Christmas party so I wanted to share with you an appetizer we are making! Which happened to fit in perfectly with the Farmhouse Holiday Series kitchen and recipe post for today!

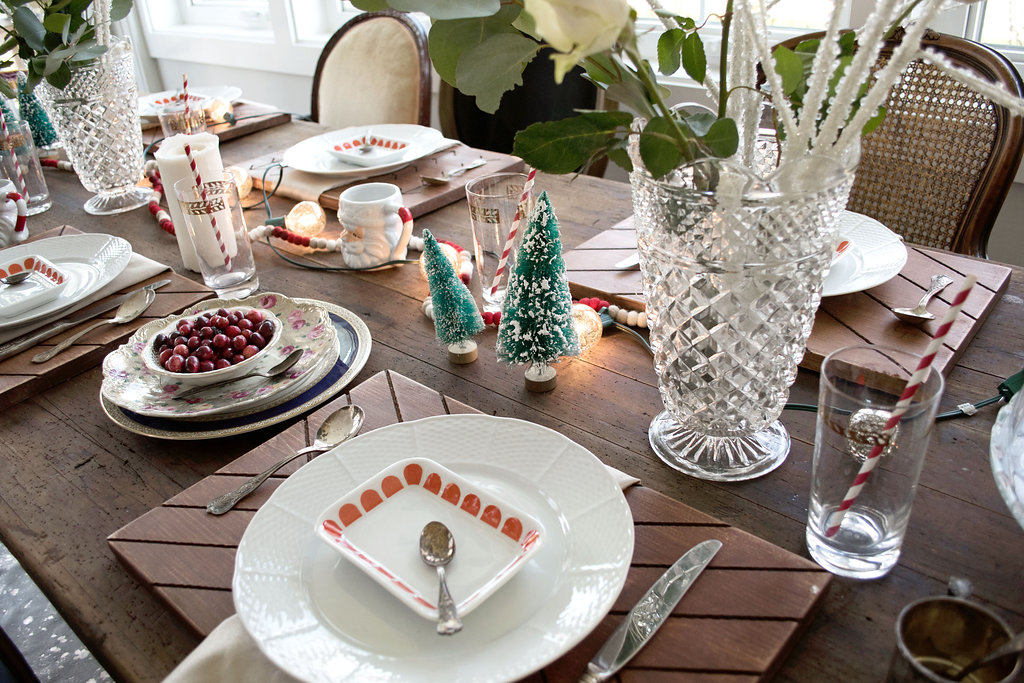
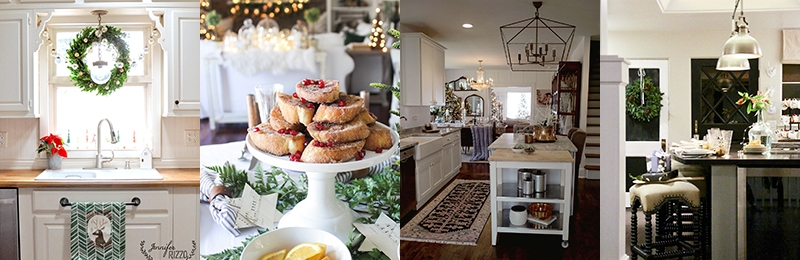
I wanted to show you our kitchen decorated for the Holidays and share with you an appetizer I used to make with my mother when I was a kid!
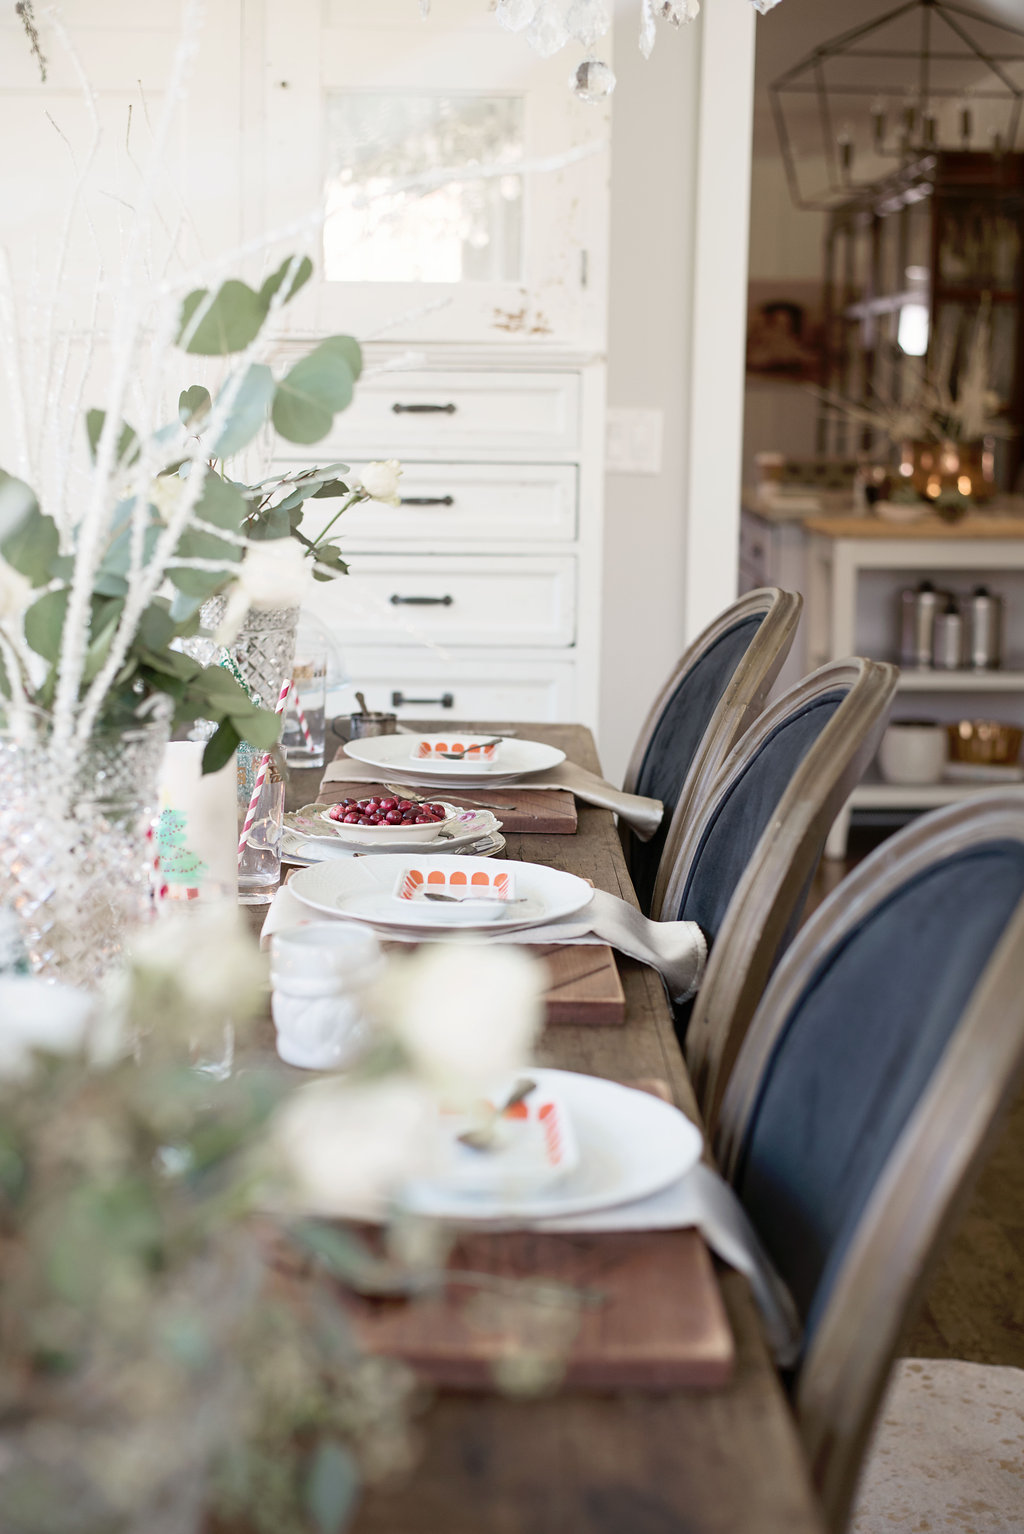
Some of my very favorite features about our kitchen is that it lands right in the center of our home. After knocking down walls and completely rehabbing the space it has become one of our very favorite hang outs!
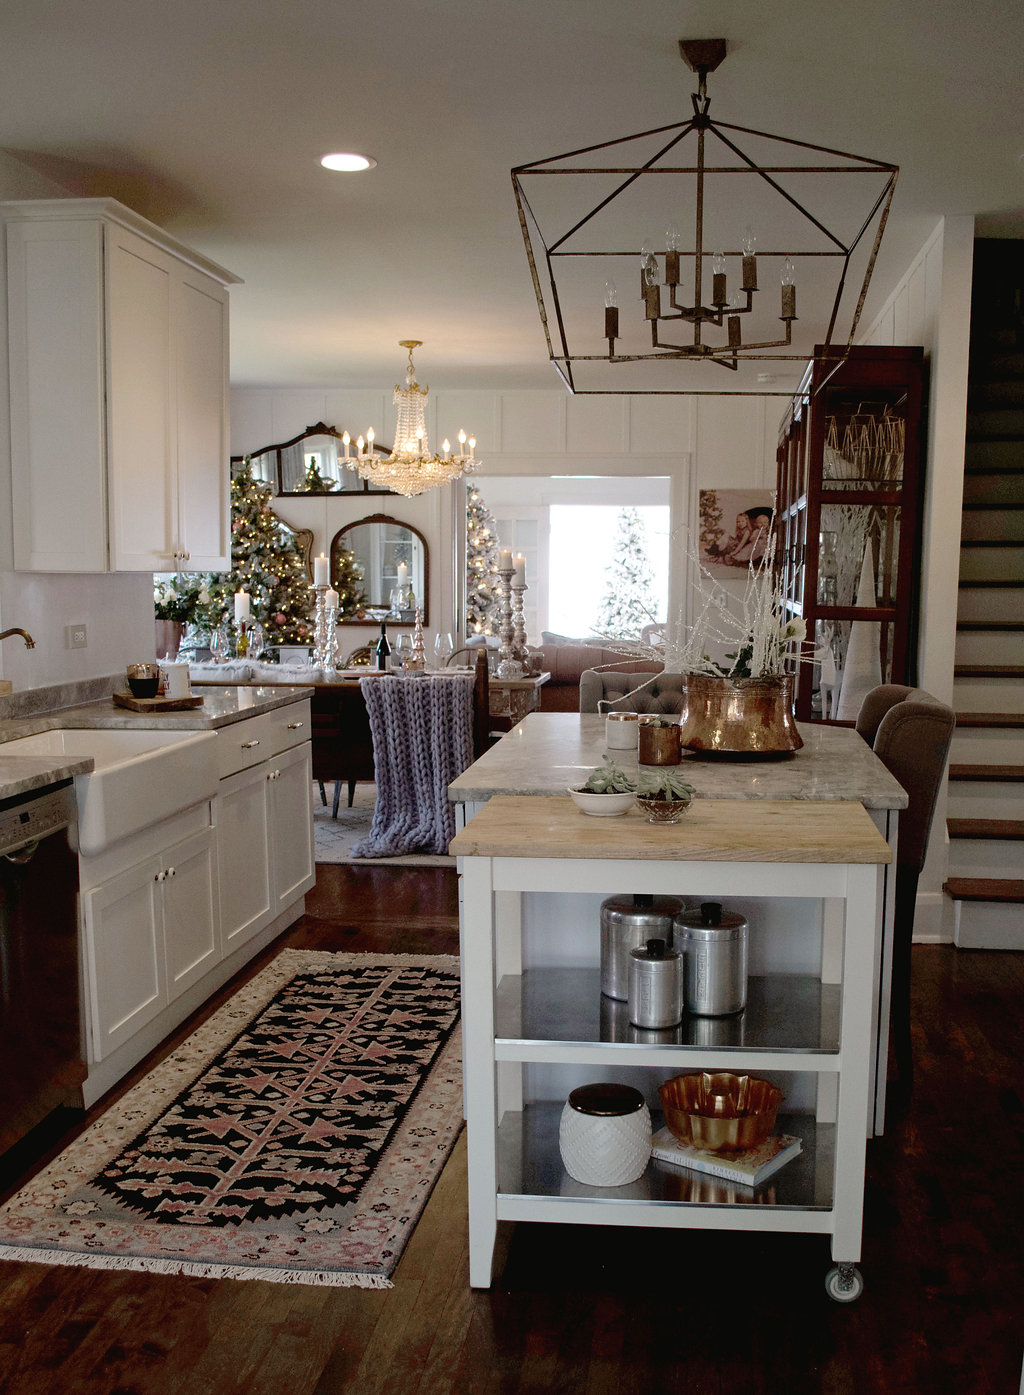
This Caitlin Wilson Design rug and this stunning open chandelier from Kathy Kuo Home are the two newest additions to the space and I just adore the warmth and chicness they both bring!
Now onto the fun little appetizer. Warning, I am NO chef by any means. I do like to bake during the holidays but that’s as far as I would like to go. 🙂 I’m more of an eater. 😉
This appetizer is so easy, cute and enjoyable for young ones to make so that’s why I chose to share it with you!
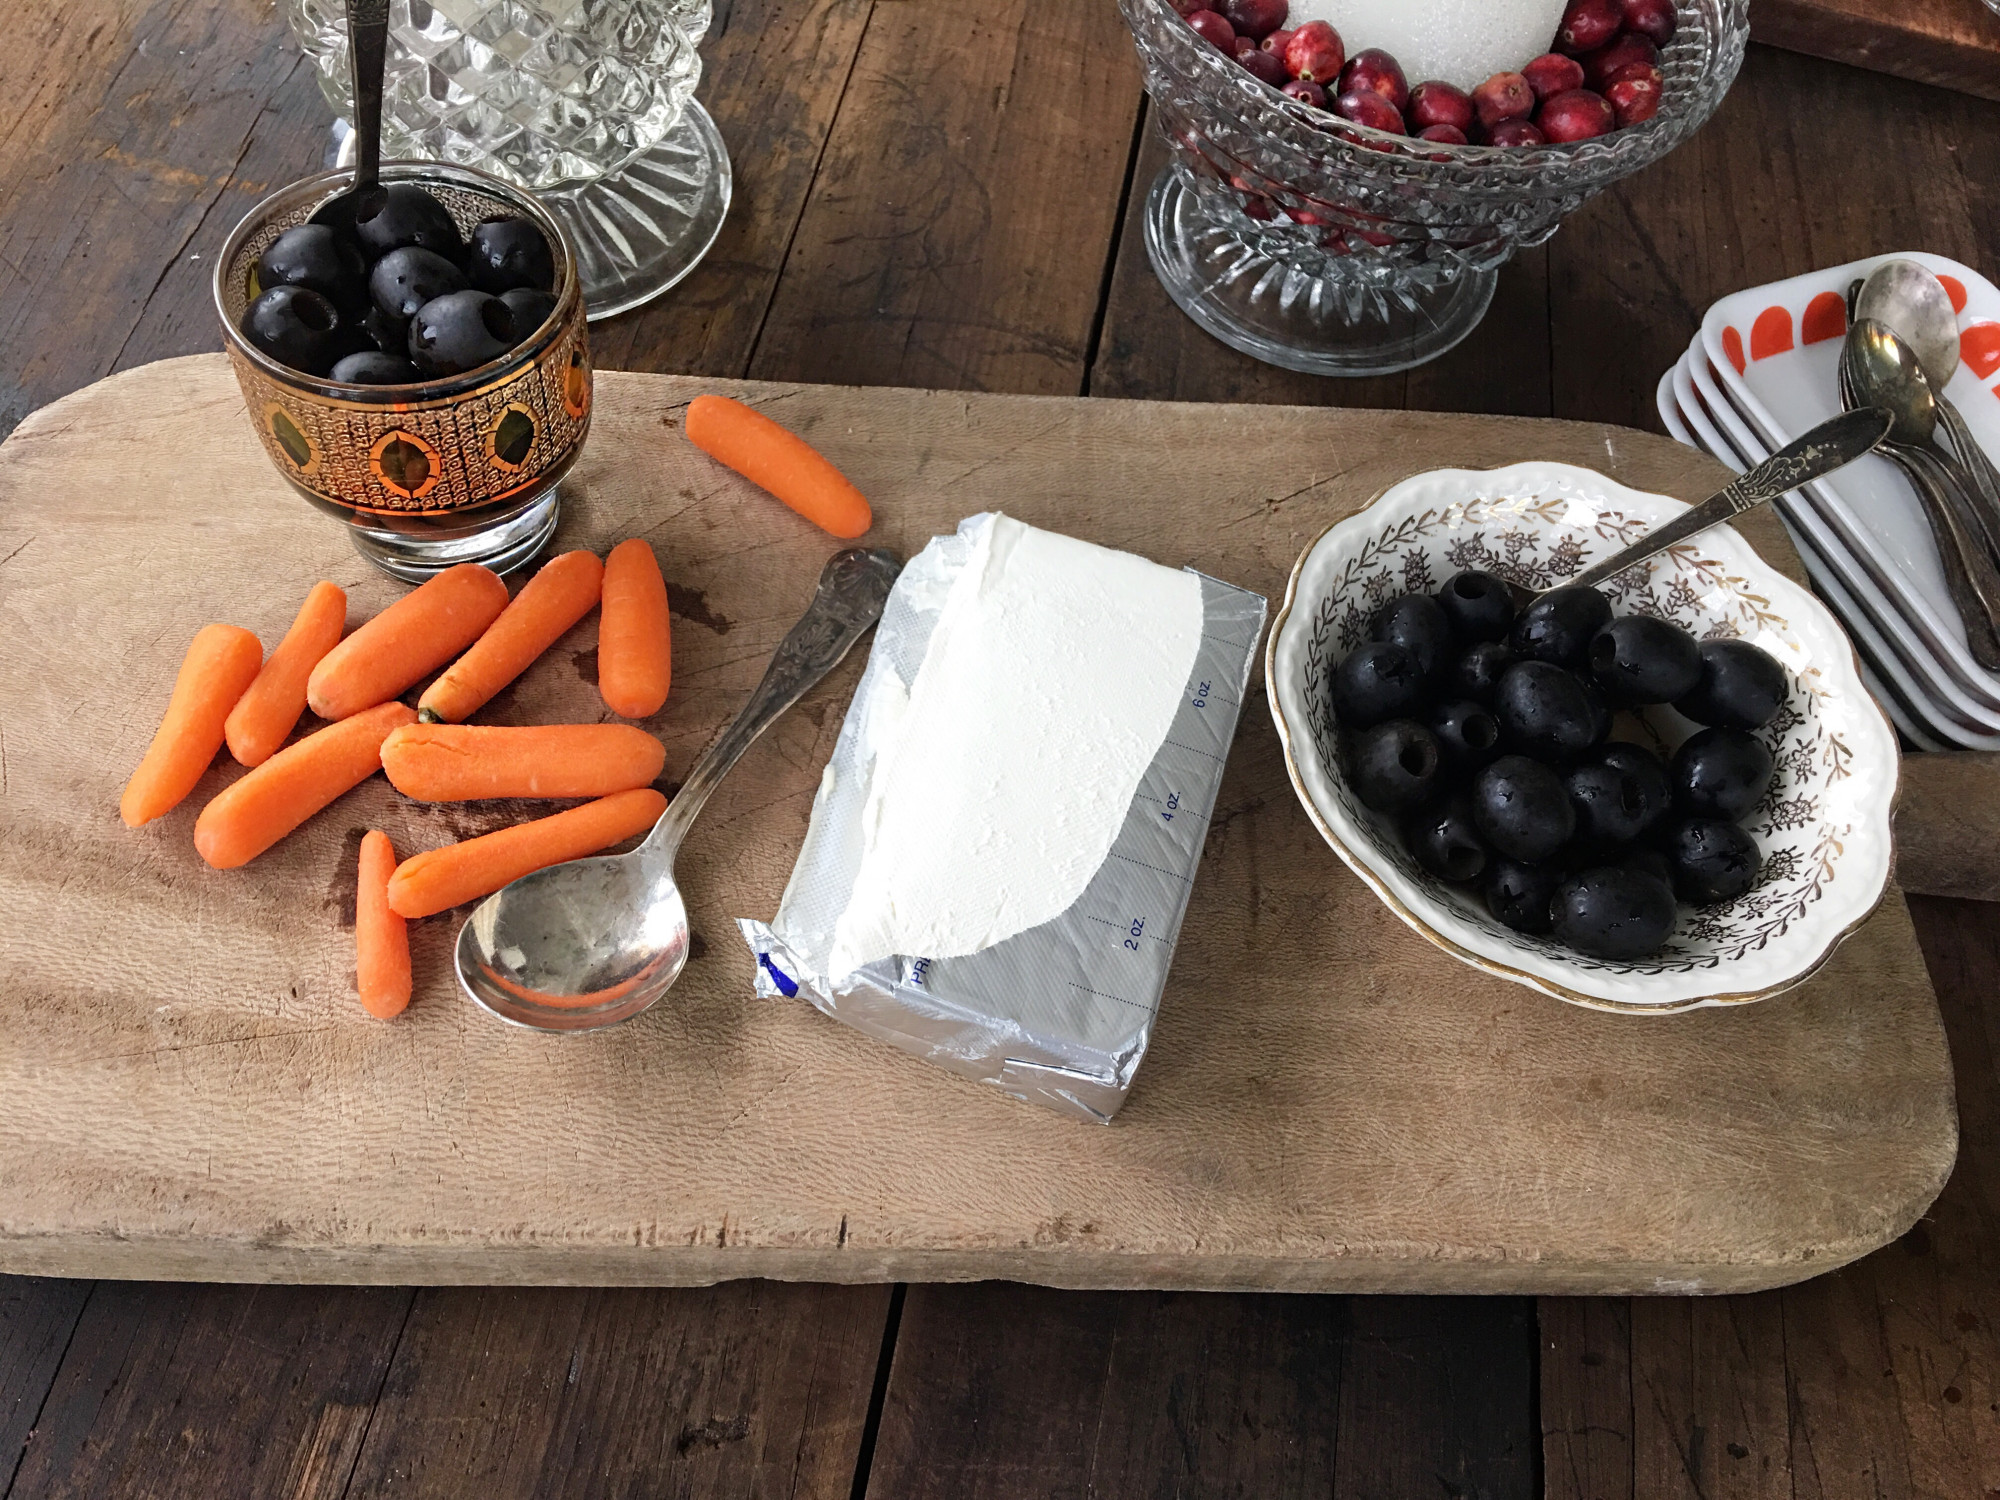
All you need is:
large olives
regualr sized olives
cream cheese
carrots
(I used baby carrots but large ones would definitely work better)
toothpicks
Also, a pair of helping hands makes it more fun if you have any of those lying around. 😉
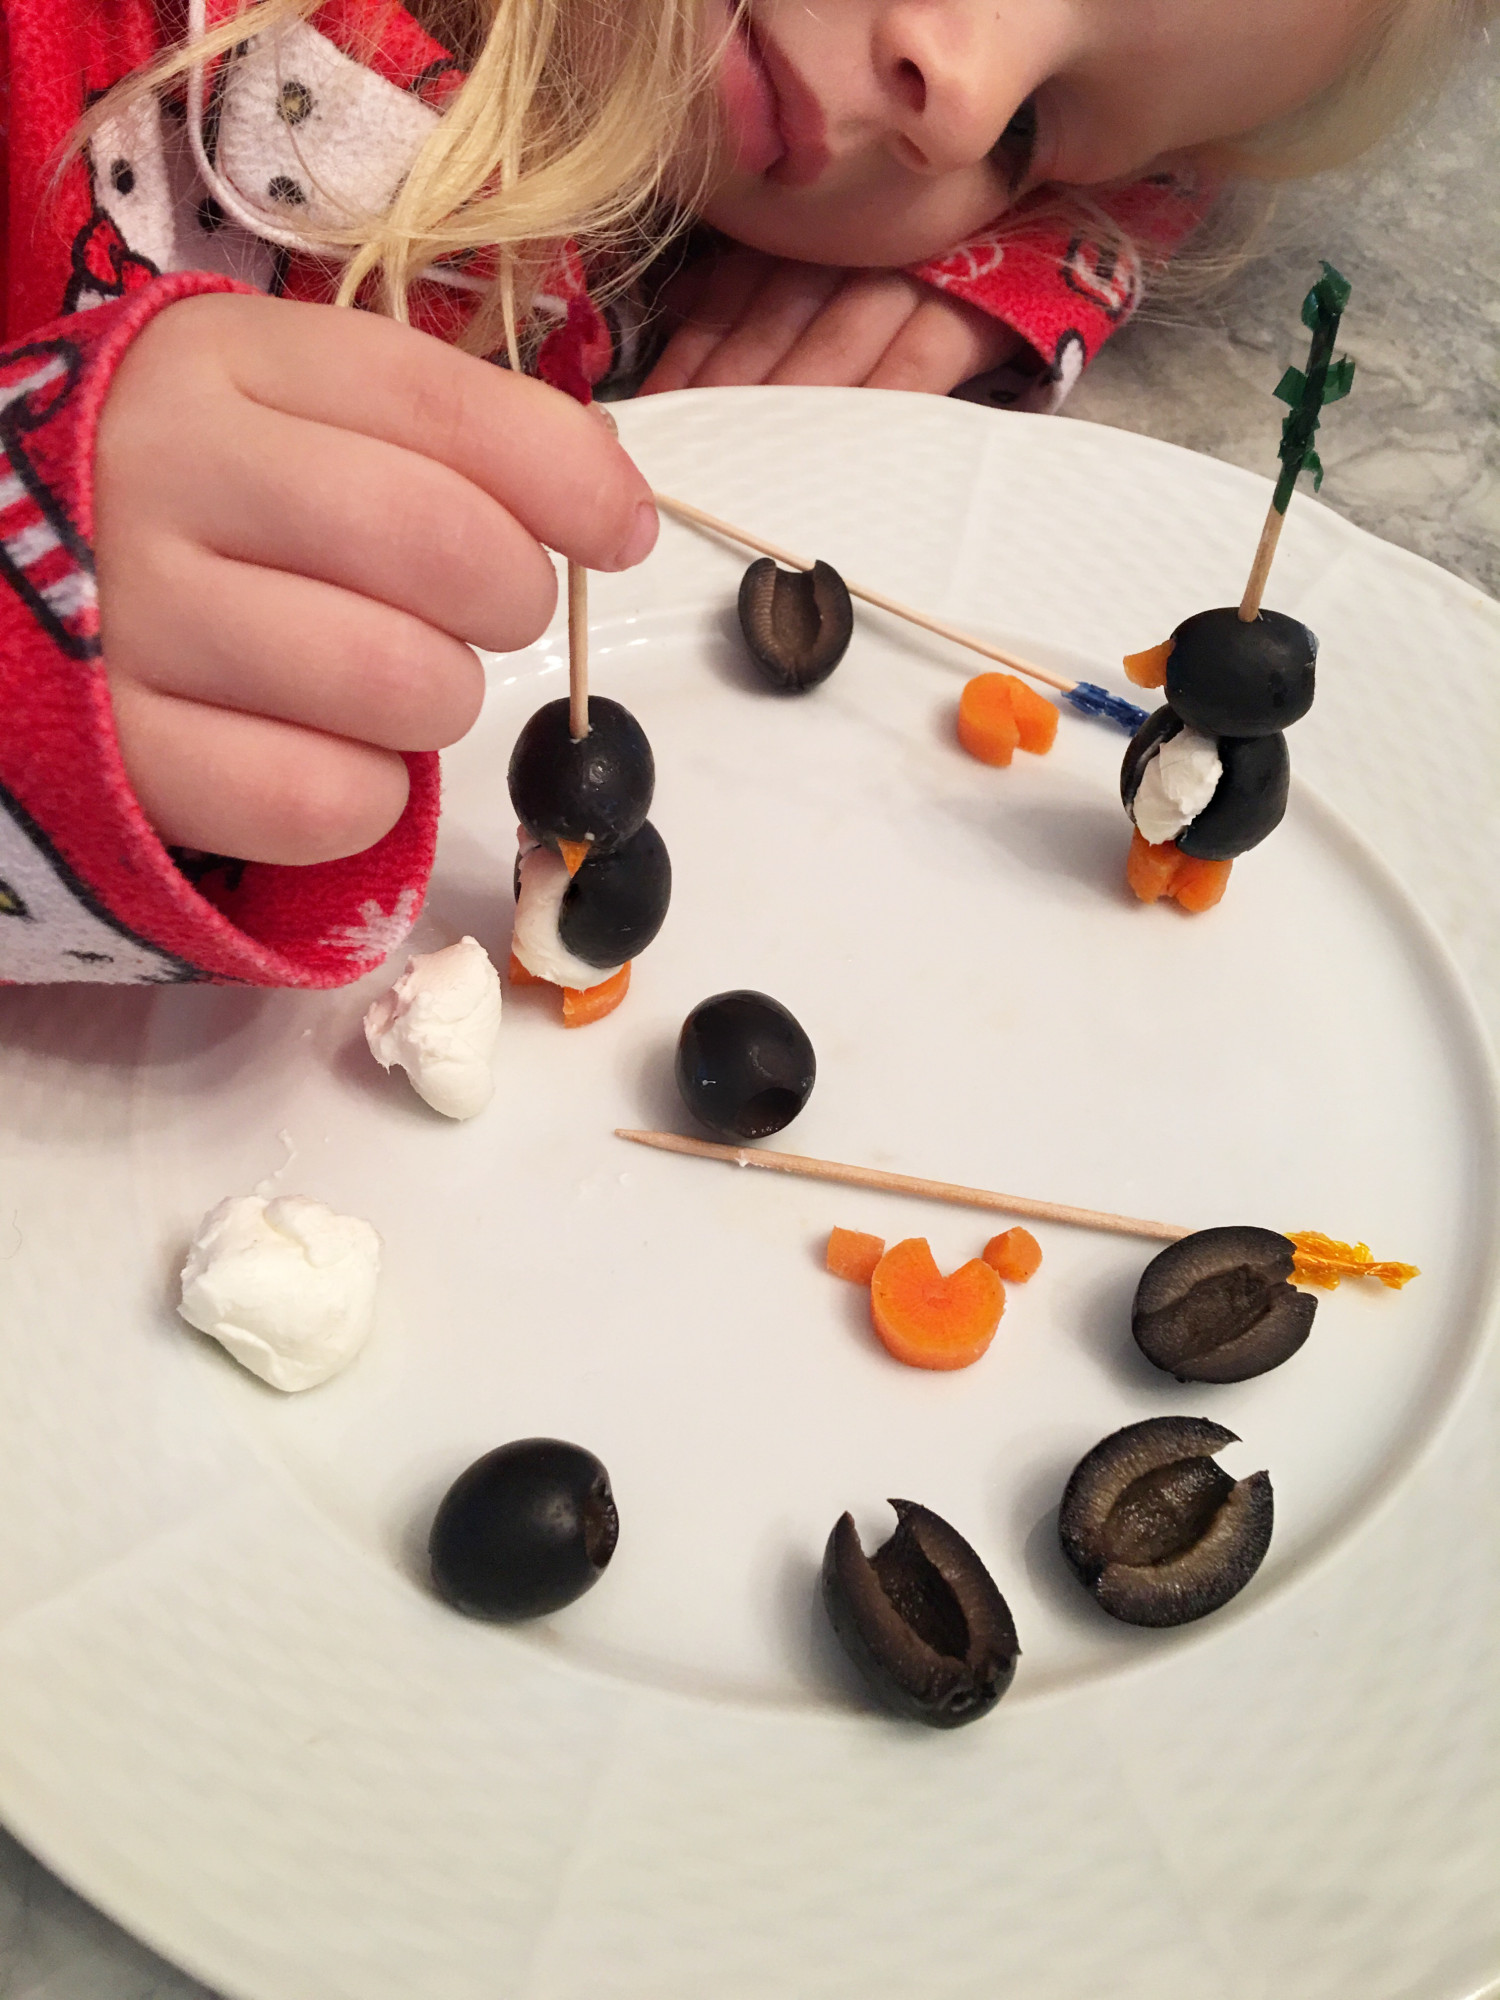
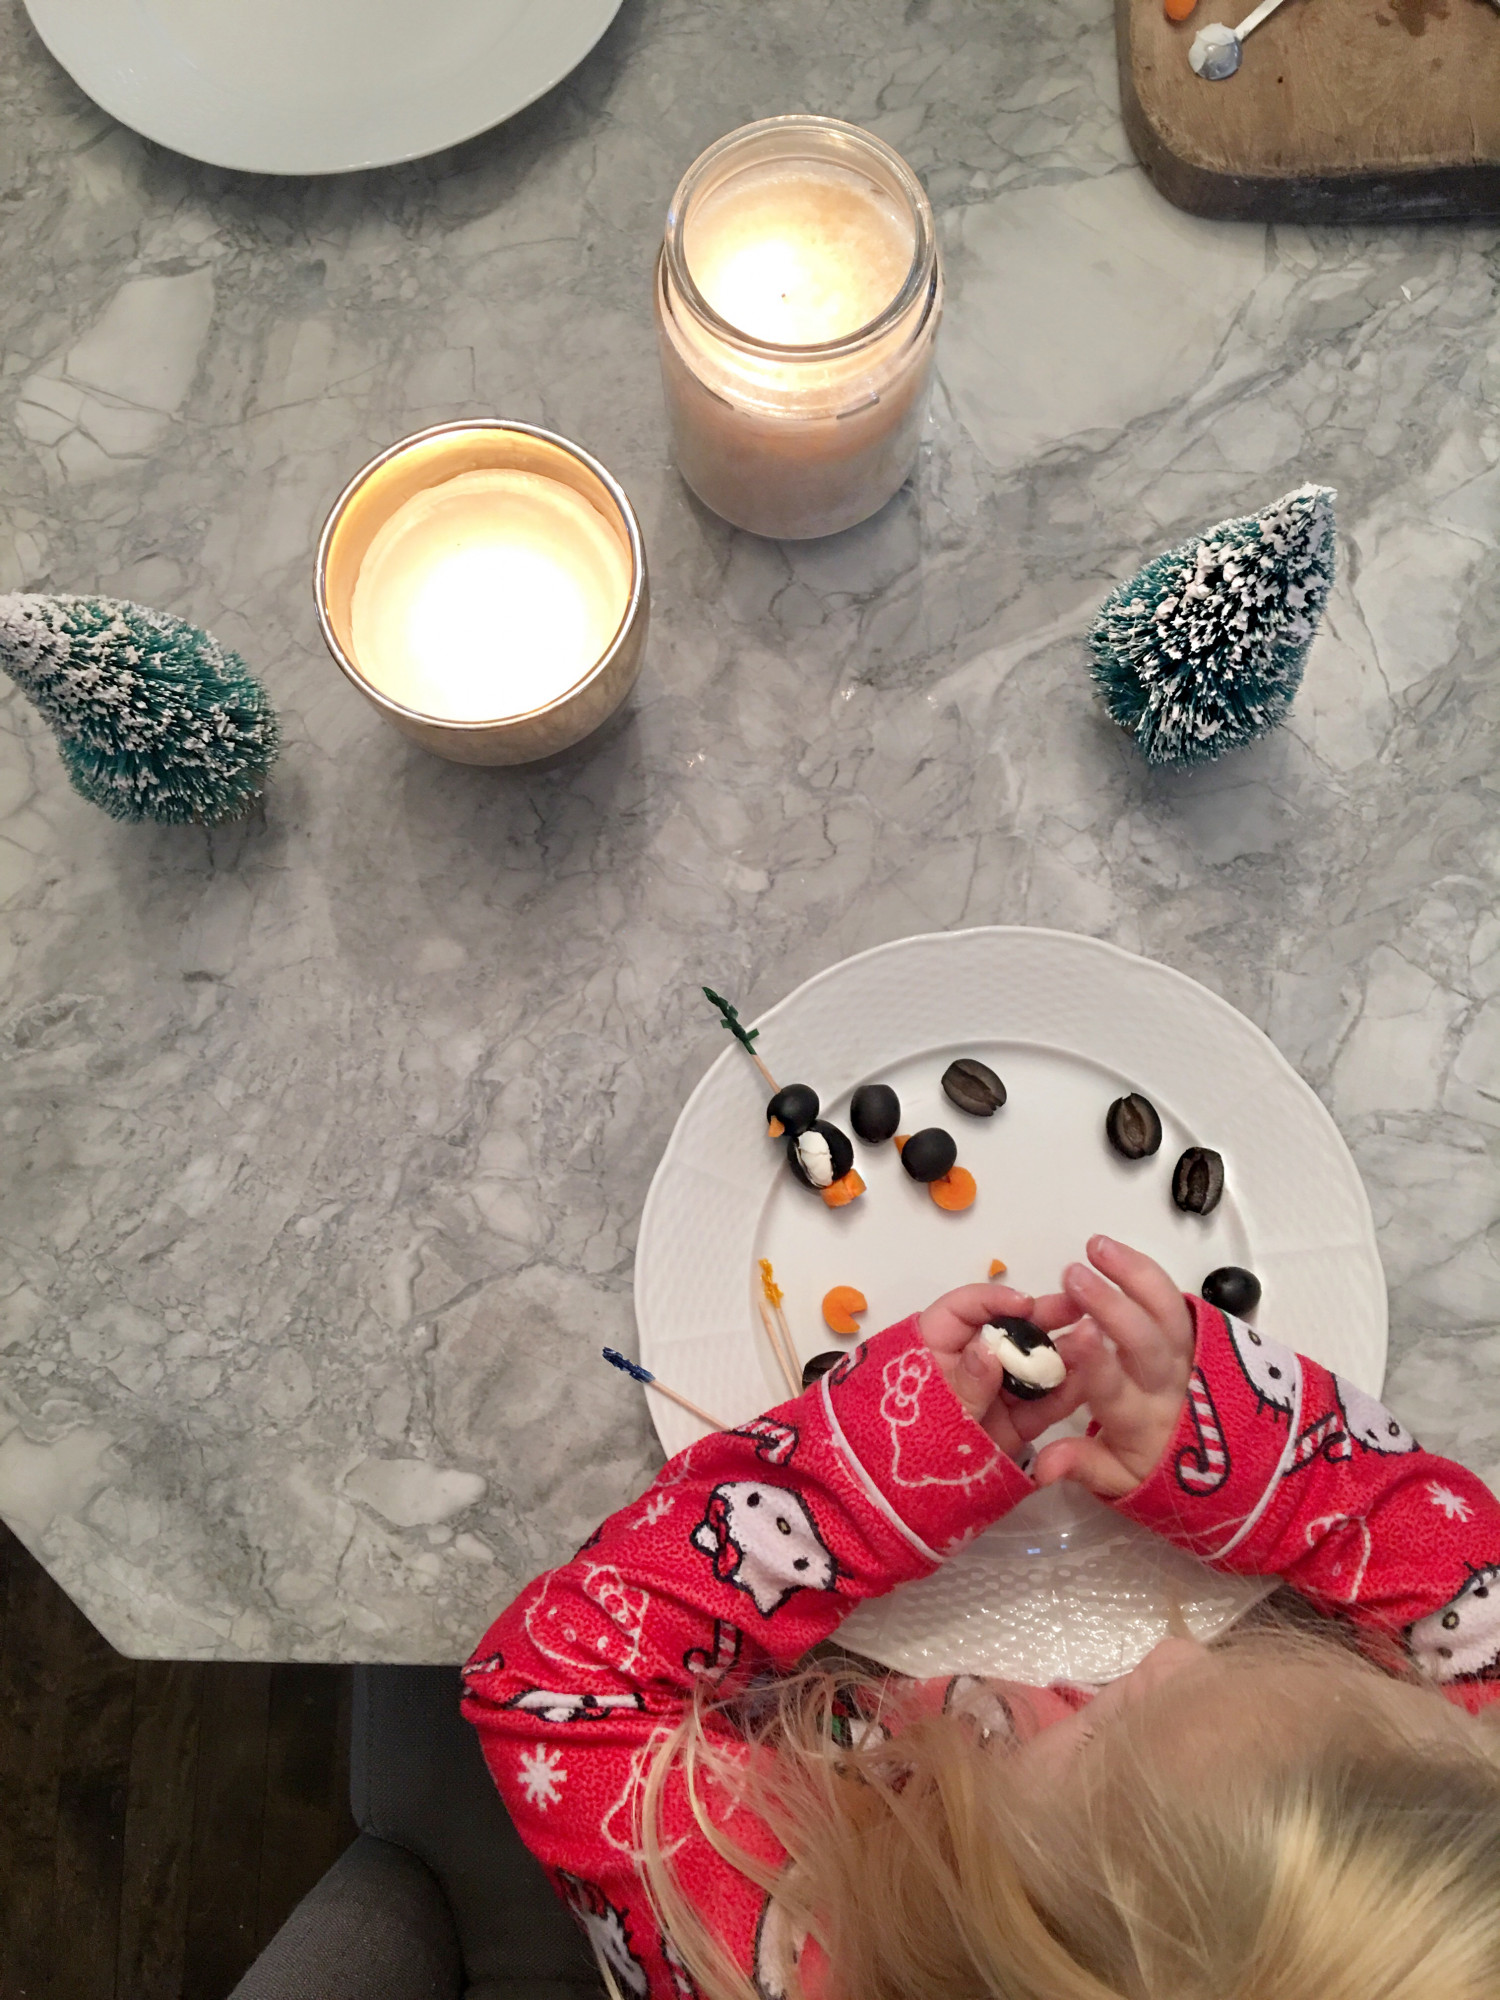
Directions; Make a lengthwise slice halfway into each colossal olive. Gently hold the olive open and push as much cream cheese into the opening as you can, filling the olive. Use your fingers or a paper towel to tidy up along the edges of the opening.
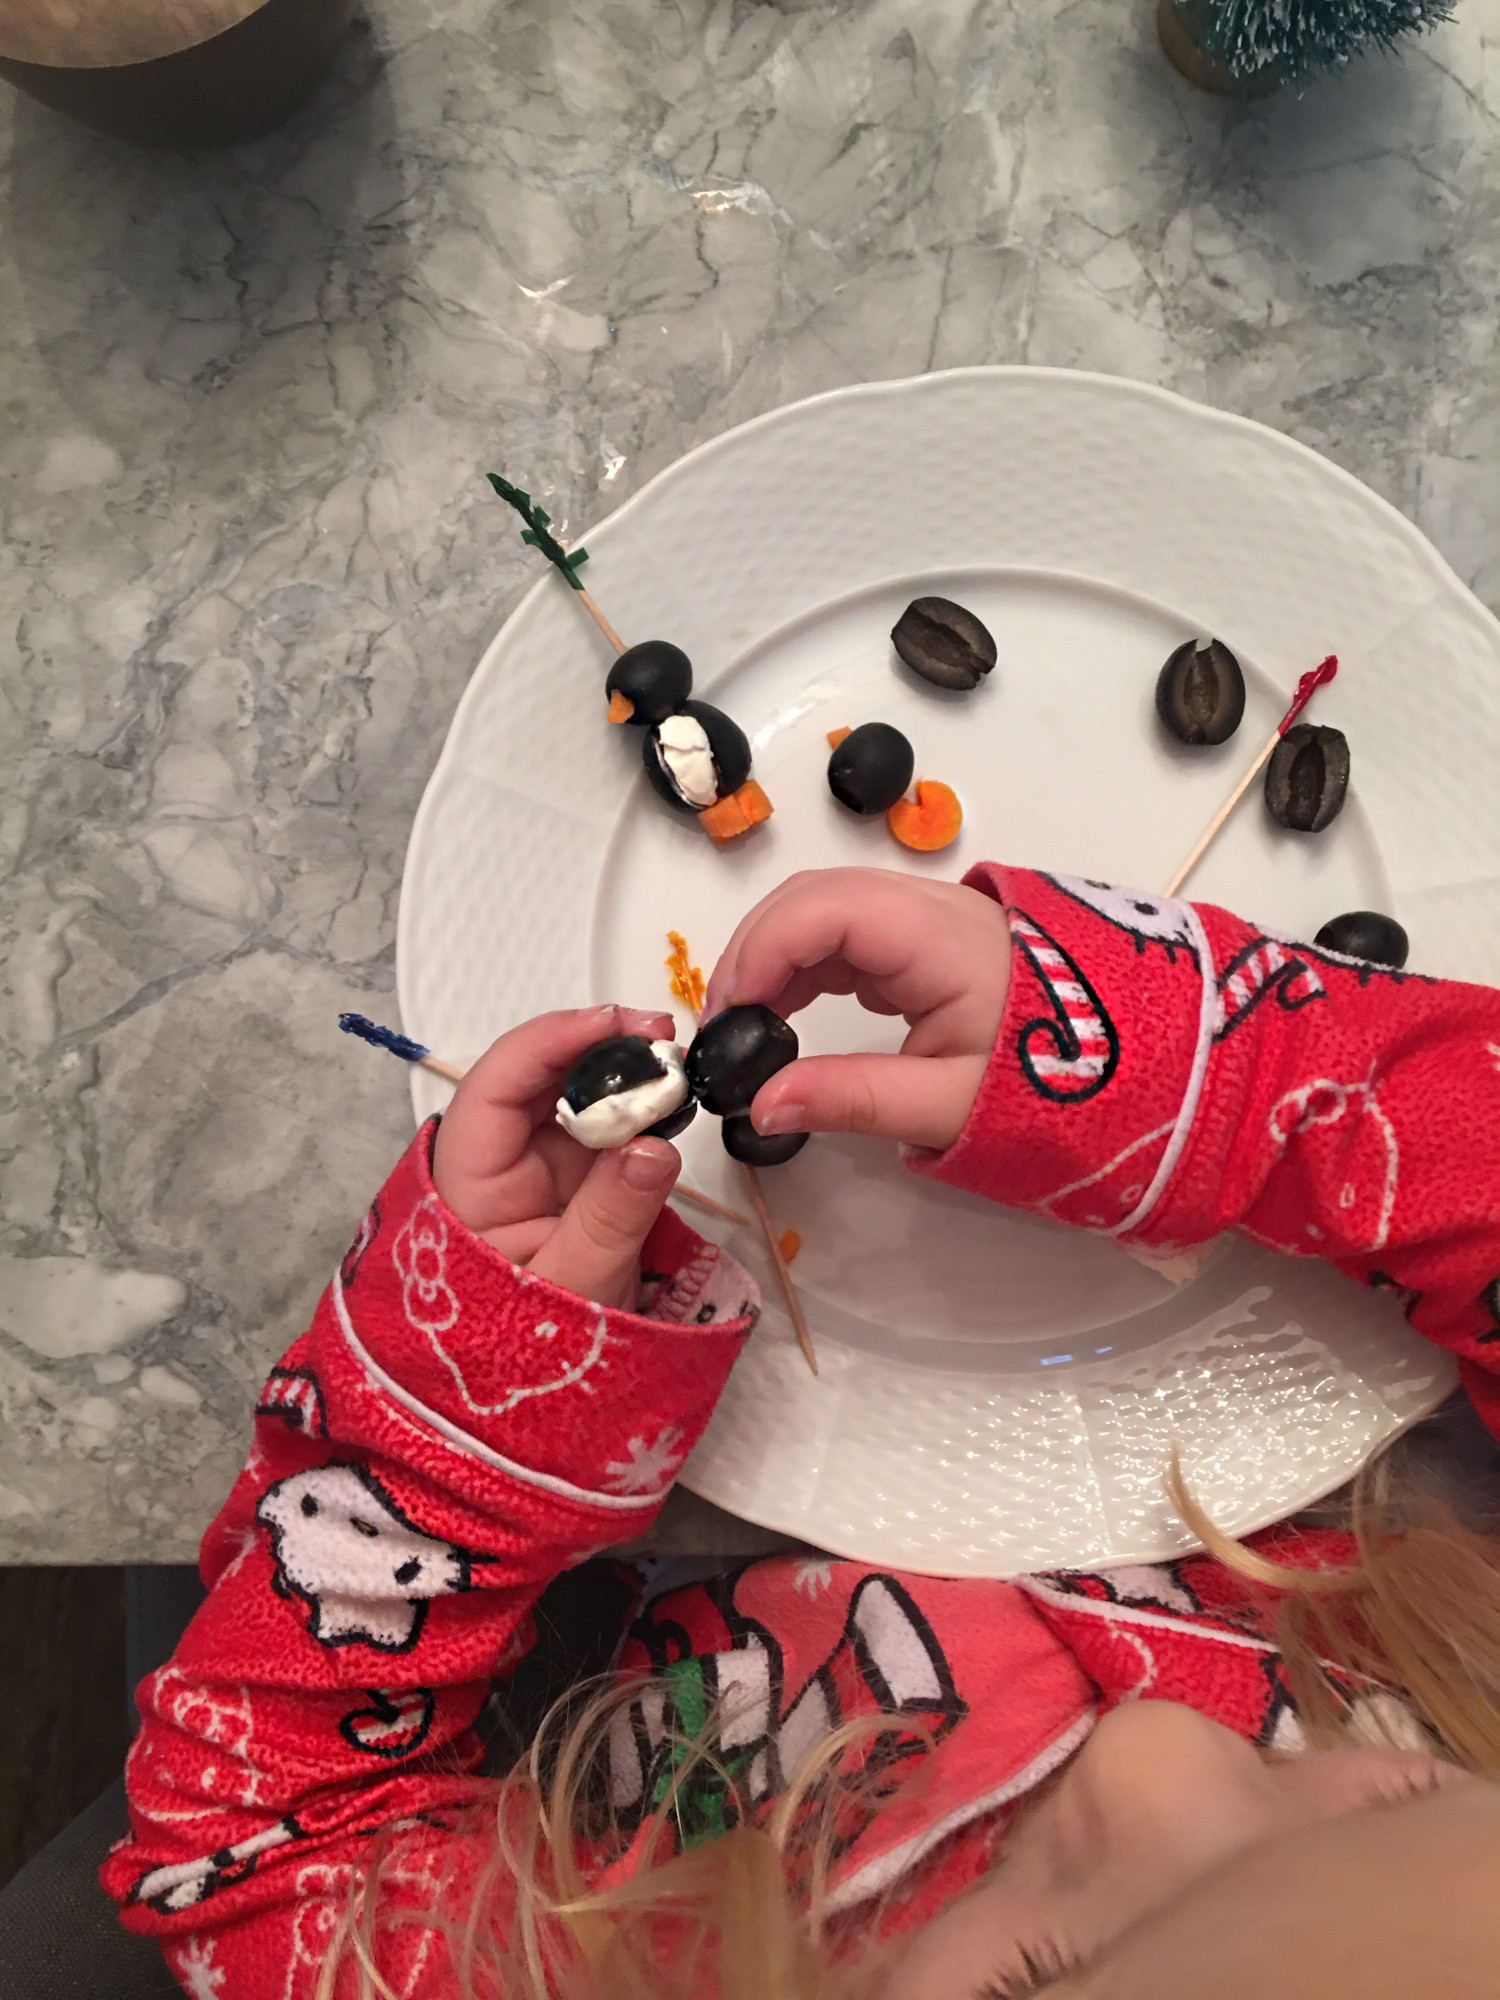
Place a filled olive, large hole side down, on a carrot round, lining up the white of the cream cheese with the wedge cut from the carrot round. Use a toothpick pushed down through the center to hold the “chest” of the penguin to the “feet”.
Push one head, “beak” side lined up with the “chest” and “feet” down onto the toothpicks.
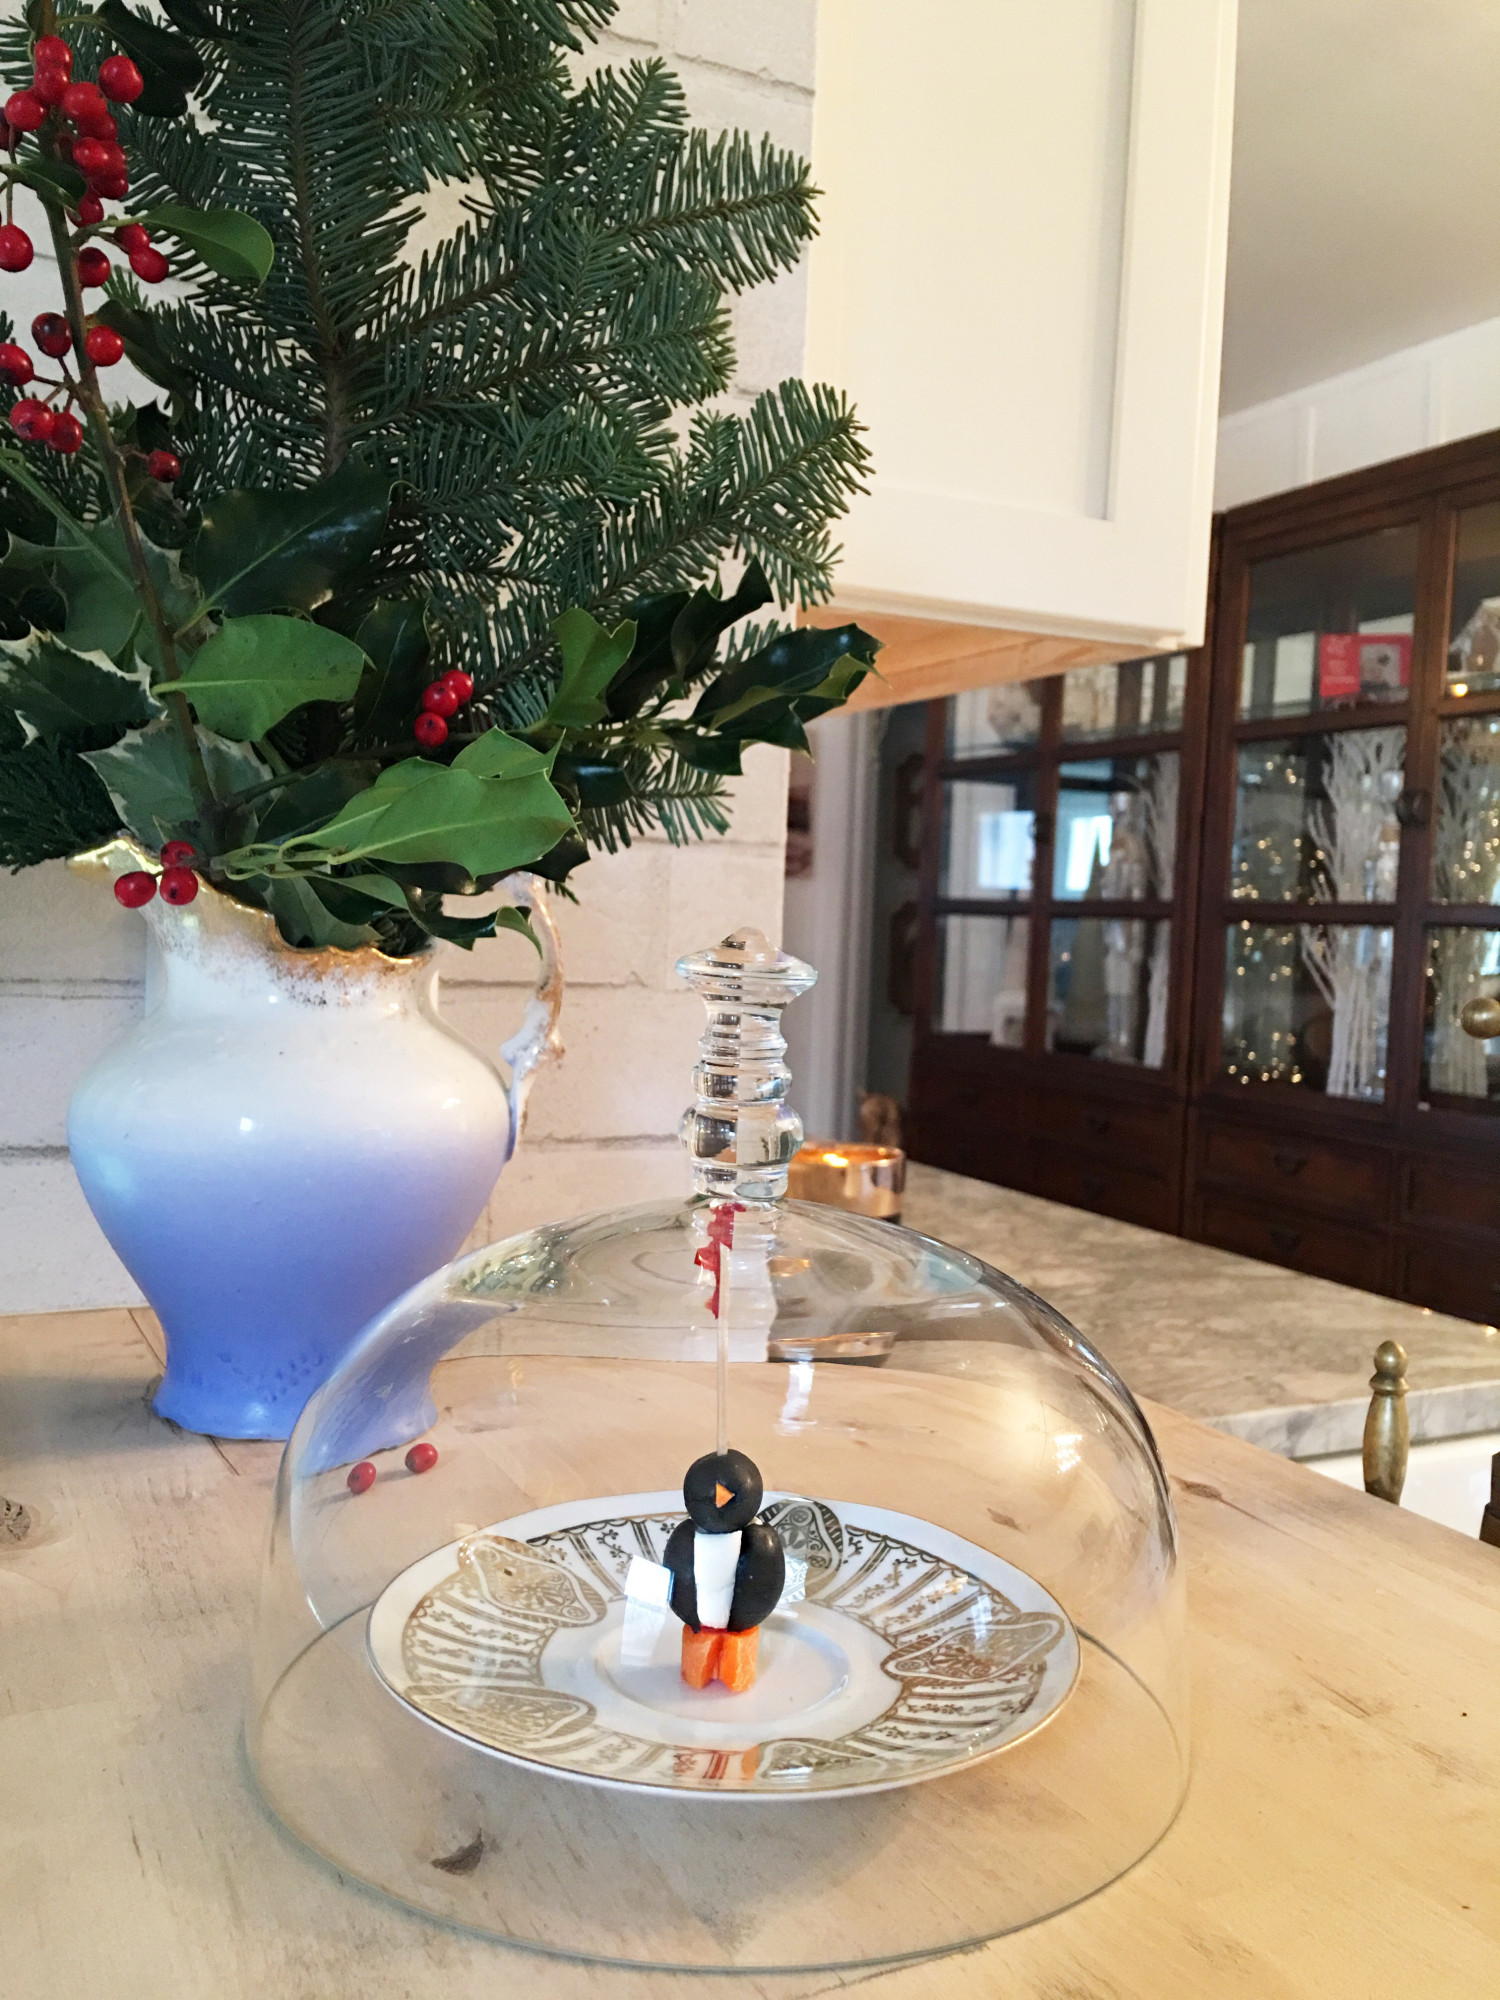
Cover tightly with plastic wrap and refrigerate until ready to serve.

Not only are they yummy and fun to make I must admit they’re pretty adorable too!
And while I have you can we just talk about this brick wall for just one second? Isn’t it amazing, and can you believe it is wallpaper?! This textured wallpaper is from Tempaper Designs and it is amazing and because it is removable it made installation a breeze! I think all wallpaper should be made this way!
Please make sure to check out the other talented bloggers in today’s Farmhouse Holiday Tour! Wishing you a wonderful weekend!
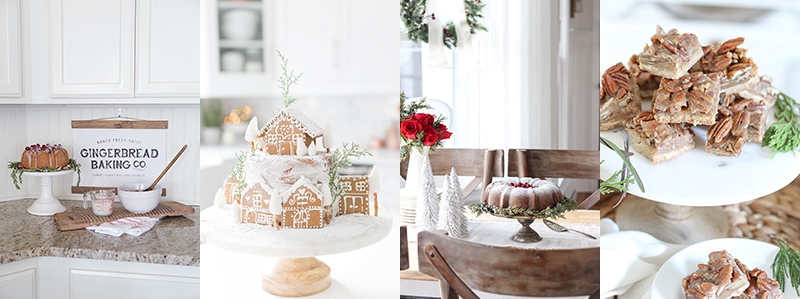
Ella Claire | Craftberry Bush | Love Grows Wild | Rooms For Rent
Jennifer Rizzo | Shades of Blue Interiors | Kindred Vintage | My Sweet Savannah
I think I’m losing my mind… did I already comment on this? haha well if so I’m doing it again because I can’t see the comment above if it was me or not… these are SO adorable Susan! I’ve never seen little penguin appetizers before and this is darling and simple.
Where are your kitchen counter stools from? I love them!
Thanks for sharing,
Ann