
Hey World!
Rob here. SQ’s favorite hubby and her part-time male model. She asked me to write about the application process of milk paint since I’ve helped her with several milk painted pieces. As someone who has worked with many different brands and types of paints, from water-based to oils, I have to write that milk paint is definitely the easiest paint I’ve ever worked with.
Initially I was somewhat confused because instead of the gallon jugs that we’re all familiar with, the paint comes in small pouches harboring powered paint that has the consistency of flour. However, any reservations were quickly overcame by reading the two lines of instructions. I mixed the 1 part paint, 1 part water combo in an old wide-mouthed workout bottle because I didn’t want to chance ruining a blender and stirring the mixture with my finger wasn’t going to cut it.
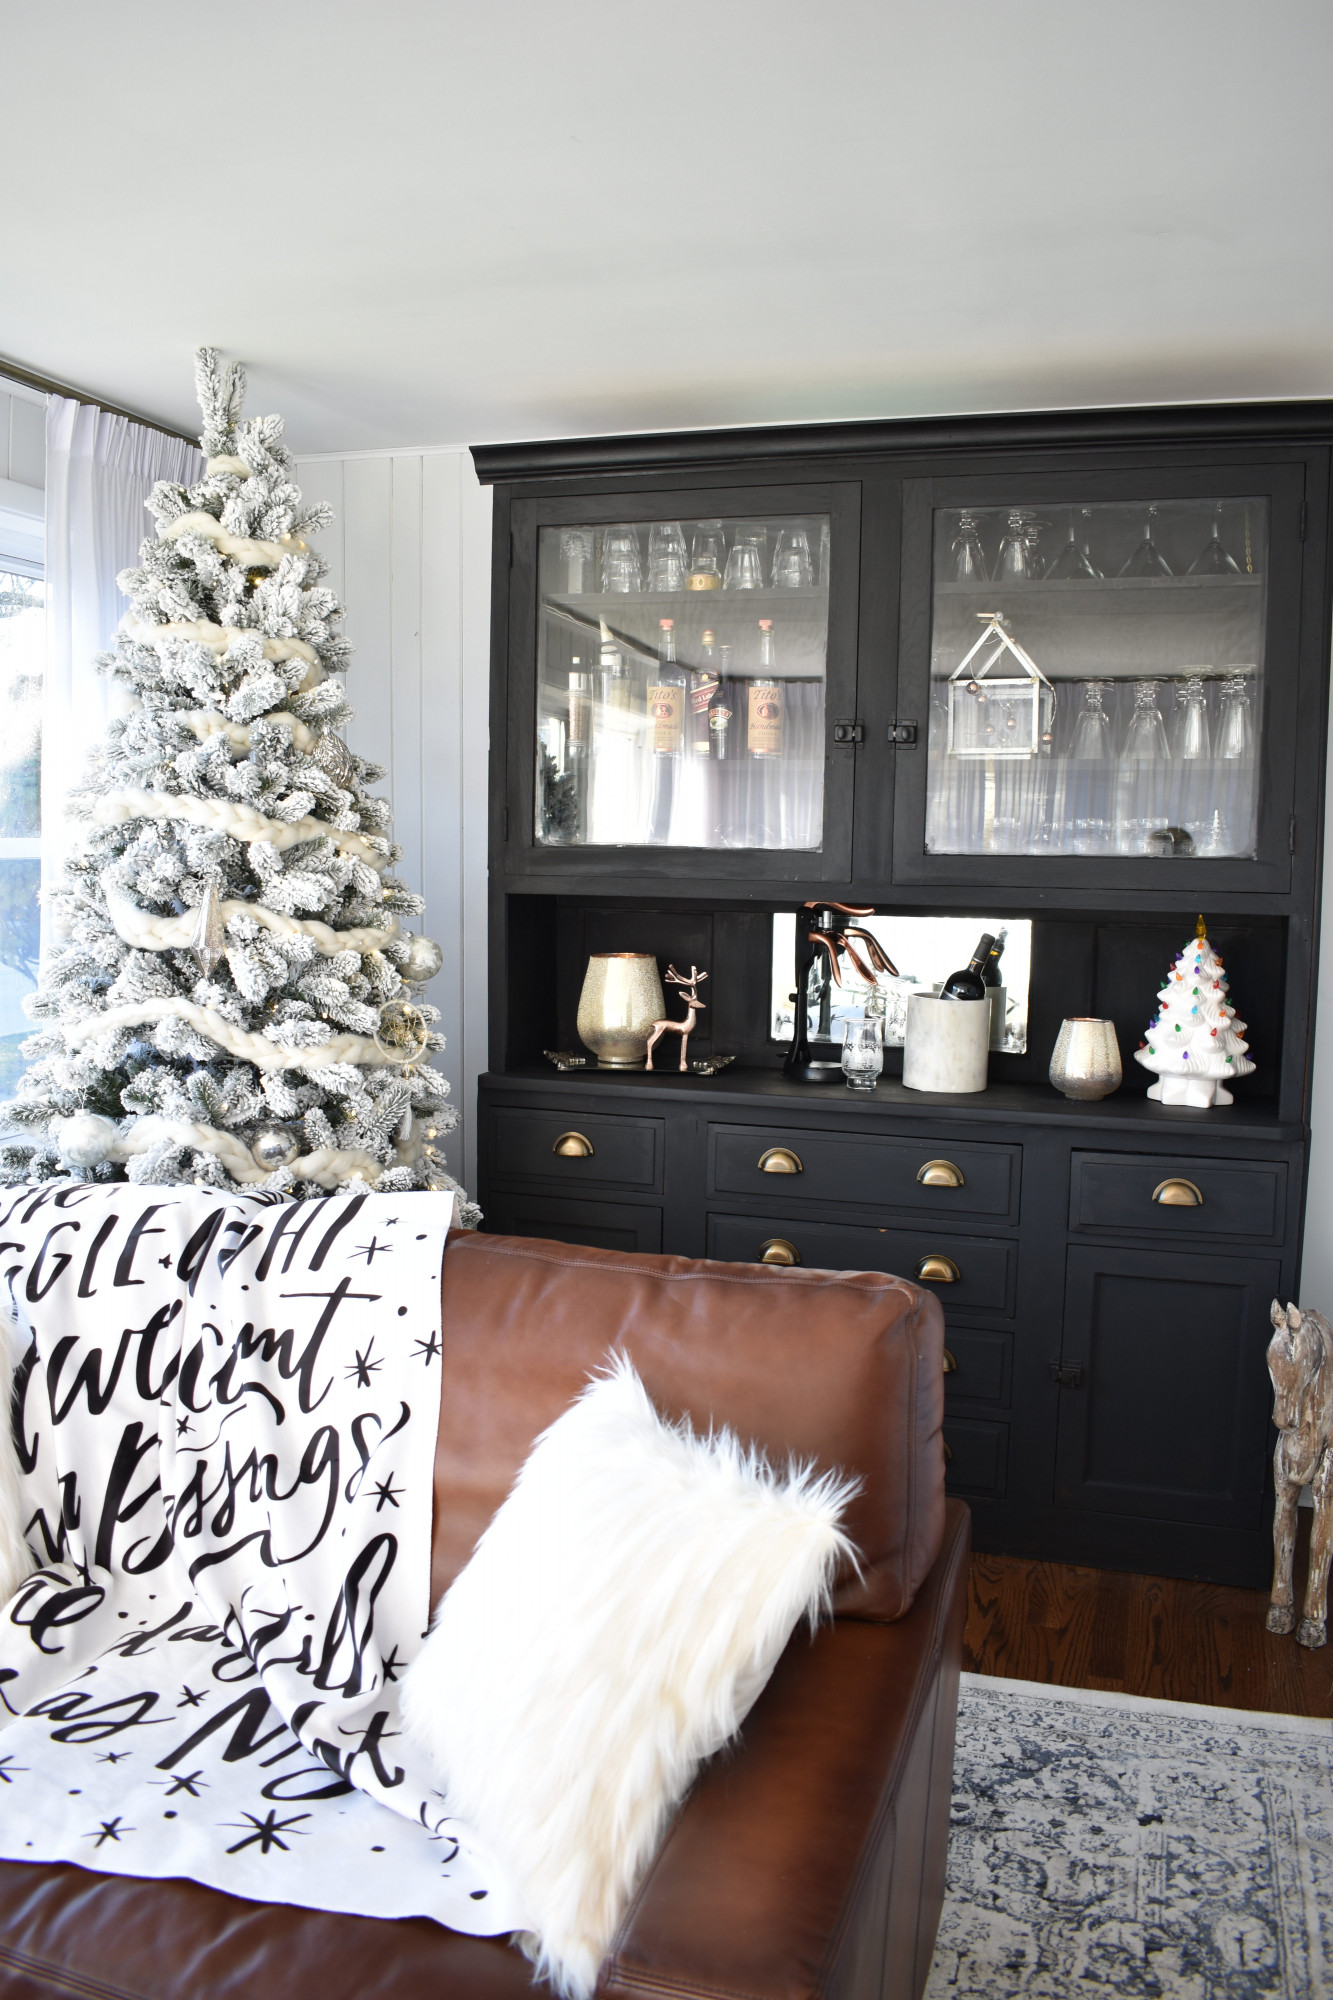
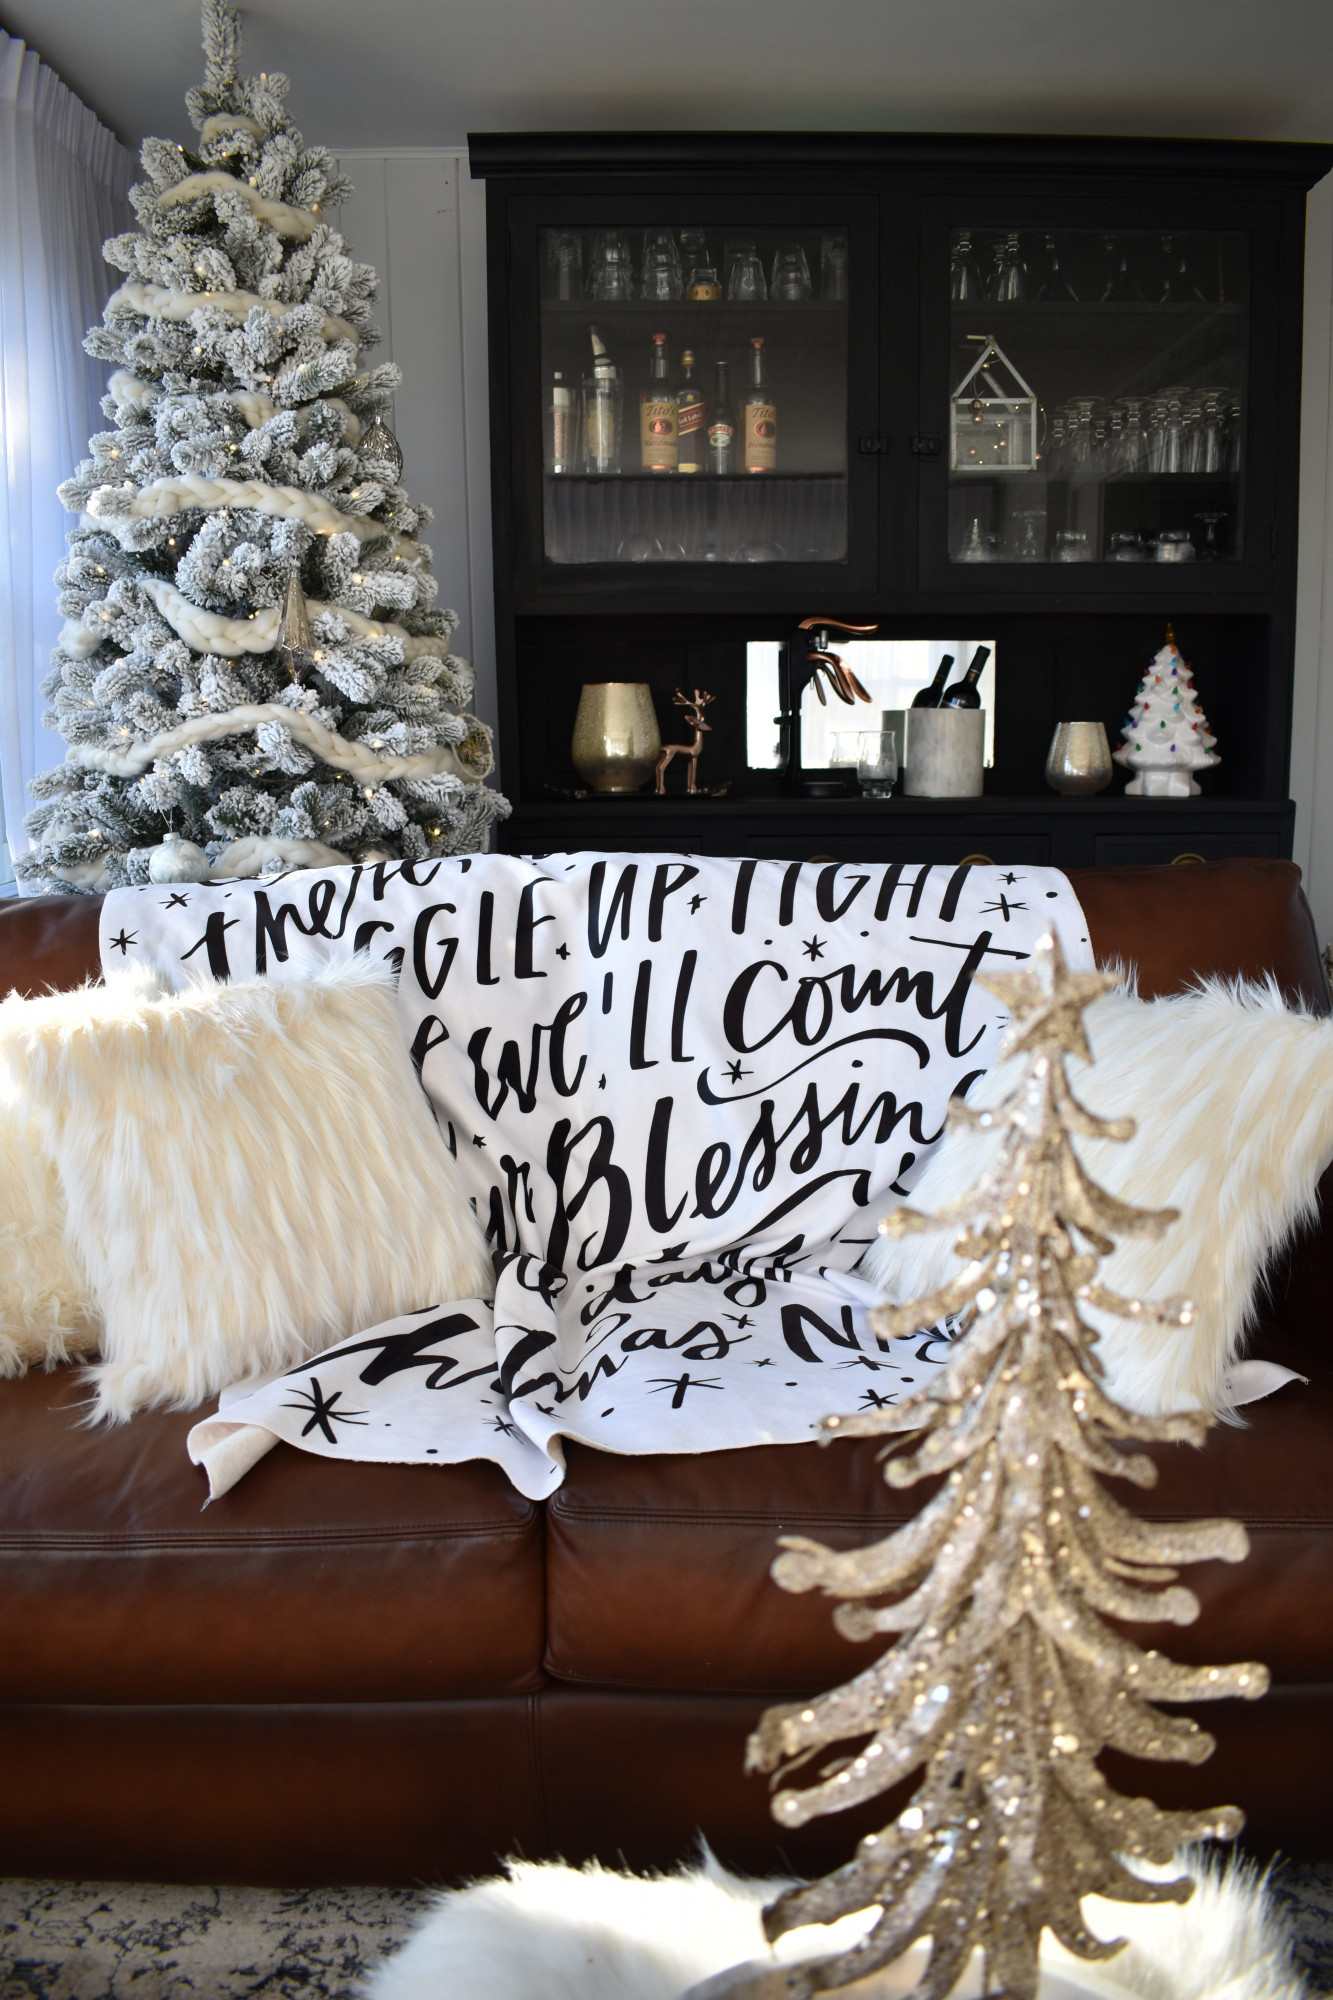
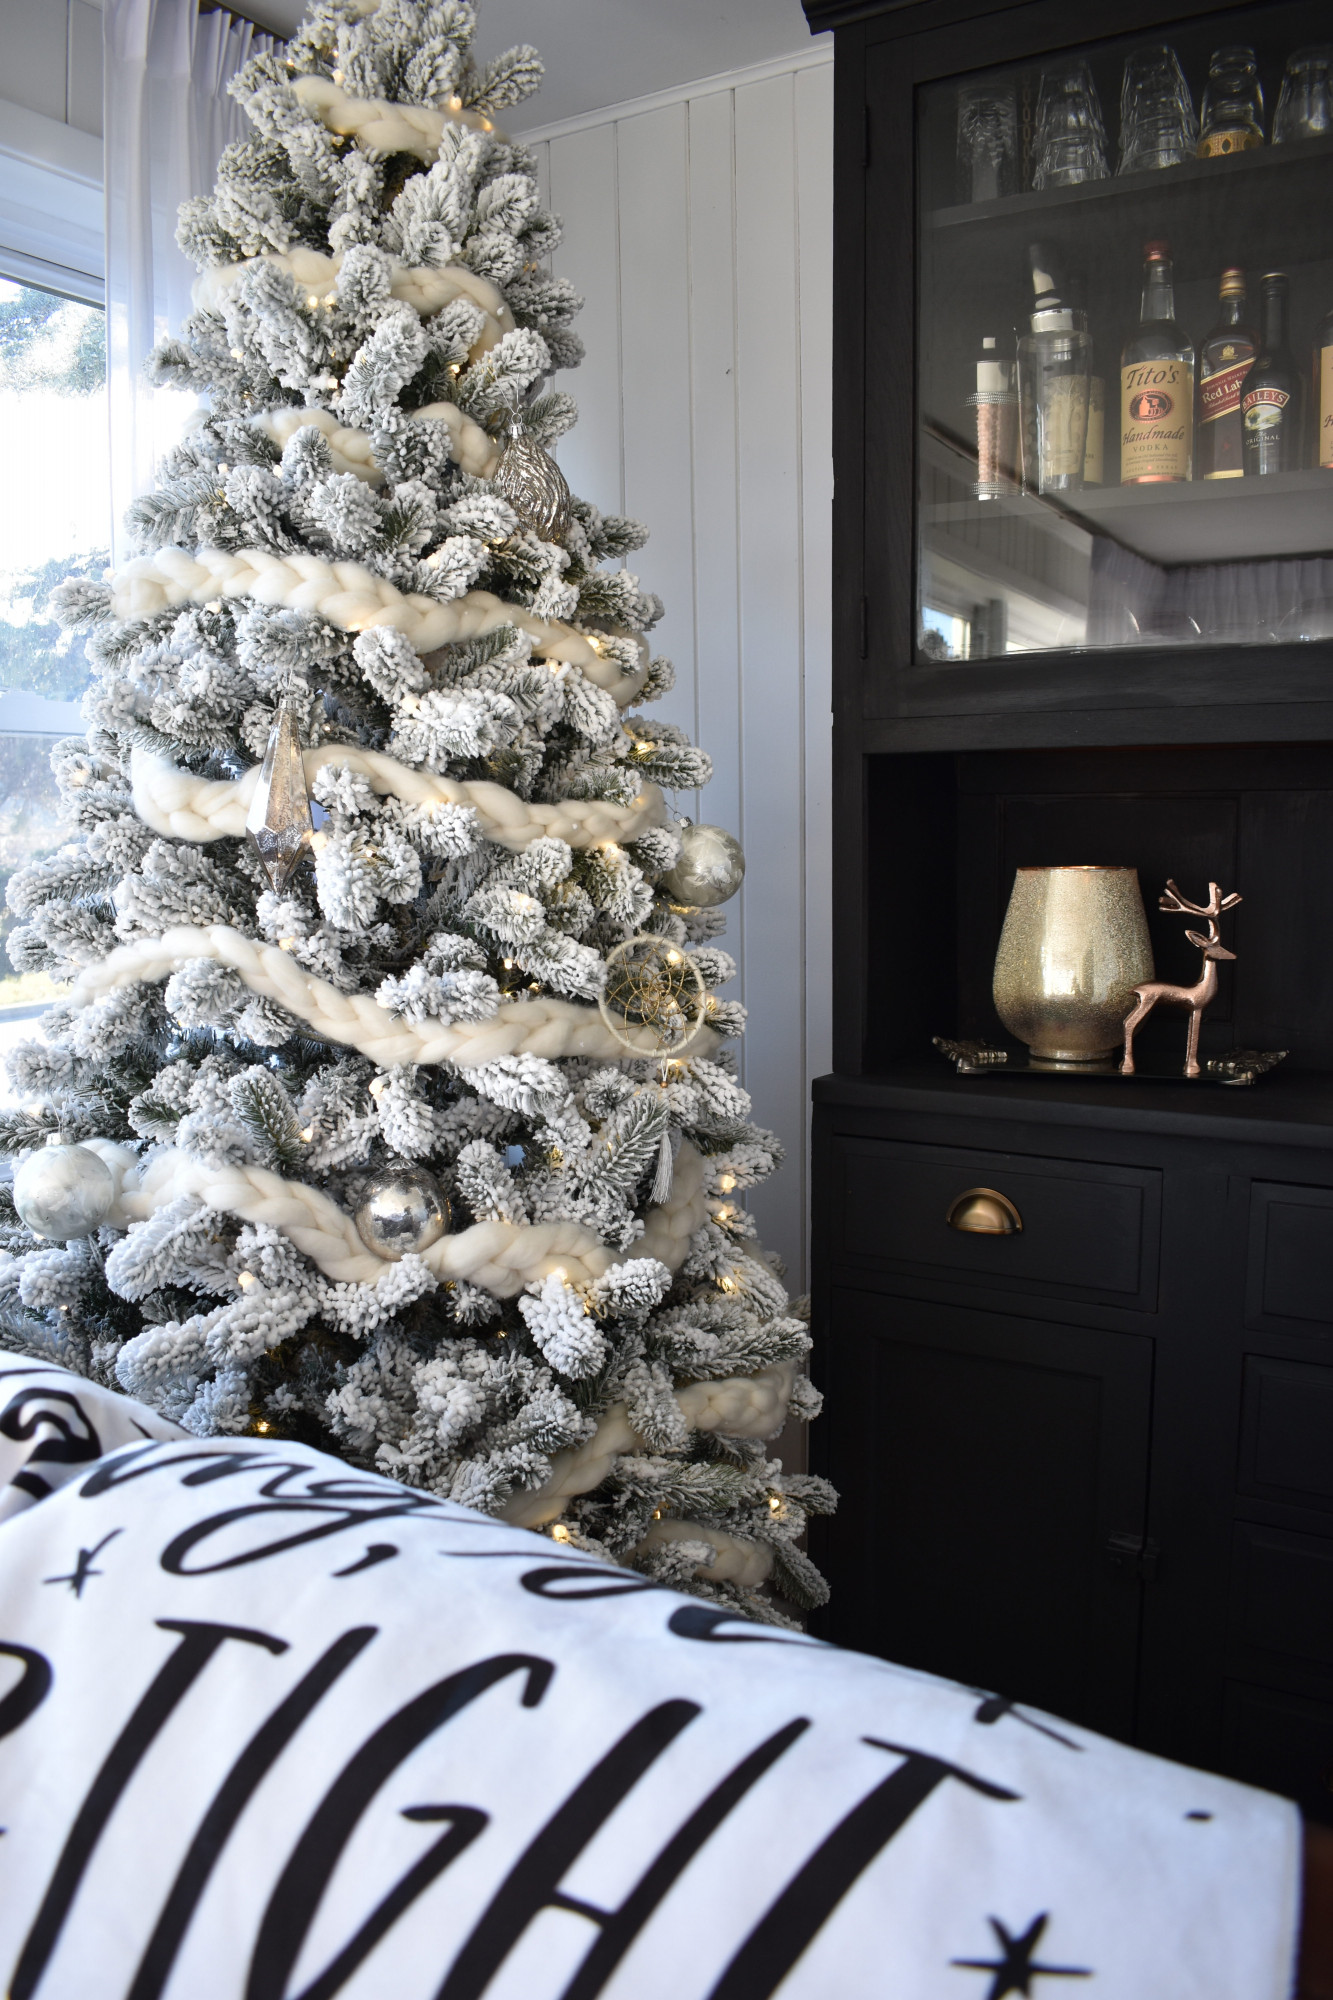
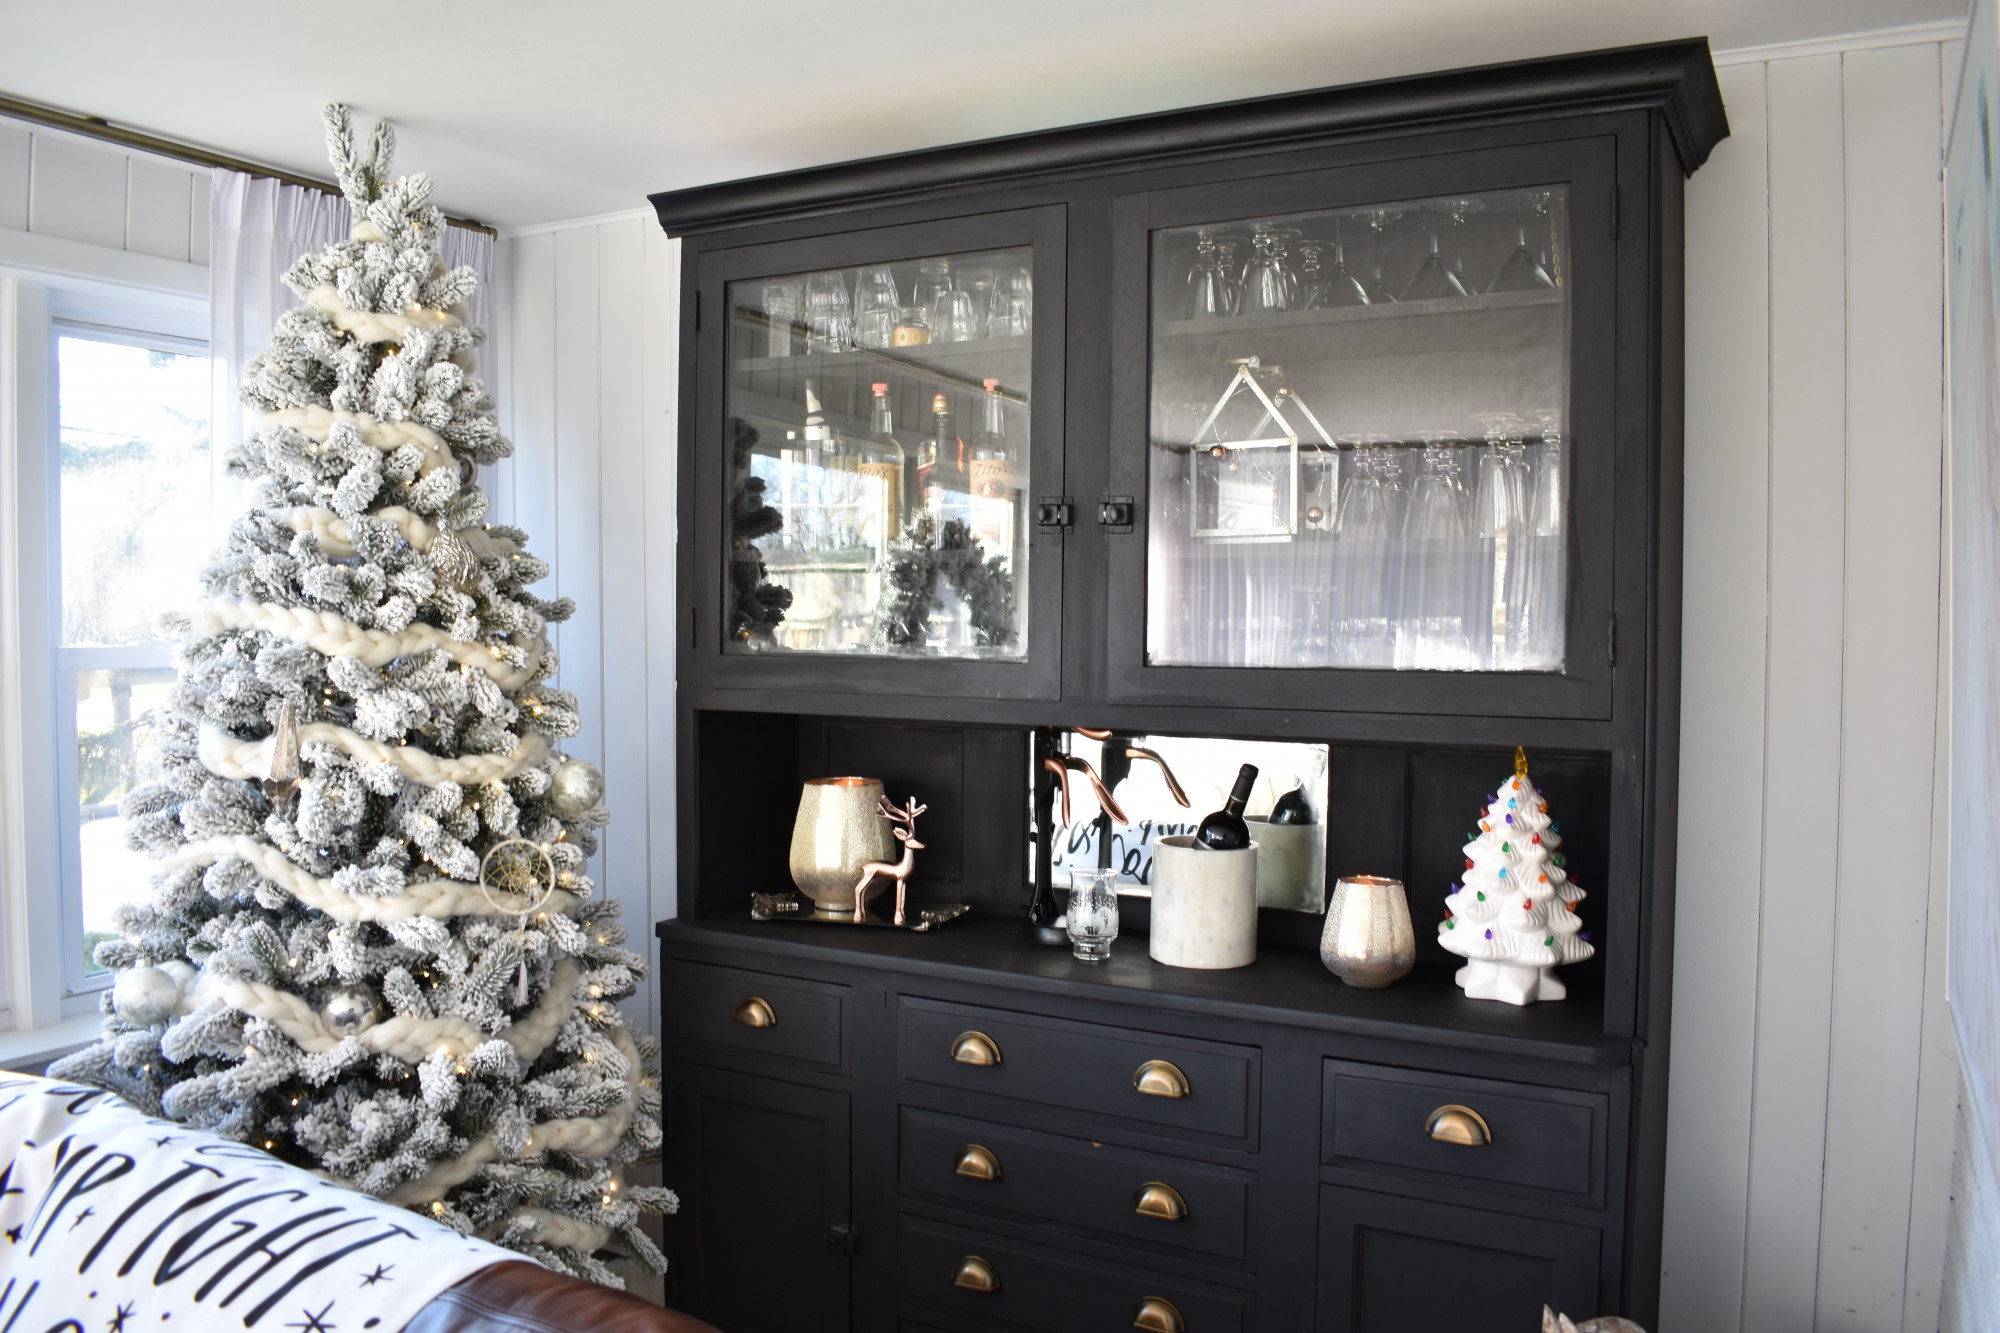
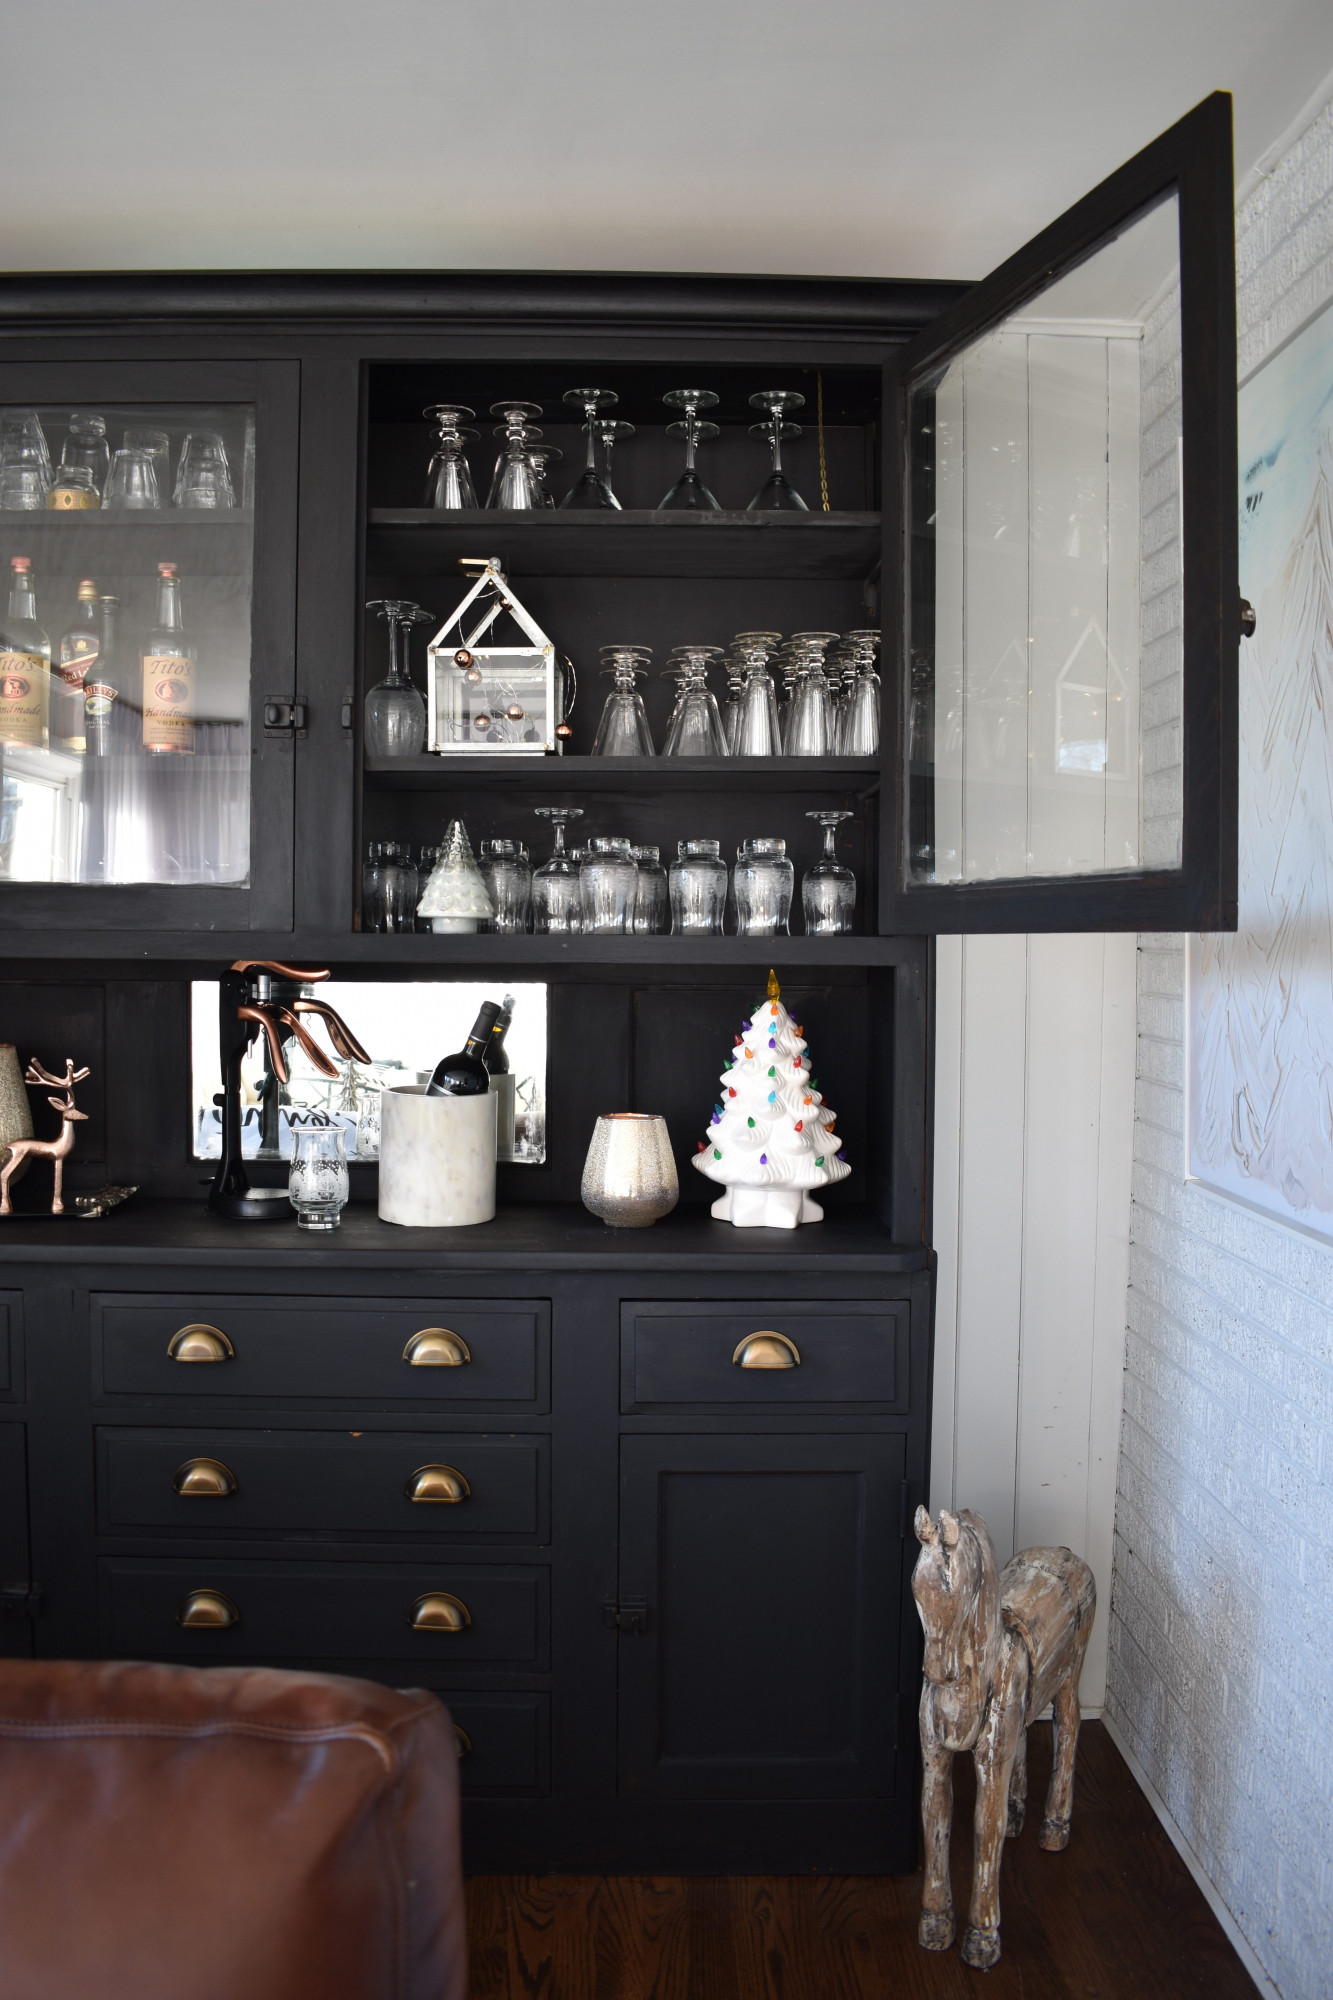
I found applying the milk paint was easiest by using a brush. Since it is water-based, a brush-full extended further than other paint types, plus water paints don’t show the strokes as readily as oils. However, the most prominent brush vs. roller determinant was that going to get the paint tray hiding in the basement was slightly inconvenient. Thus I began beautifying this bordeaux behemoth bearing a brush.
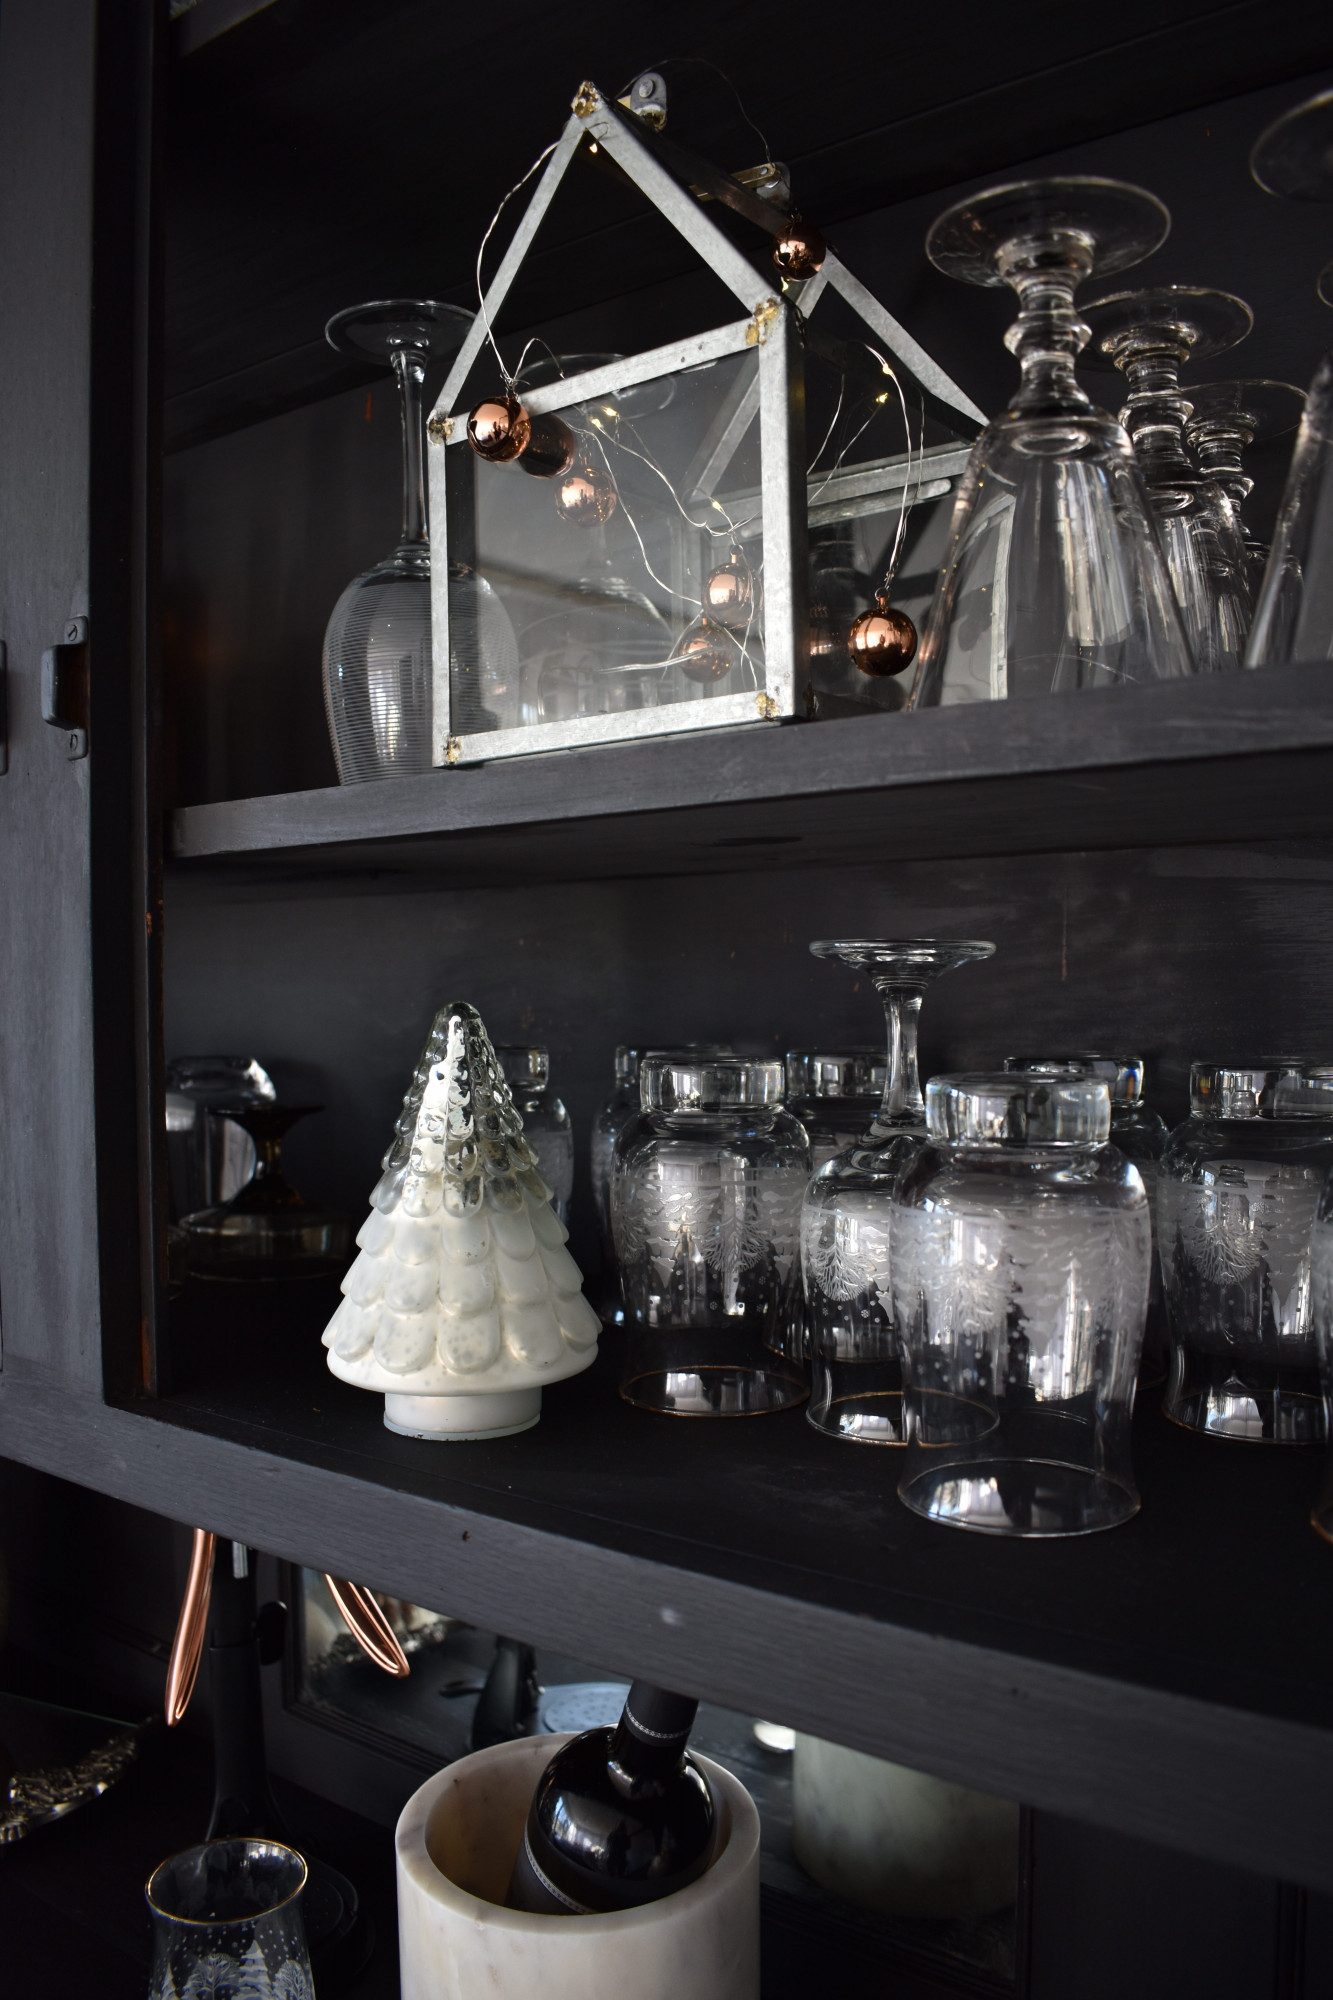
The huge bar took two coats and a round of touch-ups. I initially used the bonding agent to help it stick but that was probably unnecessary and because I didn’t mix it together with the paint very well the white showed through. I had to cover that mistake which wasn’t awesome. Lastly, what really impressed me was the hemp oil finish. The milk paint has a chalky finish that I personally thinks looks cool but wasn’t the look we (read SQ) was going for. The oil was freaking awesome. It gave the piece a look of professionalism that required me to take a picture and send it off to my buddy Berg and brag how awesome of a painter I am. Plus it covered all the second round of touch-ups I should have done but didn’t.
So to reiterate, milk paint is awesome. Make it in small batches because it covers much more than you think it would and you’ll probably find another piece of furniture that you or your interior decorating wife will want painted.
Thanks for reading this initial incipience into the world of blogging.
Rob

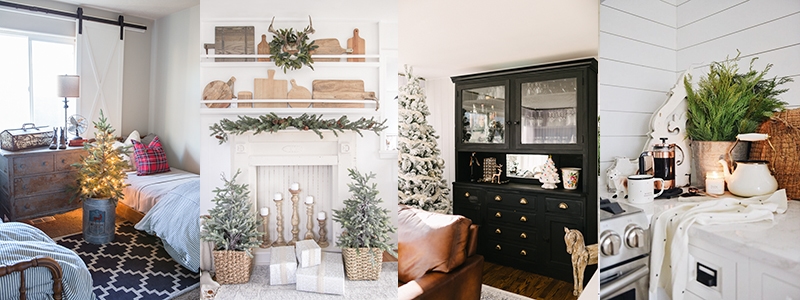
Ella Claire | Love Grows Wild | Kindred Vintage | Liz Marie Blog

French Country Cottage | Nesting with Grace | Miss Mustard Seed | Rooms for Rent
Oh my word. This piece is just stunning. The hardware, the color, the styling… Amazing!
Thank you!!! Your paint is amazing!
Hi! This looks awesome, and very similar to a table I want to refinish (colour wise). Could you possibly link the products you used? The milk paint I will google directly, but the hemp oil? Thanks so much 🙂
Hey Alexandra,
Sorry I should have thought to link that. I’m going to blame this oversight on this being my first blog post. 🙂
Oil: http://missmustardseedsmilkpaint.com/hemp-oil/
Paint: http://missmustardseedsmilkpaint.com/stunning-buffet-typewriter/
I love this piece! Any tips on where I could find something similar? I live just outside Chicago so any specific shops, markets, etc.?
Hey Cassie,
SQ gets a lot of pieces from estate sales she and her mom visit around Chicagoland. Also, not sure where you’re located but if you are in the western suburbs it would be worth a trip out to Ottawa, IL to a place called Main Street Estate Sales. They’re open every other weekend and on Sundays they’re 50% off.
Rob
This piece looks so beautiful! I love the color and the new hardware is the perfect finishing touch! Beautiful paint job, Rob! 🙂
Cath,
You’re super cool. You get a running high five next time I see you.
Nice Alliteration Rob
You’re a genius. Thank you for knowing the formal term and not calling me out for the typo that I’m sure you saw. It has been fixed. See you Sunday!
Wow, your cabinets look breathtaking! I love the darker color palette, it makes the space even more elegant!
Aww. Thank you so much! You made my day. 🙂
Hey there,
Did you have to prep the piece before applying the milk paint? Did you have to strip the previous wood finish/paint layer off prior to using it? Could you just apply it to a poly-coated piece of furniture with ease? Did you prime it with anything?
Thanks! I’m really interested on painting my buffet with this product but want to know what I’m getting into before I do it.
Hey Cheryl, Rob here. I did not prep the buffet at all. It wasn’t painted but had a shine to it. I’m not sure how to describe other than it was the same dark wood look that you can find in a lot of old dark brown wooden pieces from 1900s. I used a binding agent so that it stuck better but afterwards I’m thinking that might have been overkill. Plus I must have not mixed it as well as I should have because the white of the binding agent showed through on our typewriter black paint. So I had to go over it after the second coat.
Depending on the look you’re going for I wouldn’t prime. What’s nice is the milk paint has the soft look of worn paint right away. Not worn out by any means but immediately vintage. On the white wardrobe I painted I only did two coats without a binding agent and it chipped off but that was the vintage look SQ wanted. And the chopping wasn’t crappy looking but more like aged.
Overall, I’d say this is the easiest paint to use. Apply with a brush, the brush lines don’t really show and it stretches, the paint further. Also, but the hemp oil. Makes it look awesome and stops the chalky feel all non oil paints have. Good luck.
I like what you guys are up too. Such intelligent work and reporting! Carry on the superb works guys I have incorporated you guys to my blogroll. I think it will improve the value of my site :).
Keep up the superb work , I read few content on this website and I think that your site is very interesting and has sets of good info .