
This is Rob here taking over Susie Q’s blog. Apologies in advance for the less than professional picture quality. She’s the talented one in that regard. But I posted a few of her pics below so keep reading… 🙂
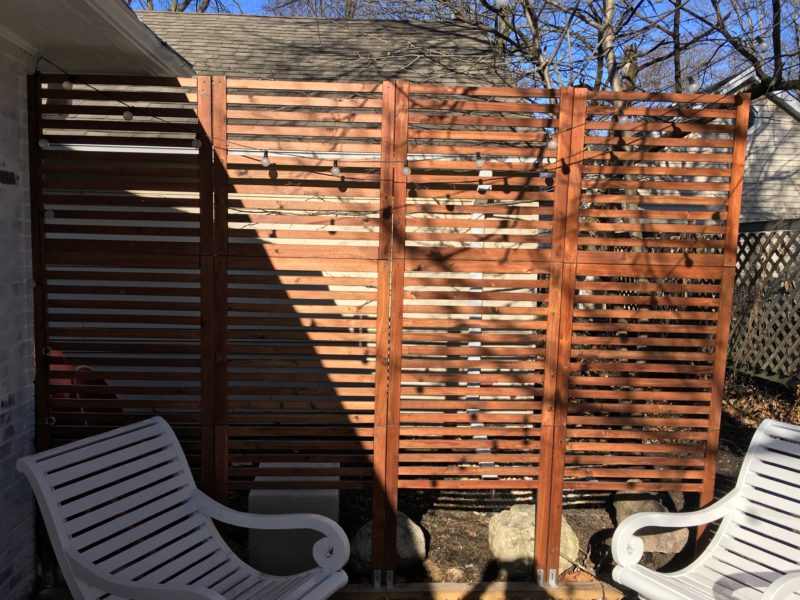
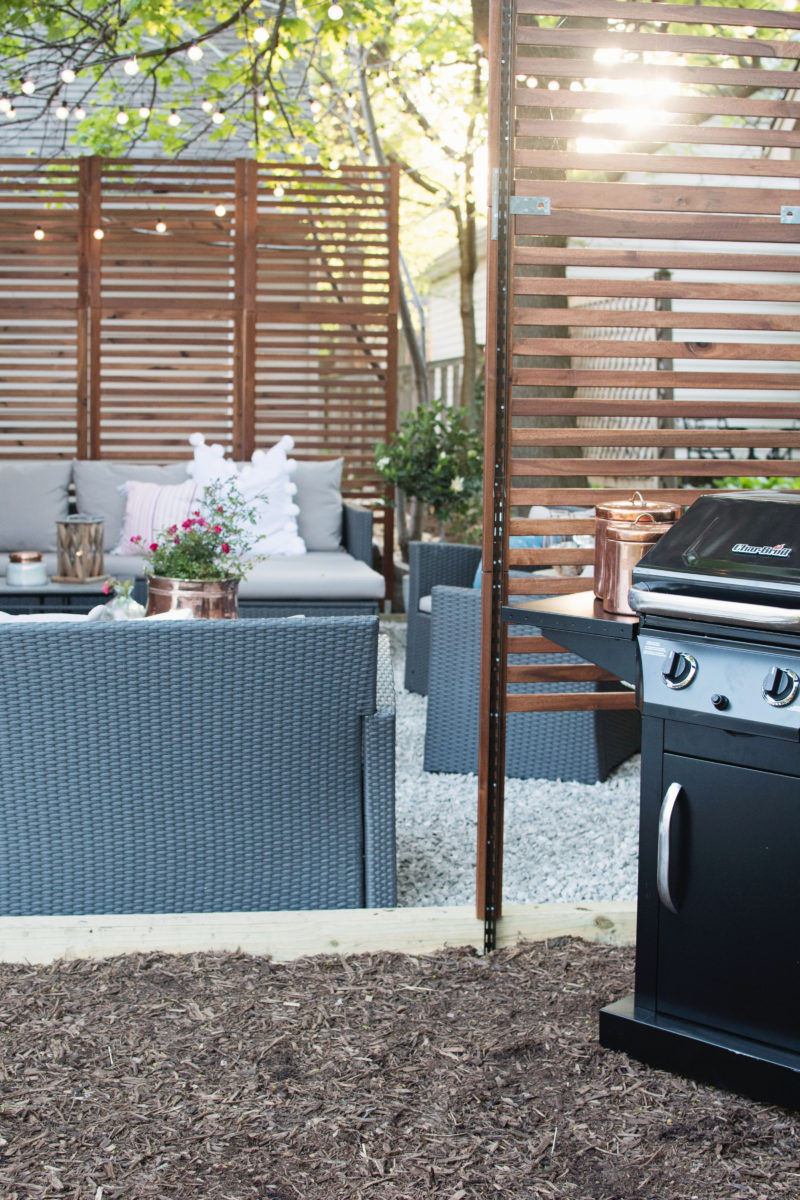
Susan told me that she heard back from y’all that a lot of you would like to learn how we put together the privacy fence in our backyard. The secret though is that the privacy fence is not an actual fence at all. It is an amalgamation of Ikea’s Applaro Wall Panels, Home Depot’s closet rods (called ShelfTrack), wooden 4X4s that our gardener used to outline the patio (conveniently he secured them into the ground), and about 1,000 screws.
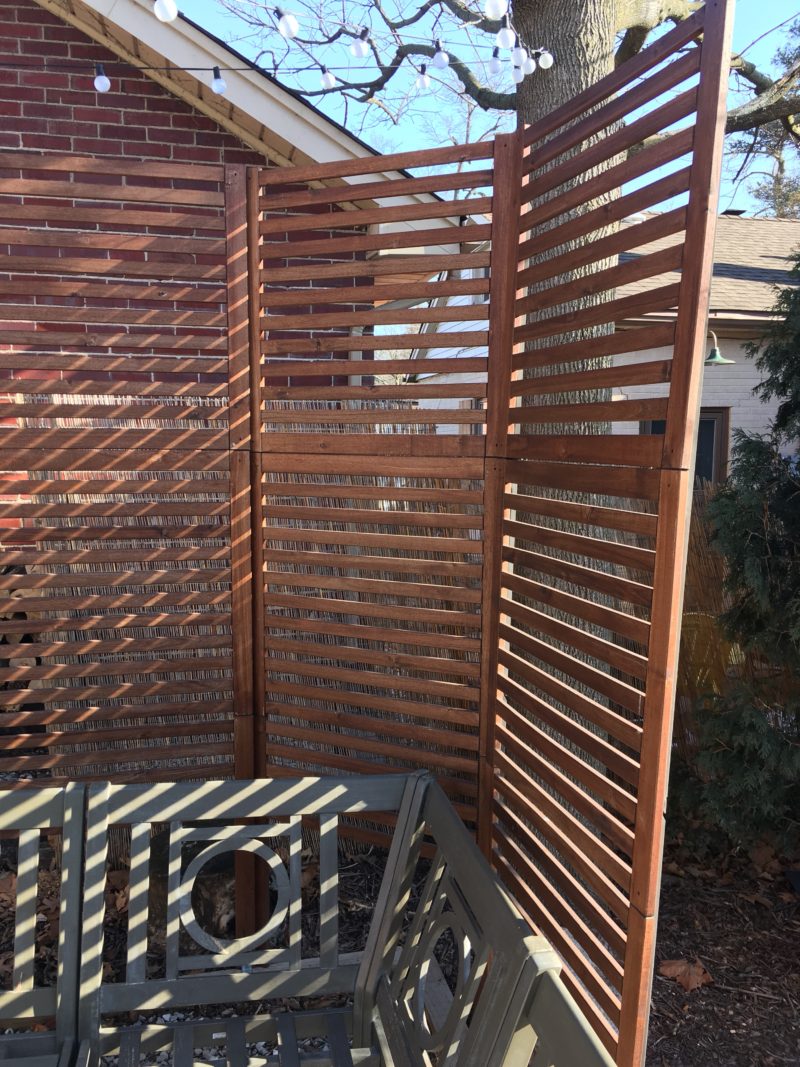
The process began by laying the Applaro panels on a table. (I wish I had a picture of this.) Ikea originally set the height of its panels to be about six feet; however, we wanted a taller wall to provide more privacy. So for each section width (the long wall on the west side of the patio has four sections and the cornered side has three) we combined one and a half sets of the original Applaro panels. (Ikea sells the wall panels in two parts, a top and bottom piece. We had to use two top pieces stacked on top of the bottom piece).
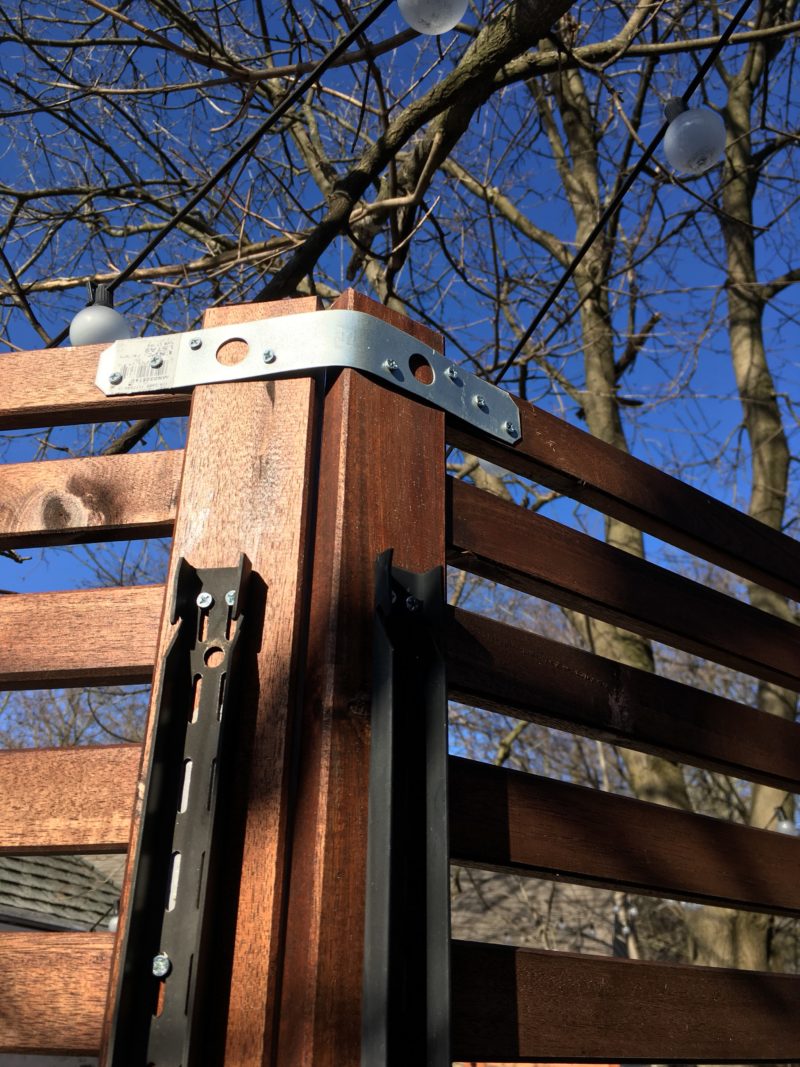
Once the panels were laid out on a table I screwed in various pieces of builders hardware/brackets to fasten the panels together. Here is a link to some examples of what I used. IMPORTANT: I recommend using small screws or to drill a hole prior to using the screws so the Ikea boards don’t splinter. I chose to use a lot of small screws rather than drill due to the high number of screws going in and the fact that the Applaro panels are at most an inch thick. With my luck I’d end up drilling a hole through the panel.

After I had fastened 1.5 pieces together to make an eight foot tall section I screwed the closet rods into the back. I found the aluminum rods that you may see used people’s closets to support the wire shelves worked really well. They were tall enough (roughly 8 ft), rigid, already had holes in them, and came in brown to match the wood. The trick was that I extended about two of the eight feet of rod passed the legs of the bottom panel. This allowed me to use them as support stakes into the ground.
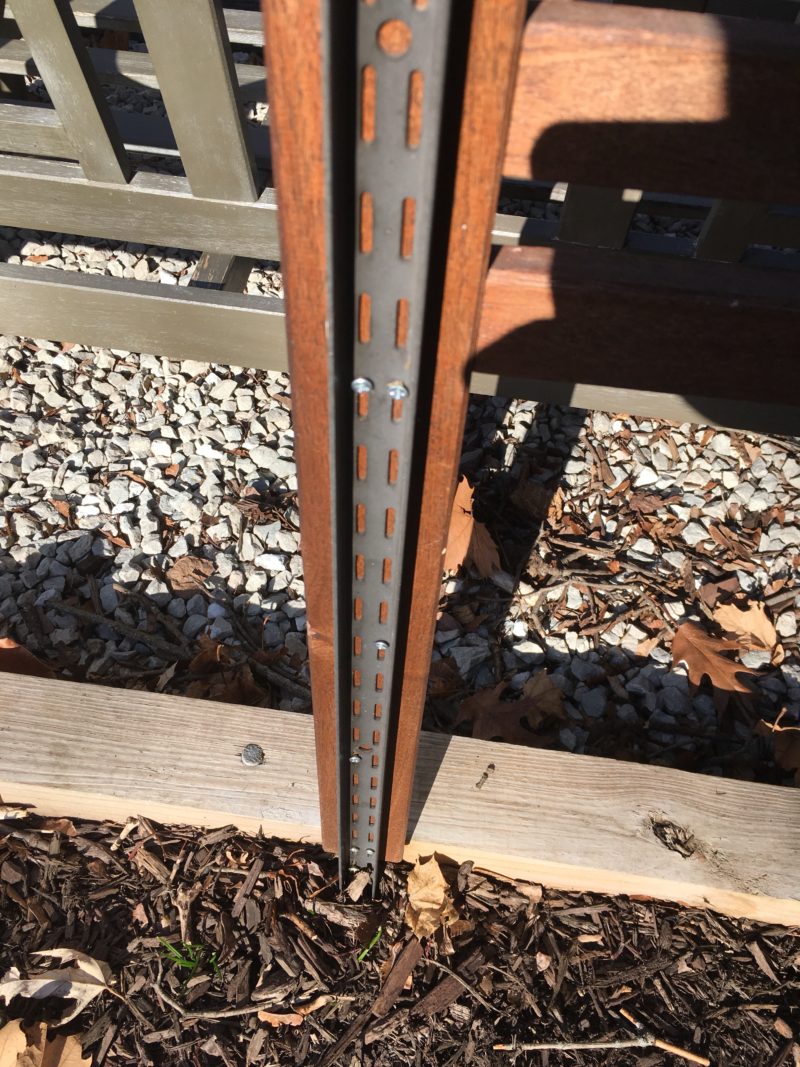
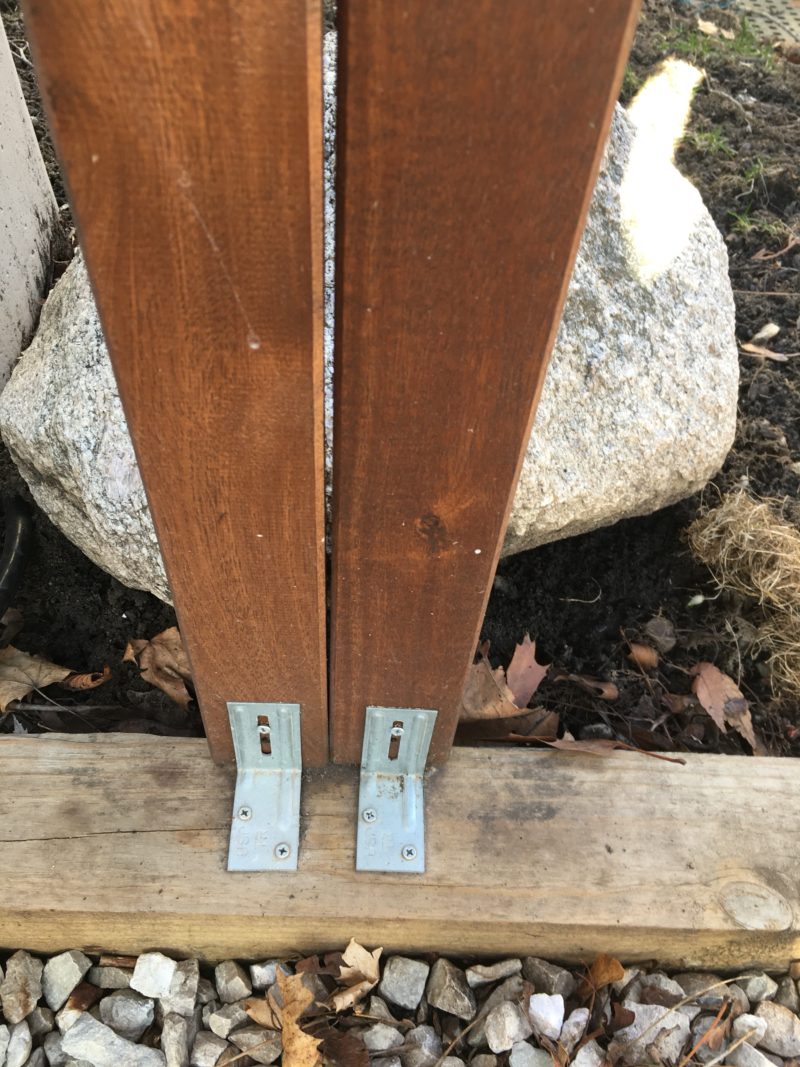
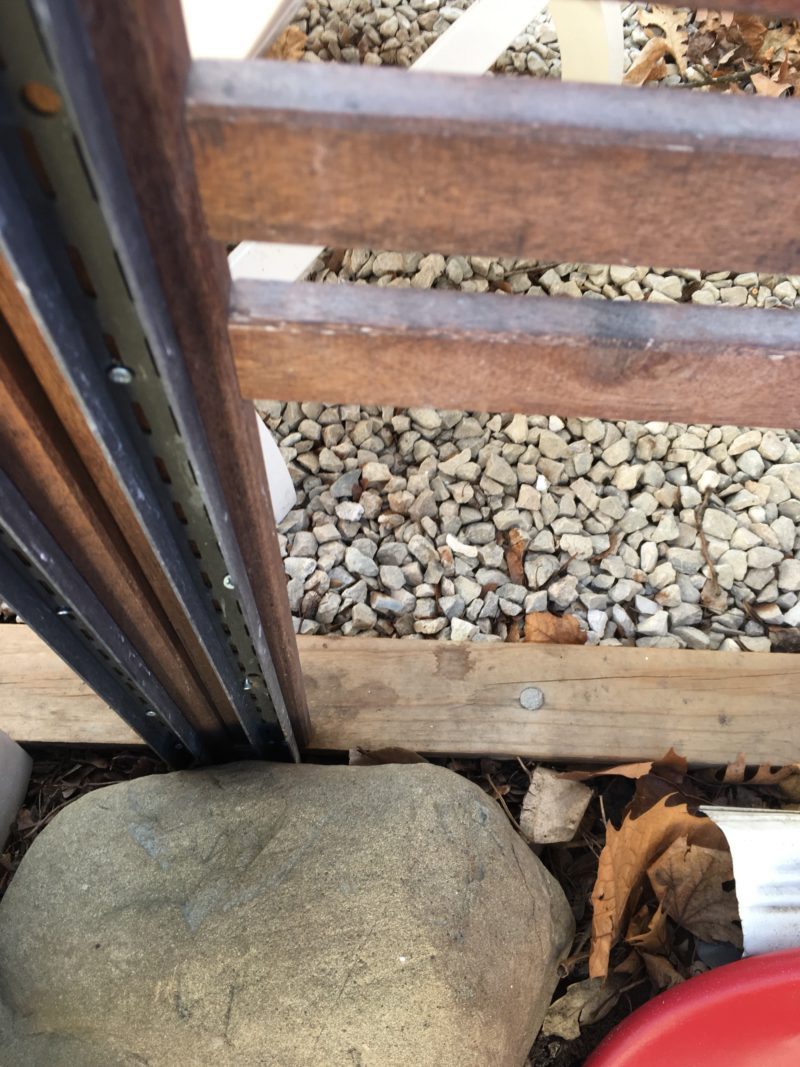
Once I had finished connecting seven sections together I installed them in place. To do this I shoved the two feet of closet rod into the ground right up against the 4X4 wooden beam divider that was installed by the landscapers who put in our limestone floor. L-brackets were installed on the front side (the side people see), on the back side I screwed in the closet rods into the 4X4’s, and lastly (and probably excessively) I pressed heavy rocks as extra support against most of the rods. Really lastly, as I installed each piece I fastened them together using metal brackets.
So I’m not a carpenter nor do I have any experience in construction but so far these two walls have survived two years of Chicago weather. It definitely helps that wind can blow through the slats so we don’t have to worry about them being blown over.
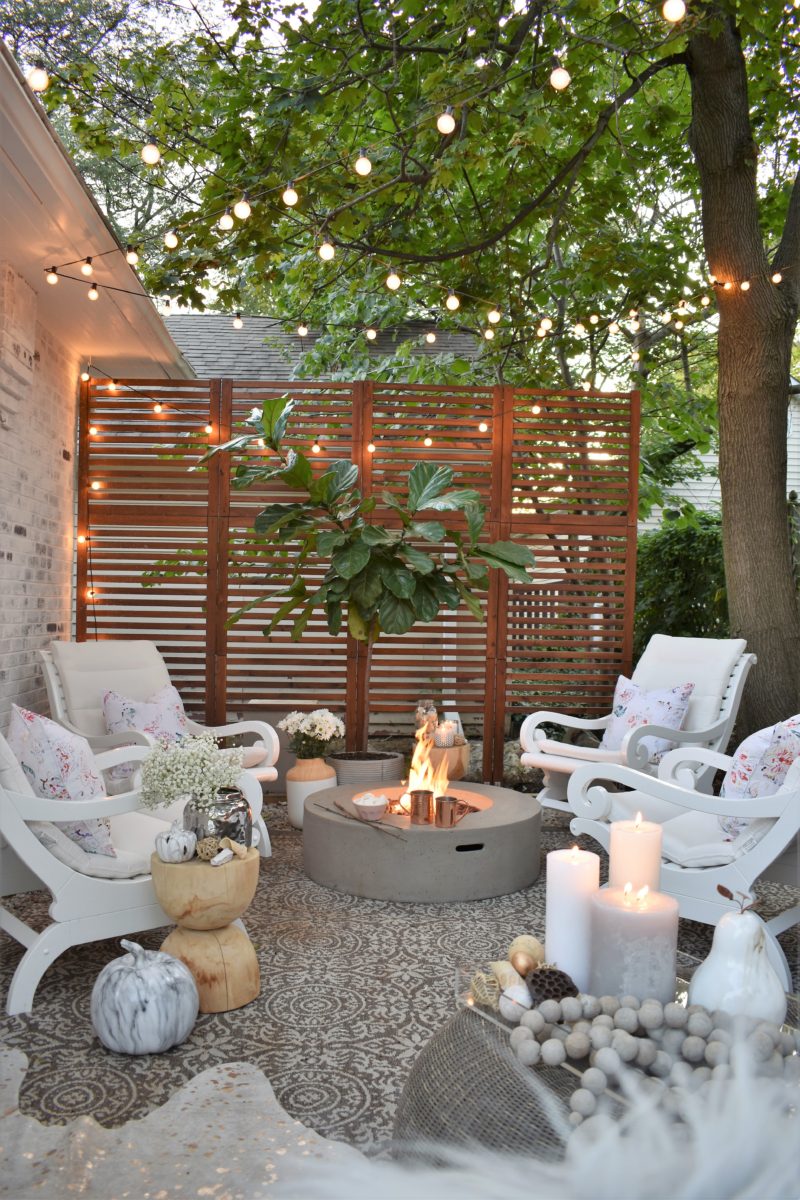
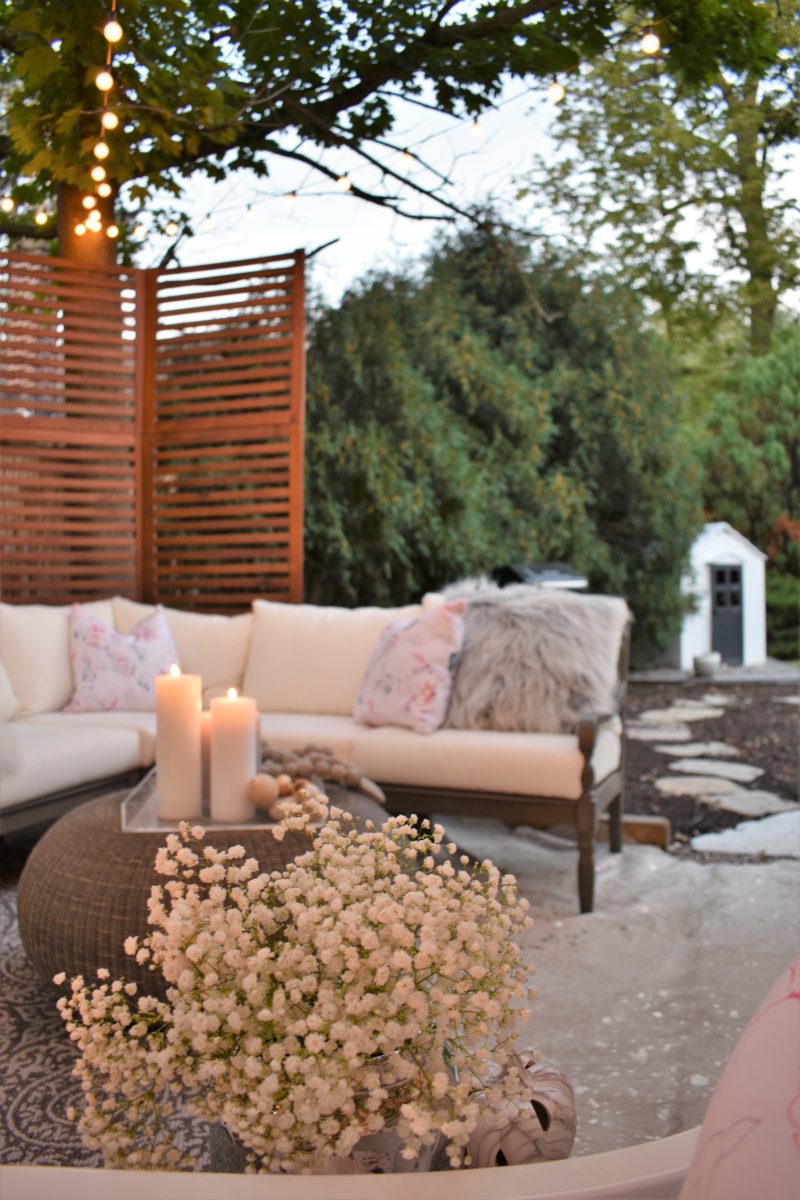
To date we’ve really enjoyed the added privacy and beautification these walls provide. We haven’t tried hanging flowers or anything yet from them but if we did, I’m mostly sure that they wouldn’t spontaneously combust.
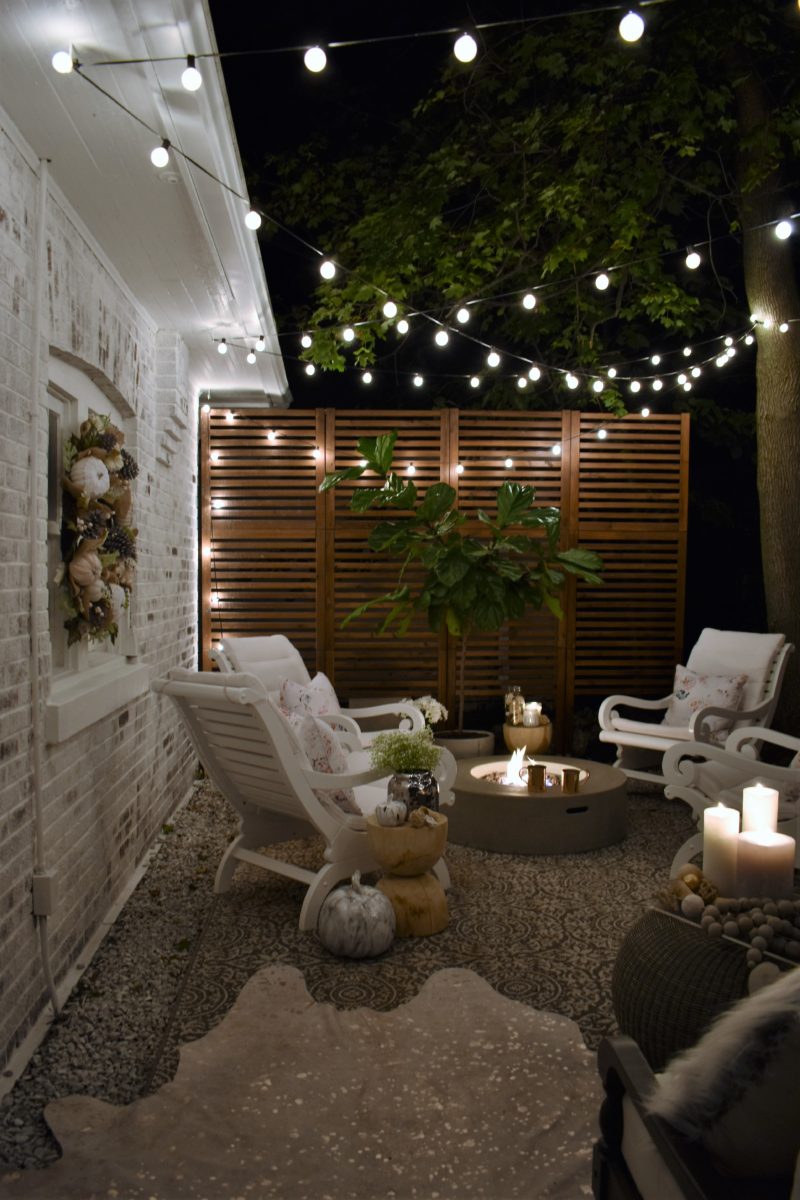
And here are a few of the styled pictures that Susan would appreciate me including. 🙂

Those are definitely nice privacy fences right there! I’m currently having my contractor https://www.trexfencingfds.com/shop/seclusions-privacy-fence-panel-kit-8ft/ put up 8 ft tall privacy fence panels around my AZ property. I’m definitely keeping this as reference and for inspiration so I can really get the dream outcome that I want for my fences!
Where did you get those white chairs. Love to get the information. 😊
Hi there! Yes, here they are. 🙂
Hi! Wo gibt es diese weißen Stühle zu kaufen?
Liebe Grüße Heidi
Hallo Heidi,
Vielen Dank für das Schreiben.
Bitte verzeihen Sie eventuelle Fehler. Ich verwende Google Translate.
Wir haben diese Stühle von der Grandin Road. Hier ist die URL.
Sie heißen Palmer Chairs.
https://www.grandinroad.com/outdoor-living/seating/