
Hey world,
Rob here again to complete the story behind our bricked fireplace. As you hopefully read in our last post we recently added an electric fireplace to our basement. We did this for a few reasons. Firstly, the original wall was long and plain. Plus, because the basement itself is open, furniture layout was difficult. The couch had to face the wall opposite the fireplace because that is where the TV is. Changing that wouldn’t make sense since that was the only space it would fit. Essentially, that left a room-wide “hallway” that simply served as a corridor to the other rooms and the outside.
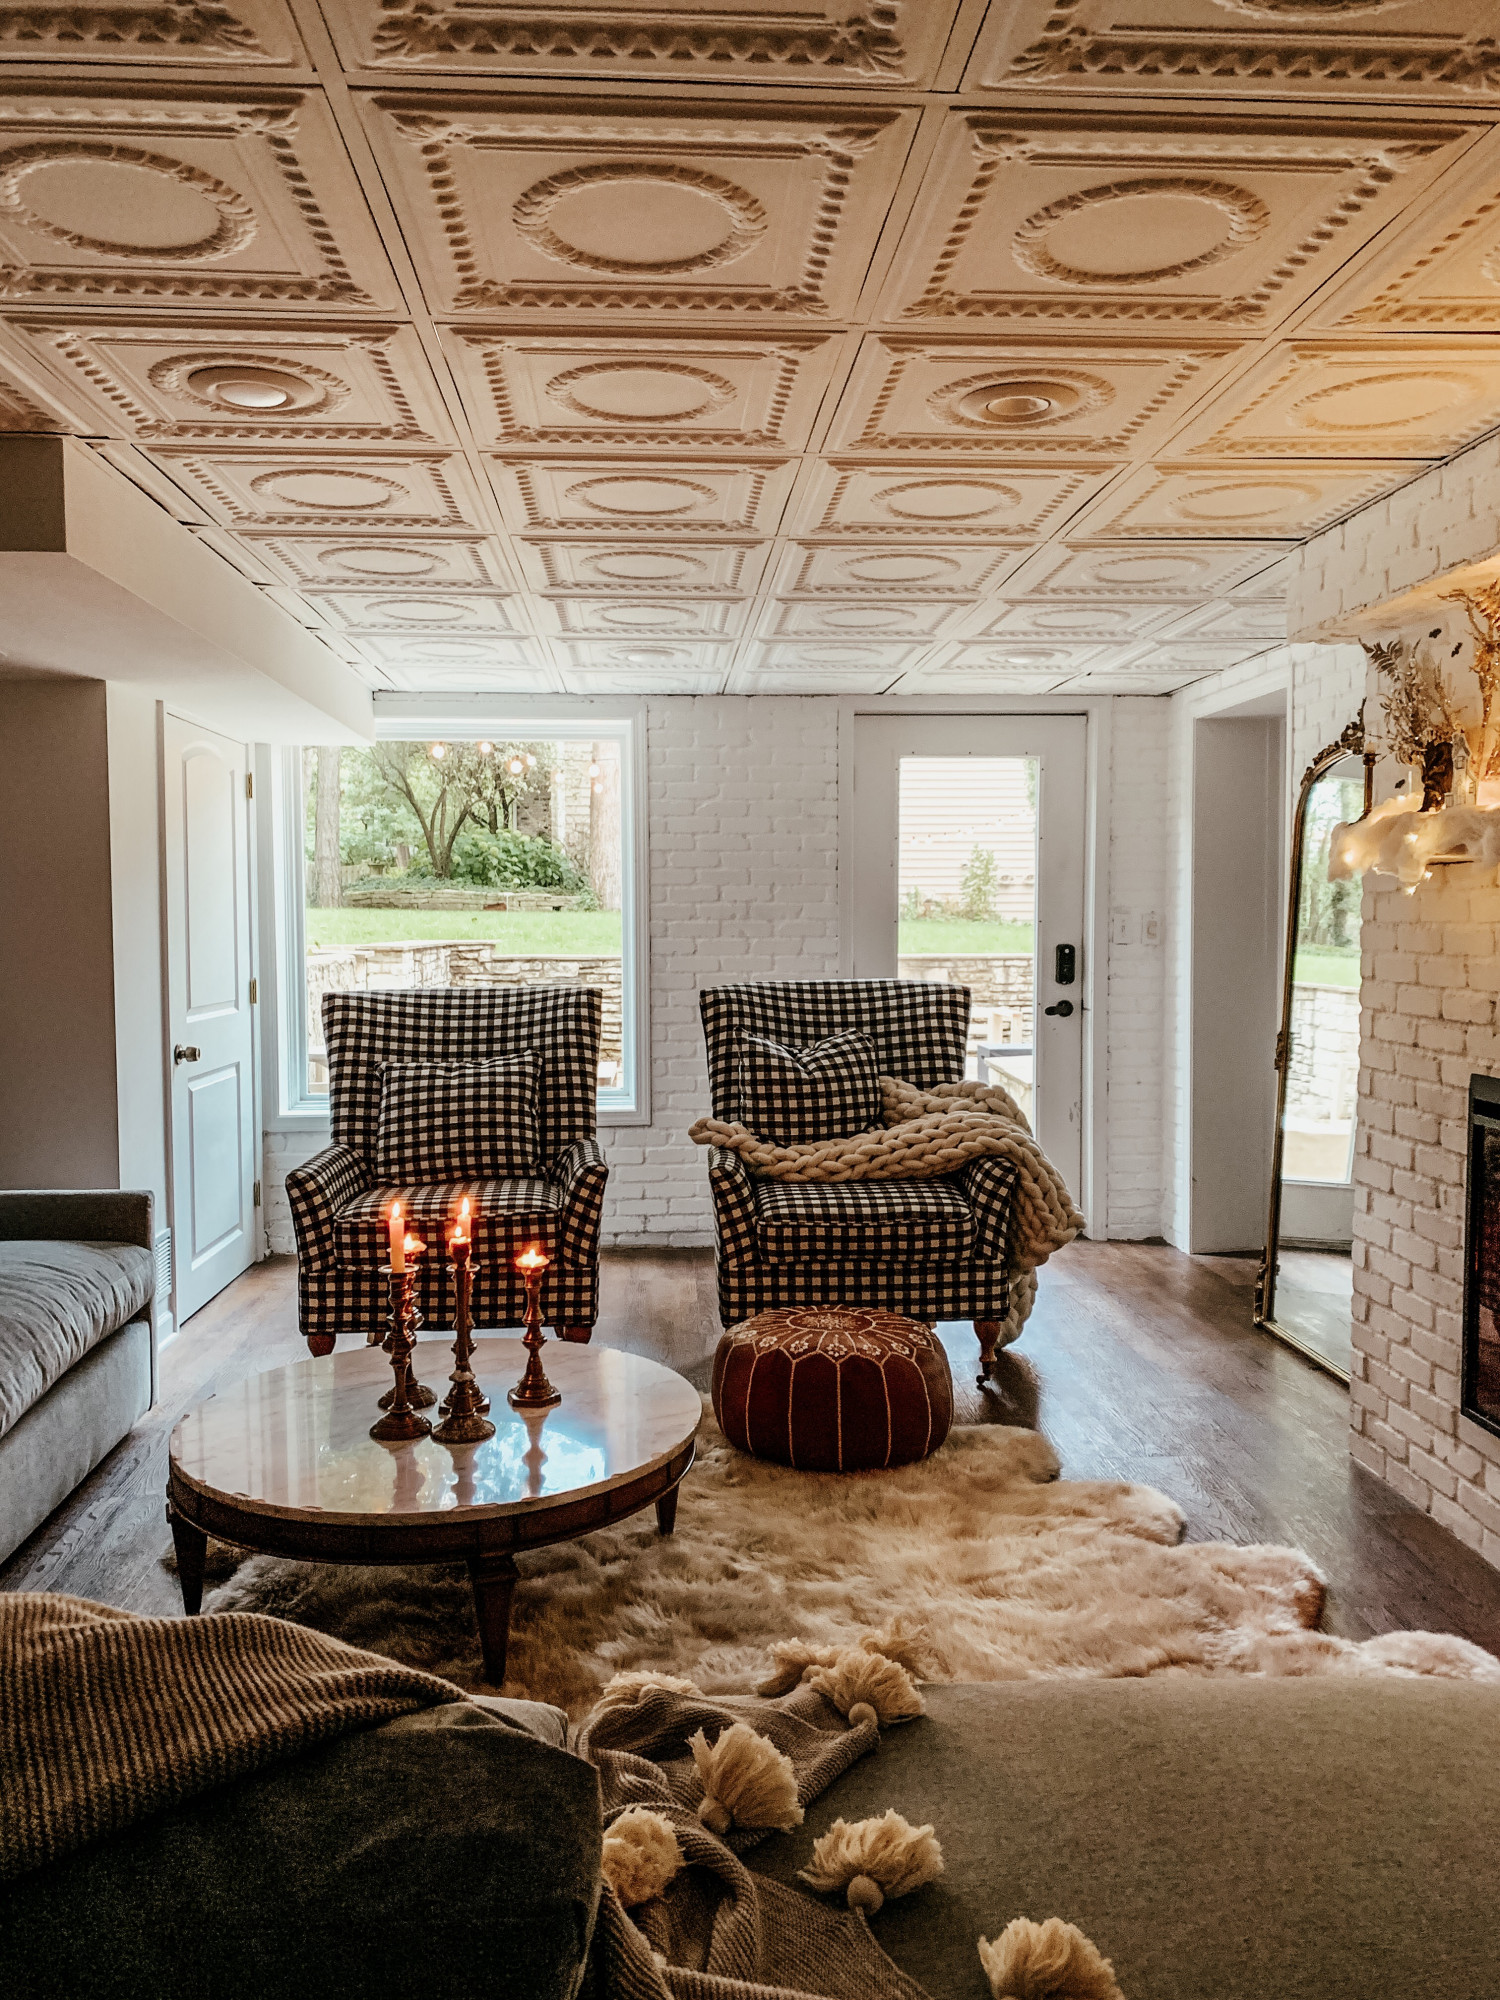
Here is a picture of how Susan has decorated the space previously. I think she did a wonderful job (love you babe), but you can tell the space is very wide and we if could have turned the couch around without having the T.V. cut off from the rest of the room then we would.
Secondly, being as this house is from 1856, the basement was always cold, even in the summer (especially in the summer). The space was 5-8 degrees below the rest of the house. The fireplace we added is enough to add that few extra degrees of warmth to make the space enjoyable.
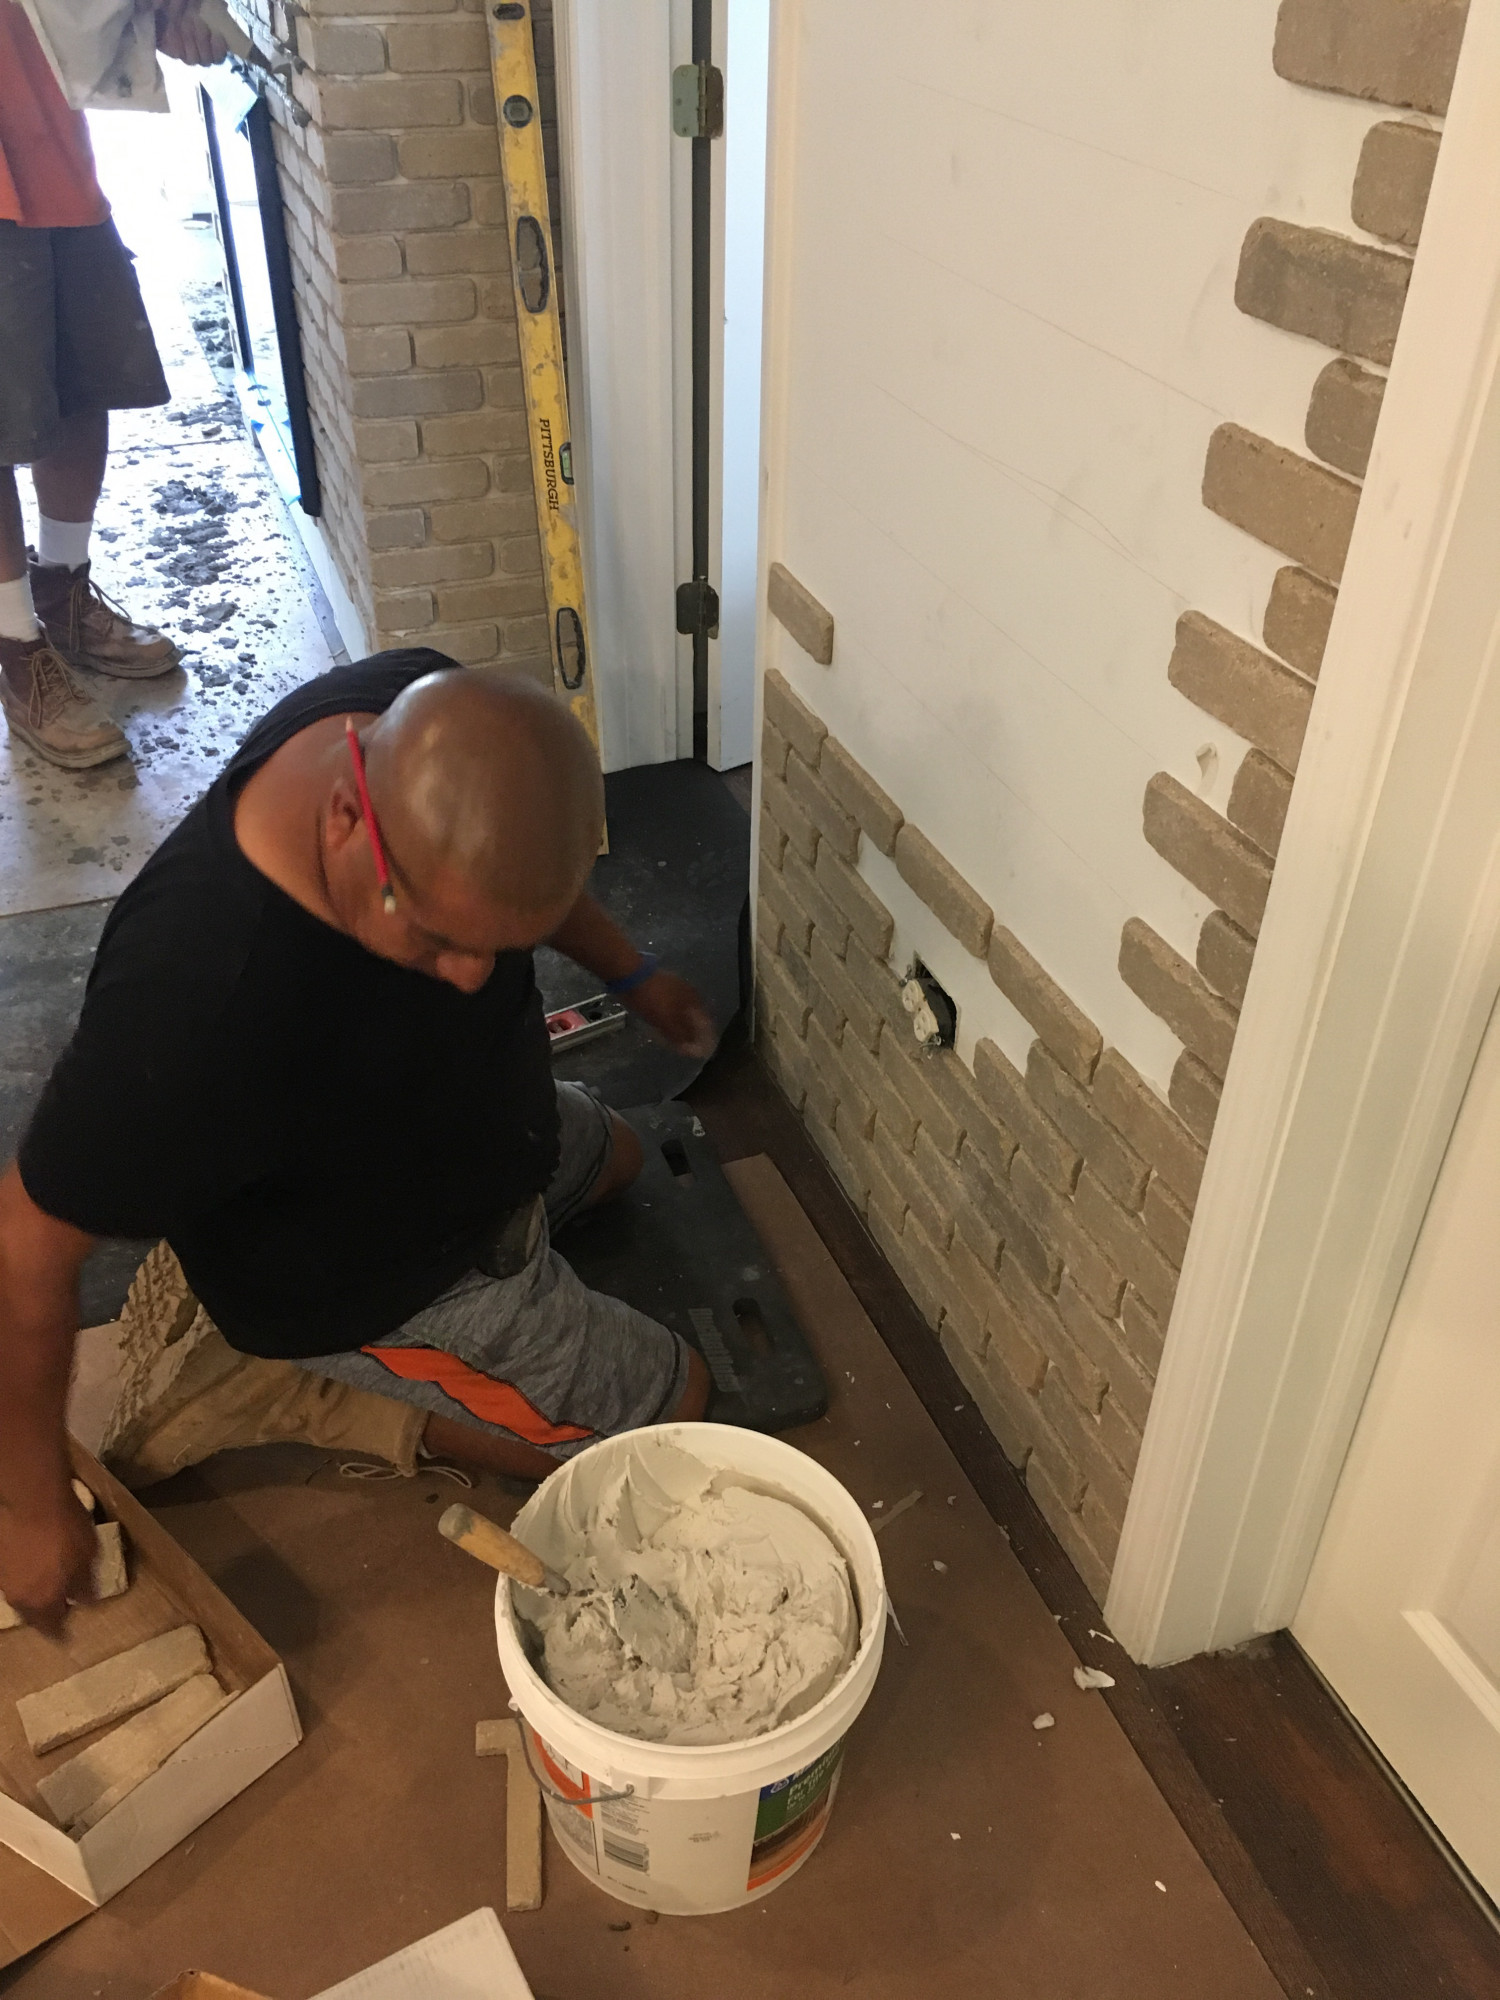
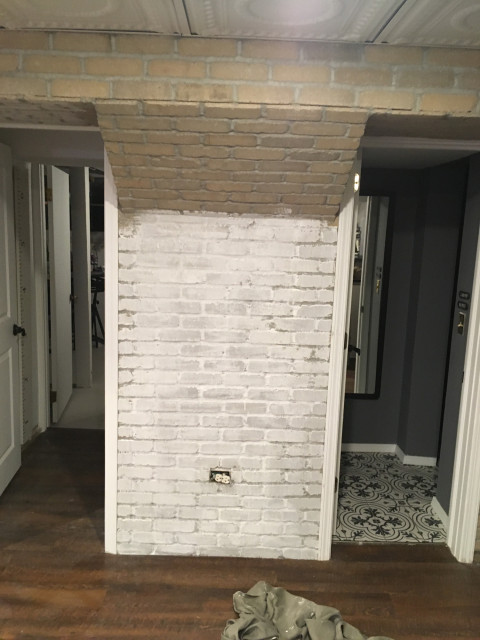
To expand on that idea of warmth, SQ really wanted to make the space “feel” warmer in terms of visual coziness. In our opinion the best way to do that is to add brick. That’s where we are so happy that we partnered with General Shale. This company is awesome. The guys who worked on our house were just the best. Fast, efficient, detailed, and above and beyond friendly. They even put up with me asking a ton of questions. Who knew that applying brick required extensive math solving capabilities? But it does and these guys were masonry prodigies. And best of all these maestros get to use this ingenious brick that is thin and lightweight so it’s perfect for indoor makeovers.
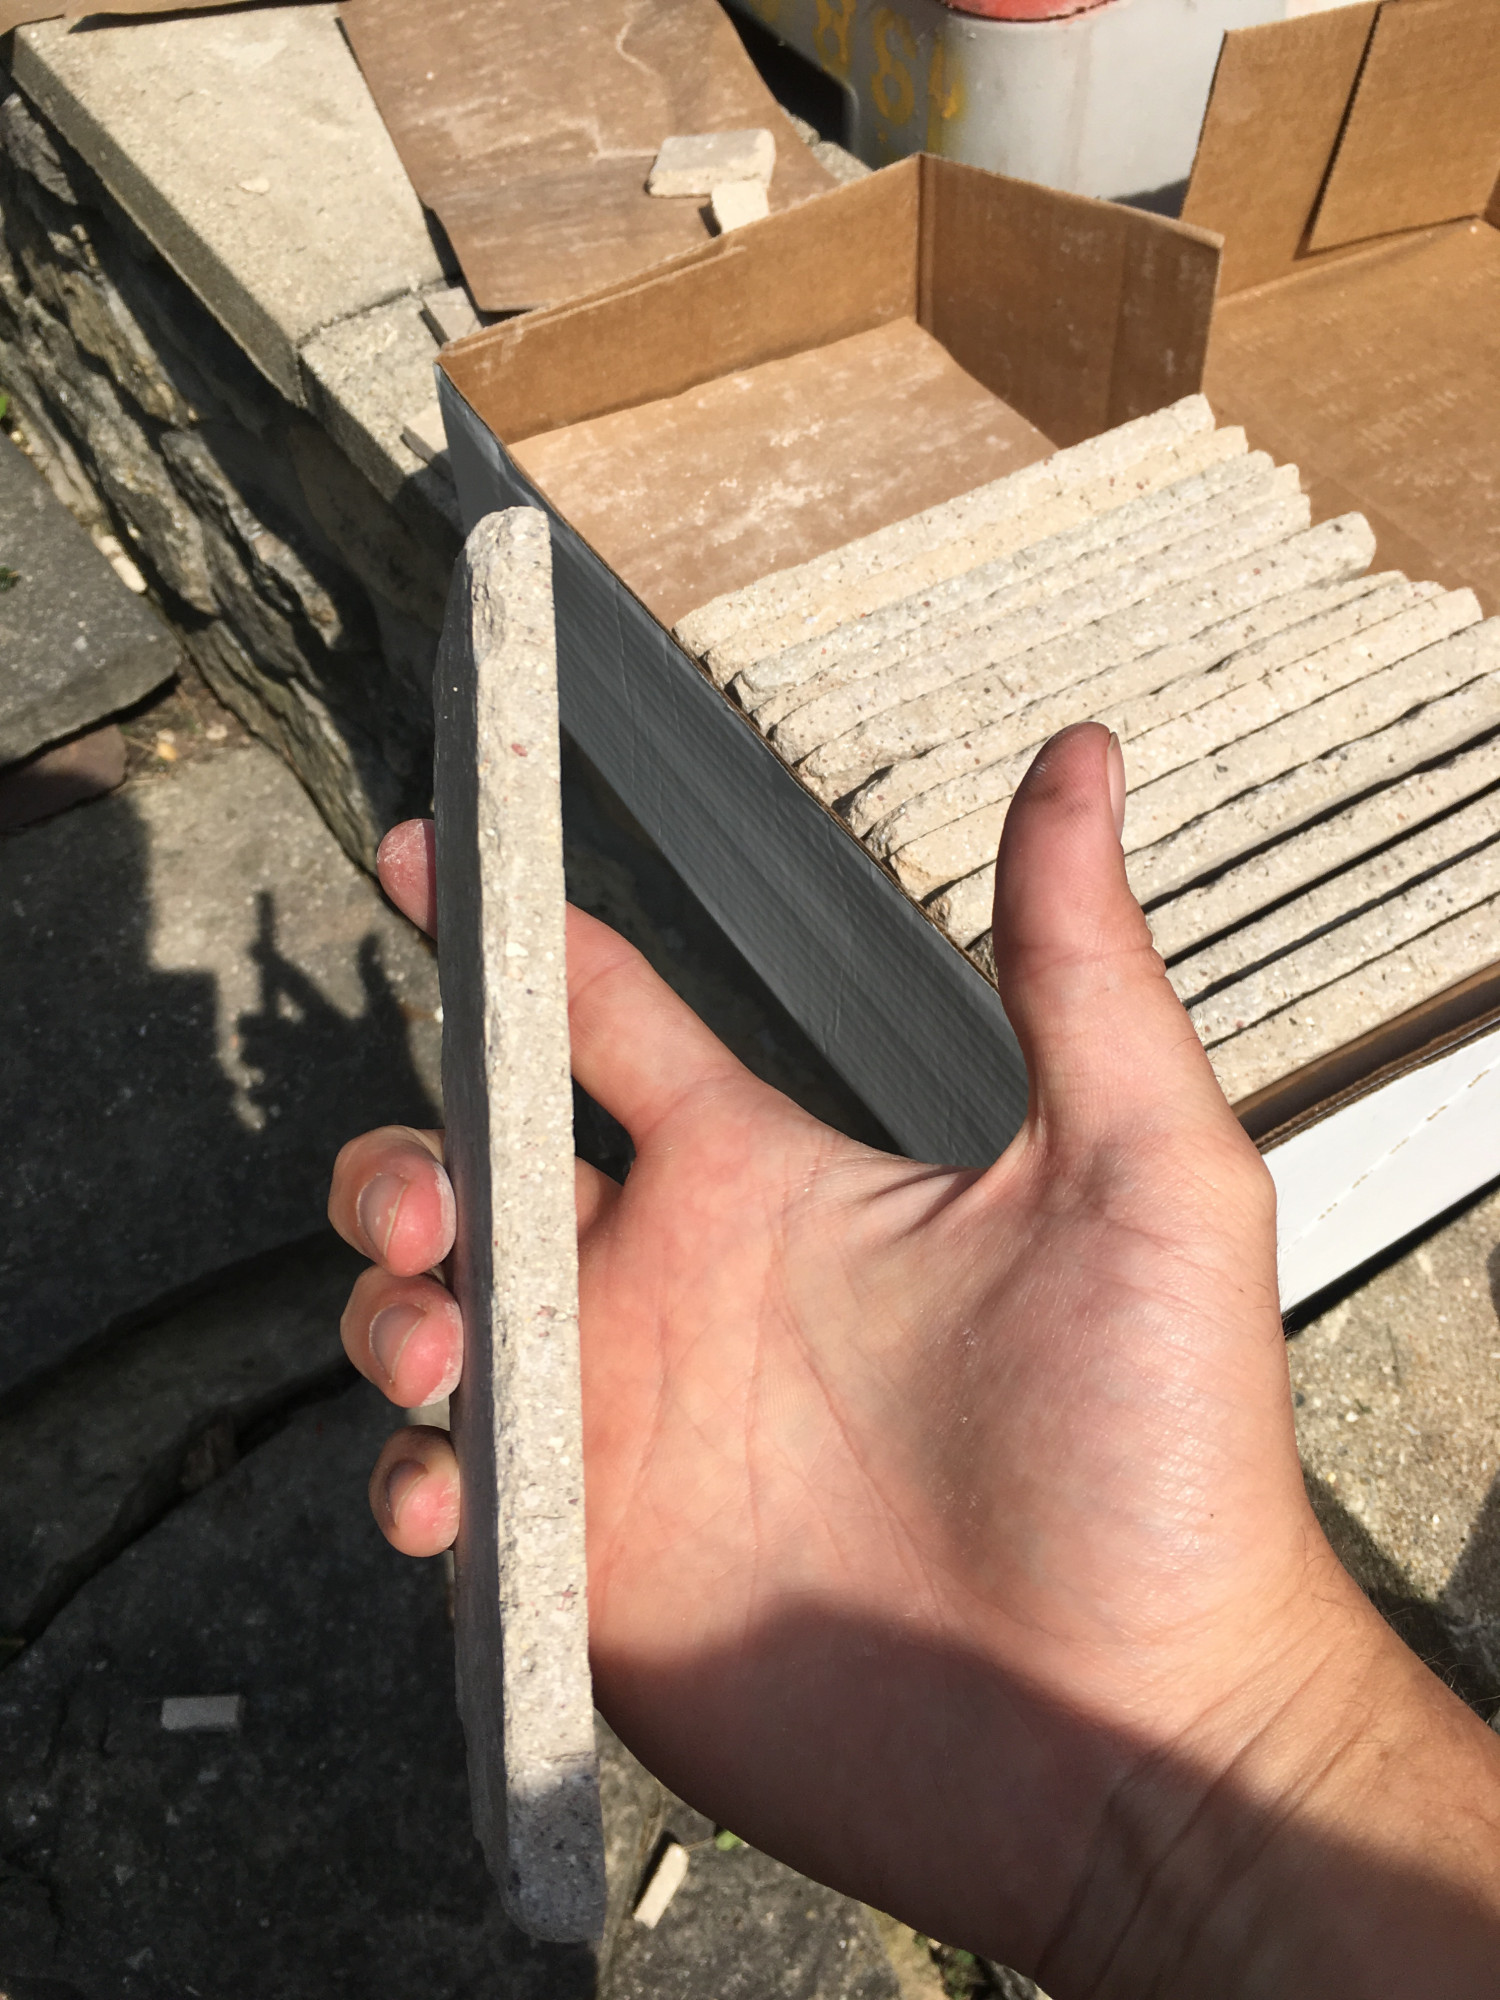
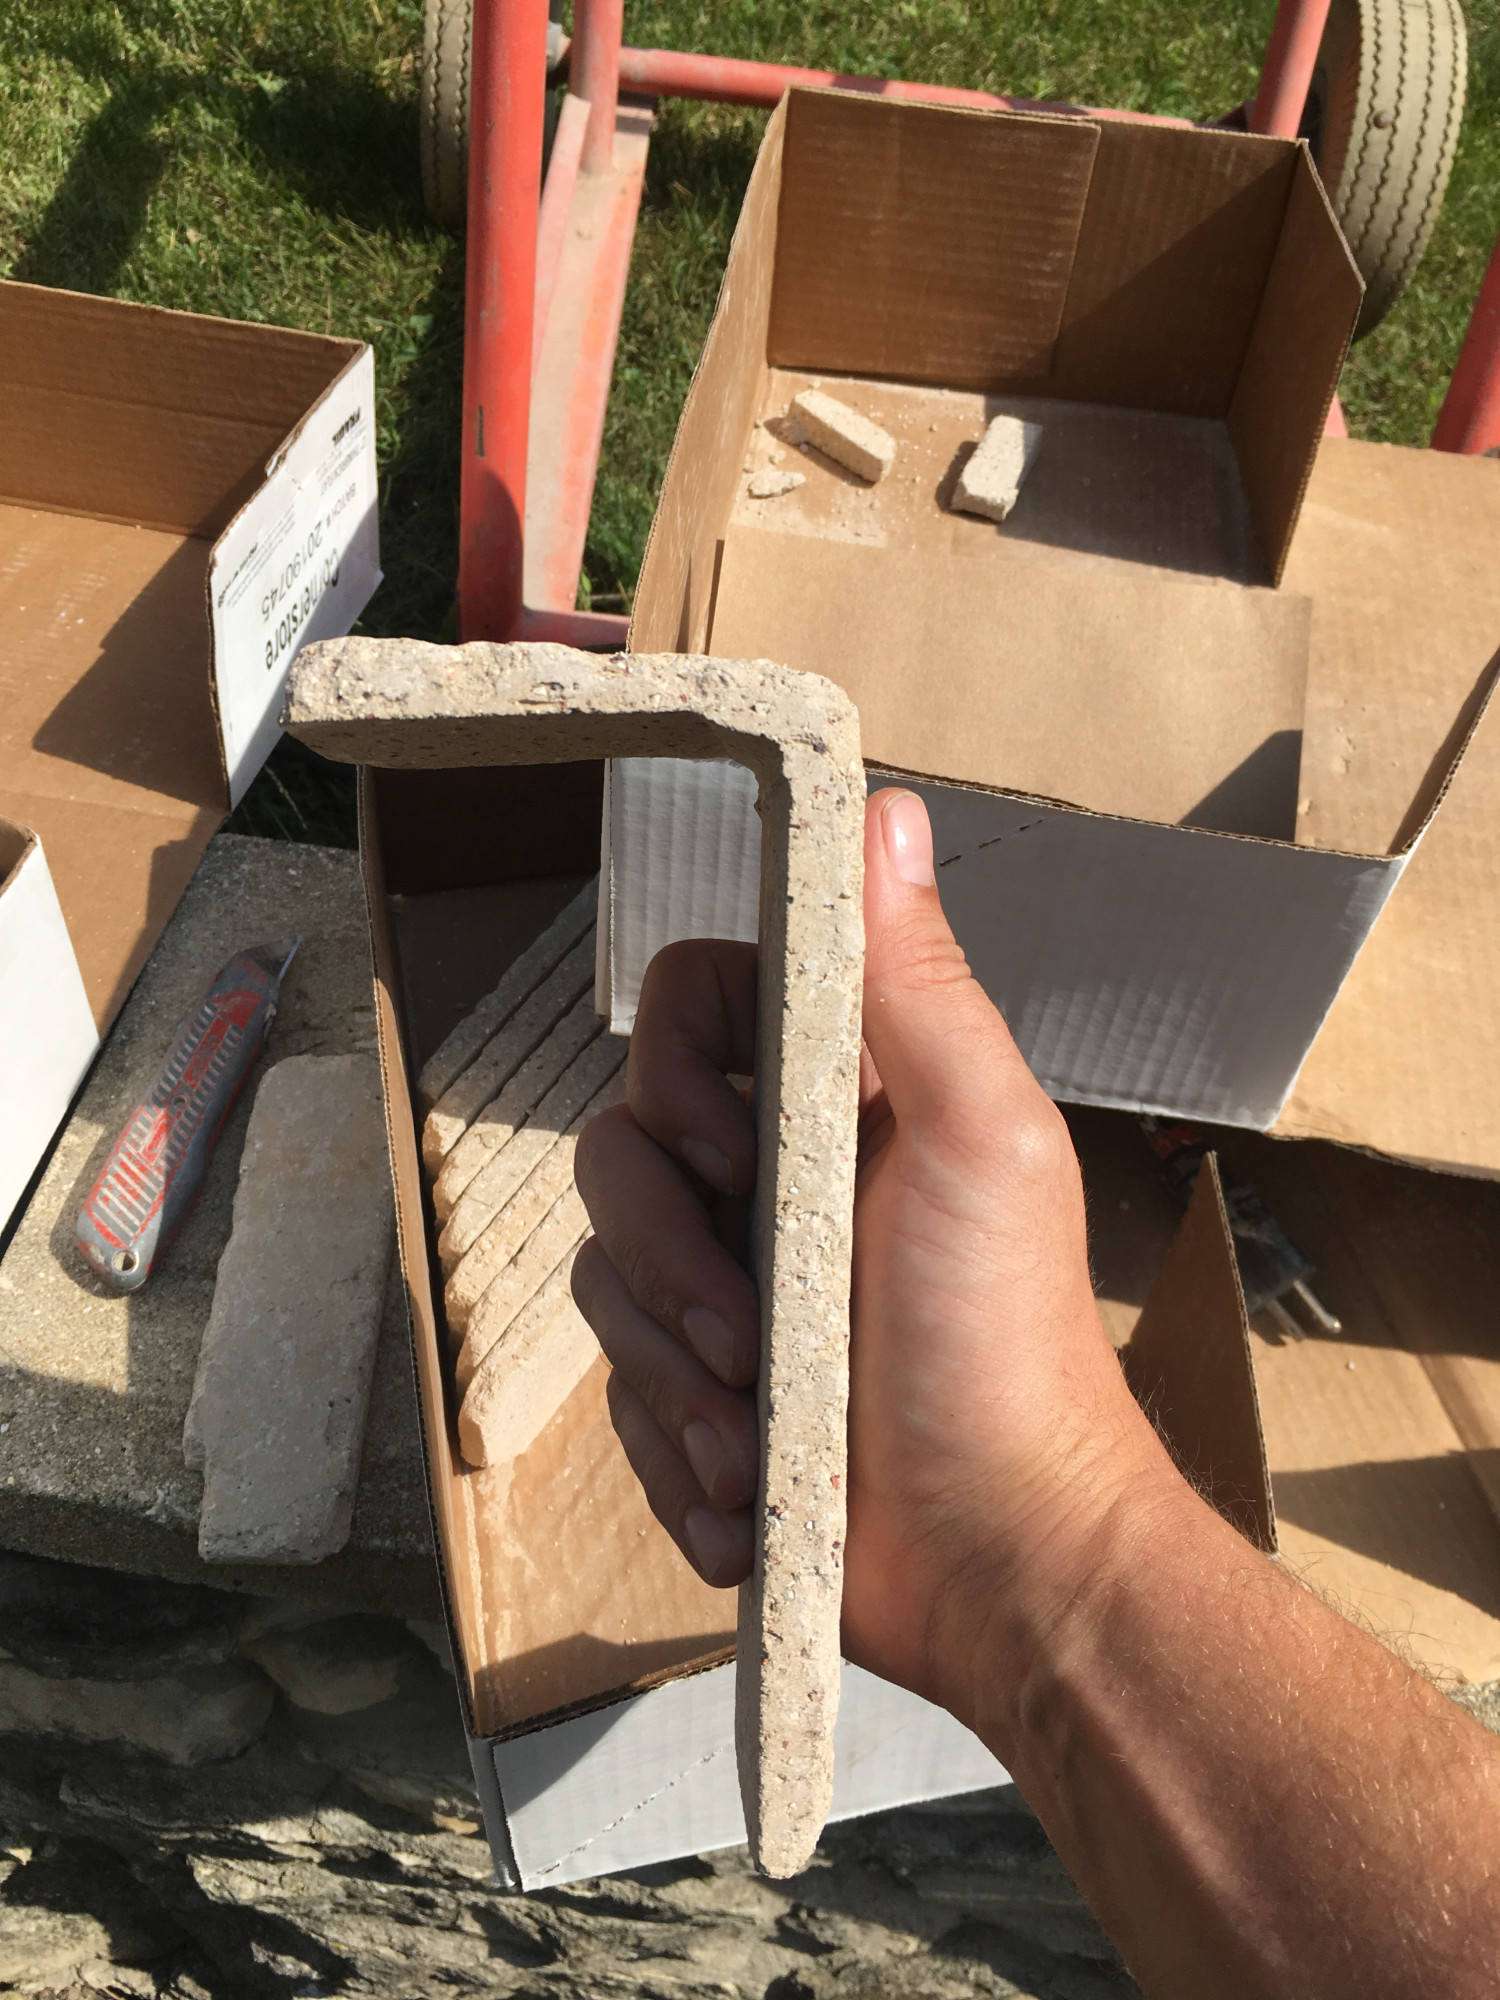
The problems with normal thickness bricks are many. It’s expensive first and foremost. Second, if we installed it we’d lose several square feet of living space. Lastly, it’s heavy. That may prohibit its use in upstairs rooms that may not be built to handle the cumulative weight, or in our case, the weight could have prevented us from covering the duct work. The thin bricks that General Shale offers provide the look of “normal” bricks without these negative attributes. And they look awesome! Take a look at these bricks that follow old color schemes used at the turn of the century. In a word, awesome.
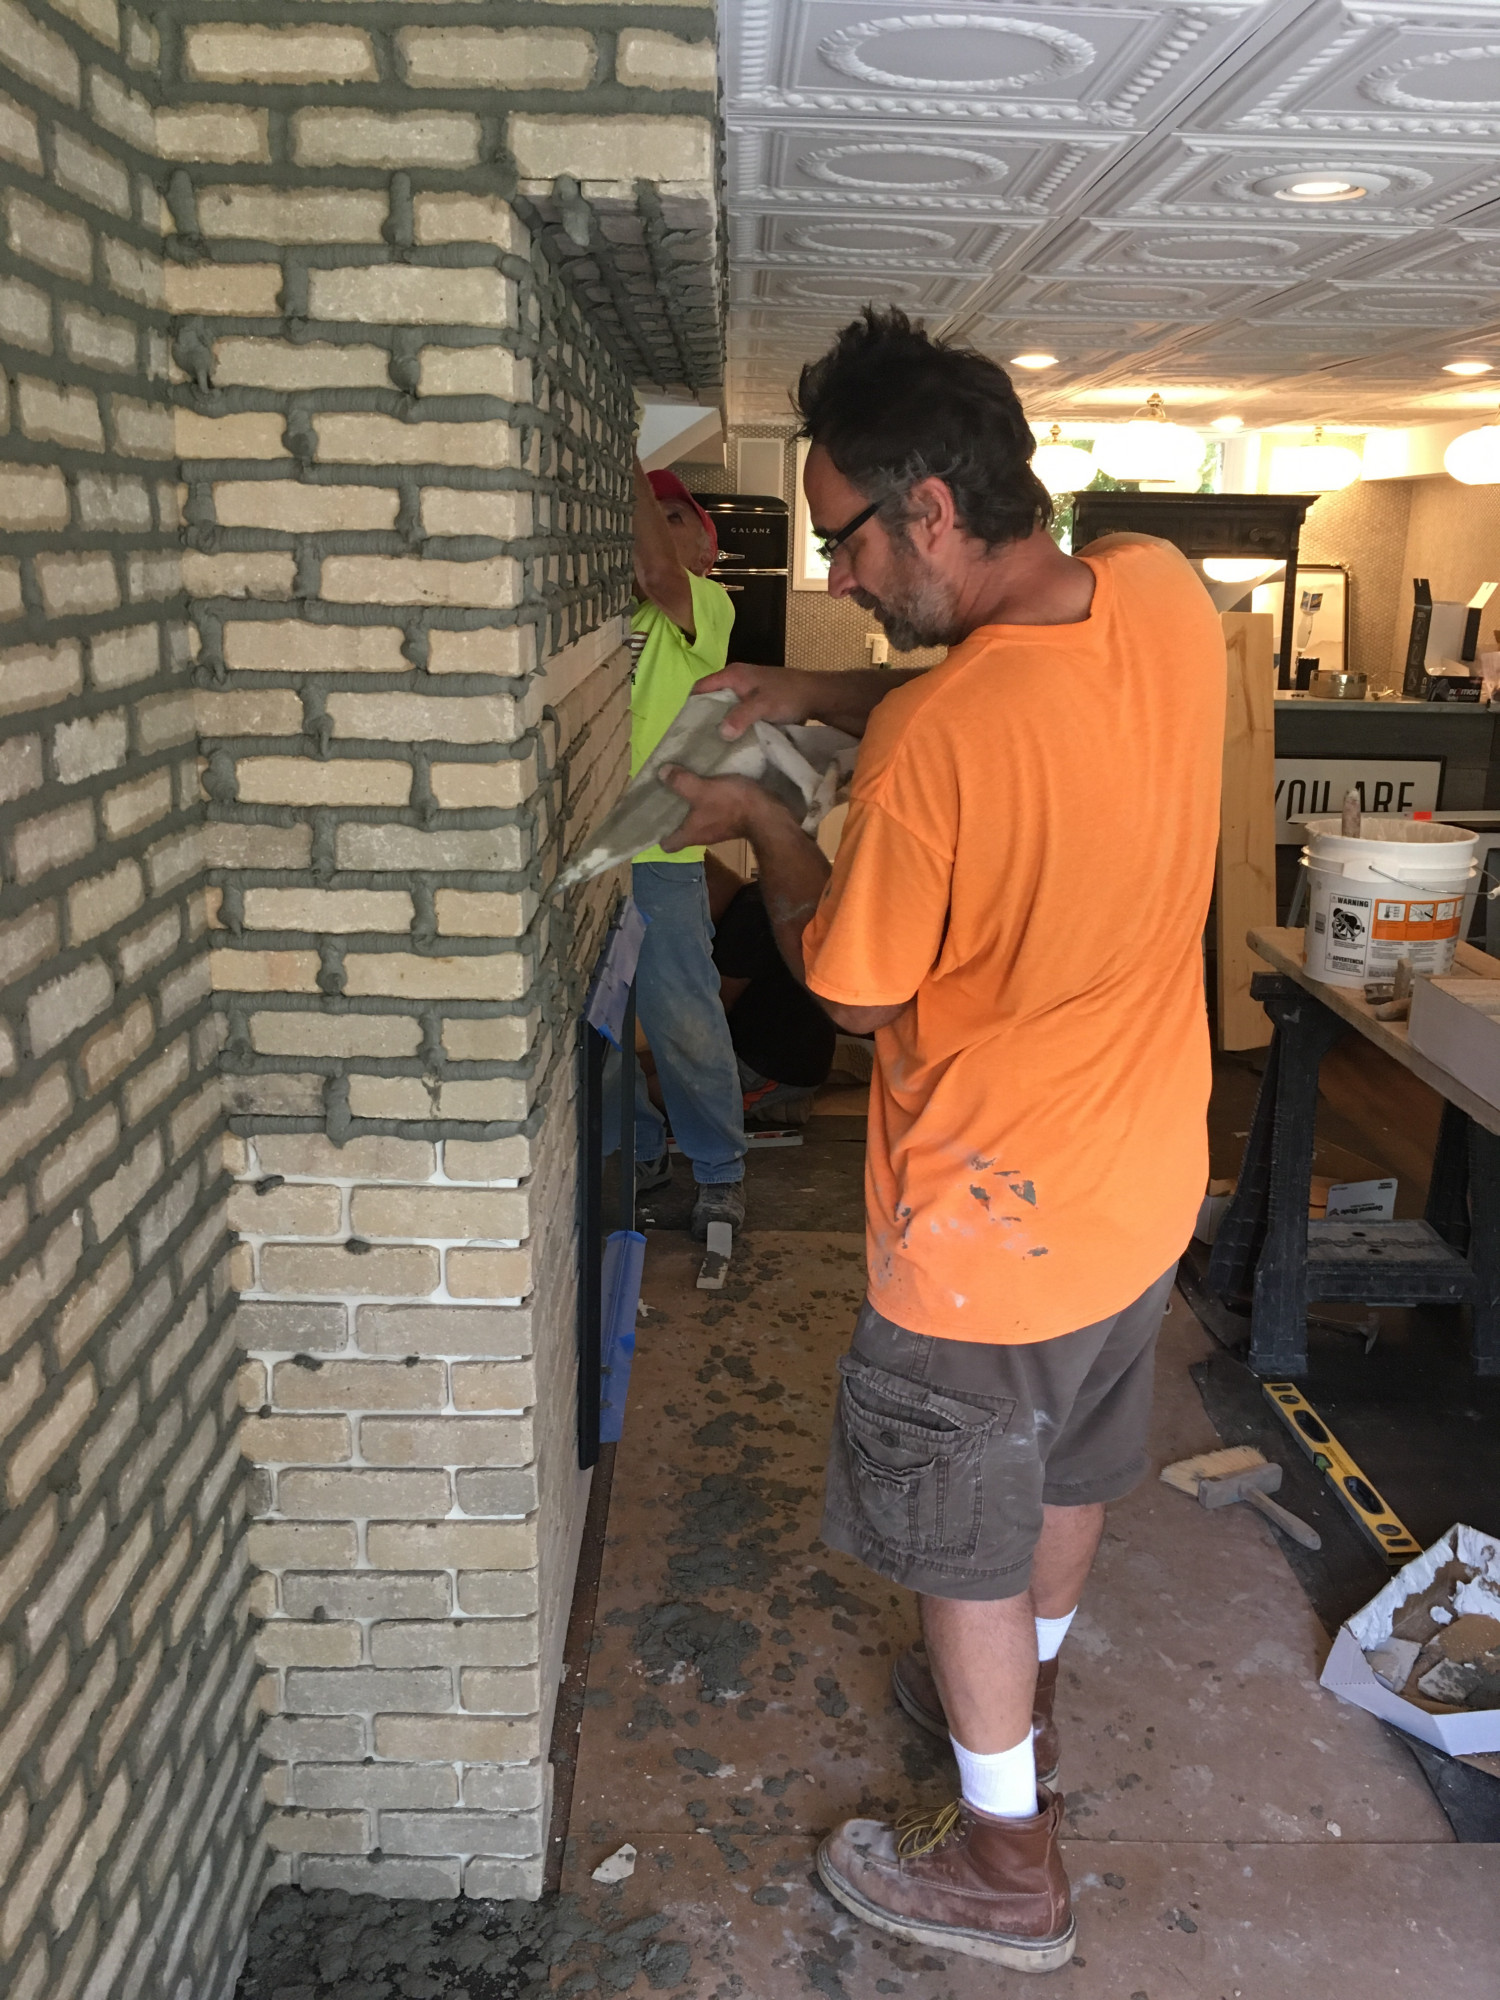
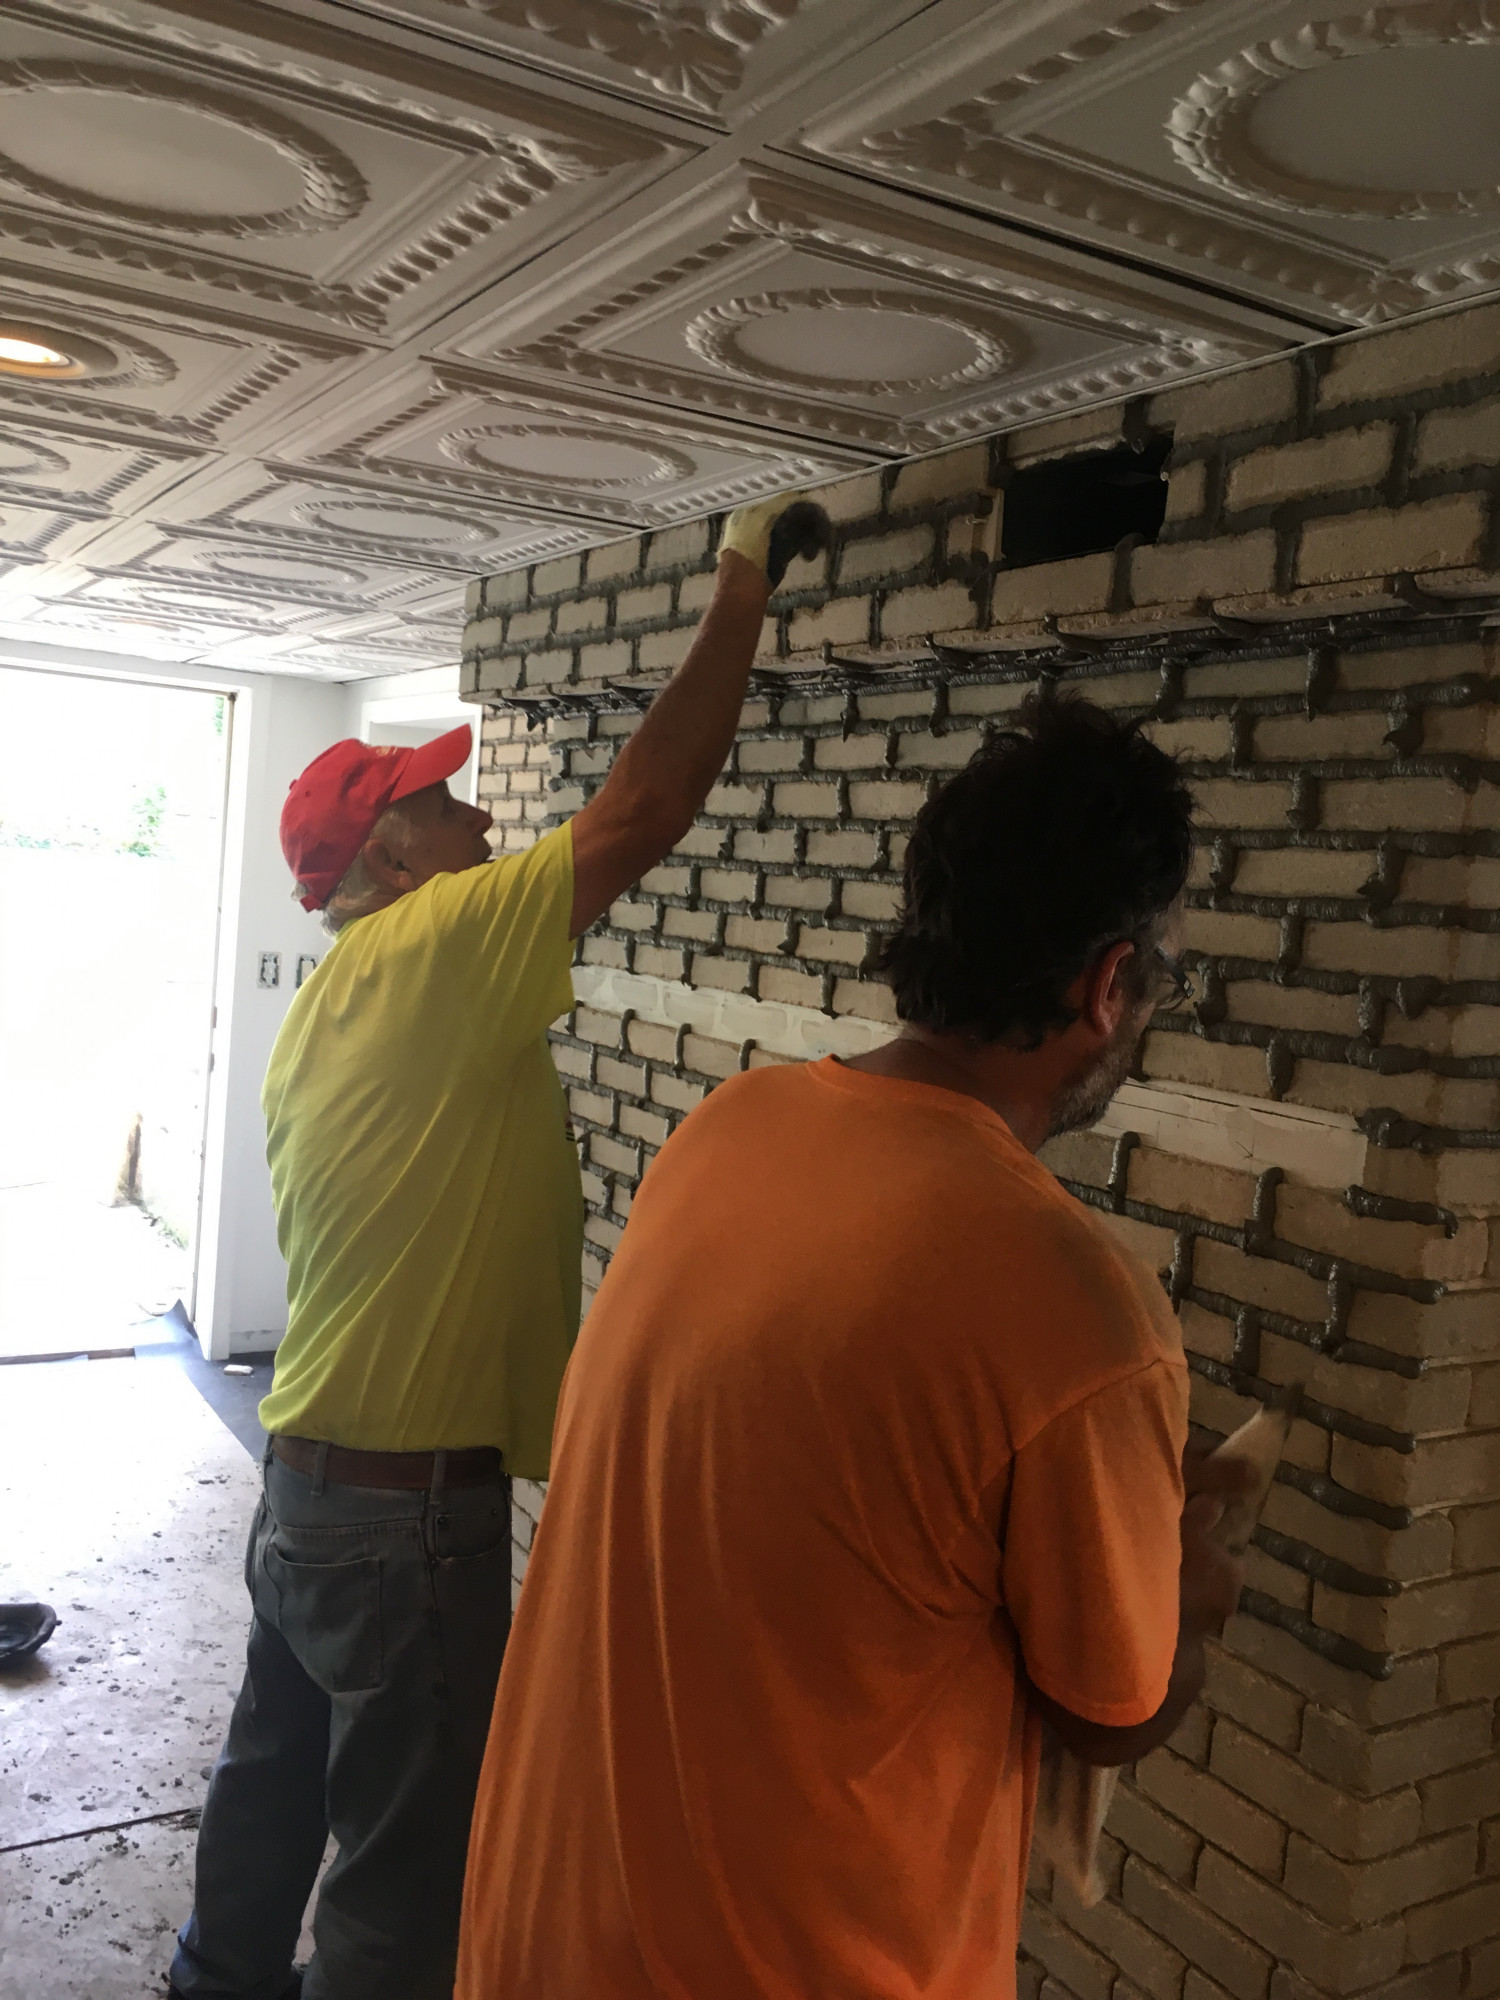
General Shale came in and installed the brick wall like clockwork. It was amazing to see the guys handle our wavy walls and sharp corners as if it was just the simplest thing in the world.
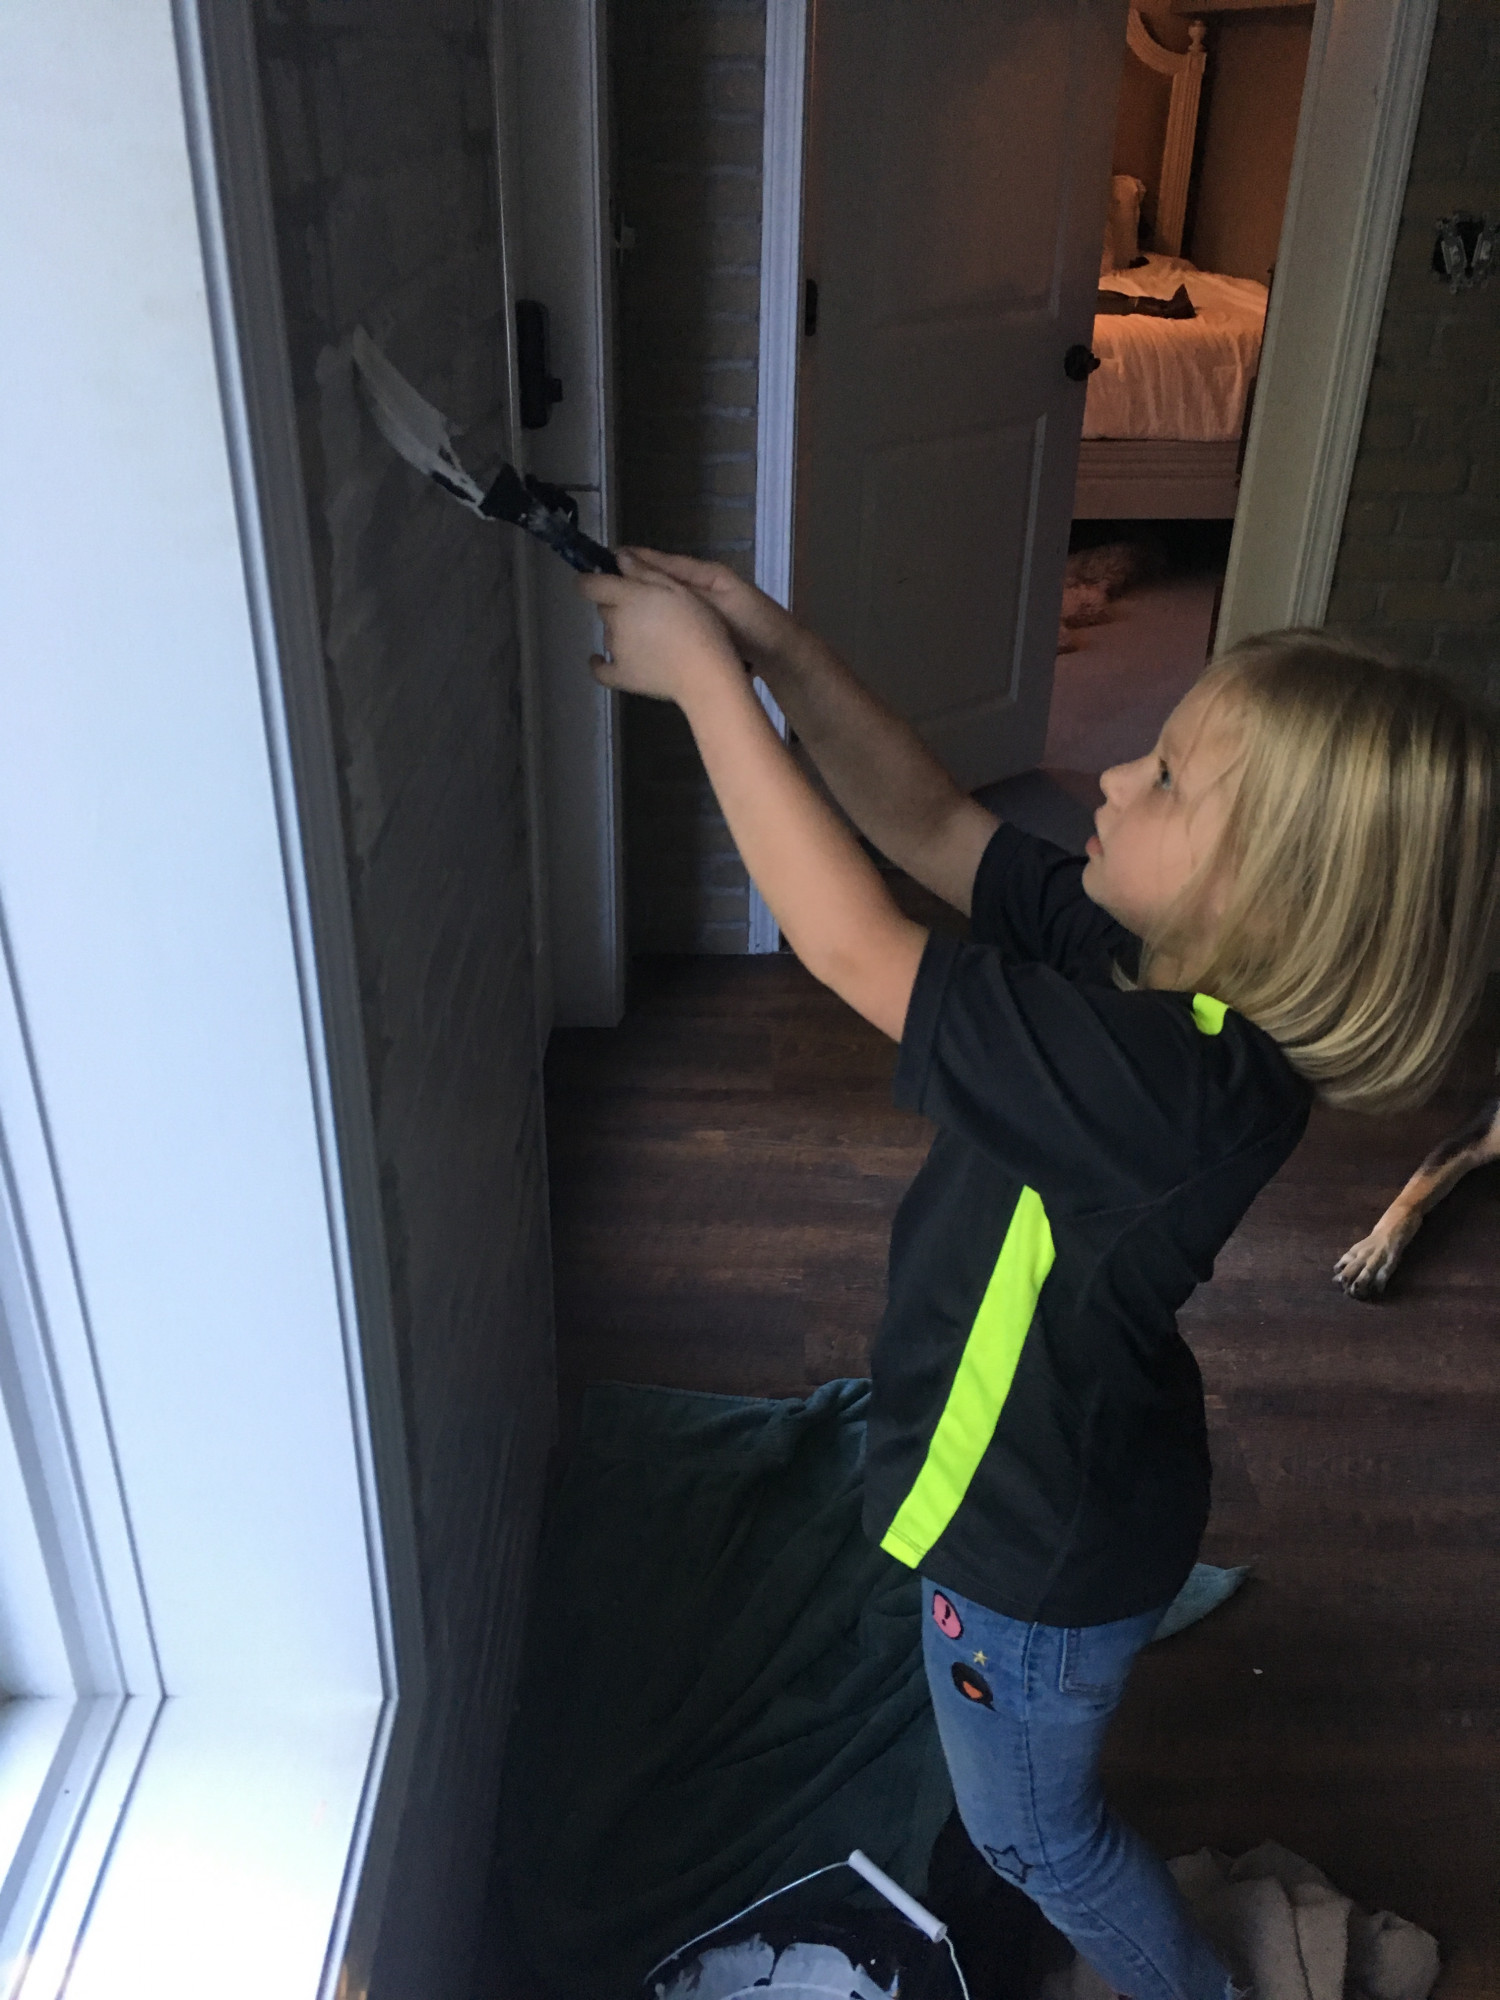
Originally we were going to leave the brick its natural color; however, our basement is dark. And even though we chose a lighter colored brick, anything besides white just darkens the whole space. So we used a thin layer of lime wash to lighten them. And then we used a thick layer because that still wasn’t quite right. Needless to write, I was painting for a while.
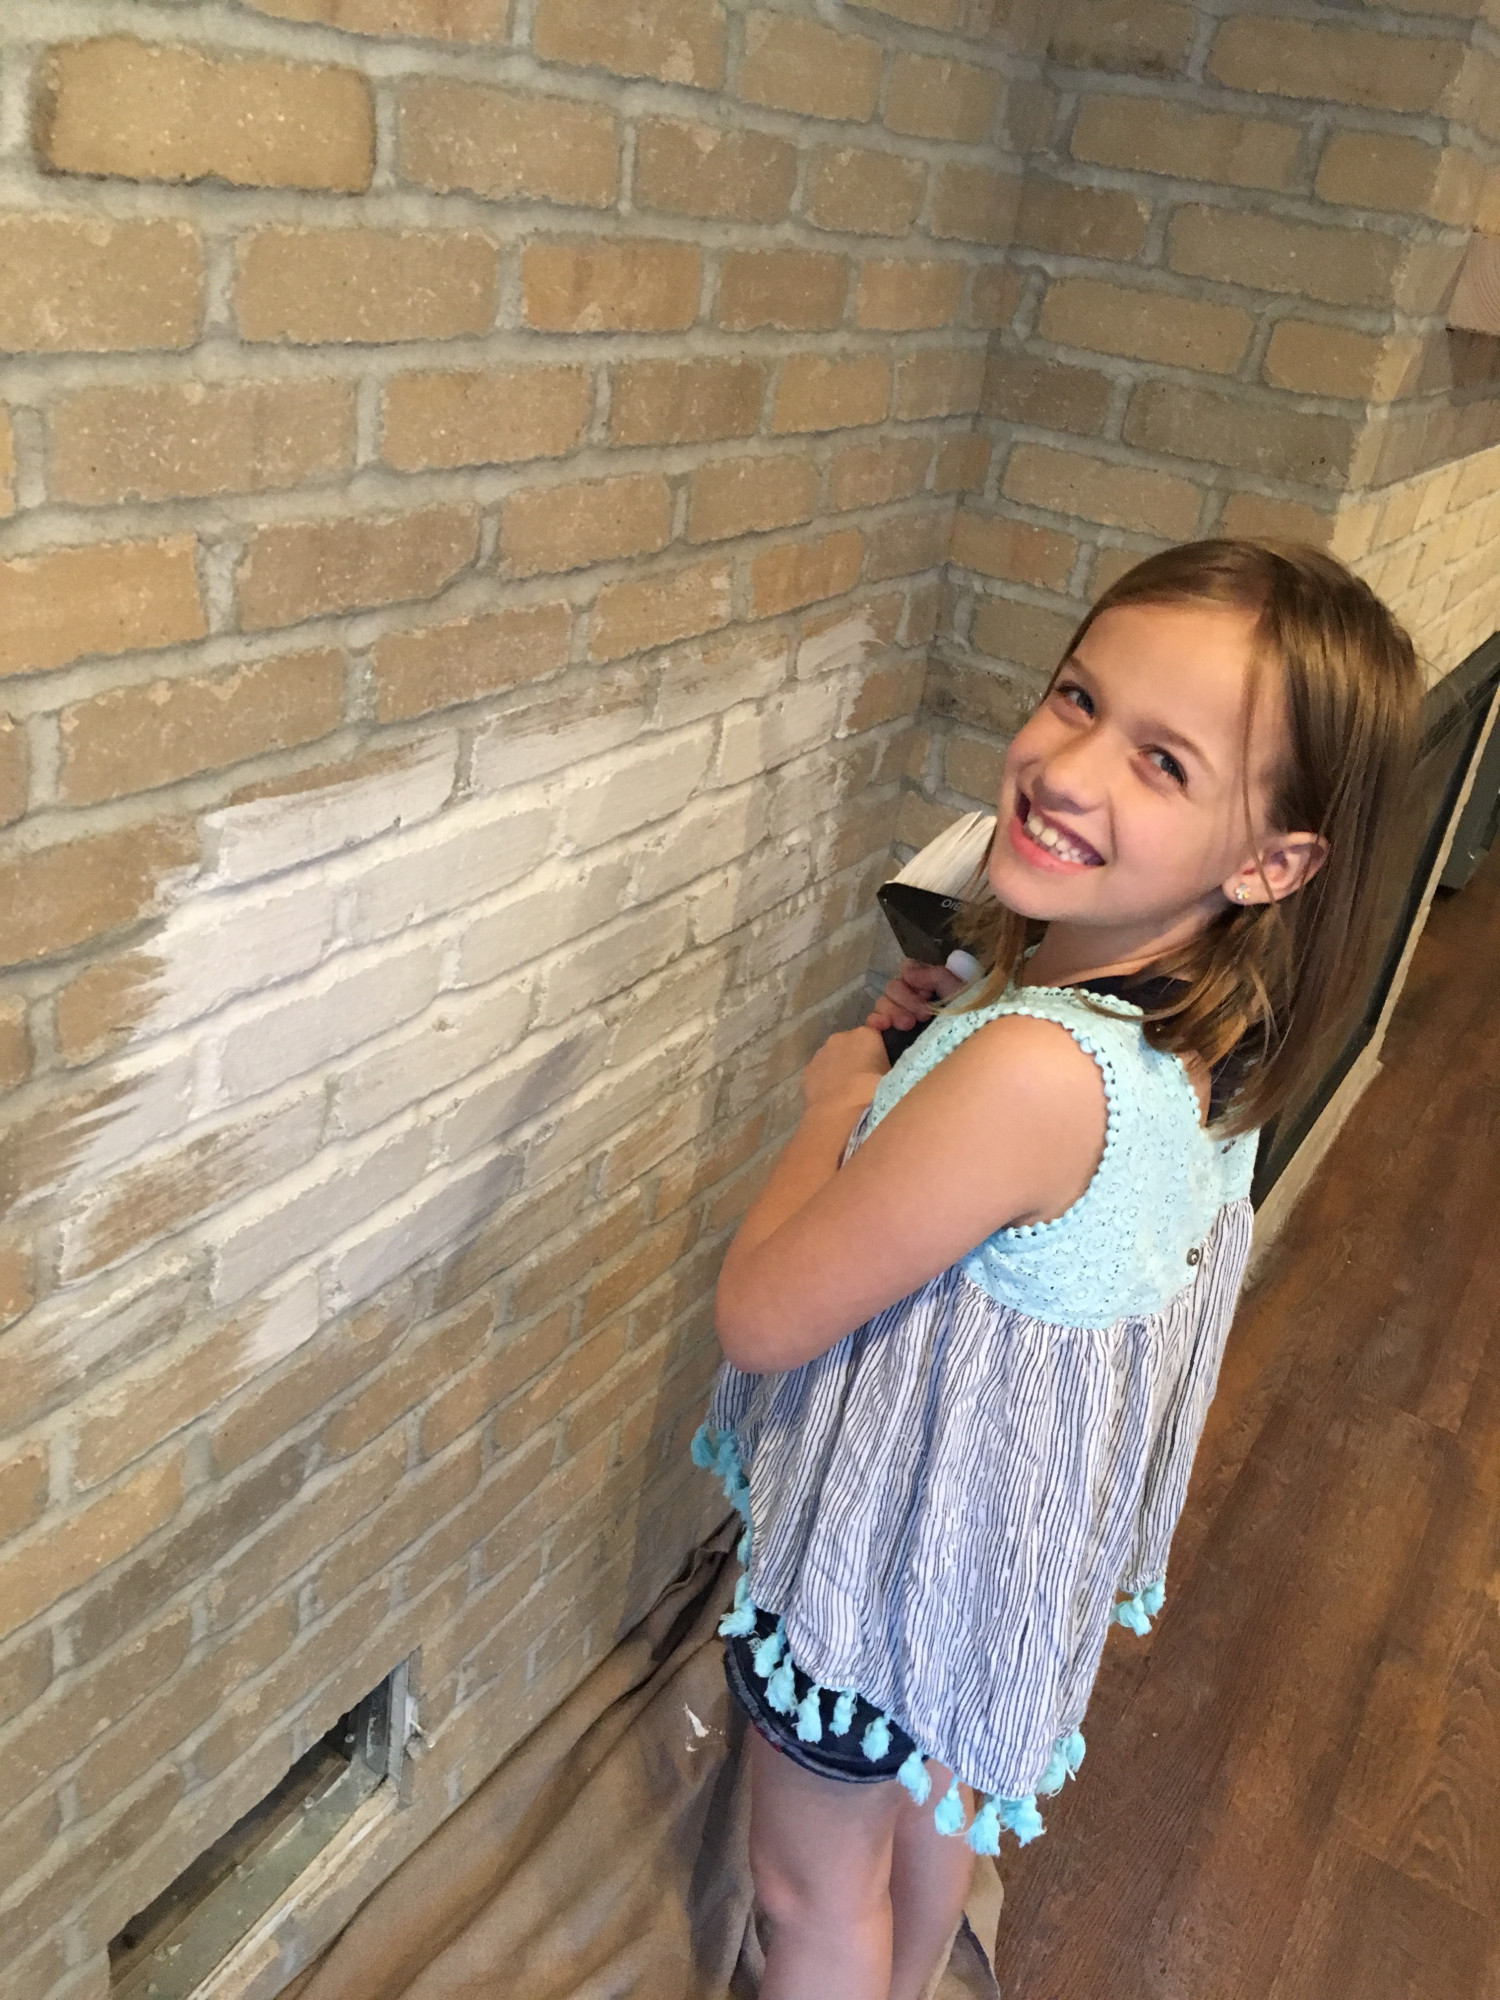
SQ was off on a business trip so I recruited some really cute helpers to paint the walls while she was away.
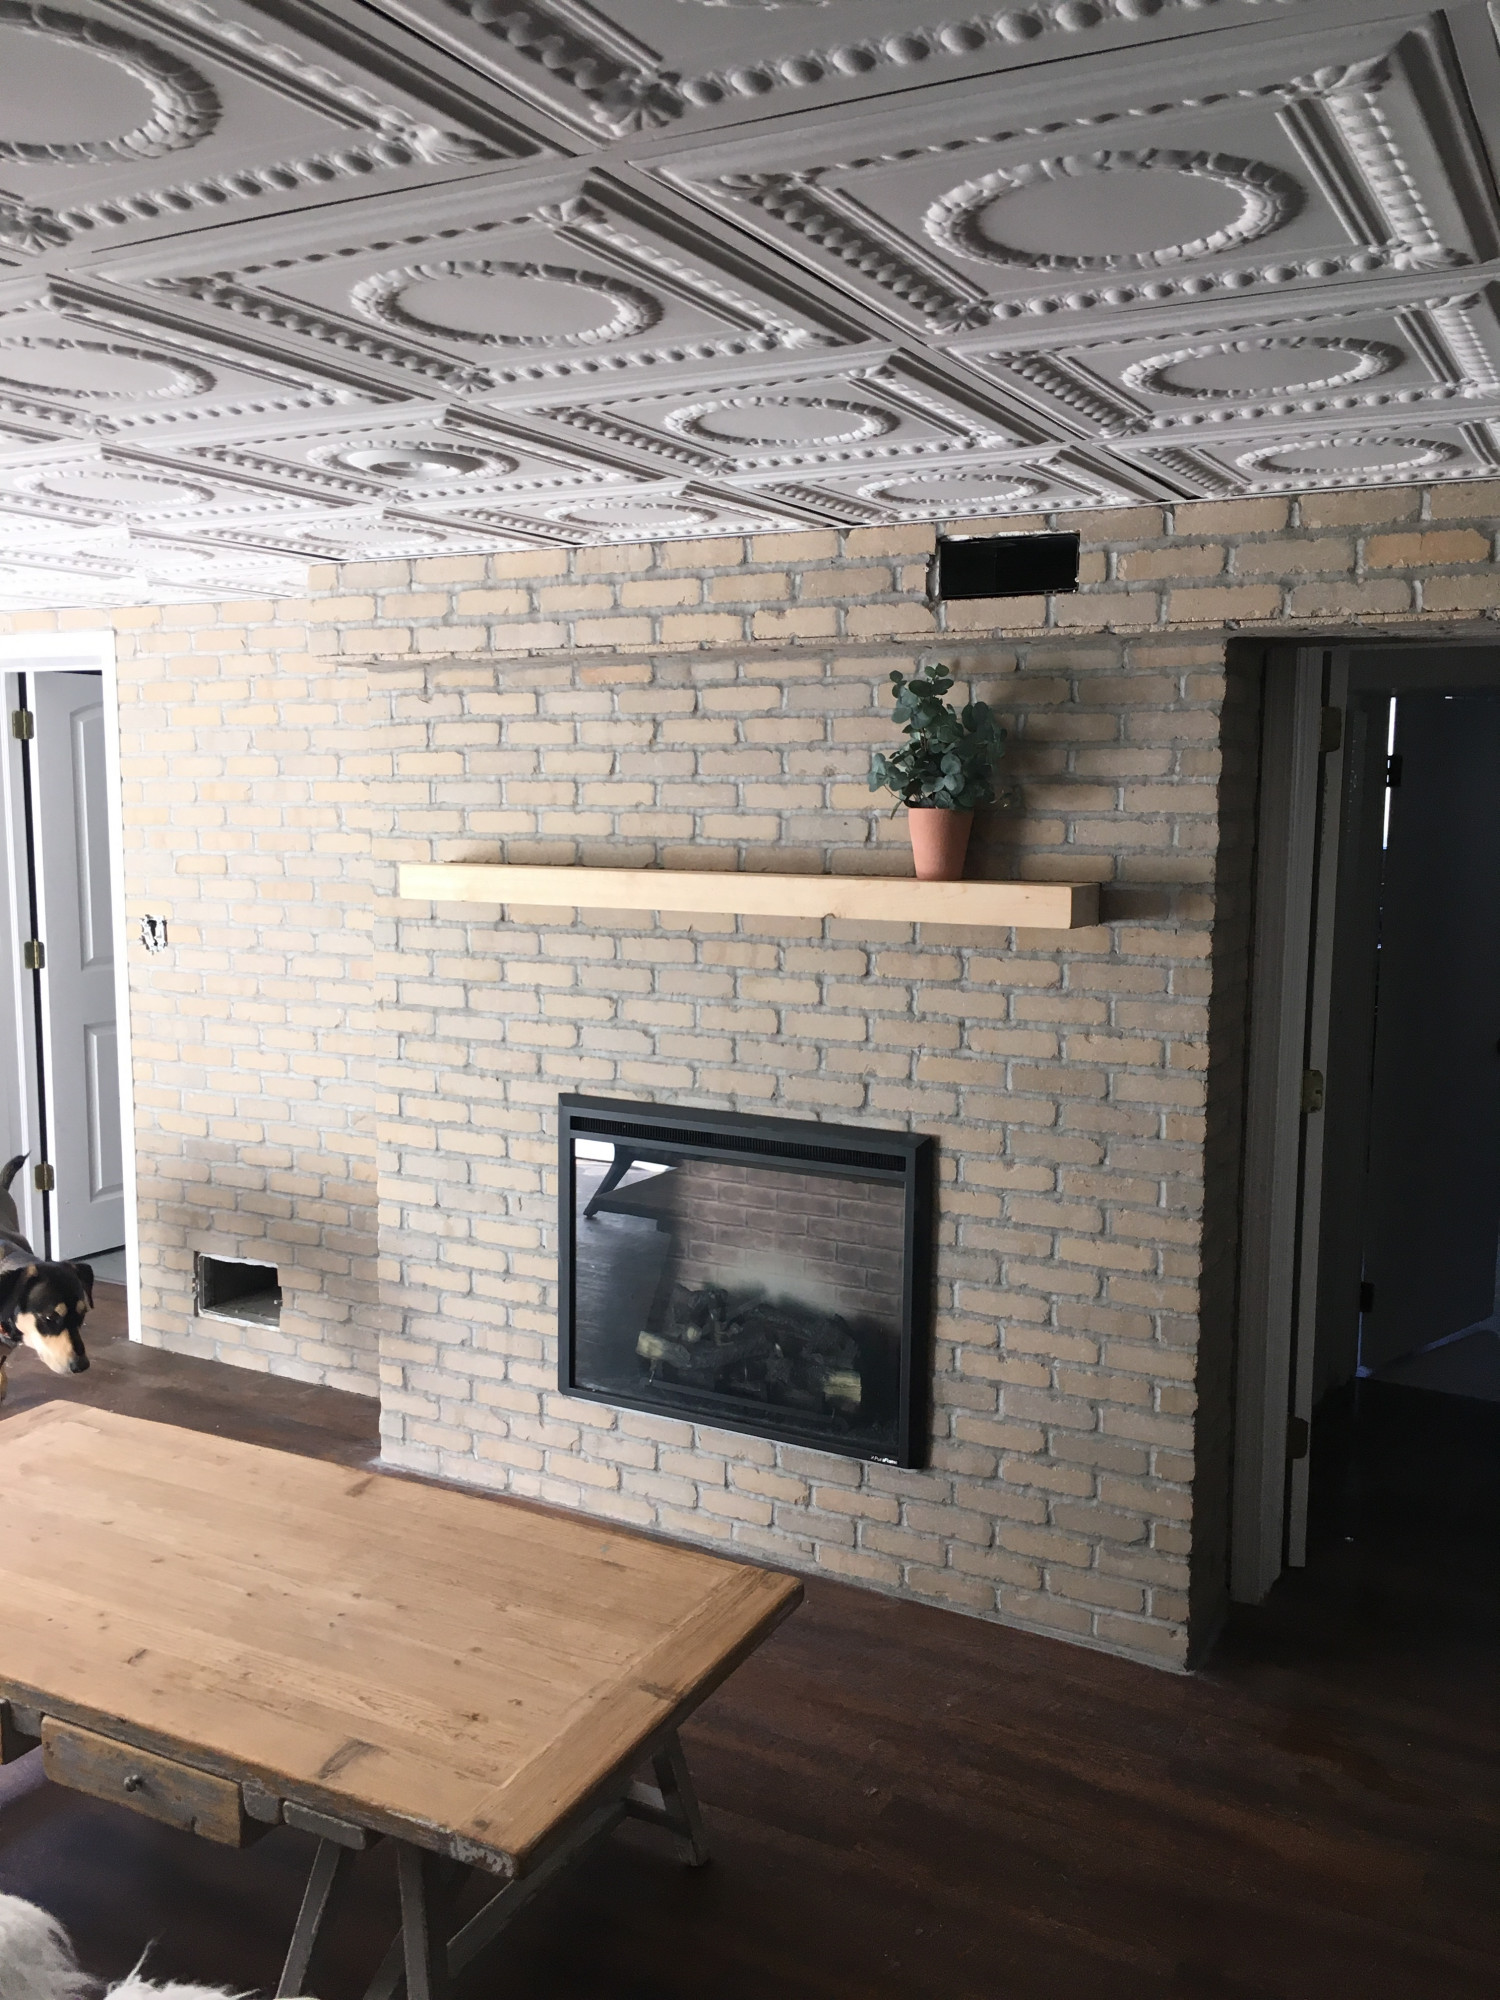
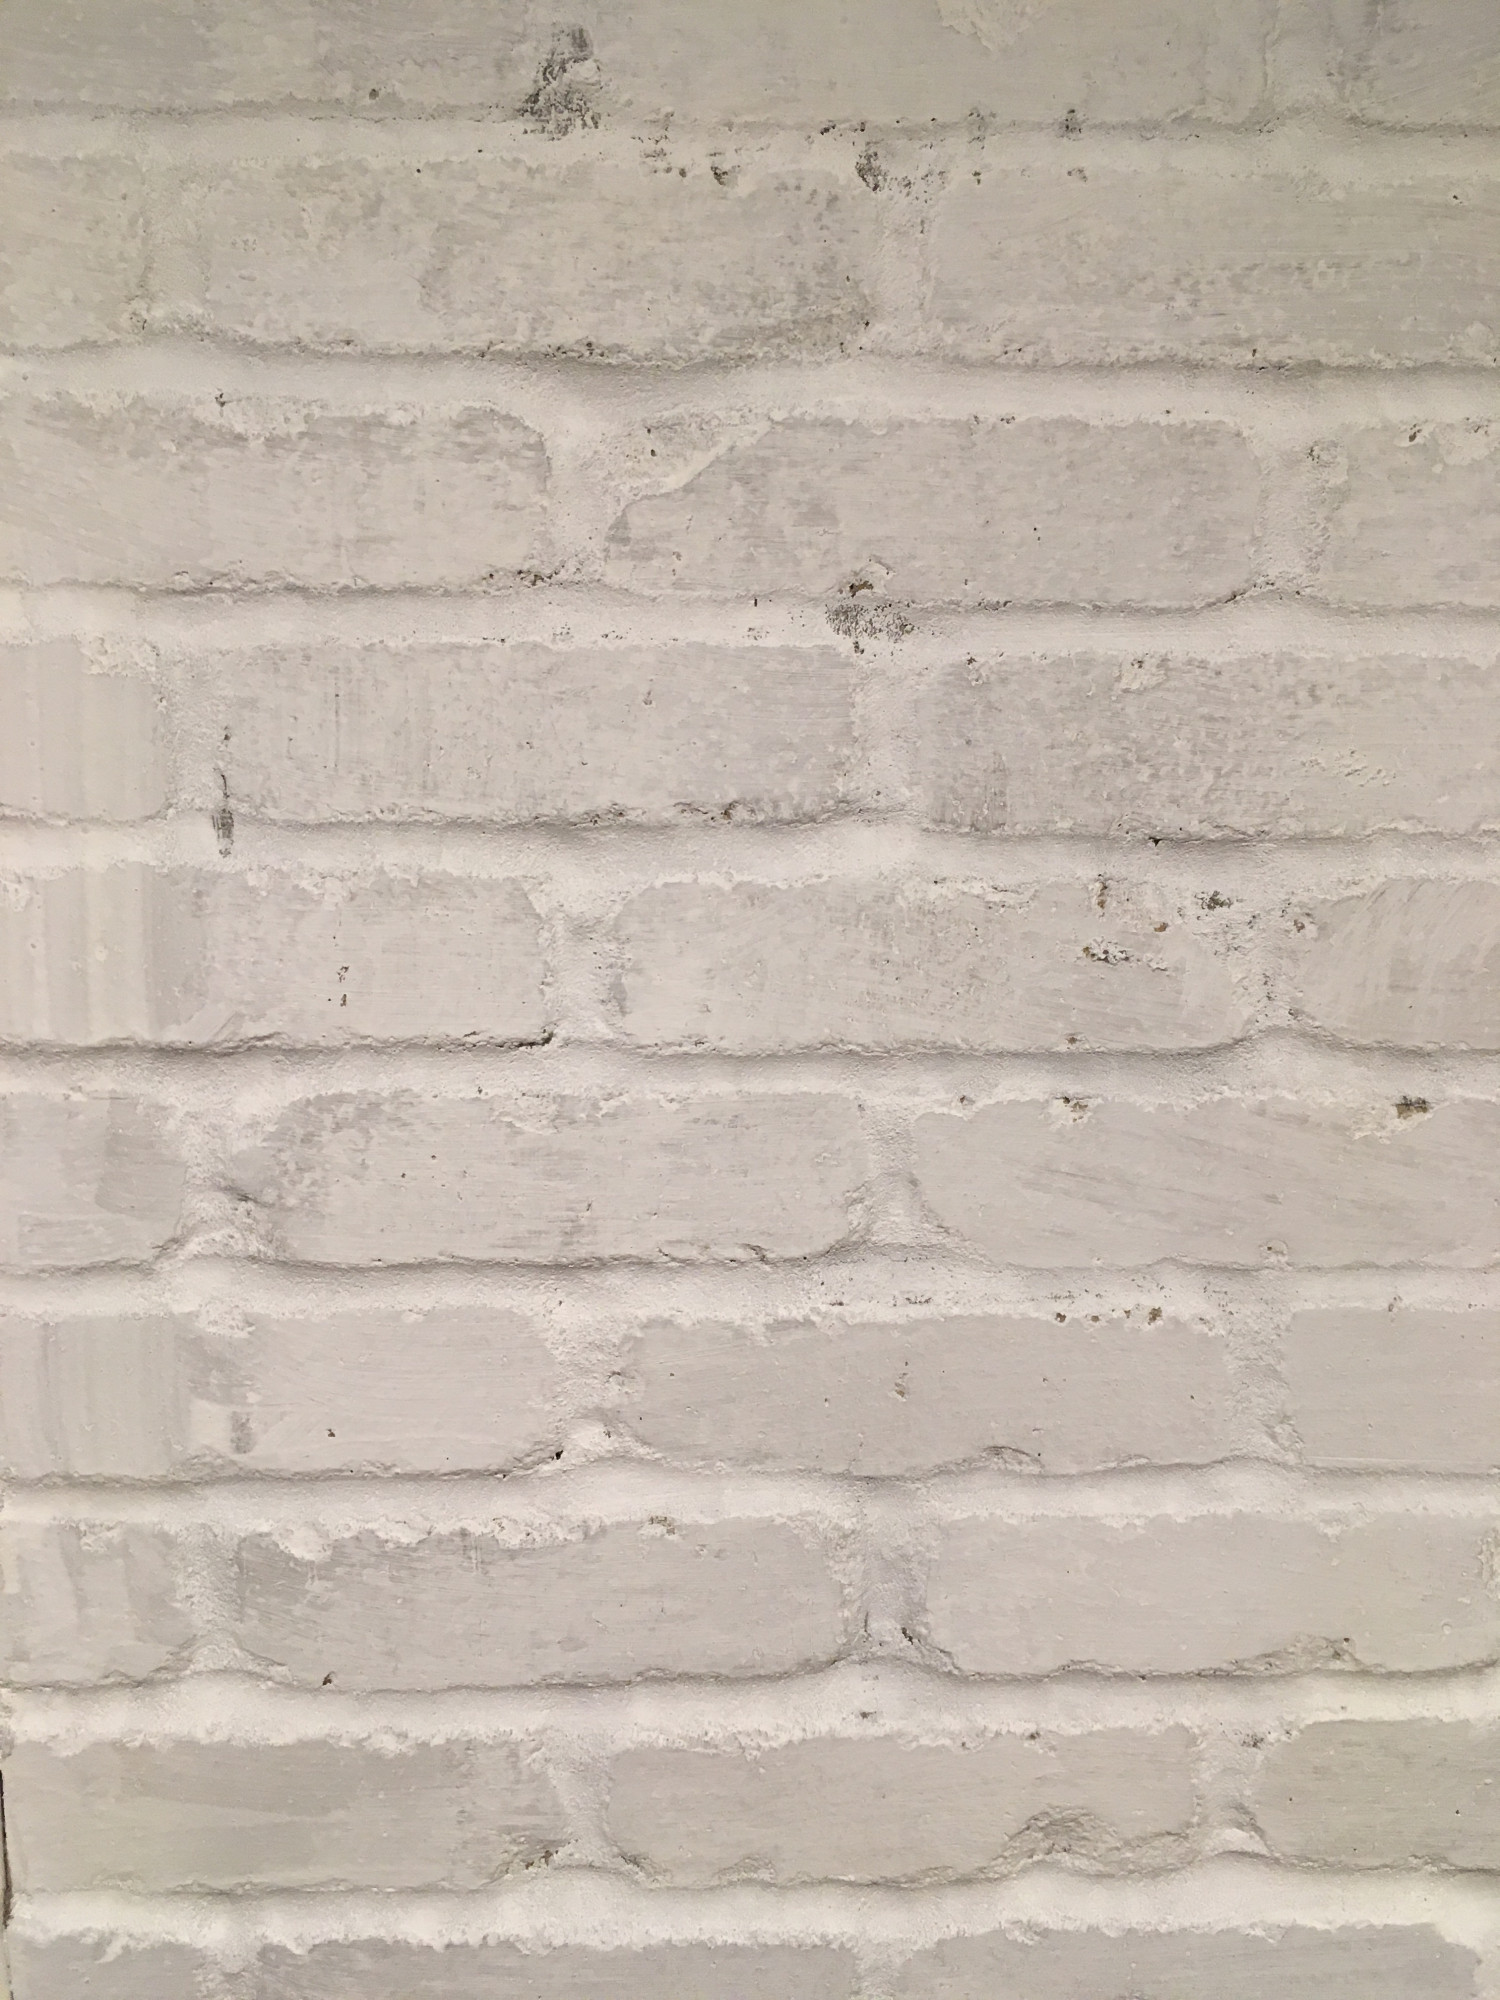
Here is the view with only a layer or two of limewash. Awesome still, but our space needed a few more layers to counter the shadows.

For comparison here is a side by side image of the same space. Apologies for the blurry image. I’m not a good photographer. 🙂 You can see that the original wall was just kind of utilitarian. Then you can compare that to the unpainted brick, which is very cool, and lastly what one layer of Romabio limewash looks like. Also, very cool.
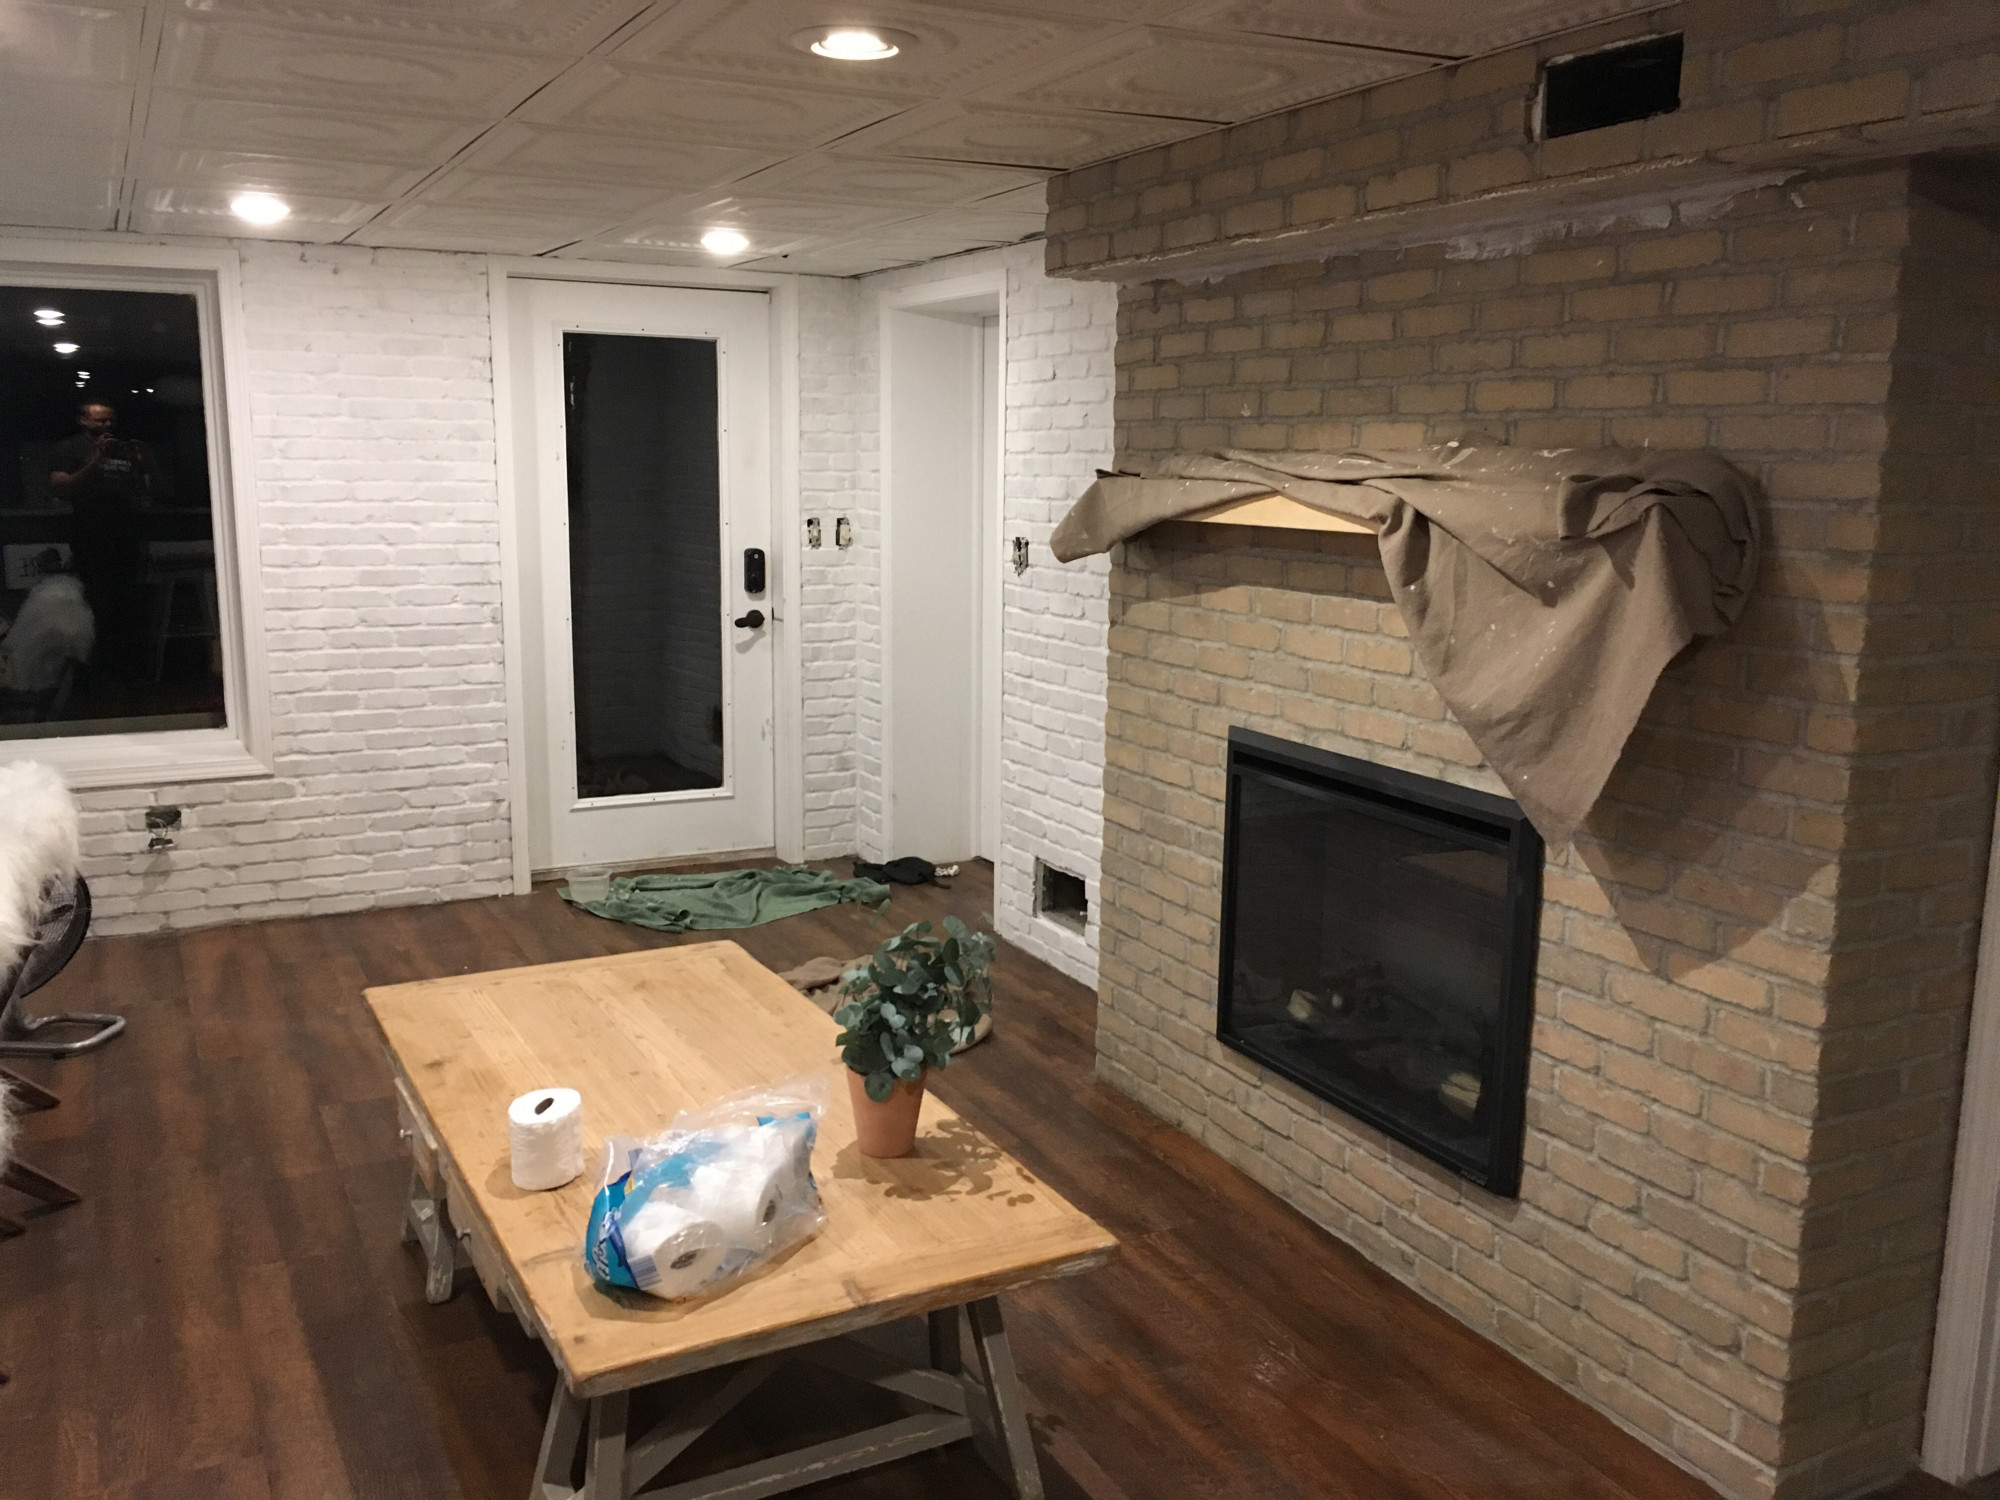
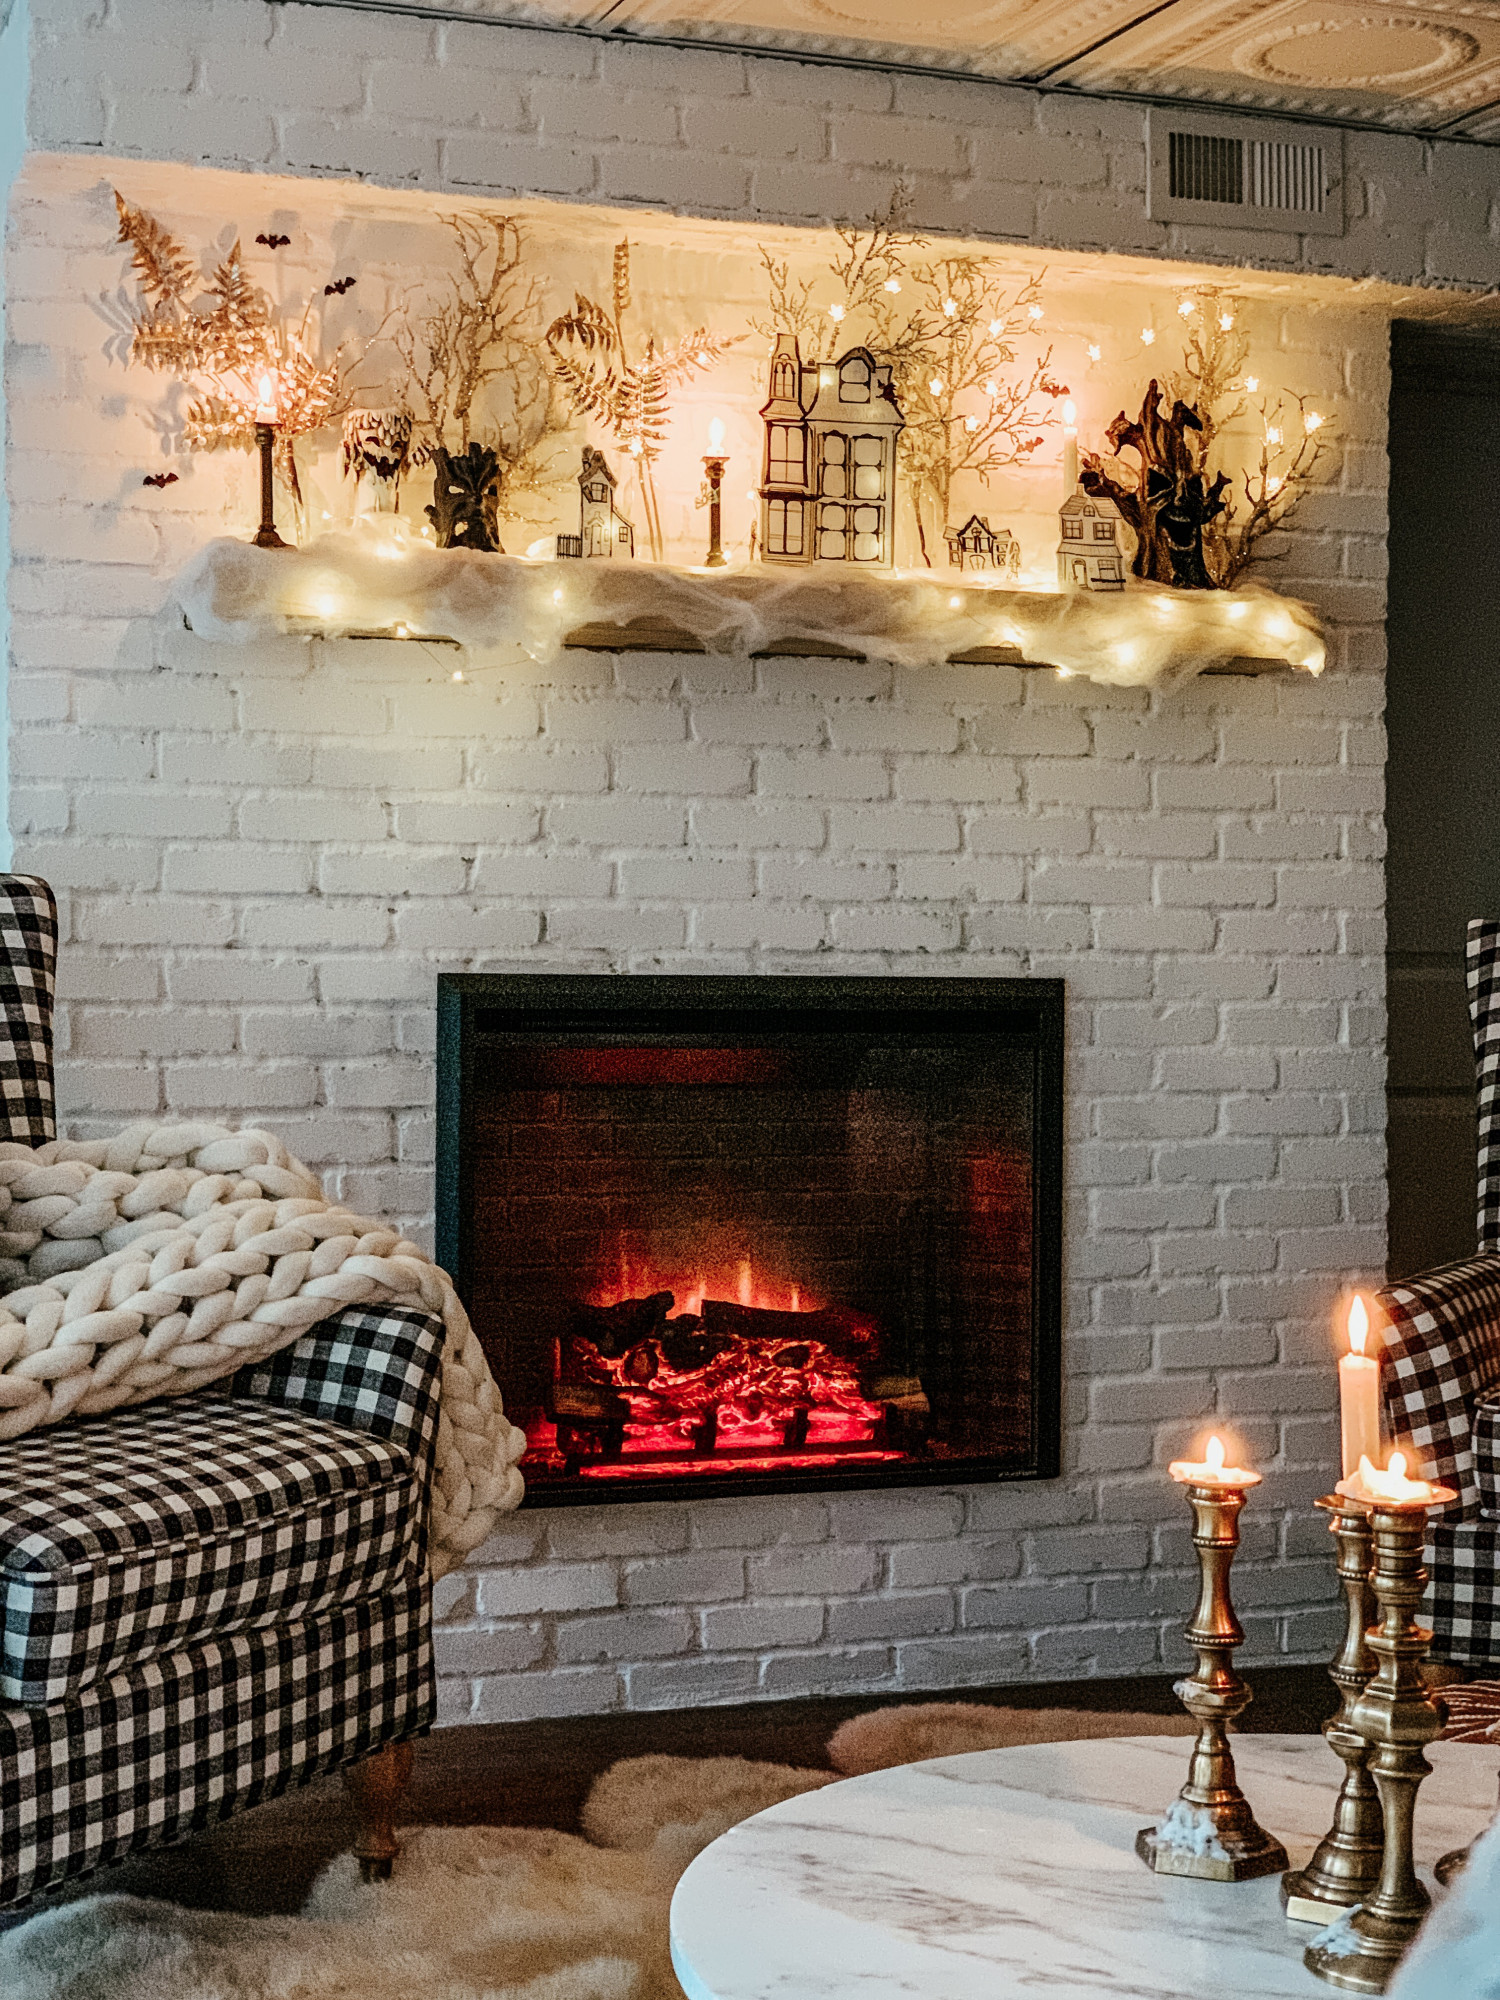
And here’s the final product. Susan will definitely be taking a ton more pictures so stay tuned for decor updates to this space!
Stunning! What a transformation!
Thank you so much! We love it.