
Hey world, Rob here.
Susan asked me to provide details on the DIY fireplace and the brick we had install on the chimney and adjacent walls. Because we took a lot of pictures and the project was done in two steps I’ve decided to split up the post into two parts, the fireplace and the brick. Hopefully this’ll help people see the benefits of both projects while giving the choice to focus on one or the other.
Firstly, the fireplace. I’ll start by admitting that we hired our favorite handyman to frame it and install drywall. Reason being, I wanted to be sure this was done quickly since we were on a tight timeline with SQ’s partnership with General Shale and Romabio upcoming. I may be somewhat handy but I work very slowly and more often than not I have to fix my original, mis-measured attempt. But if you don’t have to have the whole project done in one day or are pretty good with framing/drywall then building a DIY fireplace for an electric insert is absolutely doable.
The first step is to figure out is what fireplace you want. The one we chose after doing a pretty exhaustive search was the PuraFlame 33 Inches Western Electric Fireplace Insert with Remote Control, 750/1500W, Black. We went with this one simply based on looks alone, which coincidentally, is the same reason Susan chose to marry me. The PuraFlame simply looked the most like a real fire.
Sizing of the fireplace itself should be based on the amount of space available. Our wall was over 15 feet in length so being too big was not a concert. In regards to depth that wasn’t an issue for us either. Because the air ducts were 20 inches deep, the 9 inch depth of the insert was not a problem. So with plenty of space for it and a conveniently placed outlet we were ready to go.
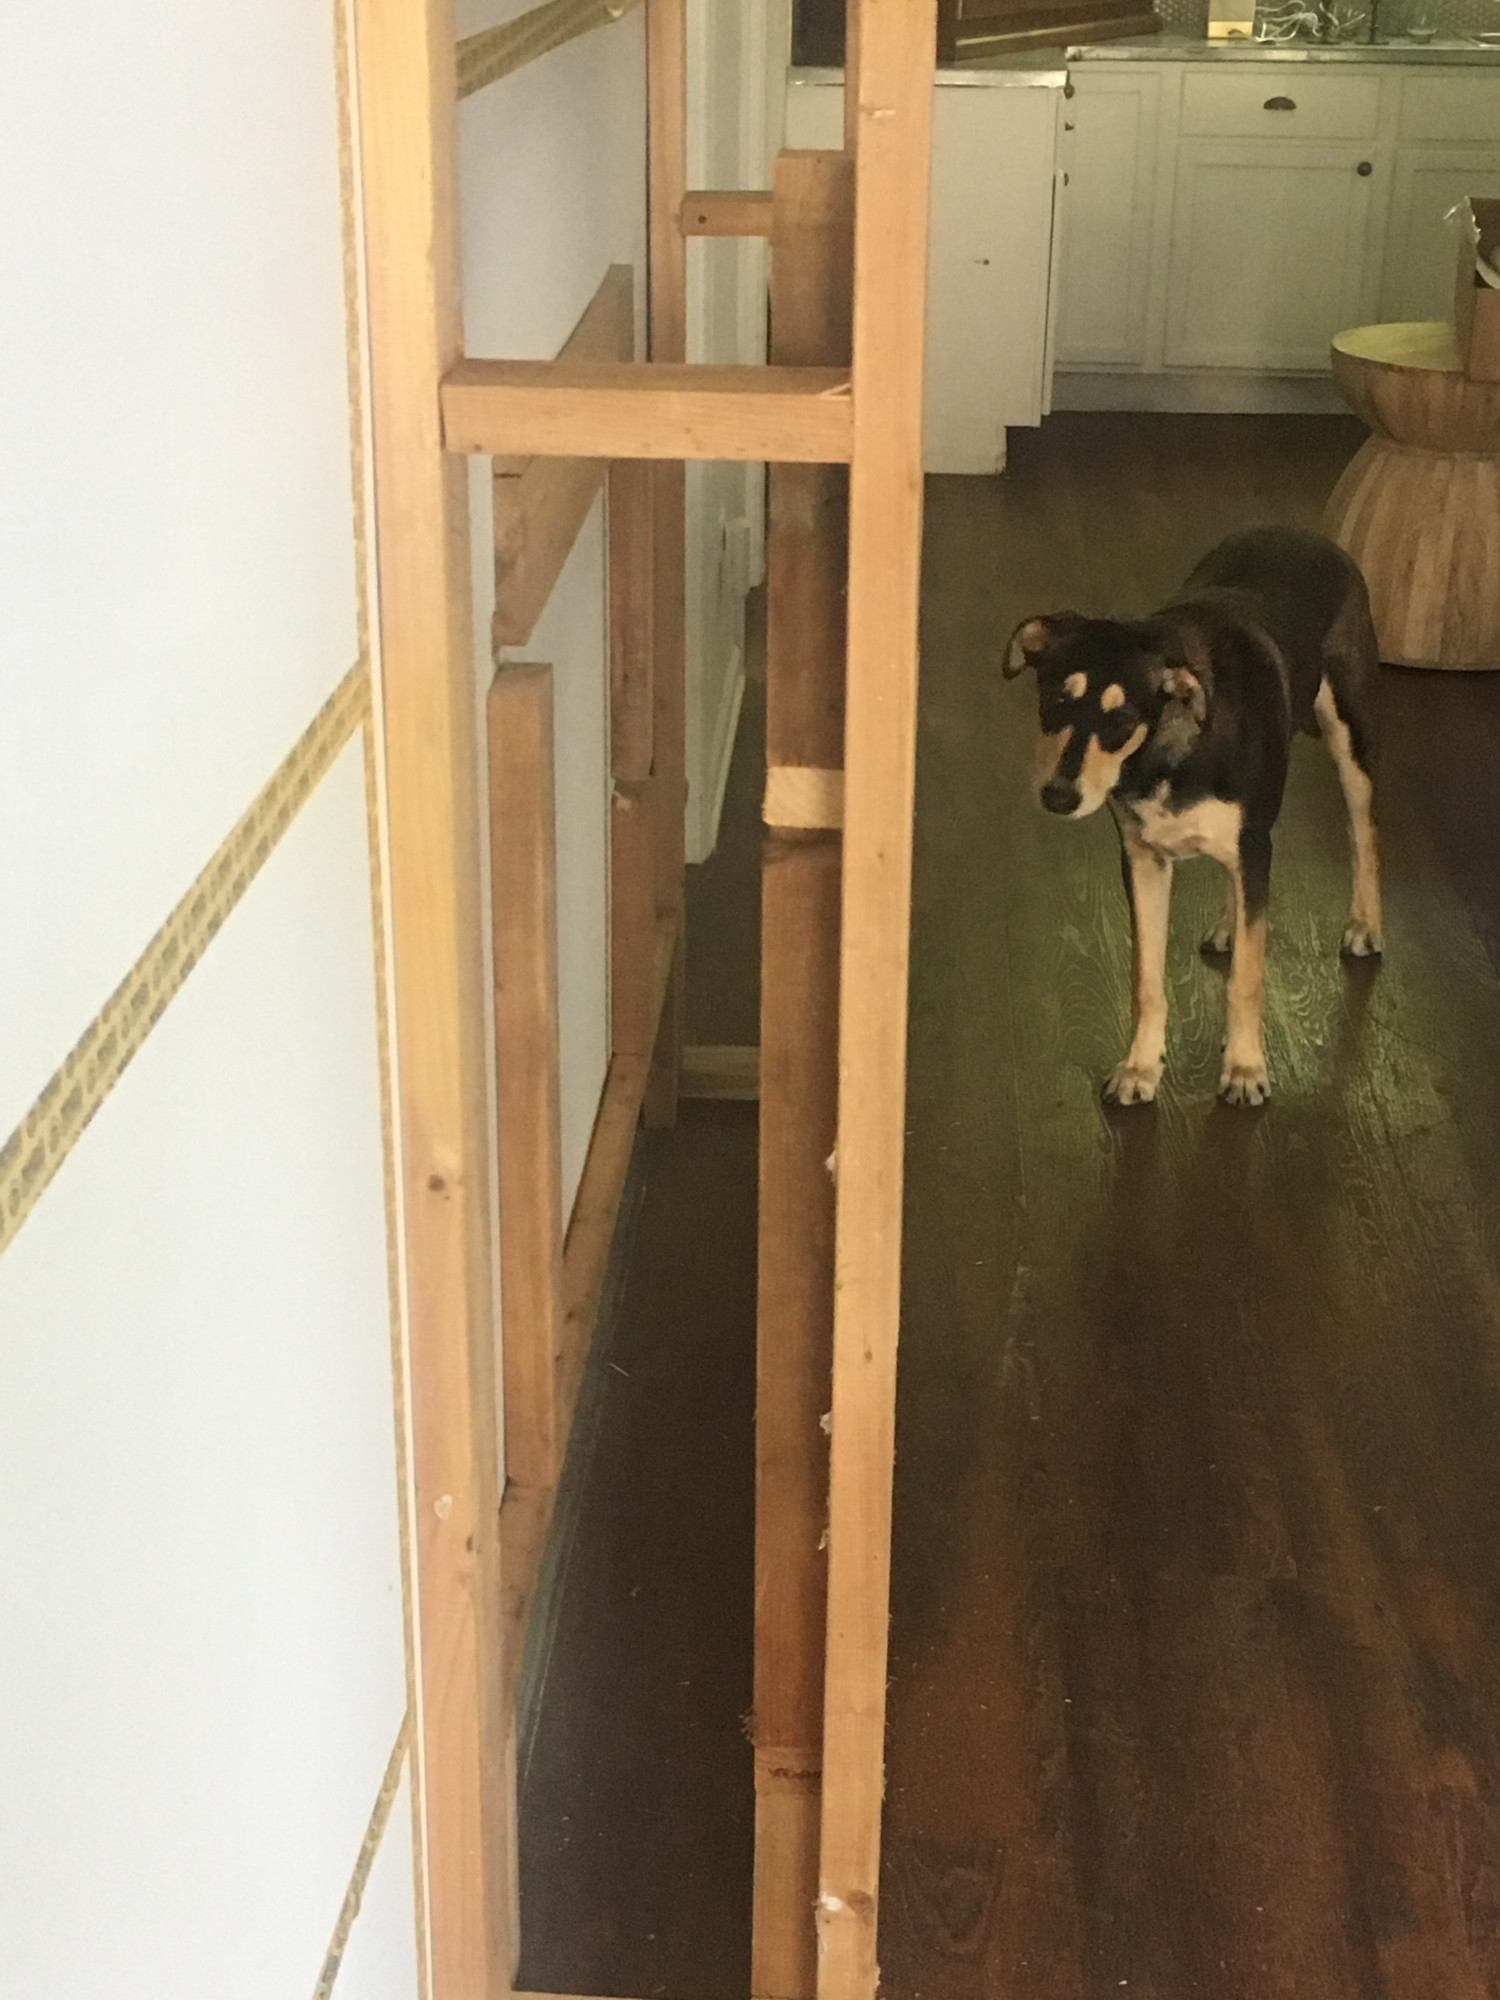
The next step is where Susan’s creativity came in to play. We used painters tape to give her the visual of how big the fireplace was in relation to the wall. We knew we wanted a mantel as well so with the typical size of those being around 5 feet wide she went to work. Initially SQ was going to place the fireplace centered on the wall; however, because the wall itself was so big, that setup made the fireplace look minuscule. So we moved the tape so the left side of the fireplace (from the perspective of looking at the thing) was on the center line of the wall. This worked because it allowed the mantle to be centered on the duct work, from where it ends on the left and to the doorway on the right. Lastly, to balance the sides, SQ added “shelves” on the left.
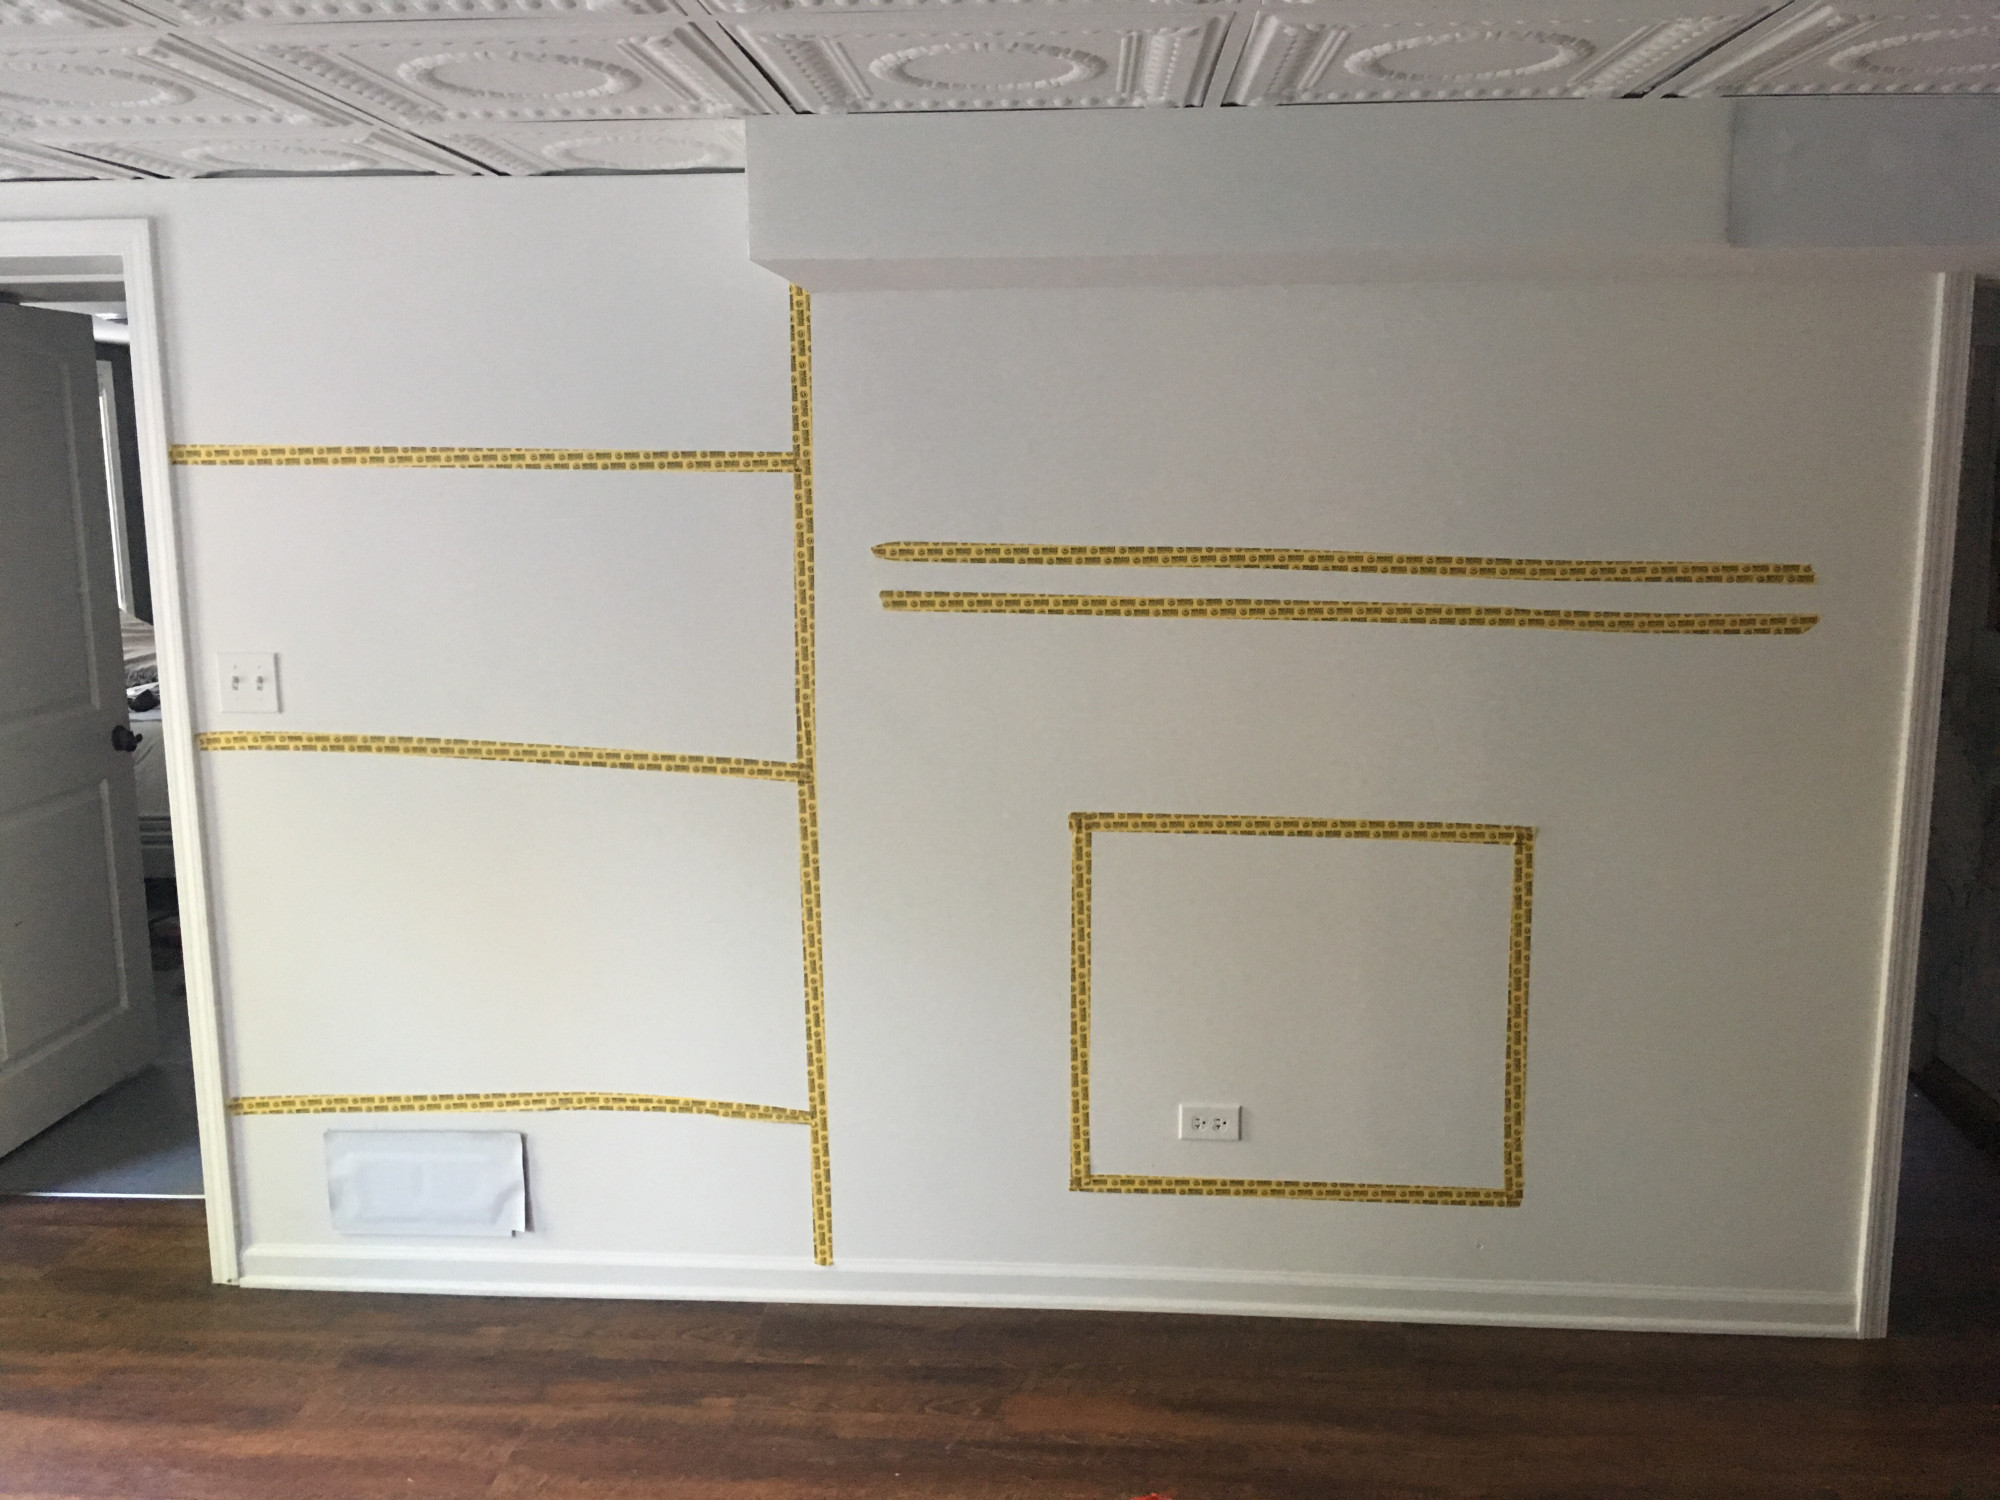
Here’s a larger panorama of the room with the outline up. You can see how putting the fireplace in the middle of the wall would make it look really small.

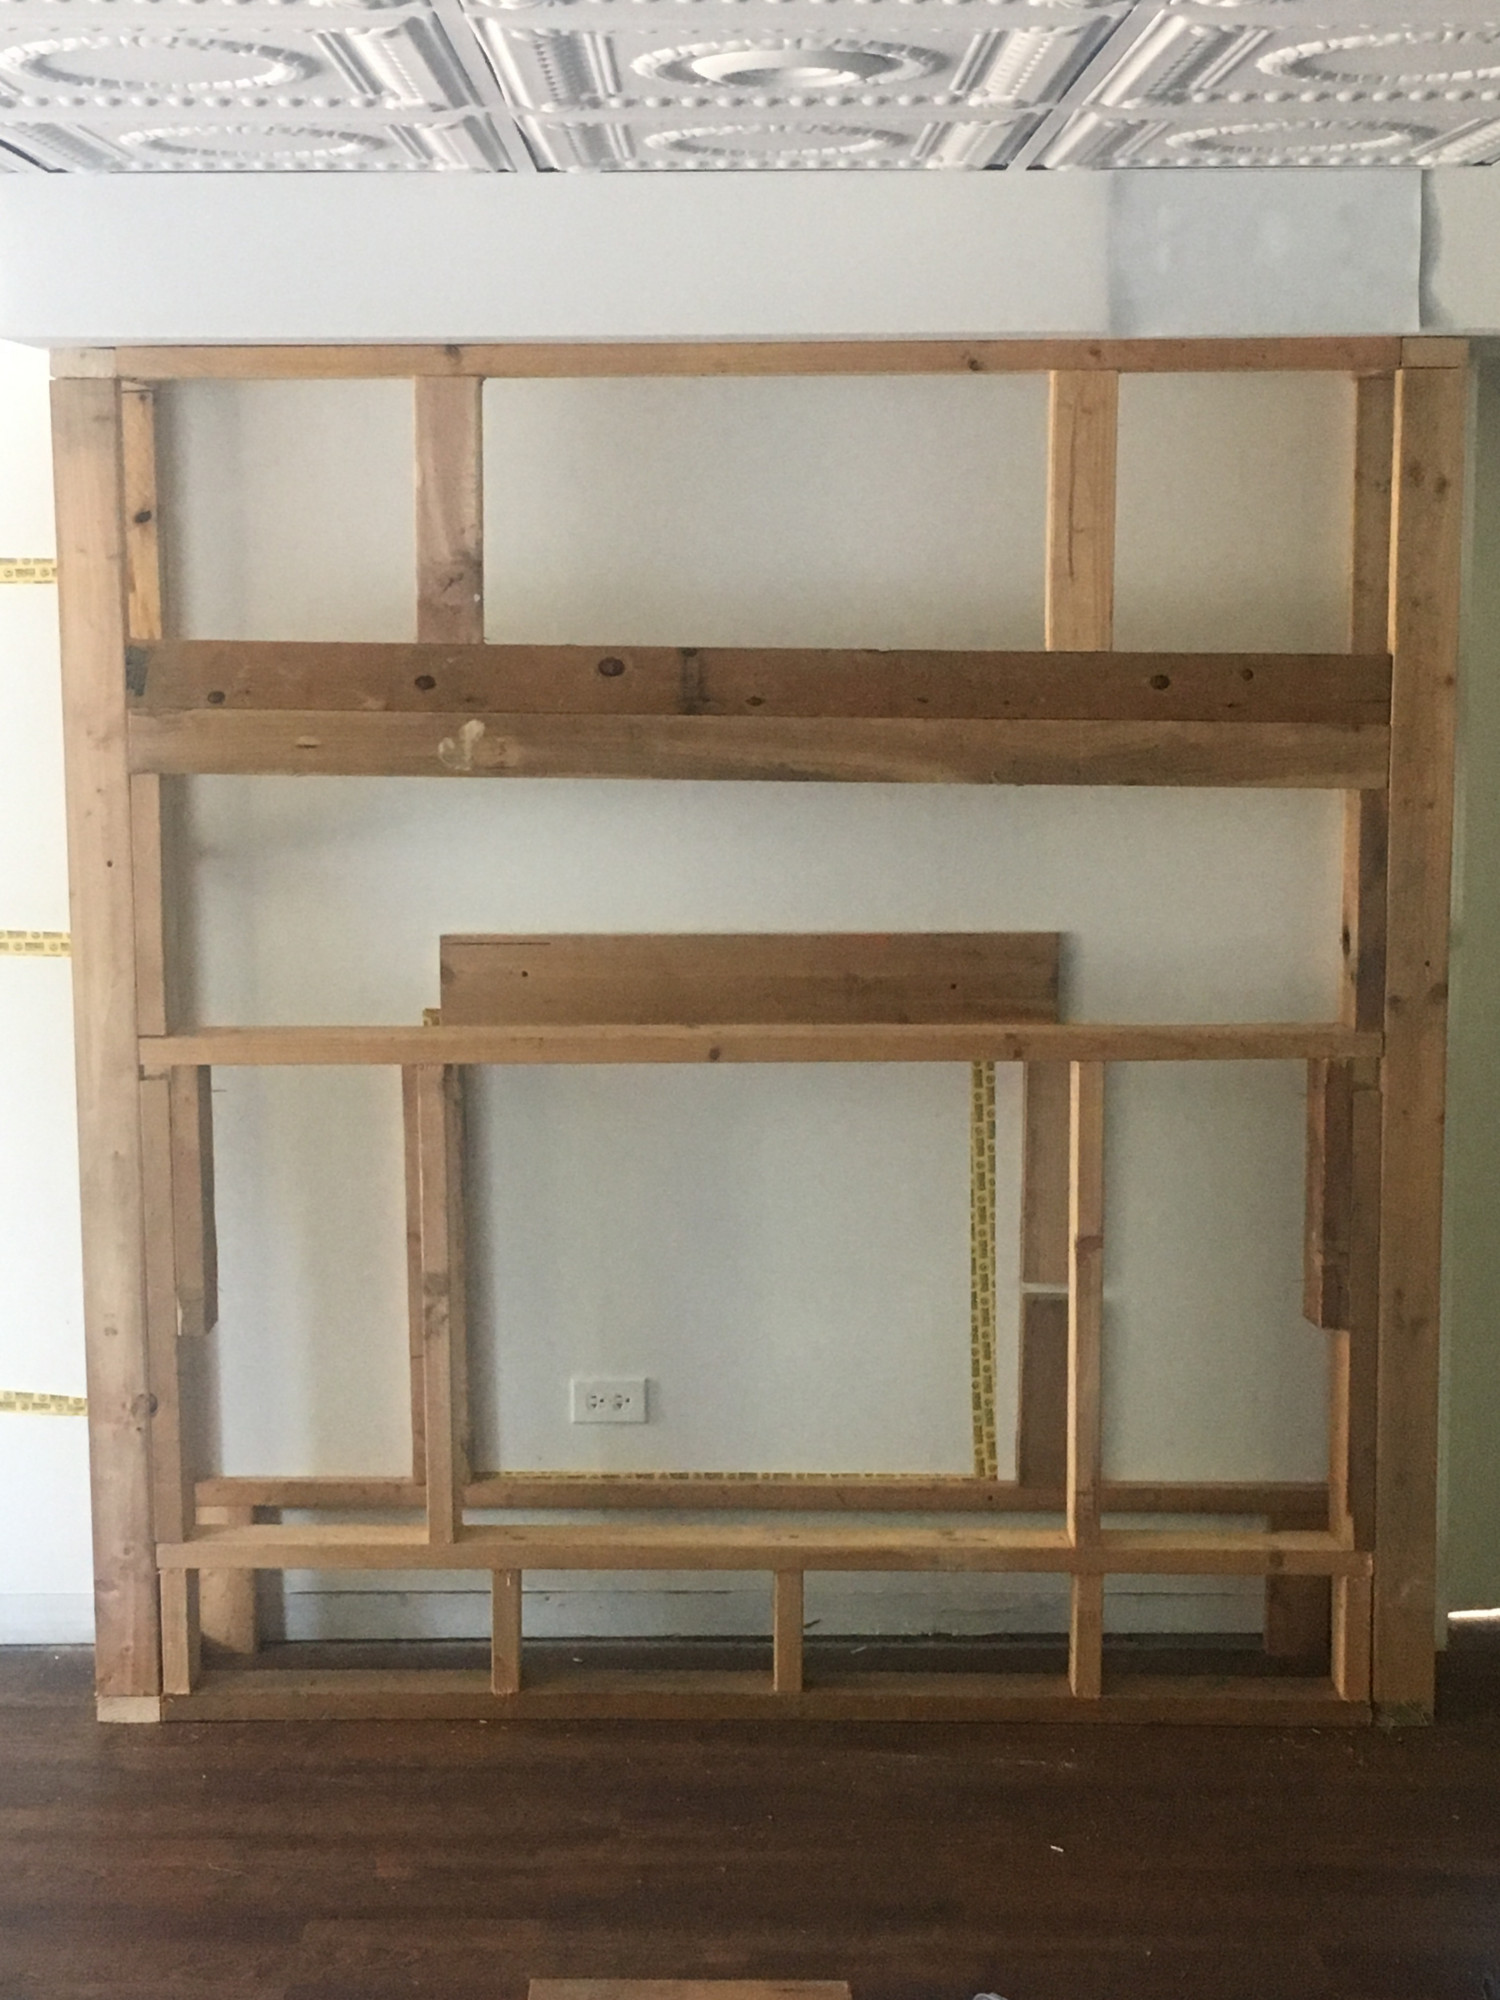
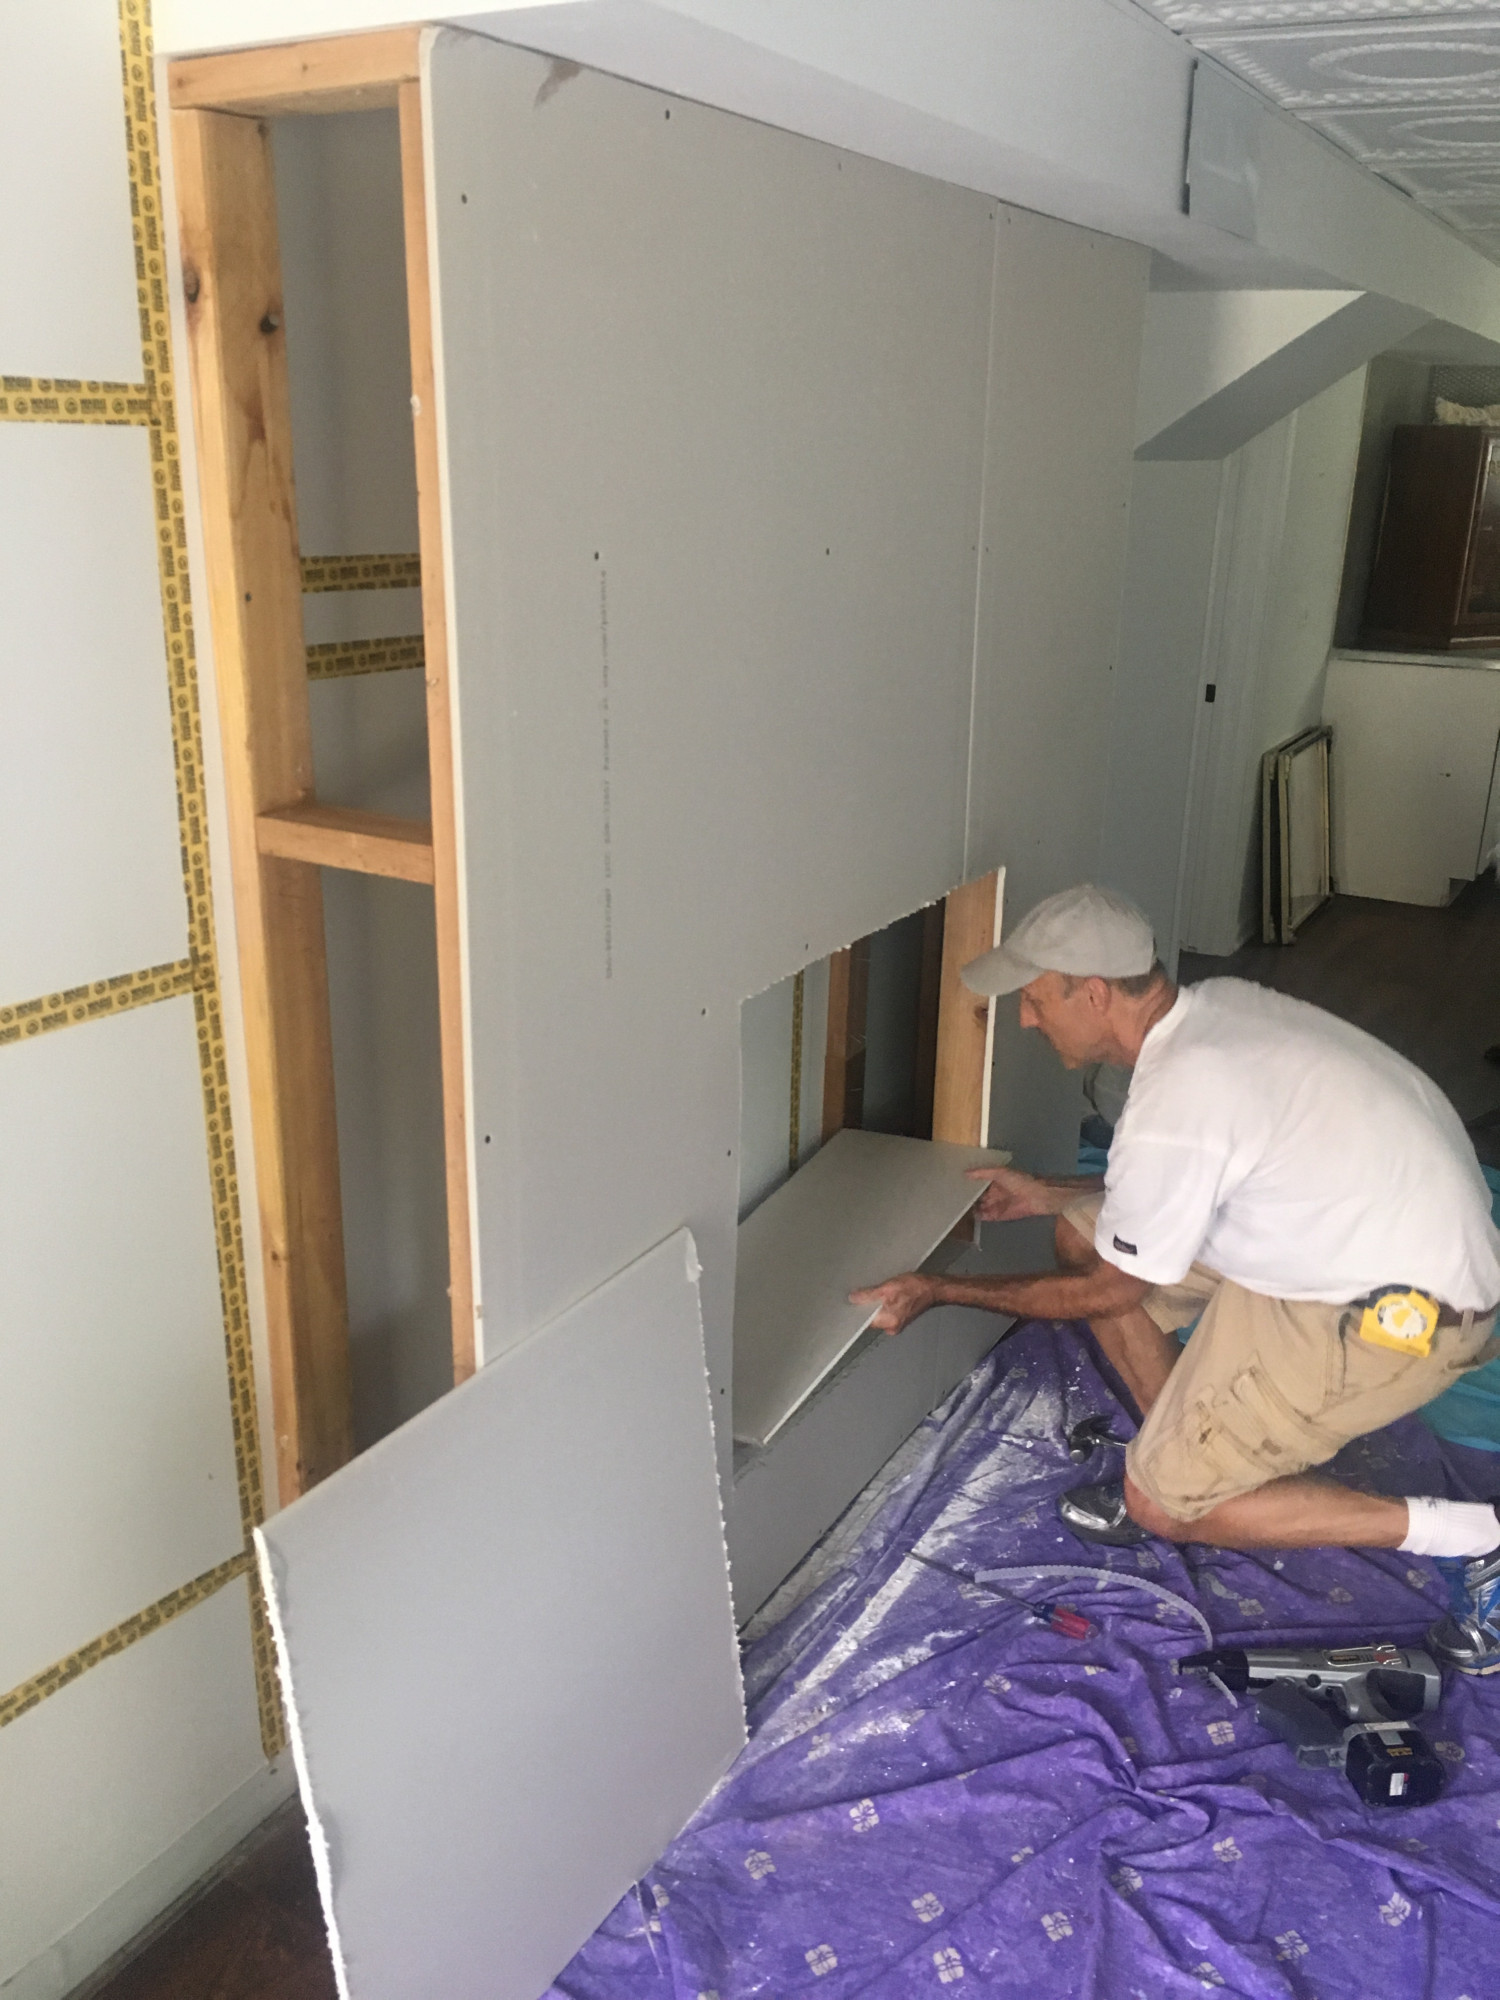
And with those pieces outlined, Gordon went to work! Look at this stud.
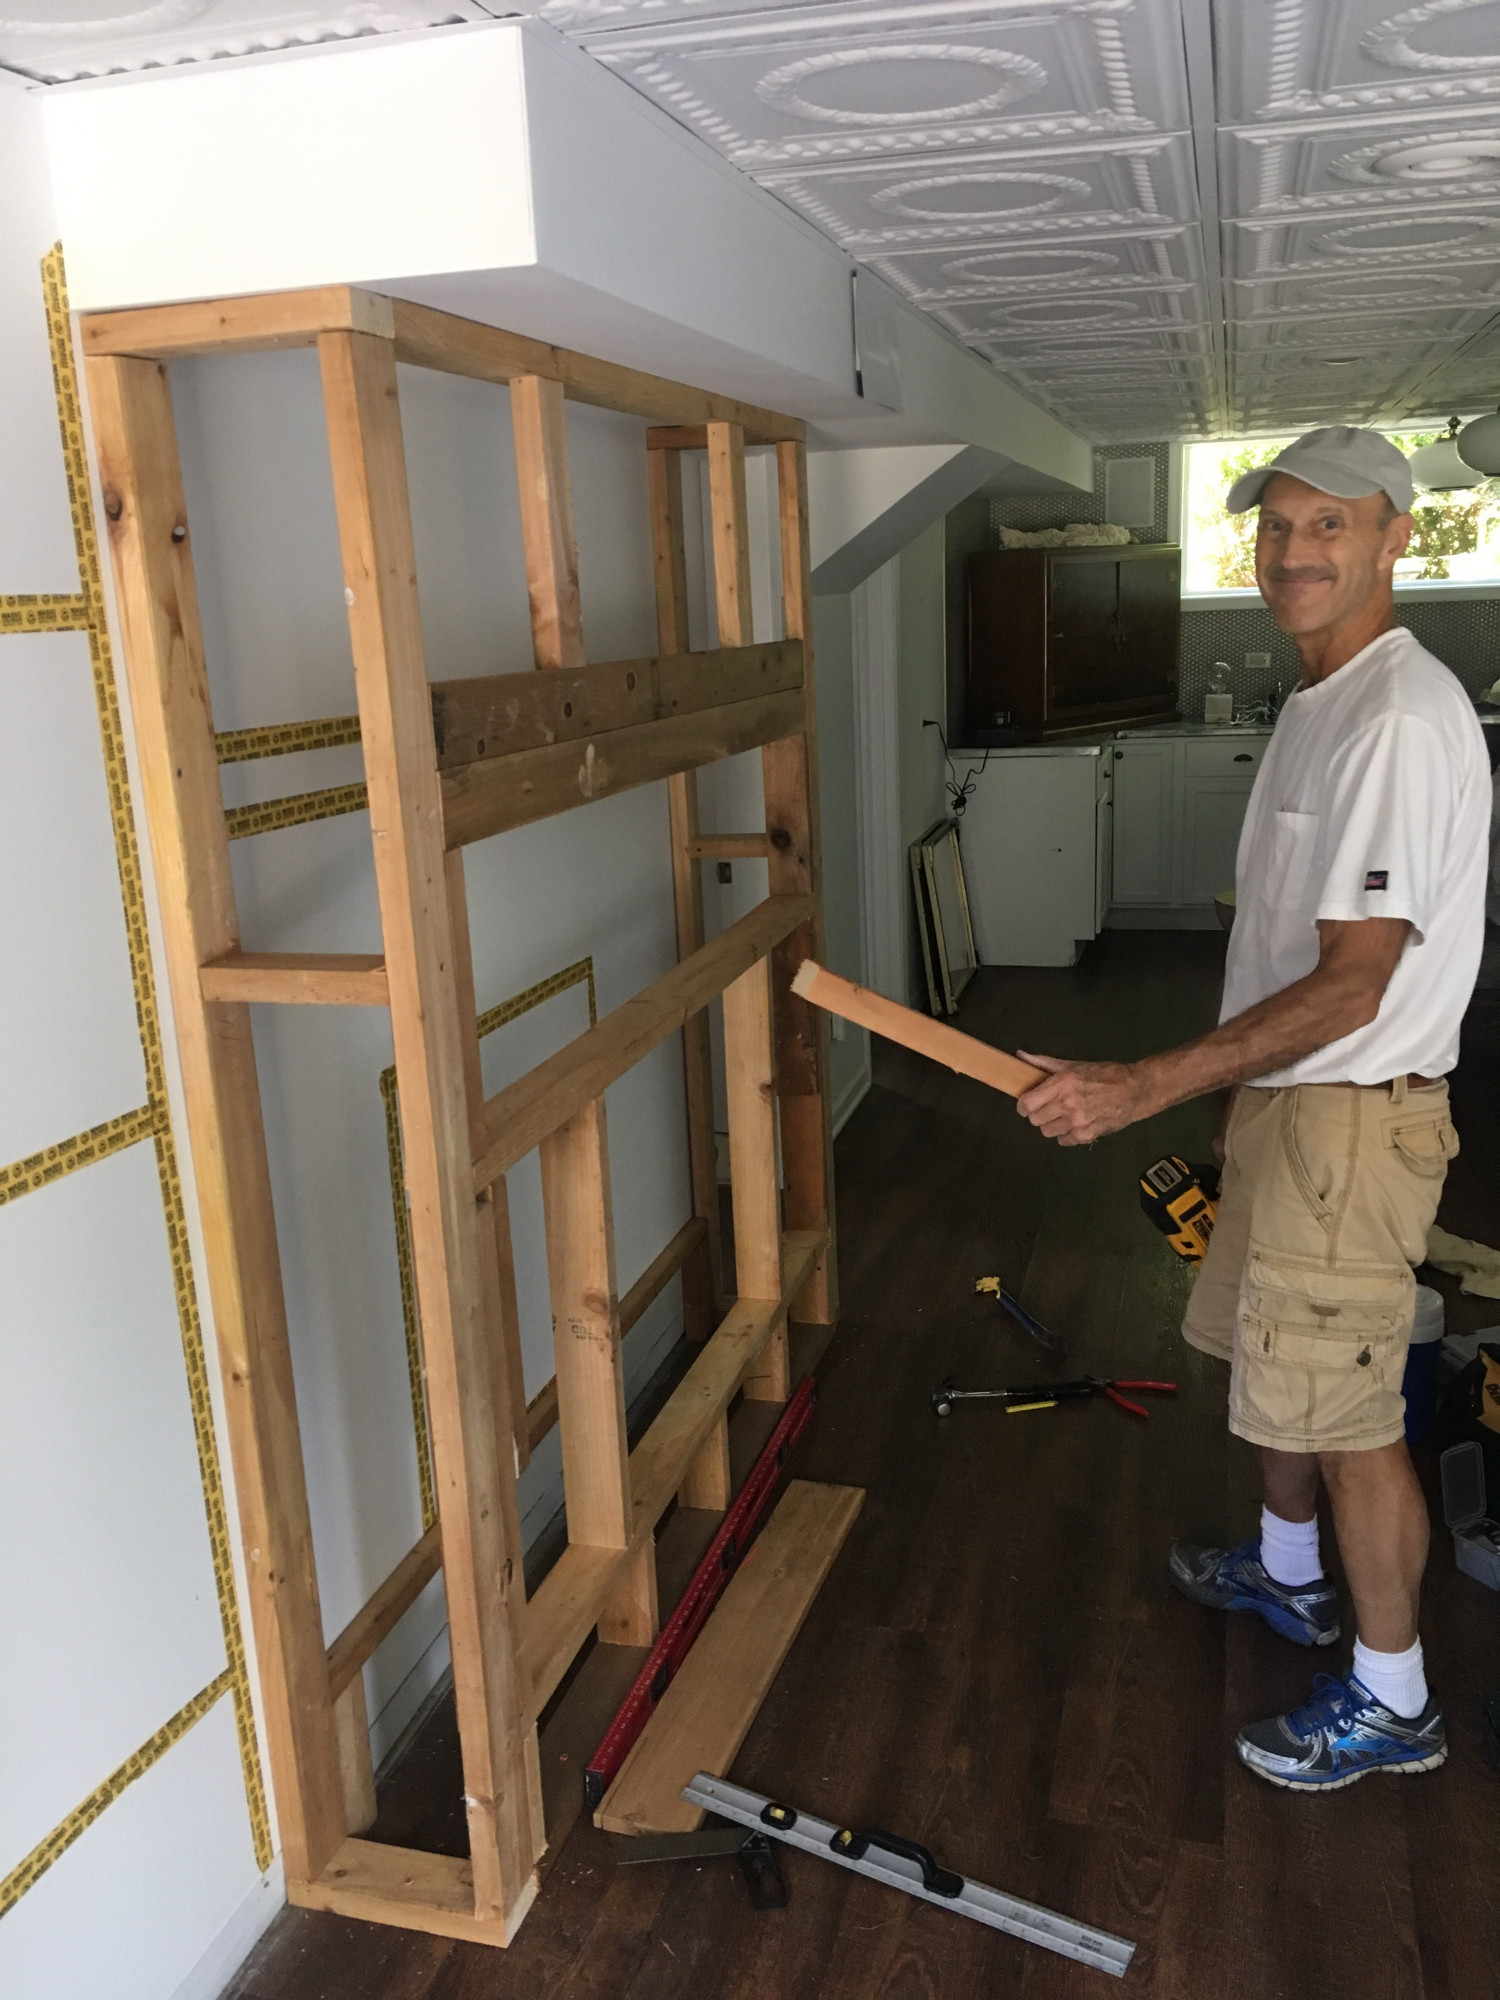
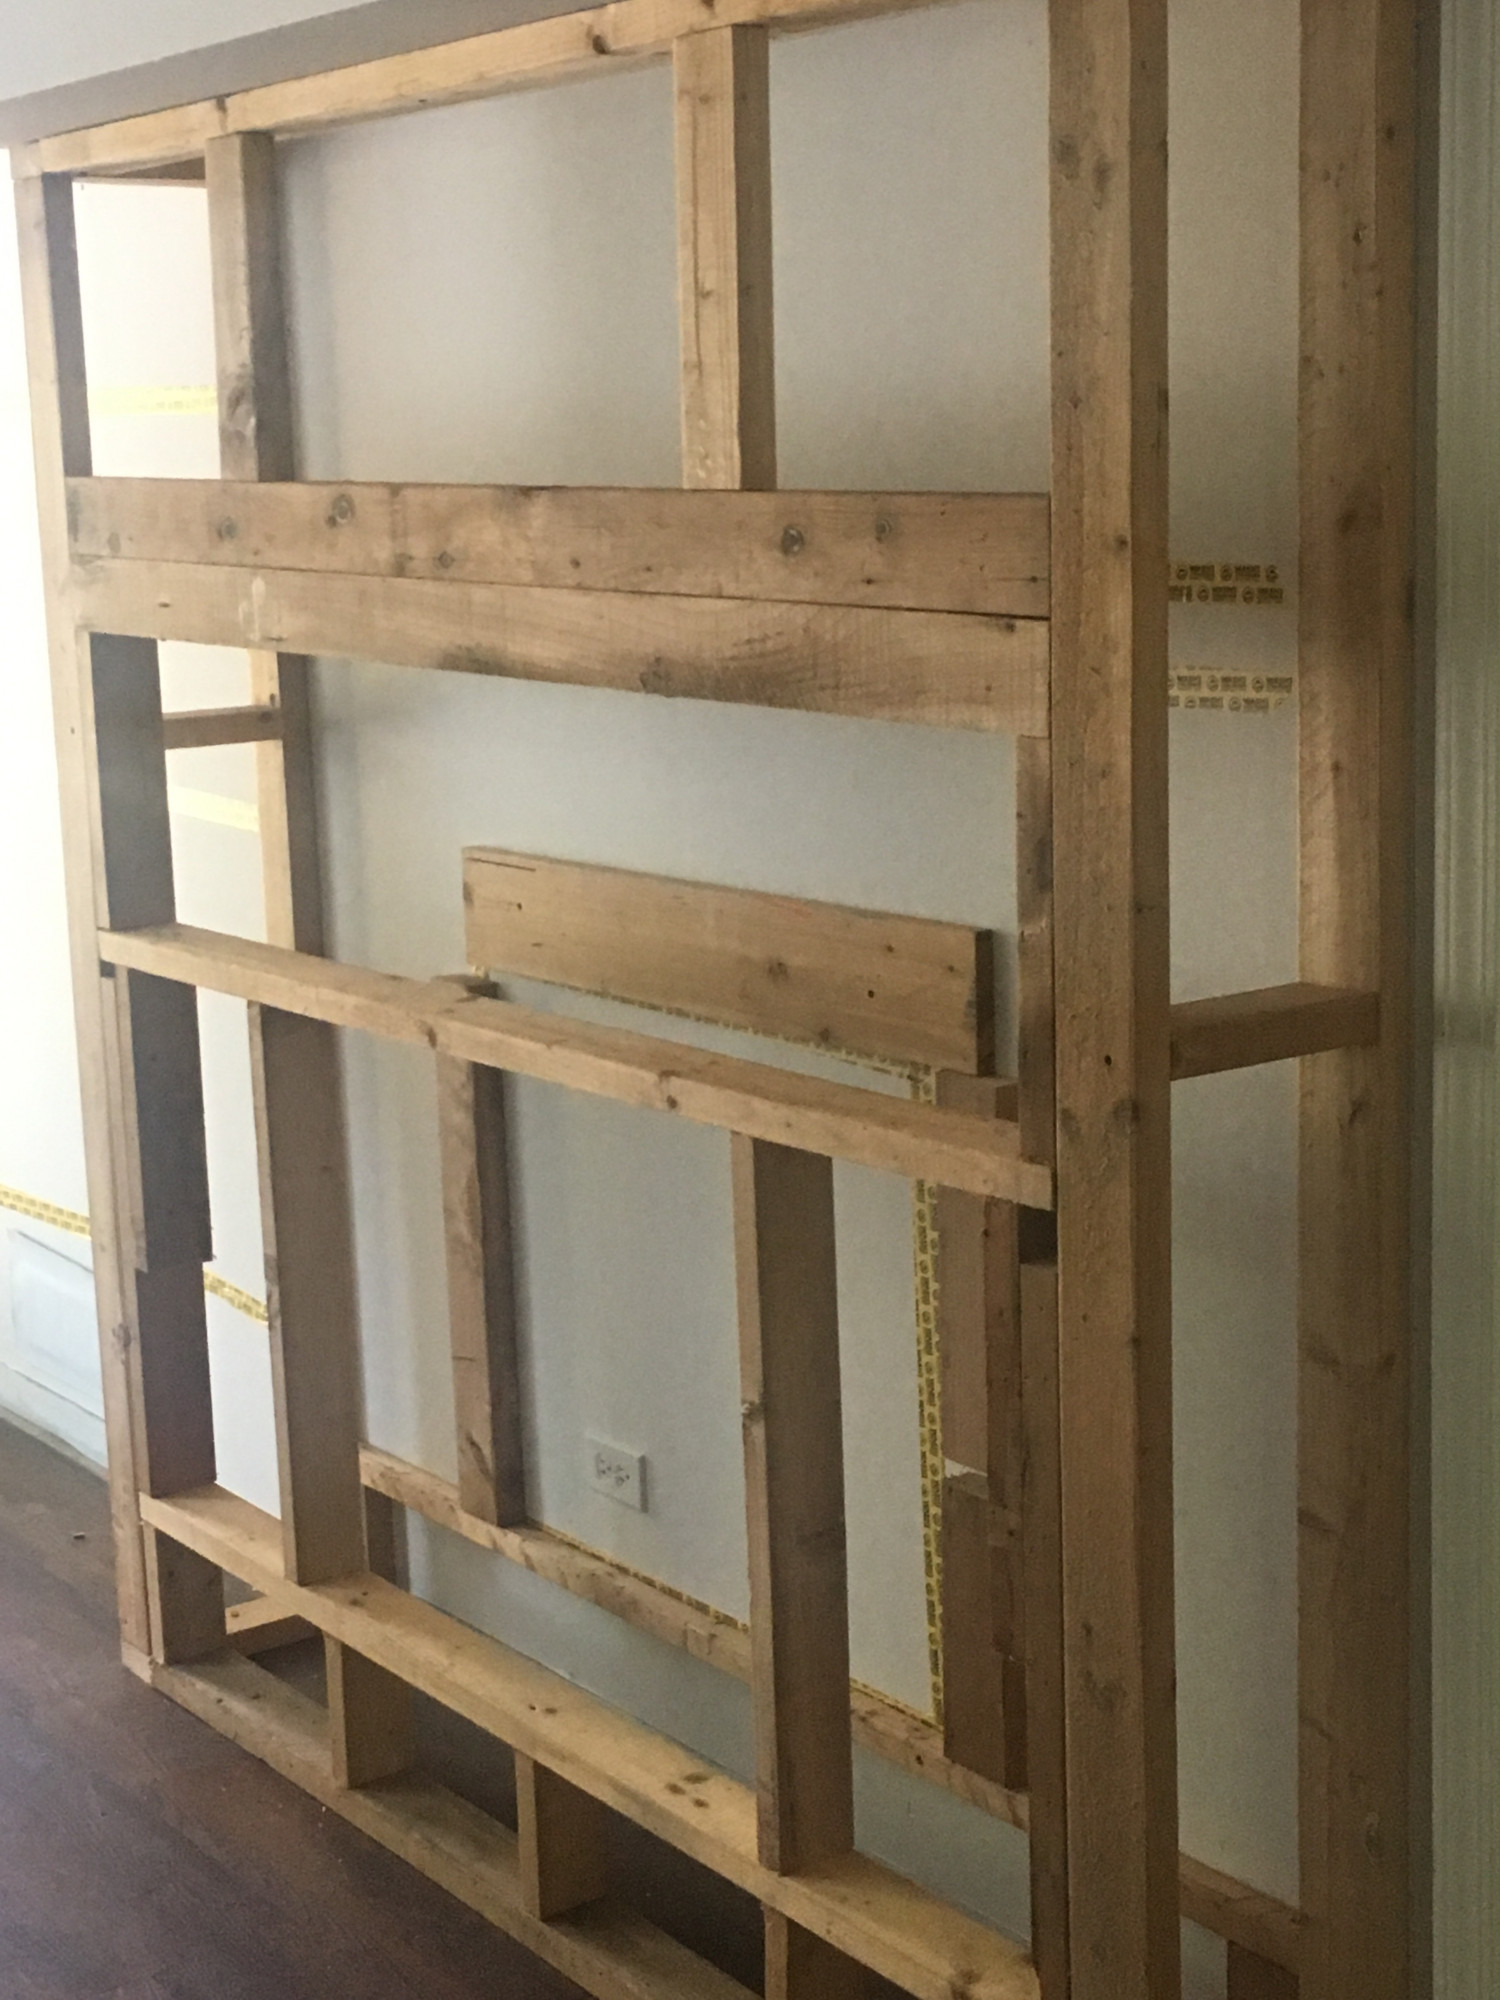
Framing is relatively simple. The part that Gordon spent the most time on was the base. He had to ensure that was level and then he had to bolt it into our concrete foundation. Badassly, he had a tool that was essentially a gun that shot the anchors through the wood and concrete. Most people won’t have this tool handy so careful measurements and pre-drills are required.
Specific questions I had before this project began were in regard to the weight and the heat given off. The fireplace weighs maybe 25 pounds so there isn’t any special reinforcement needed to support it. Further, the unit does not have any screws to hold it in place. It’s just placed in its opening and sits there. Additionally, the unit itself doesn’t get hot. The back and front glass are room temperature and the heat that’s given off shoots forward out the top grill that runs along the top face of the unit. That’s just hot air that is maybe 90 degrees.
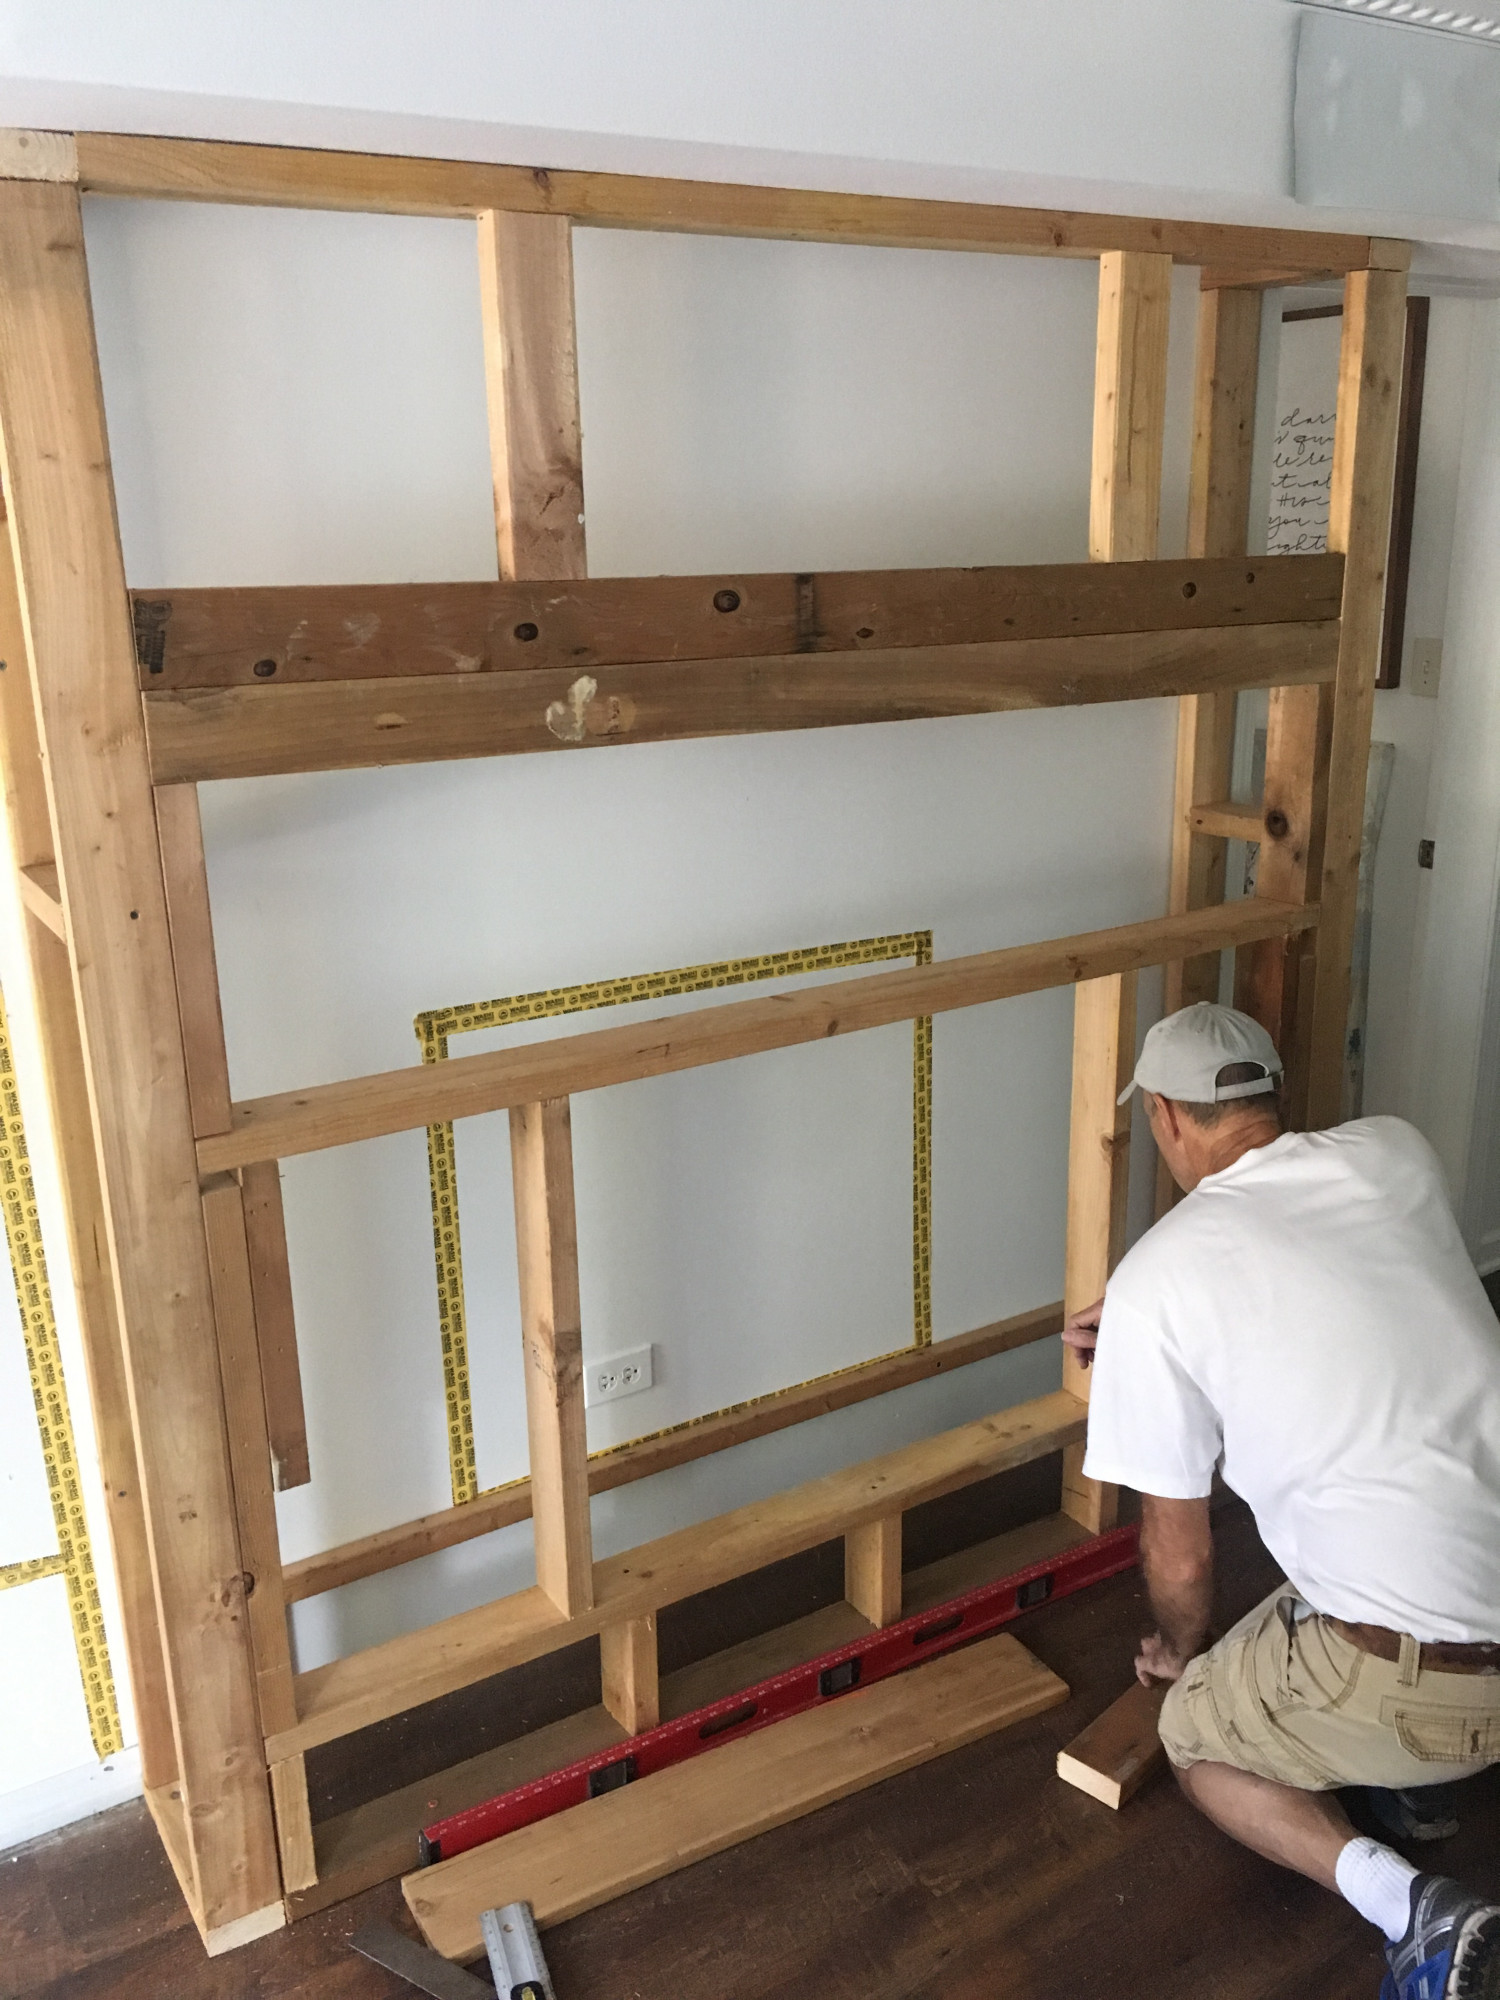
One lesson we learned though is that initially we didn’t outline the back end of the fireplace opening. On the below image you’ll see that we only had the tape up and a 1*1 board. This meant Gordon didn’t have anything to hammer the drywall into for the opening. But he’s a beefcake and quickly solved that.
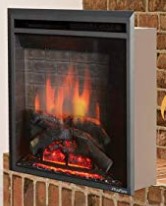
The fireplace opening is a foot off the floor. The unit’s face has a lip that extends 1 inch on the bottom and sides, and two inches off the top. From this stock image you can see how the box sits on the bricks and the facade extends outward. So again, that means the fireplace insert just sits in the opening, no screwing in required. It’s back heavy too so it won’t tilt forward unless pulled pretty hard.
The mantle is 4’8” off the floor. Susan wasn’t entirely sure how high to put it and wanted to see after the fireplace could be inserted into its opening so Gordon doubled up the 2*4’s where we knew the approximate location of where it was going to be installed. This gave up some wiggle room to make minor adjustments.
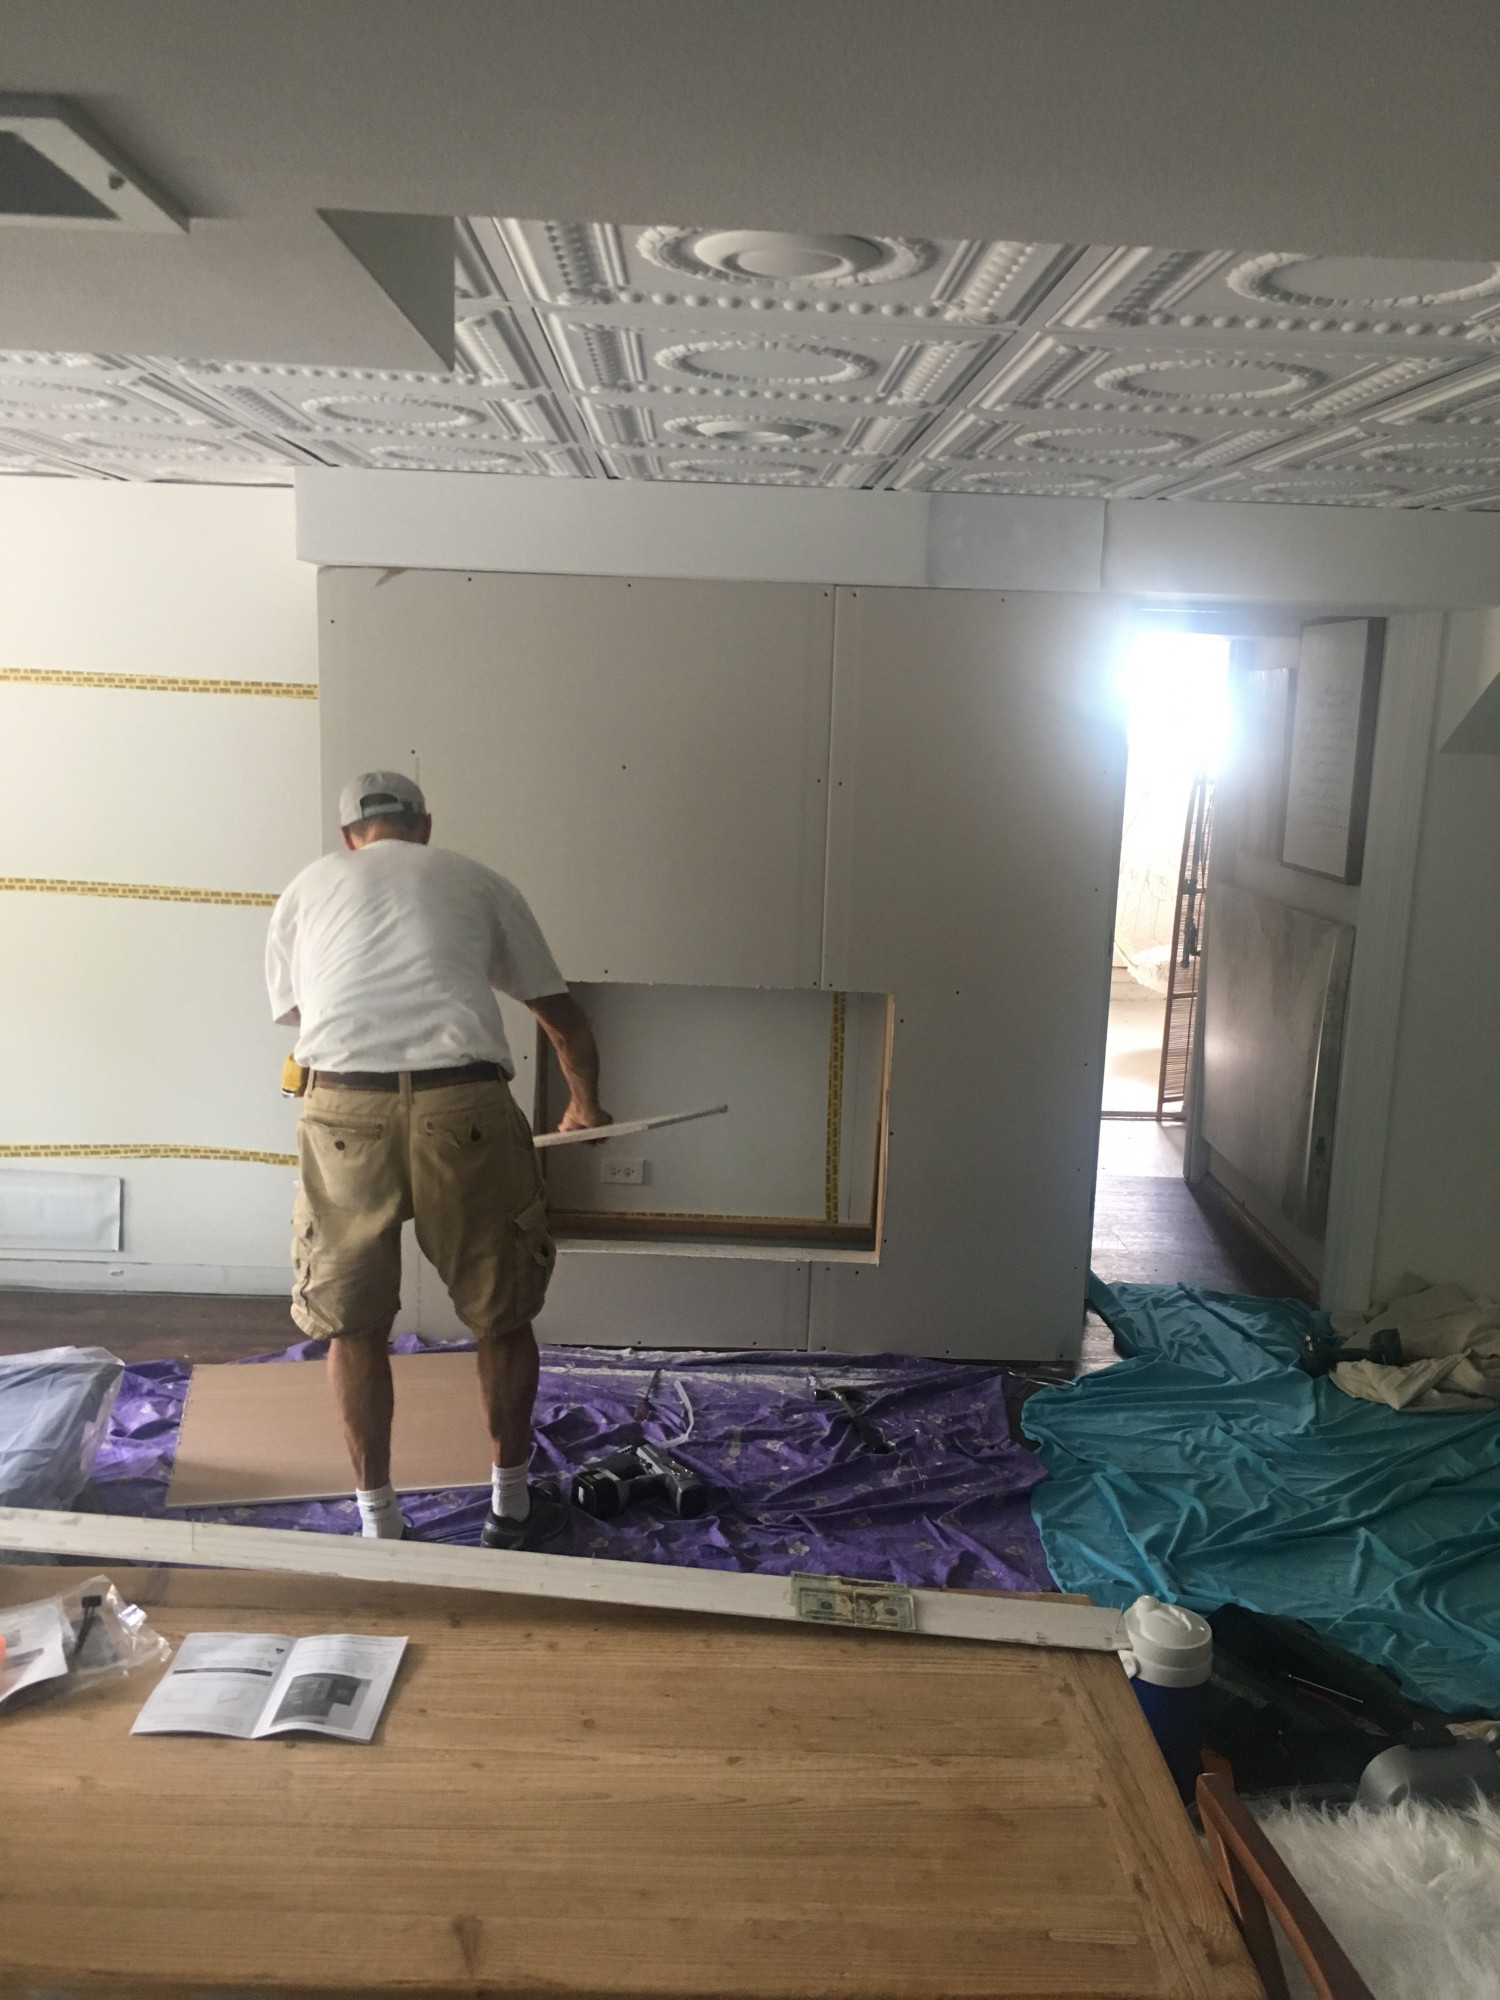
Lastly the drywall. Because we knew we were going to brick over the frame Gordon didn’t have to be perfect. This made the job much easier. And by the way, since the insert doesn’t get hot, you are free to use drywall, wood, or any other combustible material. Just use whatever you think looks best – which will probably be General Shale’s thin masonry. 🙂
Lastly, Gordon installed the mantel. We used this one.
Joel’s Antiques & Reclaimed Decor 3″ x 7″ Rustic, Mountable Floating Mantel Shelf (Unfinished, 60″)
It doesn’t look as if Joel is selling the unfinished version at the moment so here’s a close substitute.
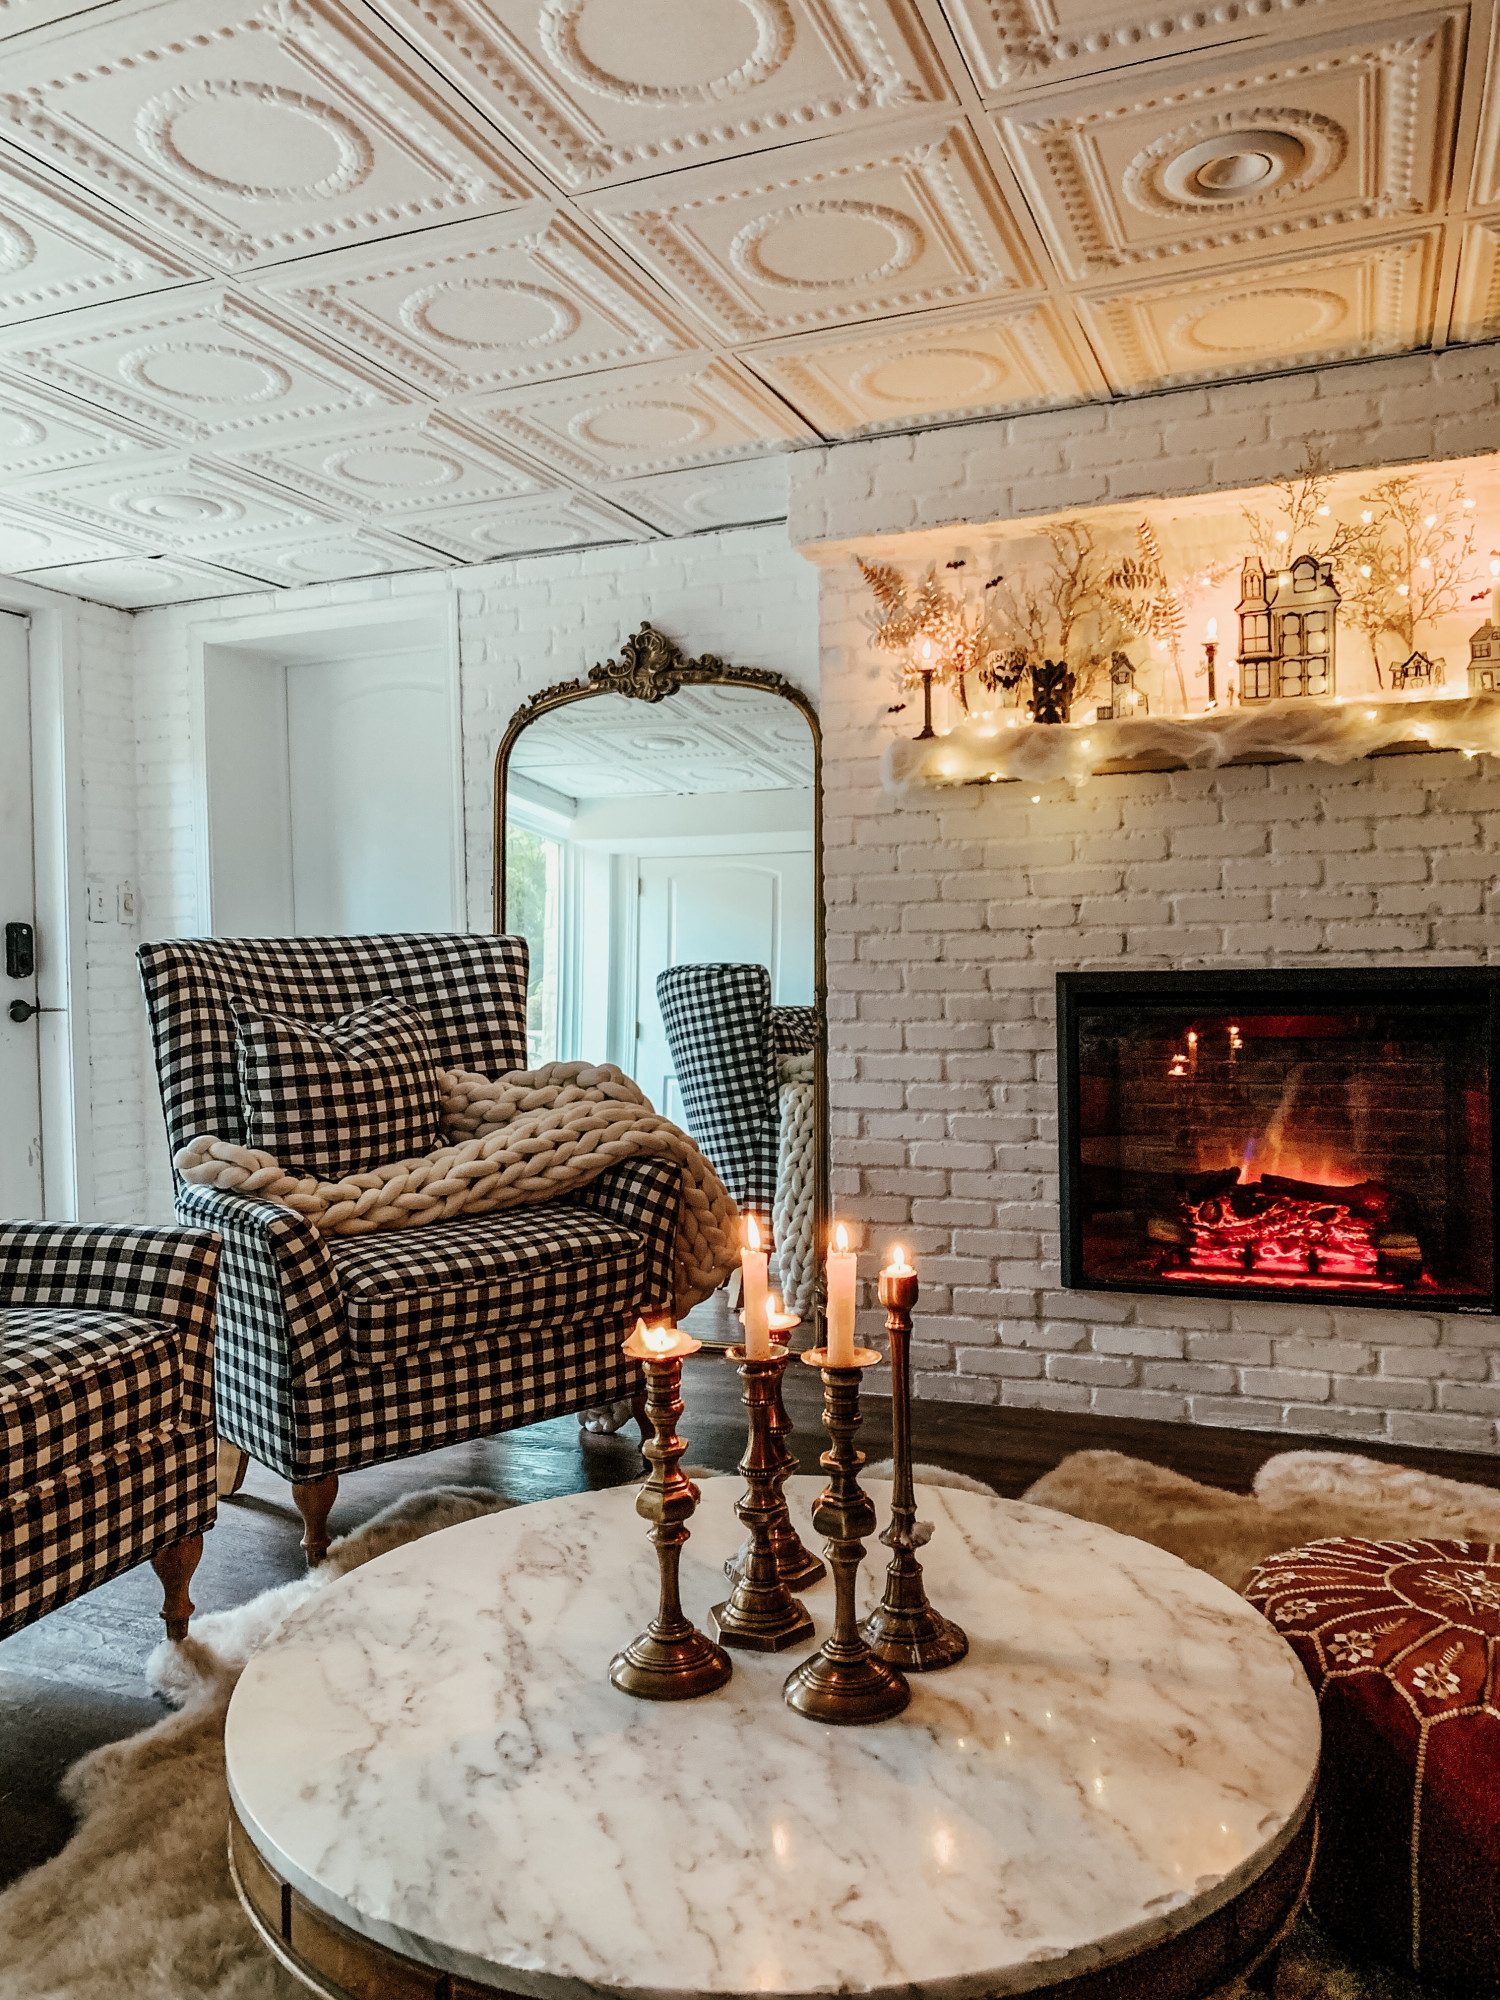
That’s our D.I.Y. (with Gordon) project. What do y’all think? Up next in Part II The Brick, we’ll show how we finished off this project with General Shale and Romabio Limewash! For now here’s a sneak peek!
Products Used:
Simply beautiful.
Thank you!!!
Love how your fireplace came out!
Would you mind sharing the color you selected for Romabio Limewash?