
 Hi friends!
Thank you so much for stopping by today! This tutorial has been much anticipated by many of you. Sorry it has taken some time to get it out! Lately I’ve been working on a lot of projects – both professional and personal – that I’ve had to work through. With everything going on lately you don’t know how many times I’ve tried to write this post. I never really understood how hard it was going to be to watch someone so close to you suffer and then ultimately lose them. With my family, friends, and God-winks 😉 and the peace of knowing that dad’s okay I’m now so happy to get this out to you.
On that note, I also want to add in that my wonderful husband, Rob, has offered to help write the tutorials on the projects that I come up with and he executes. 😉 In all reality I’m the dreamer and he’s the one who makes my dreams come true. I think it’s so funny, since I’ve first spoken about KV I’ve always used the pronoun “we” and that is because I could not do any of this without my other half. And really that’s what it’s all about – what I’ve been trying to portray since I first started up. Home is about family, about friends, and about the times shared together.
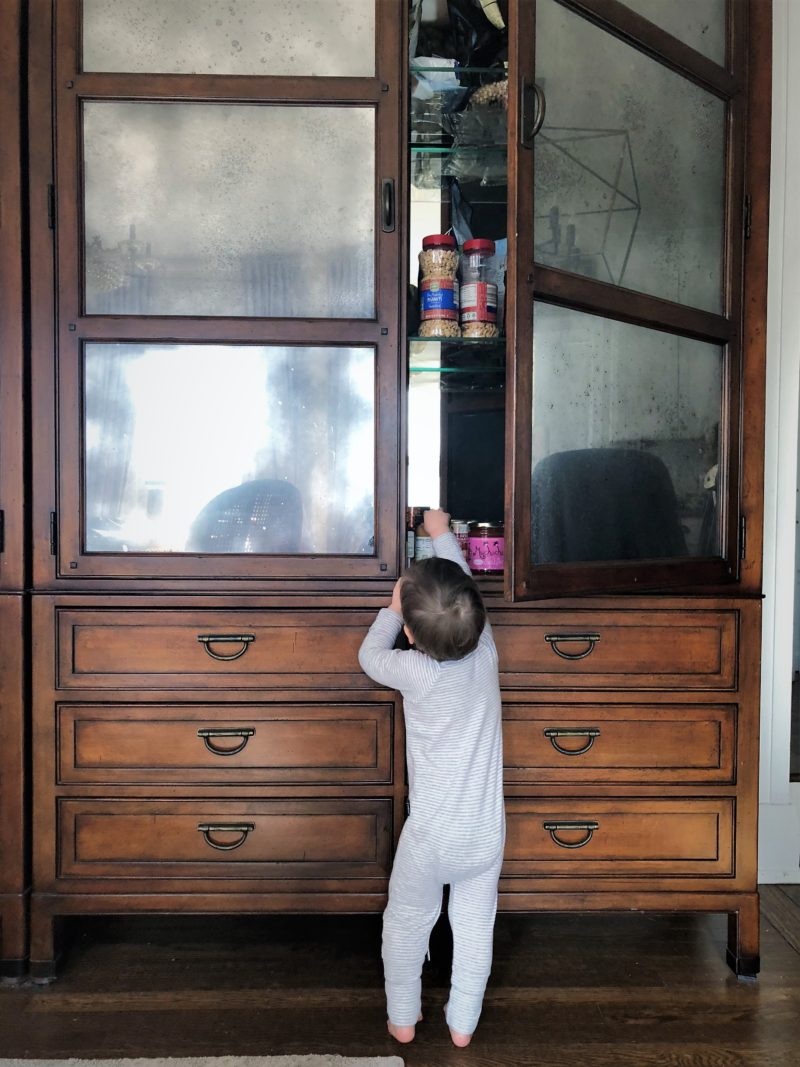
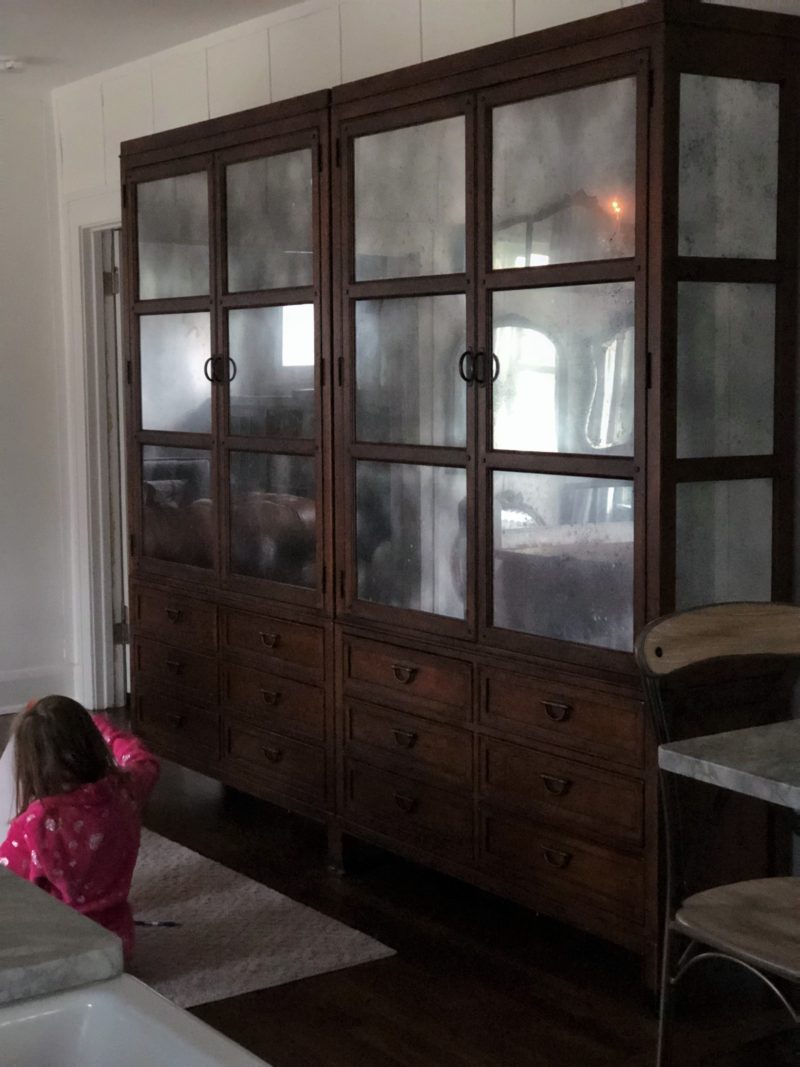
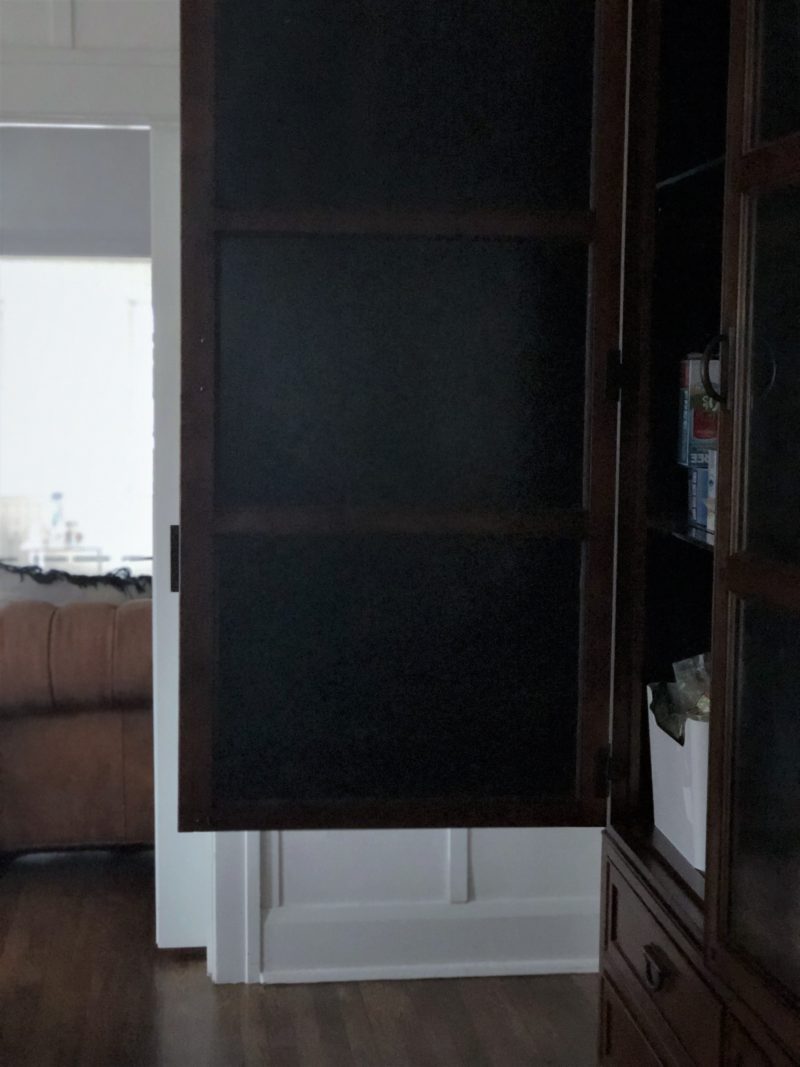
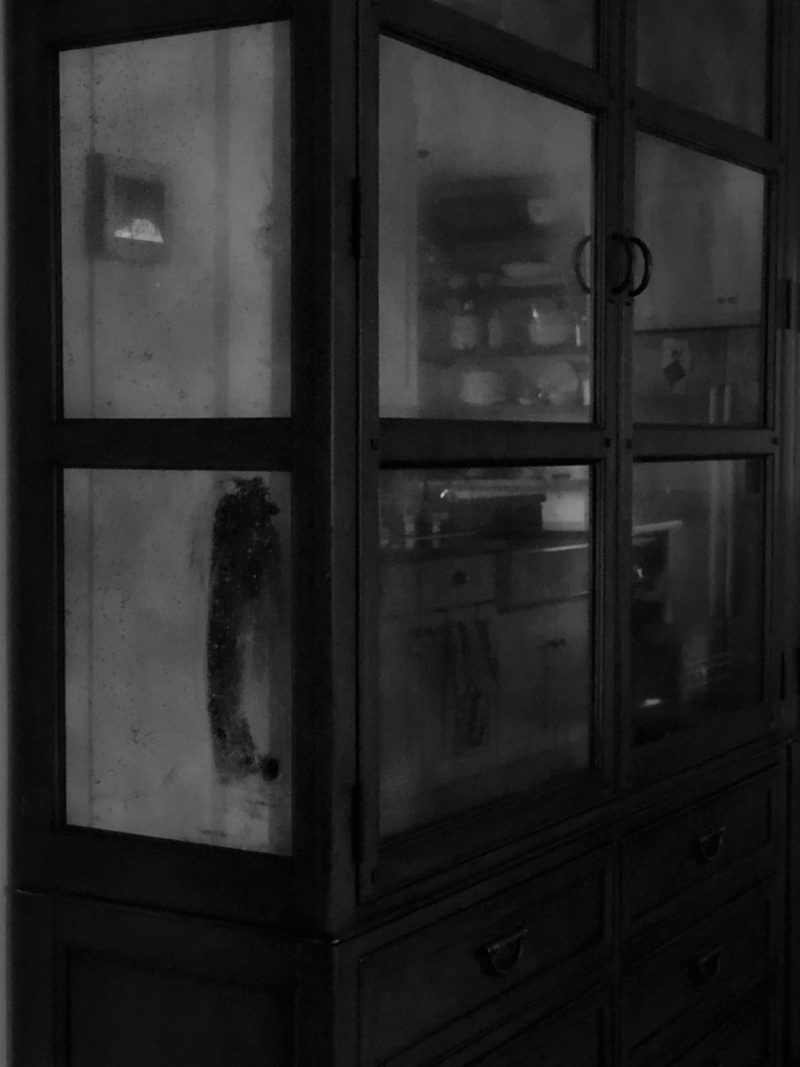
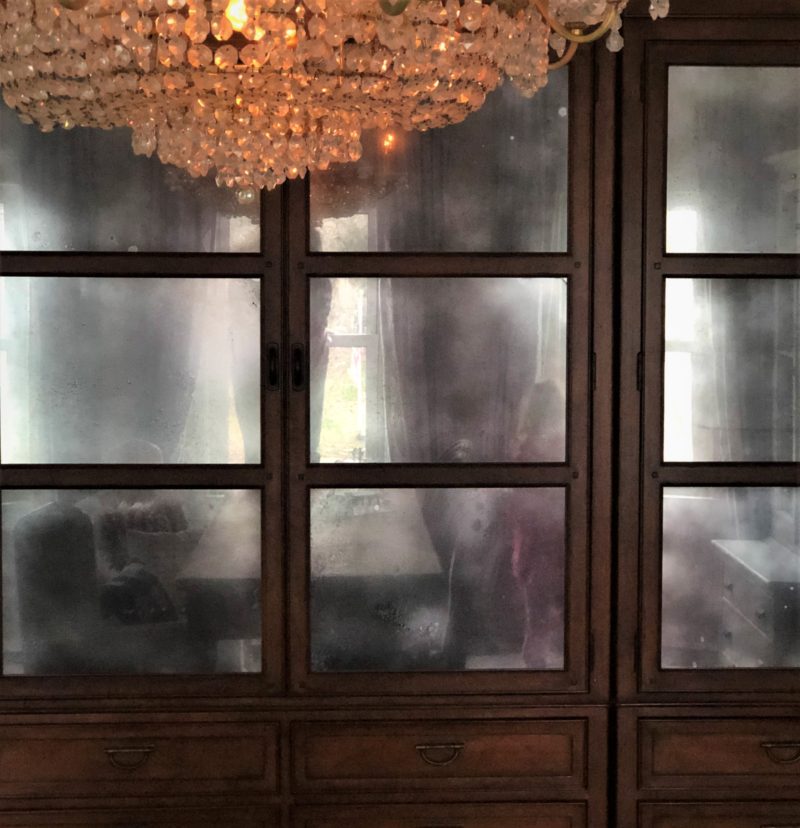
Let me give you a little bit of background about these cabinets… A few years ago we teamed up with Home Goods on a tour and I chose these massive and amazing cabinets that take up our entire wall. It may look like one unit but it’s actually two. I’ve loved them since the second I saw them. One was slightly damaged and we even had to replace some of the glass panels. All we had to do is take a panel that was intact to Ace Hardware and they whipped up a few panels that were exact matches. The reason I’m writing this, if you see a beautiful piece of furniture that’s damaged, it usually can be easily fixed so don’t be scared away. Home Goods even discounted the cabinet and the cost of replacing the panels was less than the savings we got! Okay, back the background of these guys. I’m not really into knickknacks and filling these cabinets would have taken a ton of decorating. It just never looked right. There was never a moment that I was actually pleased with the way it looked b\c the shelves were so high and deep so it just didn’t work with our home since we have a lot of other things going on. And pair with that with the fact that our kitchen cabinets were always overflowing, so it dawned on me to convert these cabinets into a pantry (which we needed) because the last thing I wanted to see was macaroni labels as we ate dinner through the original clear glass. And since I’ve always loved the look of actual cabinets that have that mercury glass antique look, the fact that we could achieve the same look with out buying new cabinets sold me.
As you read on there’s one thing that about this tutorial of ours (that you’re about to read) that none of the other tutorials I researched had. And it’s definitely a vital piece…
So without further ado, here’s the man behind the magic (and the scenes…)
_______________________________________________________________________________________
Hey World!
Rob here. Helping SQ out with the blog.
I want to dedicate this post to all those that want credit for accomplishing something cool but really, really, really hate working hard for it. To those scared of power tools, failure, or even giving too much effort. And lastly, to those who are simply really lazy and can think of at least a 1,000 different excuses for not attempting any sort of home project.
If you’re one of those people just know first that damn it, I respect you because I would be one of you if SQ didn’t ever so slightly persuade me to “help me real fast”. Second, if at any time in your life you actually think there’s a chance you’ll ever want do a house project but know that there’s a 99.5% chance you’ll quit at the slightest hint of perspiration, this is your project. Mercur[izing] (word? Probs not) glass requires a 2/10 on the effort scale – more than opening and drinking a beer, but less than making a PBJ to enjoy with it. BUT, no one else really knows how to do it so you’ll get way too much credit for very little effort. So grab that beer my prior sentence reminded you that you wanted and let’s freaking GO!

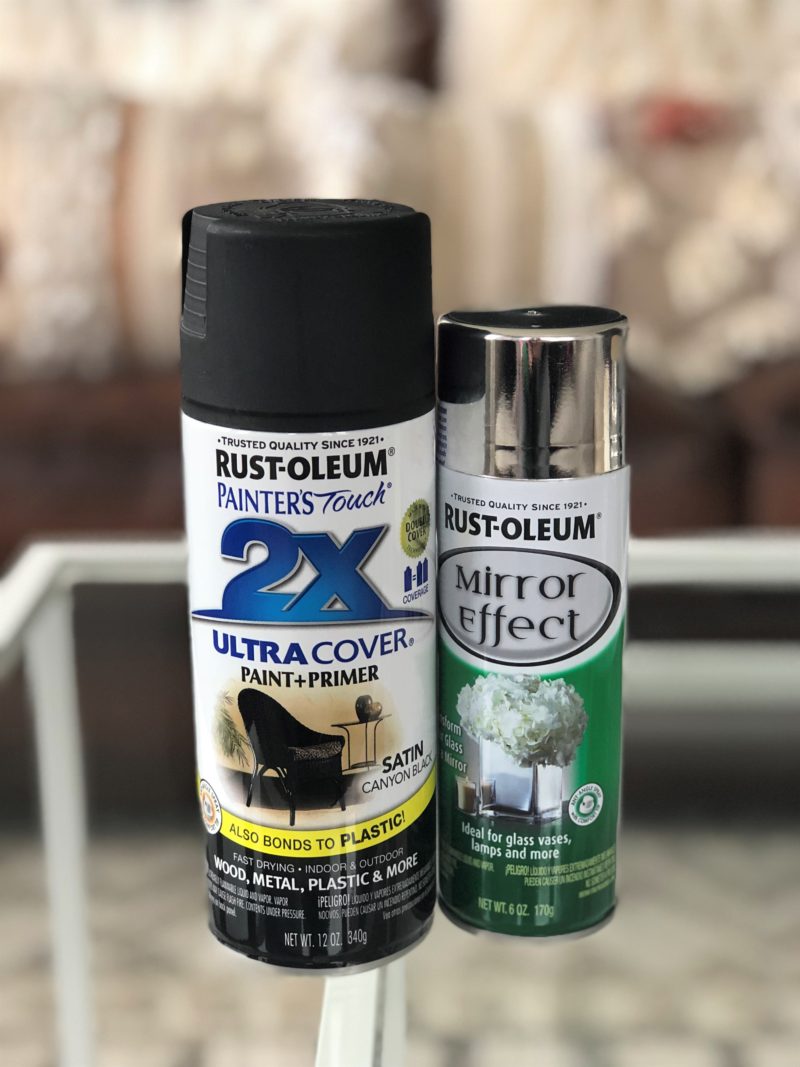
Material:
1) Black Spray Paint ONLY IF you’re painting a sheet of glass. This isn’t needed if you’re painting a standard mirror or something.
a) We used matted but it doesn’t really matter
2) Mirror spray paint. The cans were always super small in both Menard’s and Home Depot. No idea why.
3) White Vinegar. Buy the smallest bottle you can unless you use if for cooking. This’ll be mixed with tap water.
4) Spray Bottle
We went through four cans of the small mirror paint bottle and two cans of black for our 24 glass panes which were about 1.5’X2′ Or if you’re like SQ, they were a little bit bigger than a typical computer monitor (which includes both the screen and the frame around it, but not the base).
Step 1: (If applicable) This is the vital step that is missing in so many other tutorials!!! 😉
If it’s a sheet of glass like mine was (i.e. not attached to anything) take out whatever you’re painting. Ours piece of furniture had the glass in its doors, so I just popped them out. Lay those sheets down on a surface that you don’t care about because it will be painted. Once that’s done, spray paint it black. There are instructions on the bottle but really it’s shake for five minutes (you’ll hear a ball inside the can) (also, if you’re lazy feel free to knock of three minutes of shaking. It’s fine.) and spray from two feet away. Do two layers. Drink a beer between layers to know you’ve given it around 10 minutes to dry. This step is necessary for transparent glass panes without backing in order to achieve the mirrored look. Furniture pieces or mirrors that you’re mercur[izing] already have this backing.
Here’s what’ll it look like if you don’t spray the back black. Obs way too transparent to achieve the mercury look.
Also, we attempted to display the benefits of painting the back black but instead of spray painting it black we only used a marker for this glass pane. This is an example of what not to do.

Step 2:
After the second layer of black is dry flip the sheet of glass over. Or if you’re painting a mirror or something tape off whatever you don’t want painted. If you’re painting a mirrored dresser (SQ used to have one so I know that they’re out there), I’d take off the knobs if you don’t want them mirror(y) looking. So same deal as the black spray paint above. Shake, two feet away, and two coats. Boom done. Drink another beer.
Step 3:
This is the last and hardest step. It involves mixing and more spraying. So two steps in one. I may have lost anyone super lazy here but honestly the mixing isn’t hard and cannot be messed up. In a spray bottle mix 1/4 cup of water and 1/4 cup of vinegar. Don’t measure. If it’s slightly off in terms of 1:1 ratio it doesn’t matter. And feel free to pour water and vinegar directly into the spray bottle to mix in there. It works just fine doing it that way.
Once mixed spray a mist, or spray a stream, or both – everything looks good – onto the mirror painted side. One, two, or three sprays on each panel or section of the piece will do just fine. Wait 10 minutes and the paint will have a mercury look.
That’s it. You’ve mercur[ized] your glass. Reinstall it into your cabinet or tear the tape off. You’re amazing. You accomplished a home project. E-High Five from me to you.
Note 1: never use Windex or anything to clean them. The paint does come off.
Note 2: You may think to yourself, “wow that’s crappy that the mercury look just comes off like that”, but know that SQ priced out mercur[izing] the glass professionally and it ranged in price from $600 – $2,000. That’s just ridiculous when the cost of all the spray paint needed is under $10. Yea professionally done it probably wouldn’t wipe off as easily but just repaint or ignore it. (We’ve been ignoring our cleaning mix up). And honestly, SQ is a perfectionist who is making a career out of interior design and she cannot tell a difference in the look between our method and the $1,000 dollar approach.
 That is all for today. Thanks for reading along and if you try this, please let us know how it turned out. Also, please let us know if it is as easy for y’all as I think it is.
What a great dollar saving tip! It turned out amazing!
How do you clean it up from little kid finger prints?
Hi Claire! Susan didn’t run into this issue, but I would try gently wiping it! Just be careful because any form of glass cleaner would wipe away the spray!